
Sheep Planter
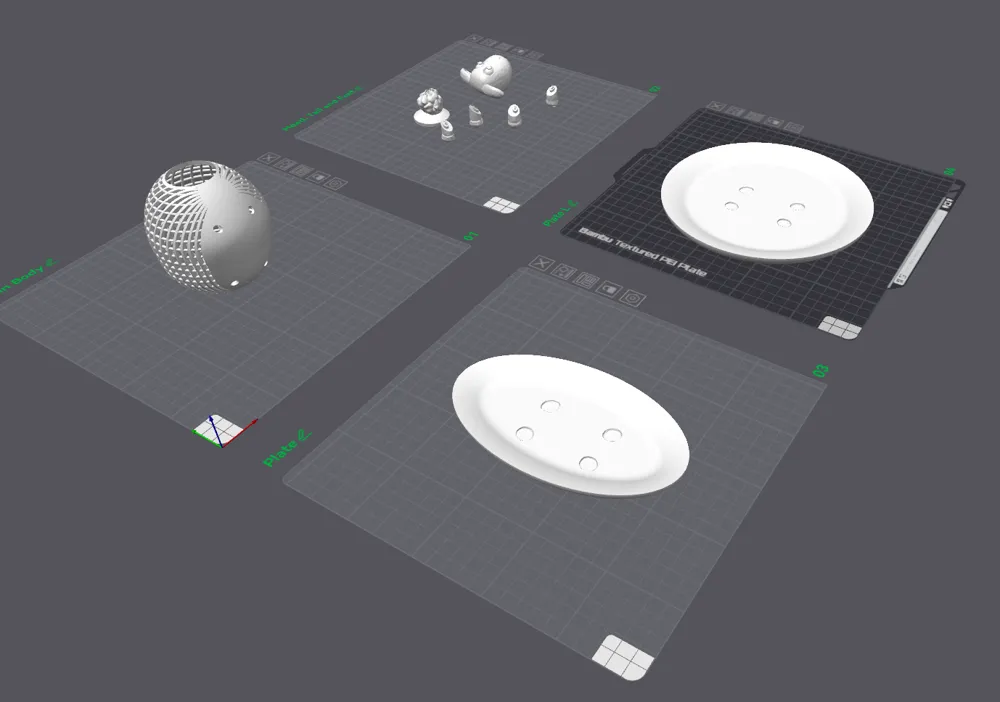
Print Profile(1)
Description
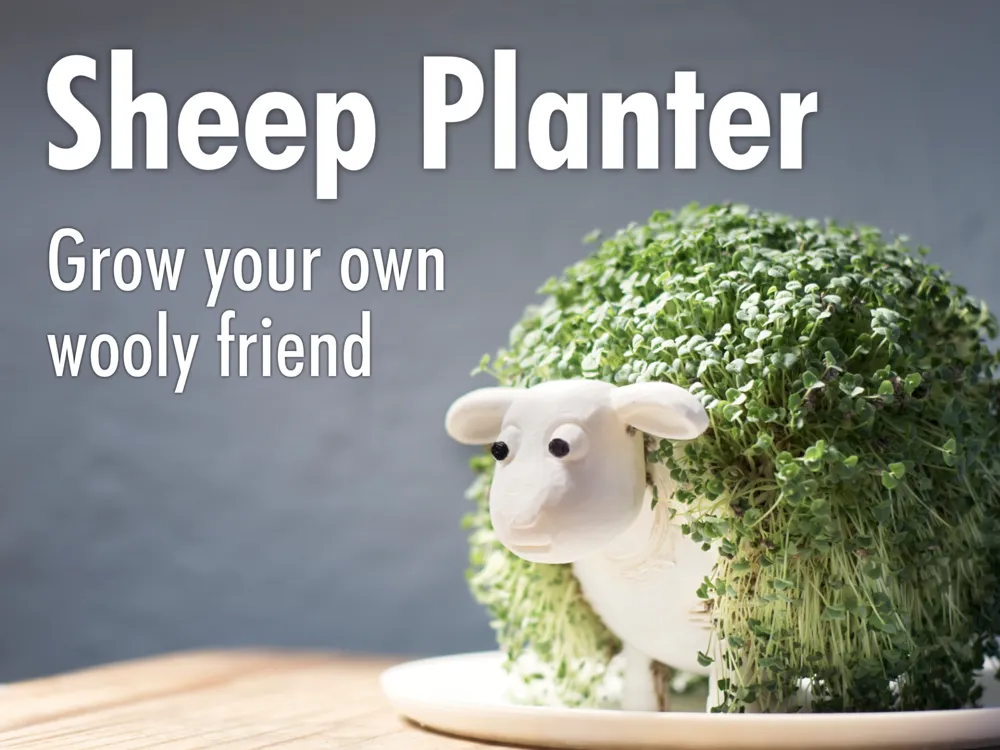
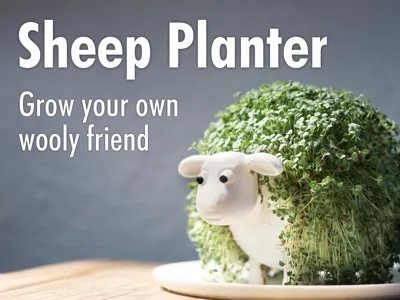
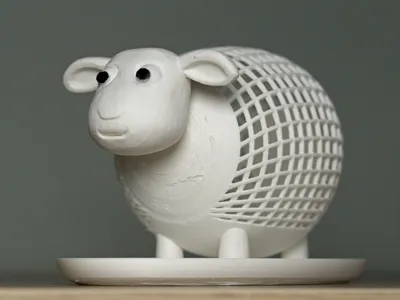
Sheep Planter — Grow Your Own Woolly Friend! 🌱
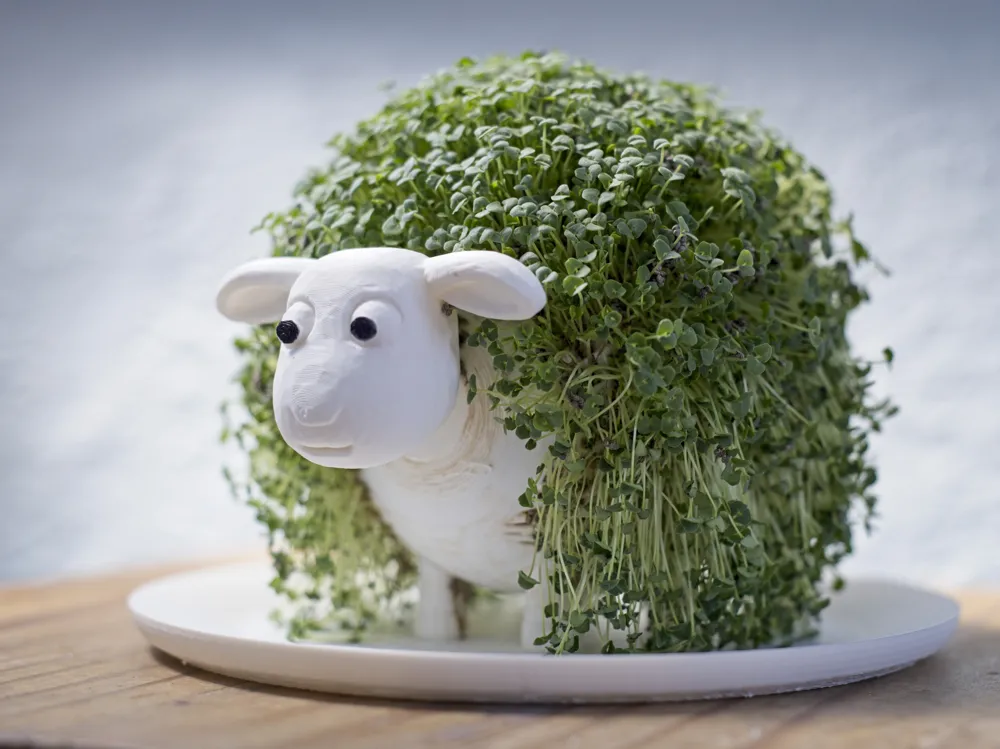
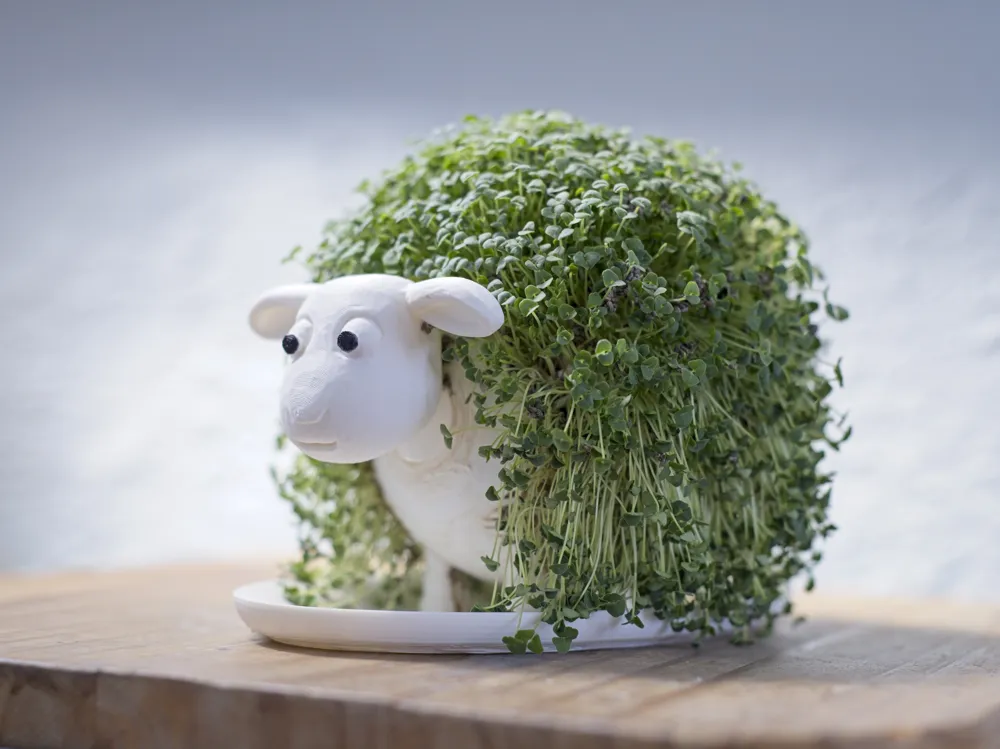
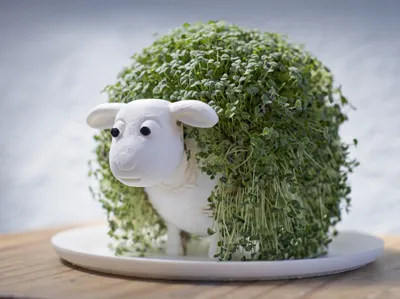
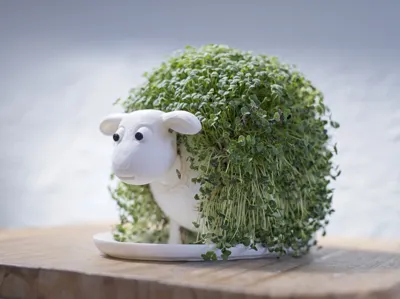
This cute sheep planter lets you grow real plants right on its back, turning it into a living decoration for your home or desk. Fill it with chia seeds and watch your sheep grow its "wool" over time!
How it works:
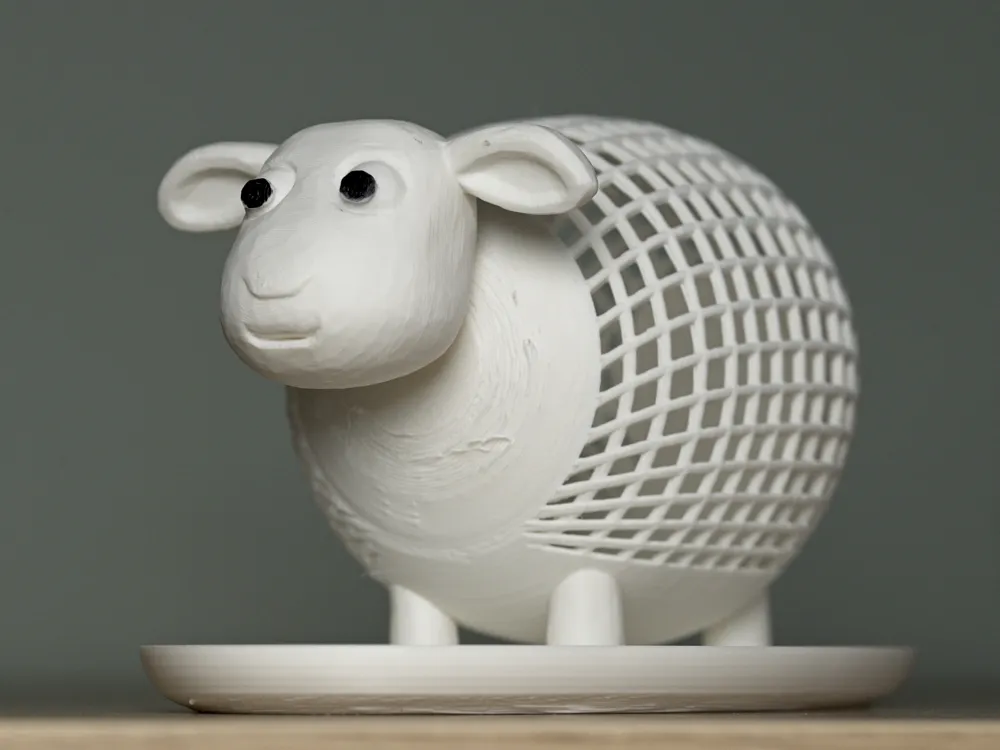
The sheep's body has a lattice structure on the top and sides (the bottom is solid, so no water drips through). Remove the tail to access the back opening and insert a sponge. You'll likely need to cut it to fit, even into strips if needed, as long as it covers the interior area beneath the lattice to support the seeds. Place the sheep on the tray, sprinkle chia seeds evenly across the lattice, just enough to sit level with the grid, not too many or they won't sprout well. Mist daily with a spray bottle and in about 3 days you'll see the first signs of growth. After roughly 2 weeks, your sheep will have a full lush coat!
What's included:
- Sheep body (~110g)
- Head
- 4 legs (numbered for assembly — 1=BL, 2=FL, 3=FR, 4=BR)
- Tail cap (removable for sponge access)
- Standard tray — follows the sheep's footprint, 100×170mm (~42g)
- Large tray — 180×180mm (~72g), recommended for better water protection when misting
Assembly:
- Glue the legs onto the body using super glue, following the numbers marked on the pieces. Place the sheep on the tray with the head facing you. The tray indentations should appear slightly to the right when viewed from the front. Slightly rotate the legs if needed so the sheep sits stable and level.
- Insert the head into the body. It fits snugly without much force and can be rotated to your liking. Paint the eyes with a black marker.
- To attach the tail cap, insert it at a slight diagonal first, then straighten it into place.
Print settings:
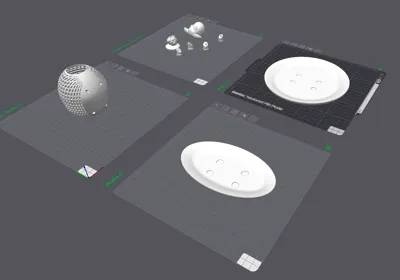
Use the print settings included in the file for best results. Supports are required for the body. The quality presets in the file are recommended over defaults. Prints won't be flawless, but I think they are good enough. I arrived at these settings after multiple print tests and adjustments done to the model. I have successfully printed this model with multiple filaments, so if you're having trouble, it's likely due to wet filament or a printer calibration issue rather than the model itself.
License

You shall not share, sub-license, sell, rent, host, transfer, or distribute in any way the digital or 3D printed versions of this object, nor any other derivative work of this object in its digital or physical format (including - but not limited to - remixes of this object, and hosting on other digital platforms). The objects may not be used without permission in any way whatsoever in which you charge money, or collect fees.


Comment & Rating (1)