
BB-Sound
Print Profile(1)
Description
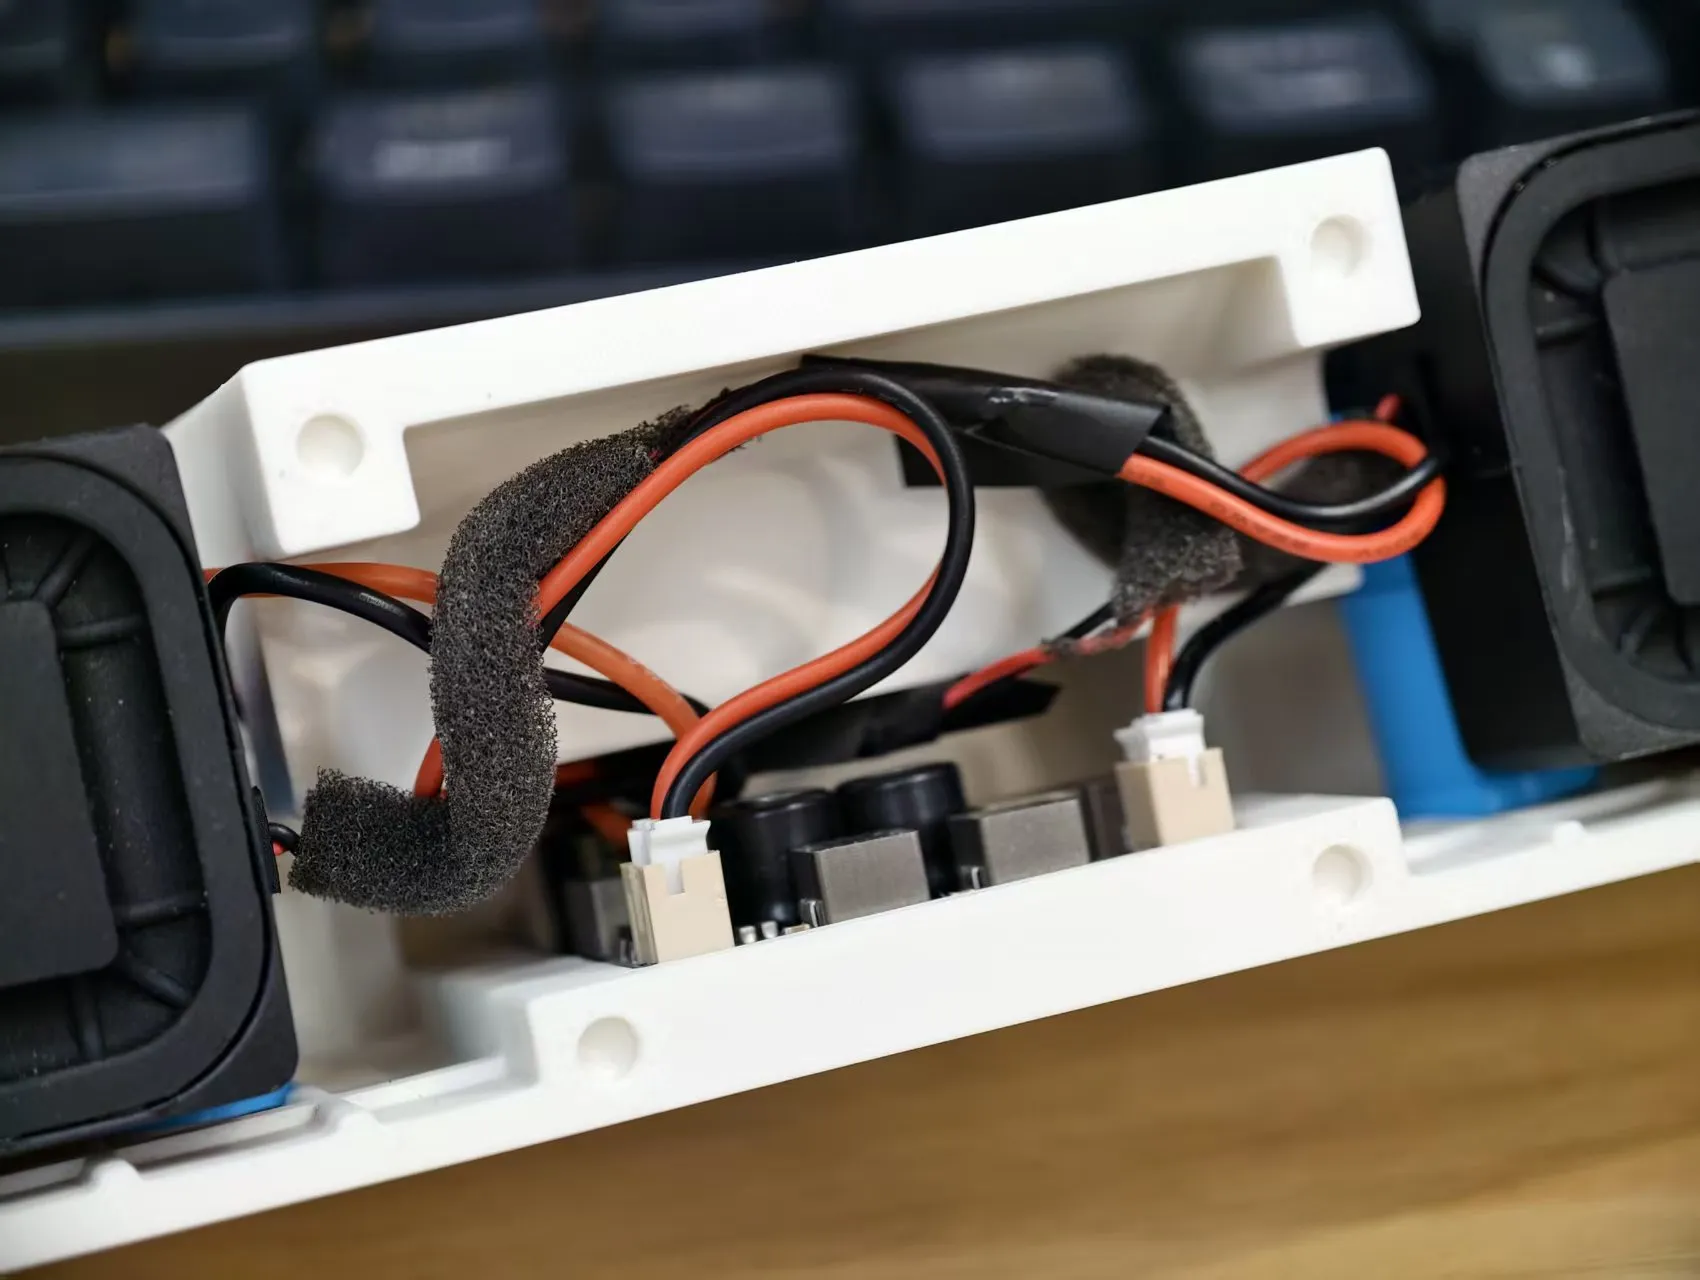
Regarding speaker wiring, please check if the board you purchased comes with wires. It should be a pair of wires with the same polarity. Insert them normally according to the anti-fooling slot. If the silkscreened + corresponds to the red wire, and the silkscreened - corresponds to the black wire, there is no need to reverse the speaker wires; just connect red to red and black to black. If you also purchased an 8.5W board, for example, or if you provided your own wires, you need to check if the wiring sequence of the two connectors is the same. You can directly adjust the connector wiring sequence to ensure that the wiring sequence of the connector inserted into the board matches the silkscreen. The reason for the reversed connection in the video is mainly because I bought many boards and put them together. I used the wires from the 8.5W version, and its wires were in reverse order (when plugged into the motherboard, the actual black and red wires were reversed compared to the motherboard's silkscreen on one side). This led to the problem of needing to reverse the speaker wires. I thank everyone who pointed out this issue, apologize to a user in the comments, and also thank the expert Wang Xiaochen for helping me find the problem late at night (amplifier board guide – Taobao shop: Lingfeng Acoustics). I truly did not expect that after inserting into the anti-fooling slot, the actual wires were reversed. Even the second board I checked also used reversed wires…
The model file has been registered for copyright. Unauthorized commercial use will be prosecuted. Small-scale printing services must cite the source!
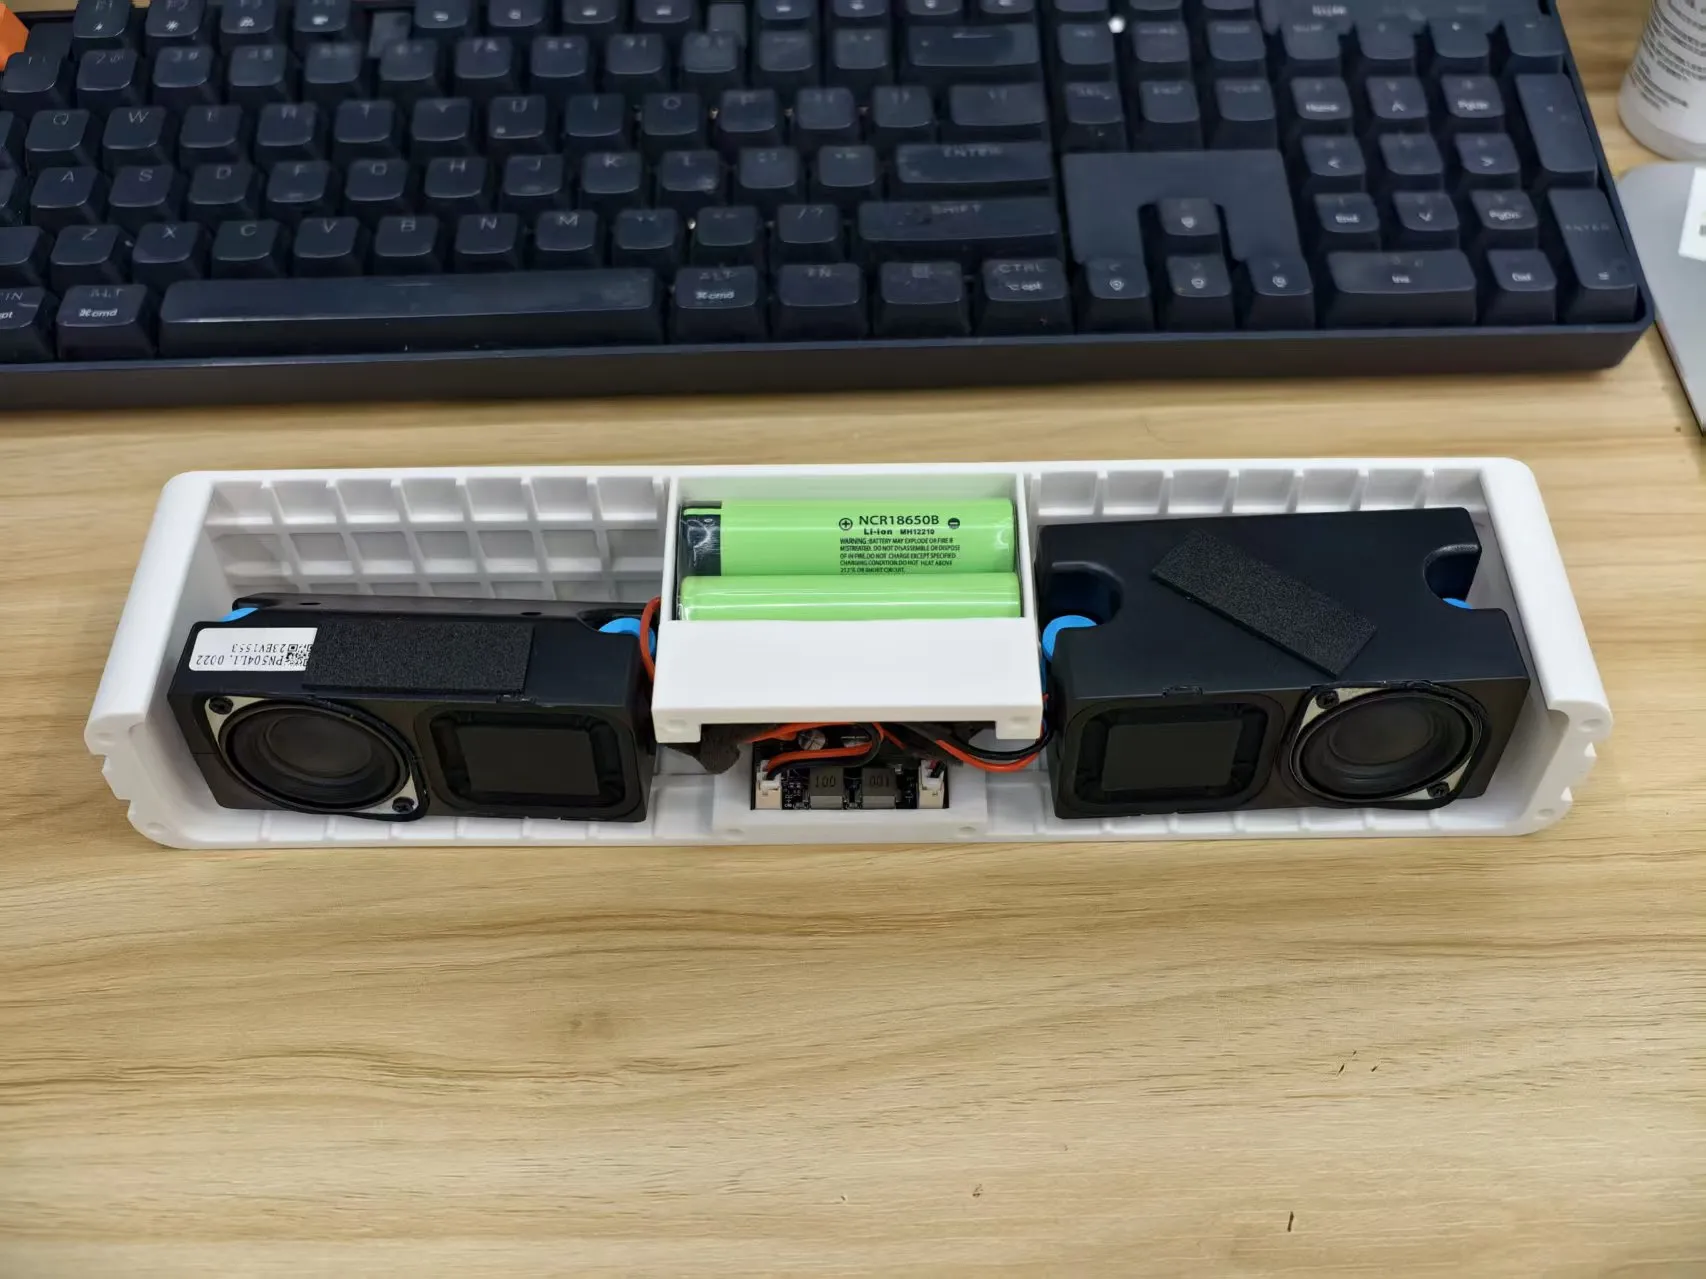
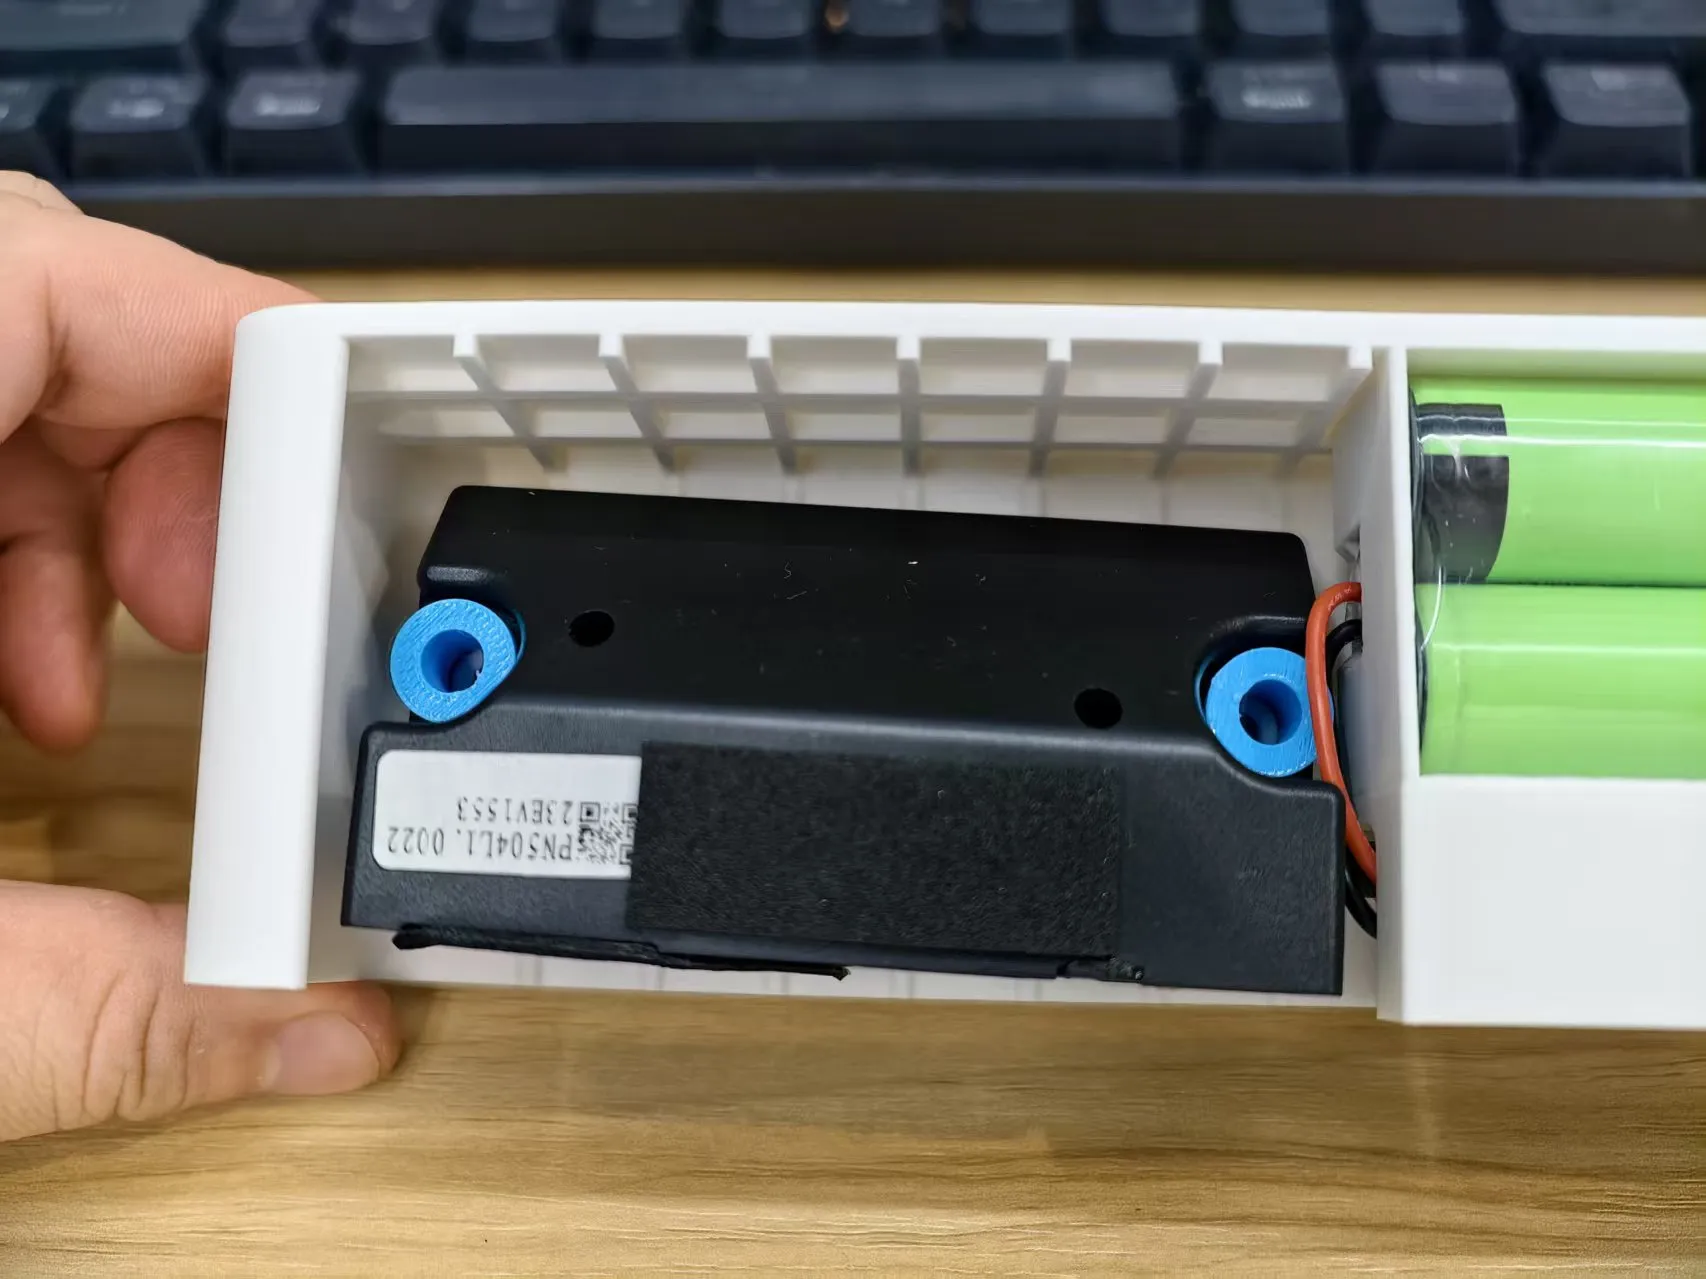
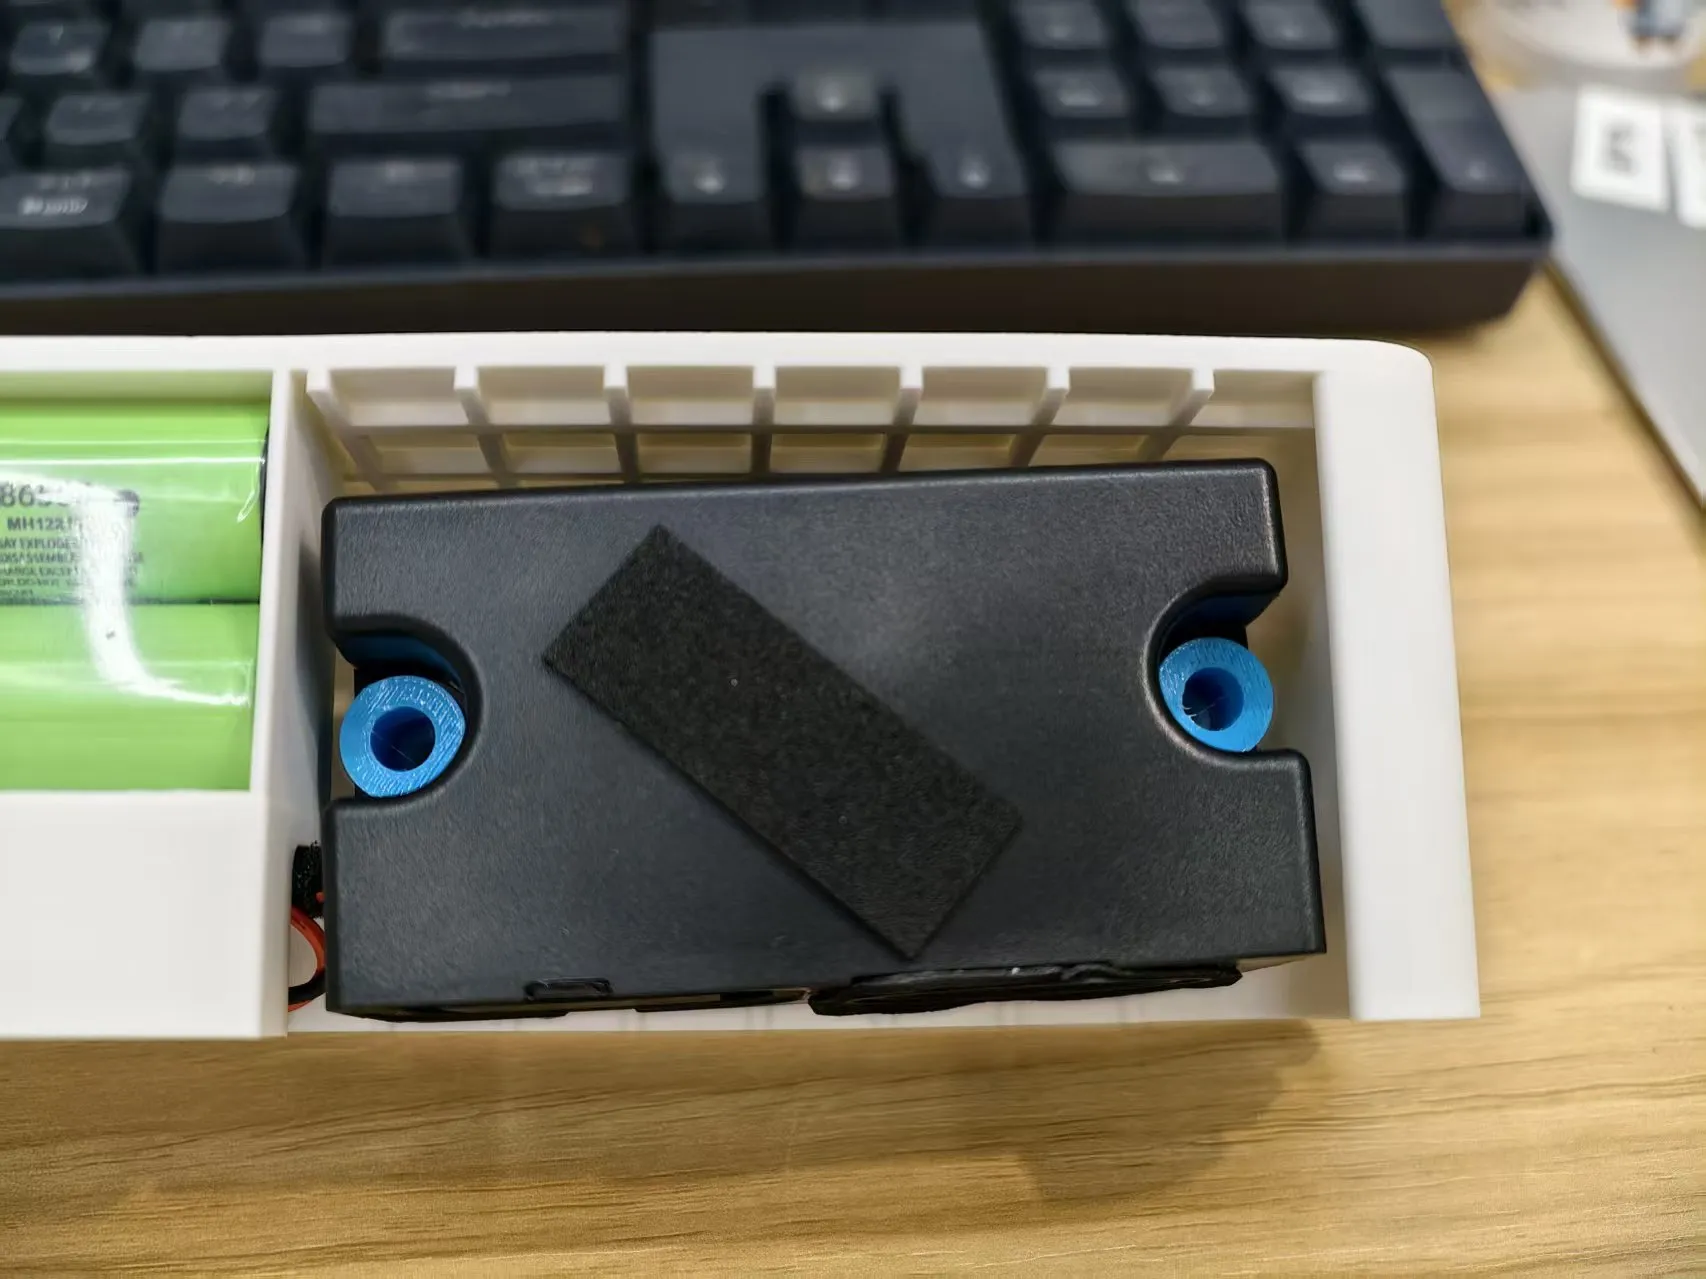
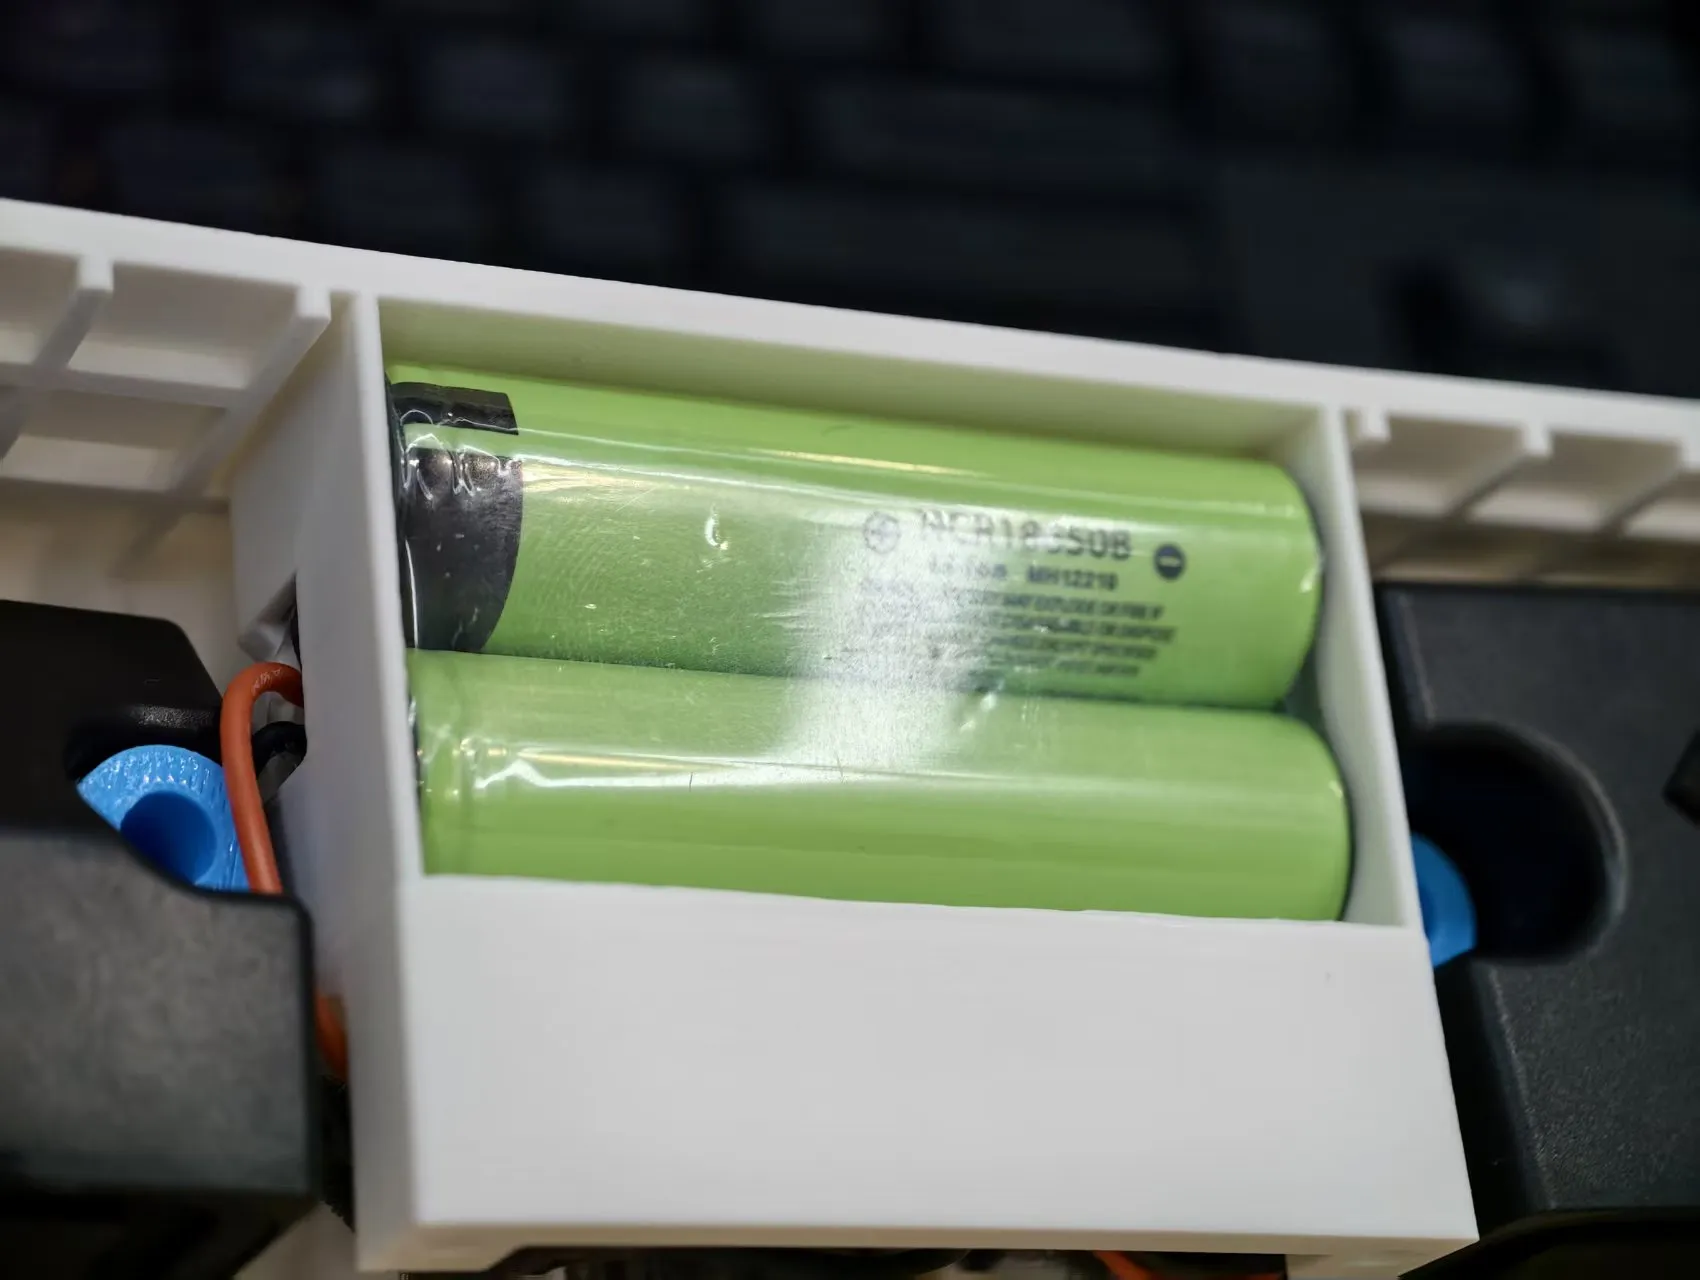
Internal unit placement is as shown in the figure. First, secure the TPU vibration dampener onto the speaker unit's tabs, then insert it into the housing. Since the units are not left/right specific, one side needs to be placed in reverse. You can search for the unit model directly using images. I use an 8Ω 5W one, but it seems to be out of stock now. An 8Ω 3W can also be used. A separate tuning file might be released later, but for now, you can use the one for the 8Ω 5W unit. The driver board is Wang Xiaochen 9.1W; it is recommended to buy one with wires. The connector that comes with the 5W speaker is recommended to be cut off and reconnected to the plug that comes with the main board, otherwise, there might be strange problems. Remember to attach foam tape between the housing and the unit; a thickness of no more than 2mm is fine. For battery selection, please refer to the detailed product page of the driver board, or purchase a complete set directly. The method for flashing the tuning file can also be found on the detailed product page. After purchase, you can ask the seller for the flashing tool. After the speaker is powered on, connect via USB and just select to flash the tuning file. The Chinese software might have bugs; it is recommended to use the English version. The magnetic cover specifications are 4mm diameter 2mm thick and 4mm diameter 1mm thick
License

You shall not share, sub-license, sell, rent, host, transfer, or distribute in any way the digital or 3D printed versions of this object, nor any other derivative work of this object in its digital or physical format (including - but not limited to - remixes of this object, and hosting on other digital platforms). The objects may not be used without permission in any way whatsoever in which you charge money, or collect fees.


Comment & Rating (0)