
Labeling aid
Print Profile(2)



Description
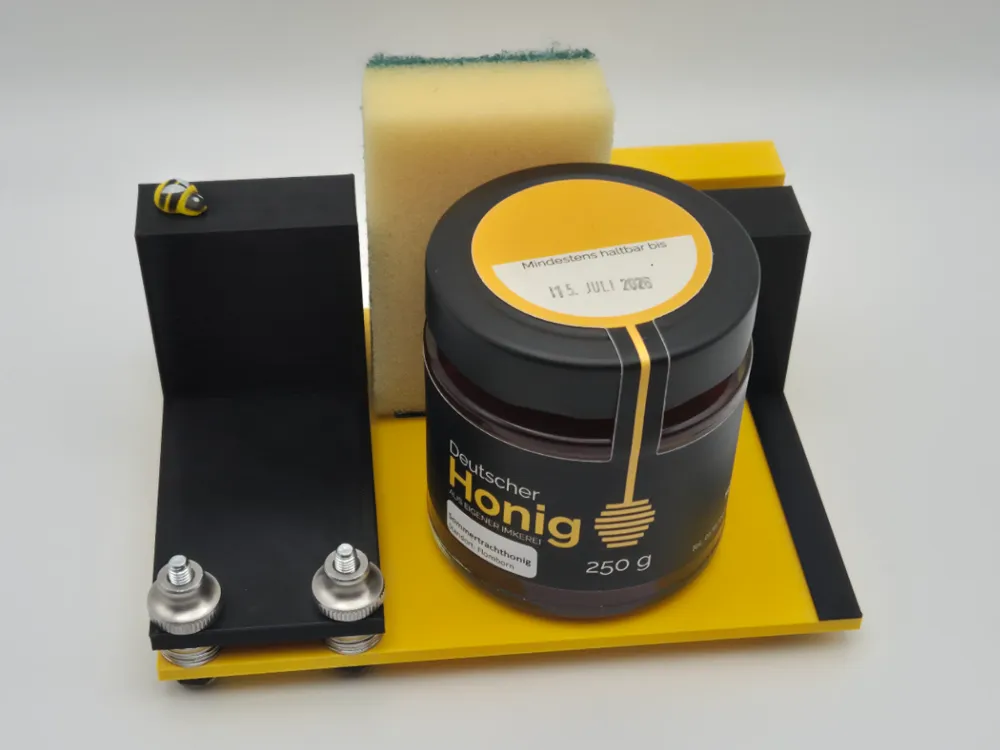
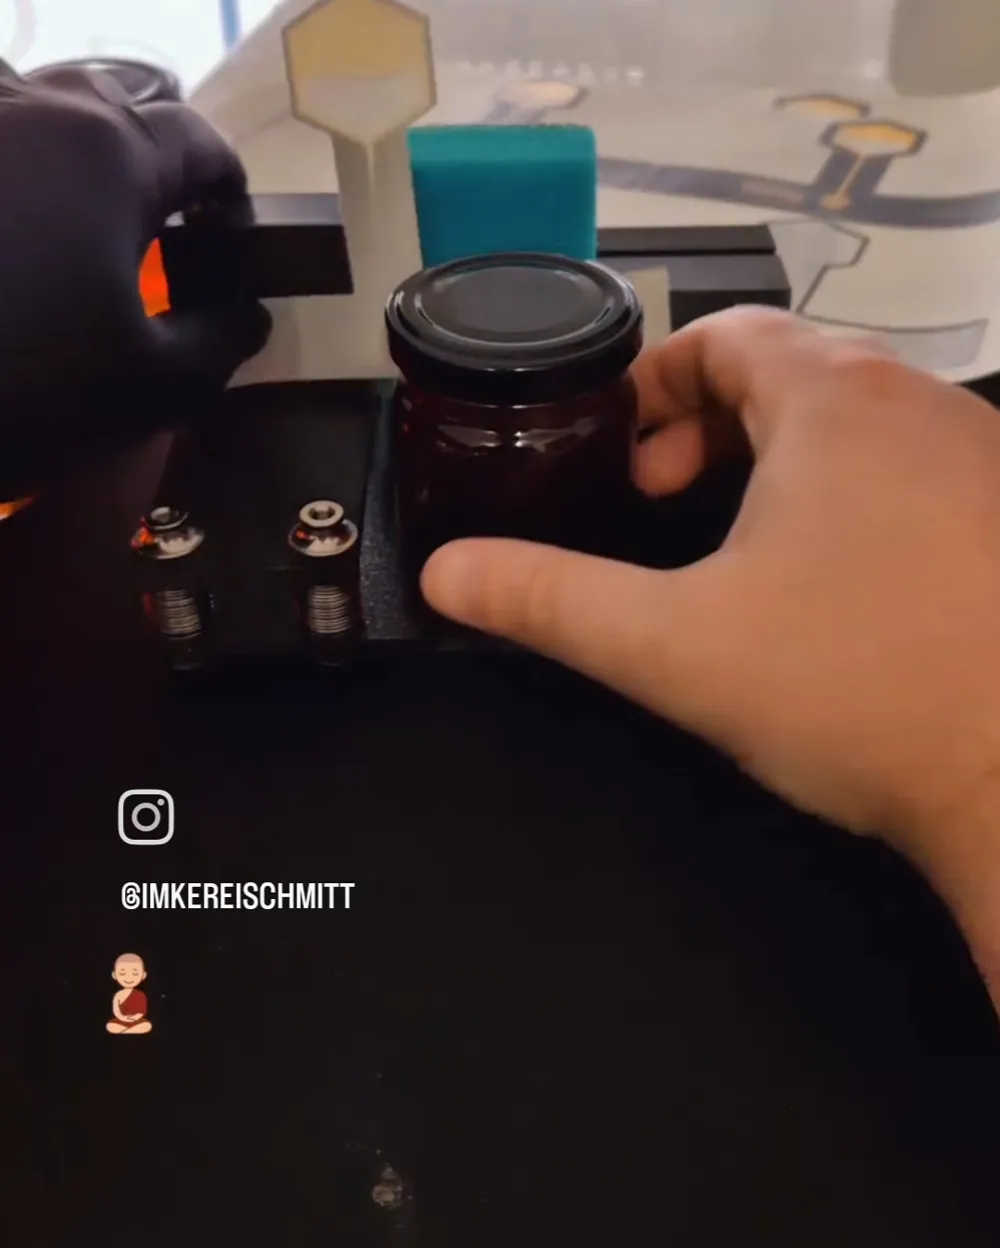
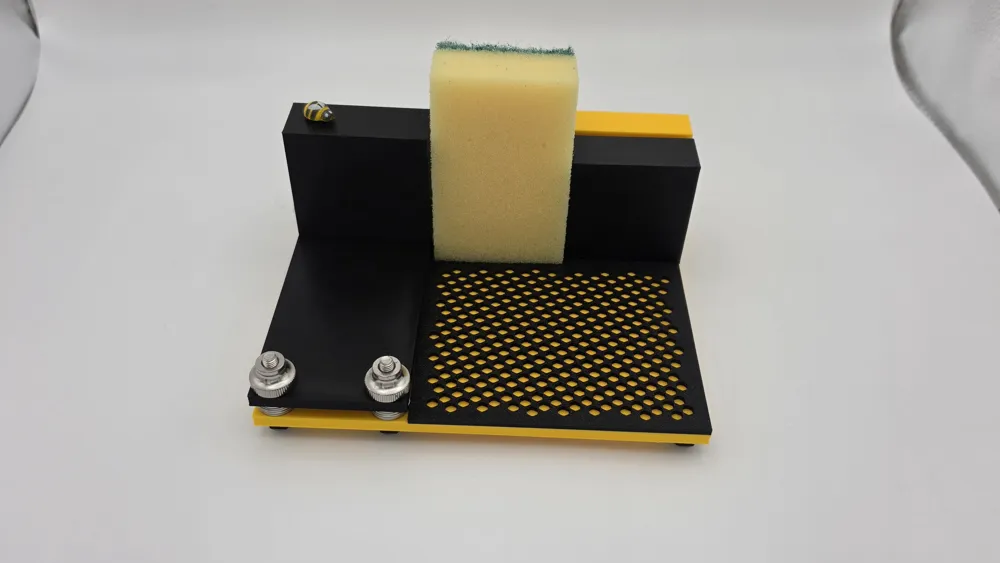
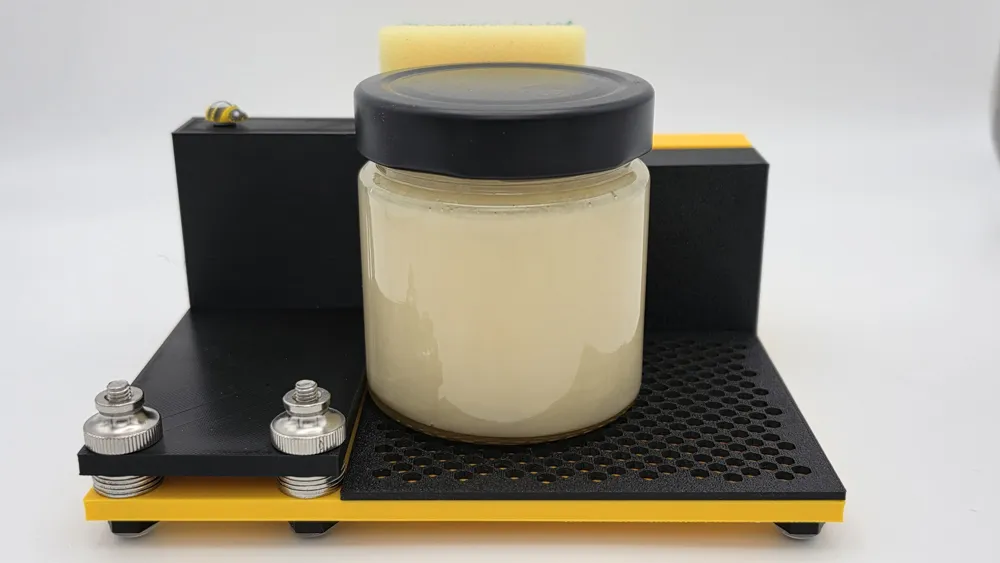
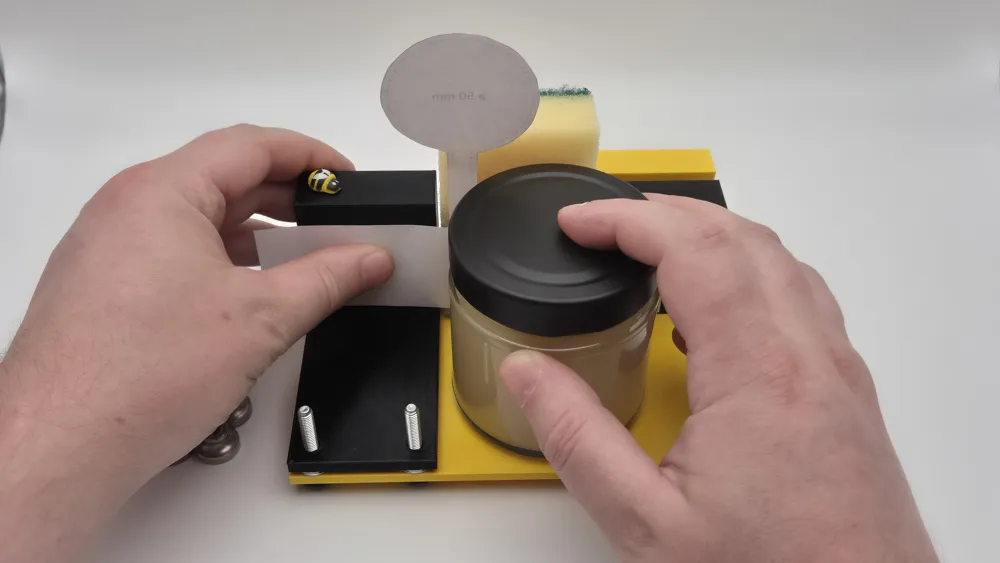
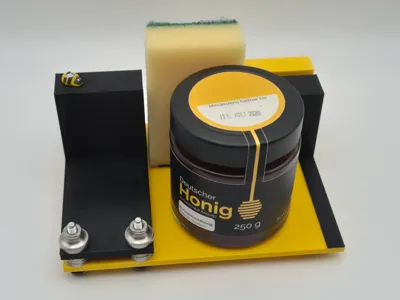
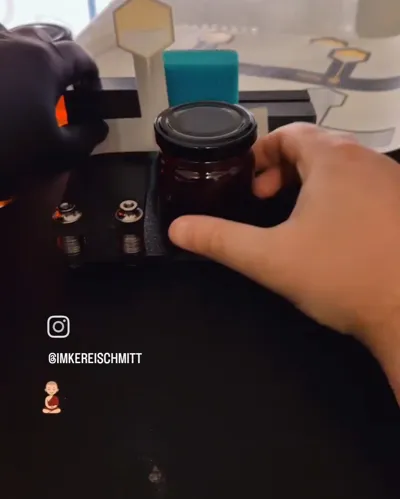
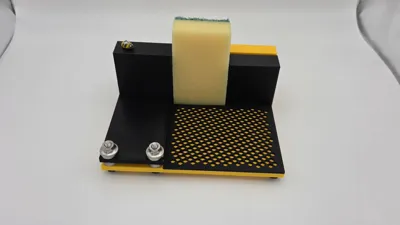
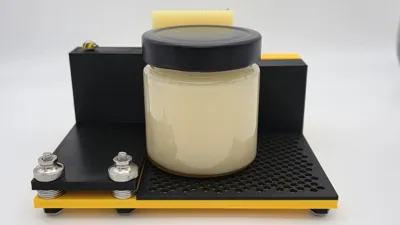
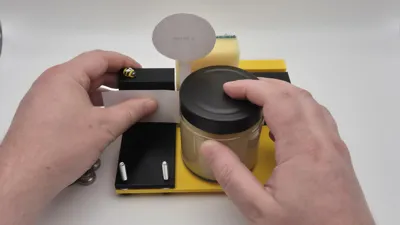
Labeling Aid
The original from the August 2025 giveaway from the Instagram beekeeper community. Here you can now download the labeling aid and print it yourself
Extensions
- Extension plate ( https://makerworld.com/de/models/2965071-extension-plate-labeling-aid-extension-1#profileId-3324399 )
- Spacer sleeves ( https://makerworld.com/de/models/2969153-distanzhulse-etikettierhilfe-extension-2#profileId-3329605 )
Contents
- Bill of materials
- Assembly after printing
- Boost me!
- Changelog
- PDF instructions
--------------------------------------------------------------------------------------------------------------------------------------------
Bill of materials
- 6x M5 30mm hex screws
- 7x anti-slip pads (10 x 3mm)
- Small piece of velcro (minimum 4 x 5 cm)
- Small sponge (50 x 70mm - the inexpensive 'ja' sponges are perfect (no advertising))
- Washers 5.3 x 15 x 1.2 mm
- PLA glue or superglue
- 4x M5 knurled nuts (M5 wing nuts also work)
- 2x heat-set inserts (Ruthex M5Sx5.8)
Assembly after printing
We will first finish the part `halter-vorne`. Depending on the print model, either with heat-set inserts or with M5 hex nuts
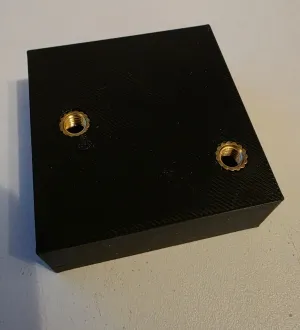
Variant: With heat-set inserts
The heat-set inserts must be placed into the designated holes and then melted in
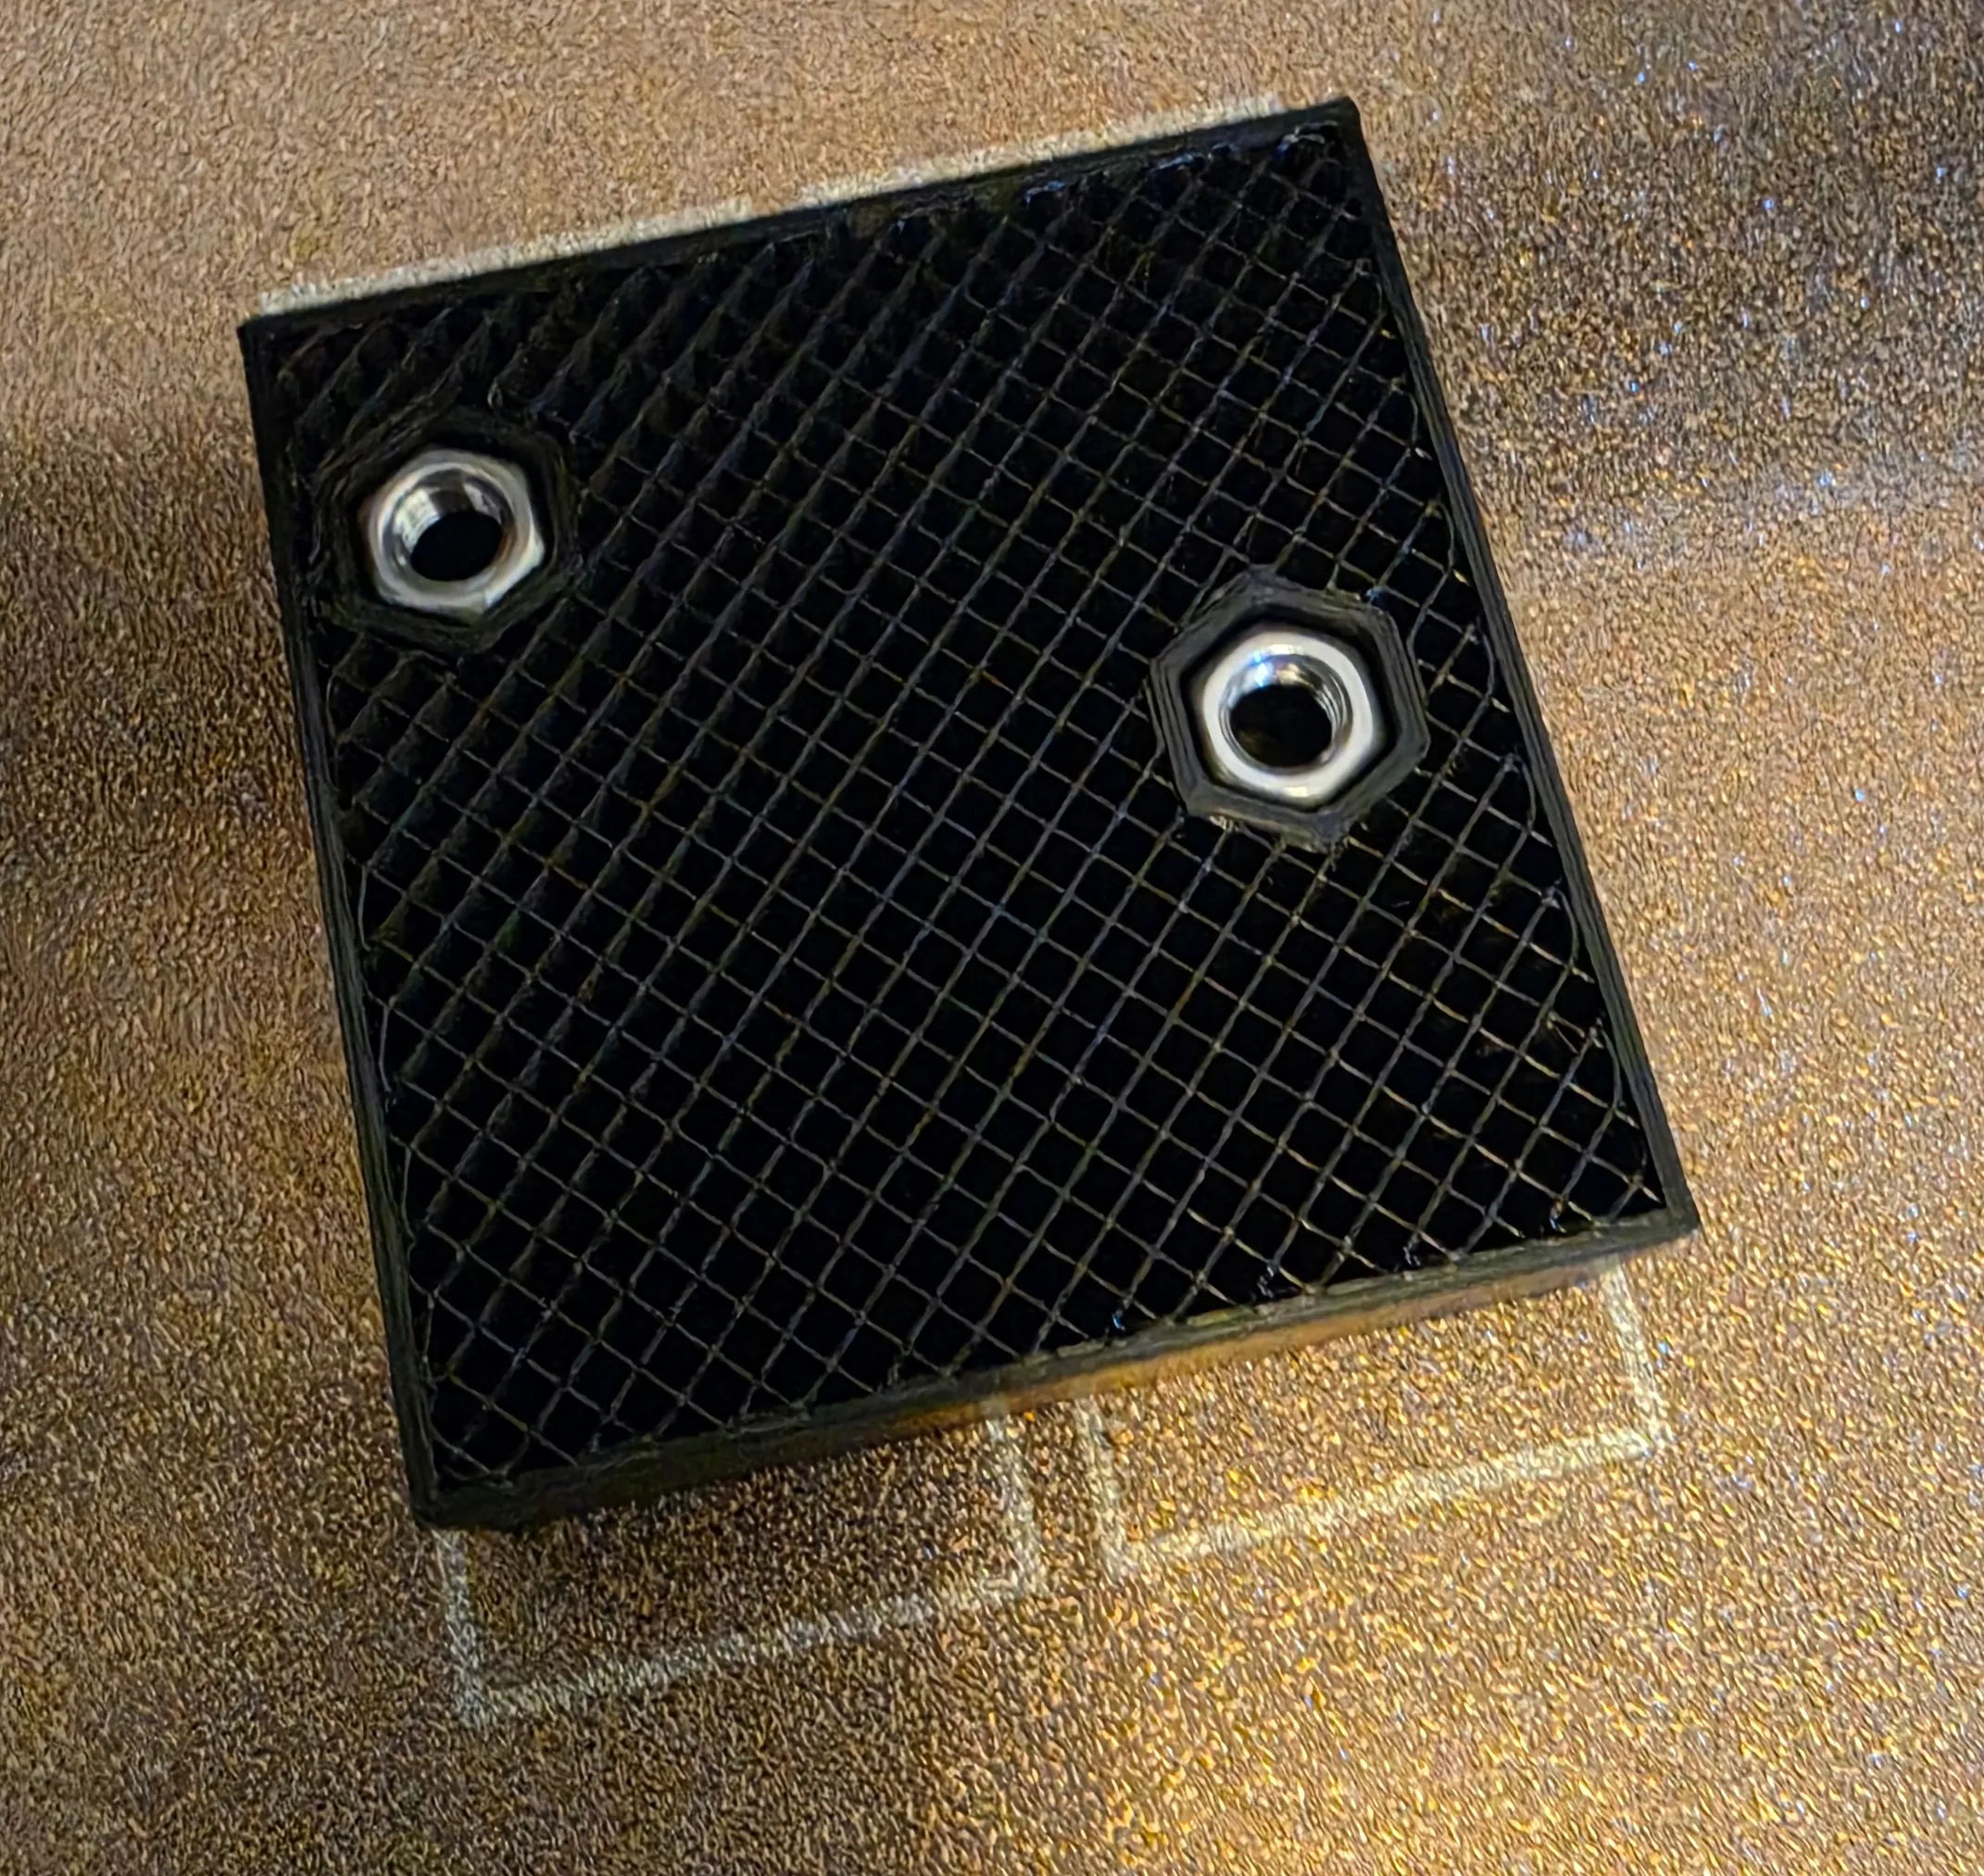
| Variant: Without heat-set inserts
The printing of the part must be paused after layer 96 so that the M5 nuts can be inserted
 |
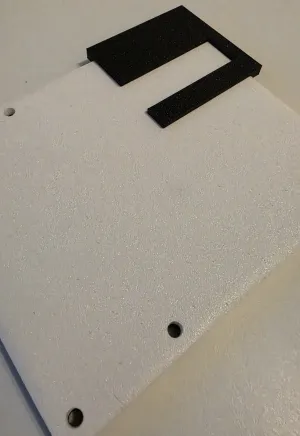
The part `halter-vorne` must be glued onto the base plate. For this, use the gluing aid `klebehilfe-halter-vorne` and hold it to the back right corner, using the overhang of the part as a stop against the base plate. Then, the part `halter-vorne` is glued into the free area
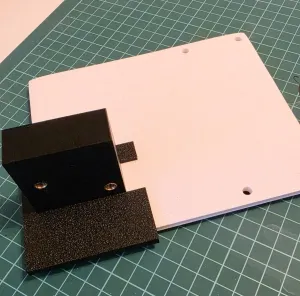
Once the glue has set a bit, the gluing aid can be carefully pulled out. Please be careful not to glue the gluing aid itself
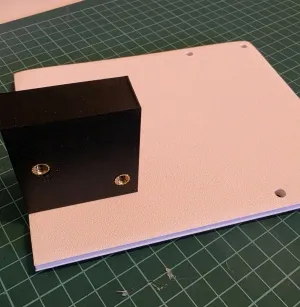
Let it dry well. It is best to use PLA glue or superglue
You can continue with the `halter-hinten` part. A piece of velcro should be glued into the recess there, so that the sponge can be attached later
The 7 anti-slip pads can be glued onto the 3 feet of the base (without holes). The remaining 4 are glued onto the heads of 4 M5 30mm hex screws. The 4 screws can then be inserted through the 4 designated holes on the base plate
The same number of washers are then placed on each of the 4 screws. These determine the height and can be changed as desired, see instructions. Then the `ausrichter` part is placed on the washers and secured with the knurled nuts/wing nuts so that it no longer wobbles
For everything else, please refer to the instructions
Have fun with it
Boost Me (for free)
Do you like my work? Then I would be very happy about a boost from you!
Changelog
- 23.06.2026
- Spacer sleeve was added
- 22.06.2026
- Extension plate was extracted as a separate model
- 19.06.2026
- Boden.3mf added
- extension.3mf added
Documentation (1)
License

You shall not share, sub-license, sell, rent, host, transfer, or distribute in any way the digital or 3D printed versions of this object, nor any other derivative work of this object in its digital or physical format (including - but not limited to - remixes of this object, and hosting on other digital platforms). The objects may not be used without permission in any way whatsoever in which you charge money, or collect fees.


Comment & Rating (5)