
Adjustable Lamp


Print Profile(2)
Description
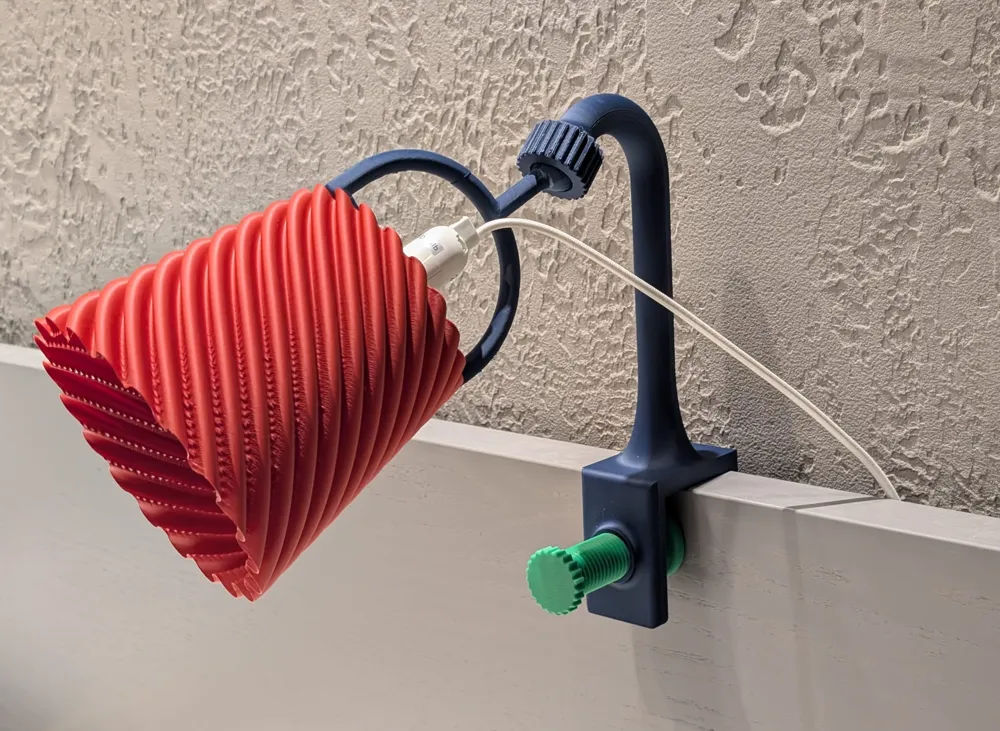
Adjustable Lamp
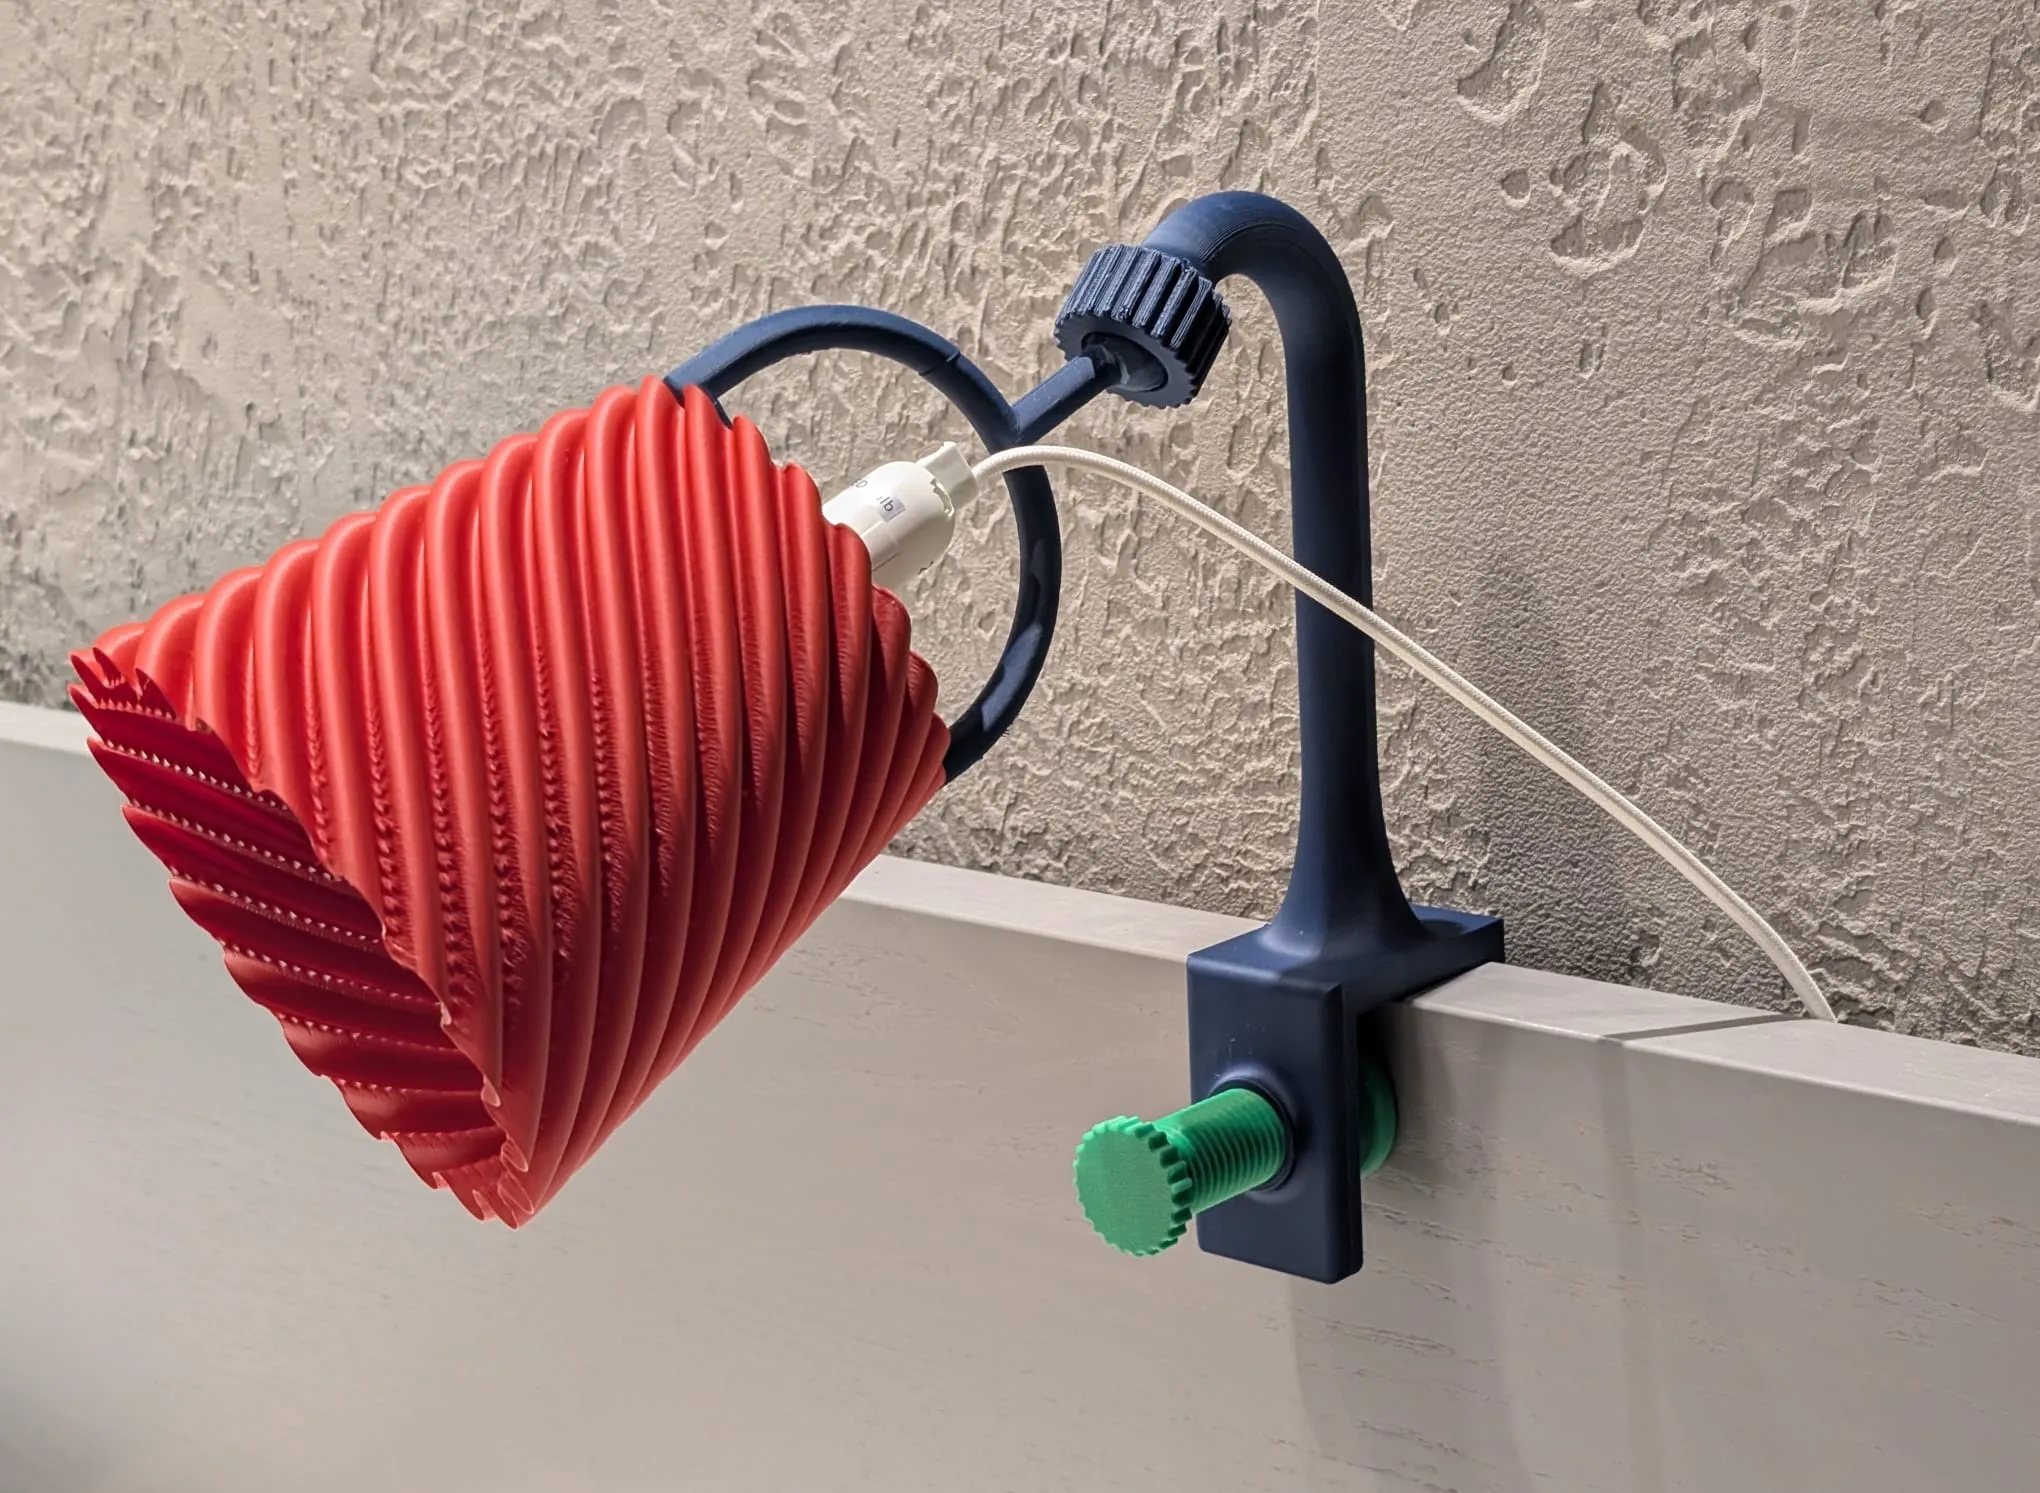
Description
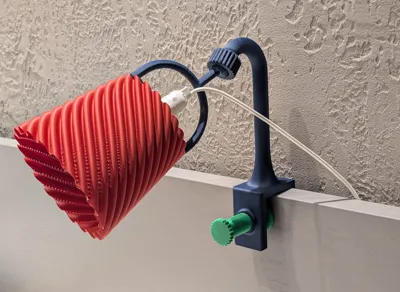
Adjustable ball-bearing lamp designed to attach to any headboard.
It can be used with any E14 light bulb socket (including Strala from IKEA) and any lamp shade that has a hole of 30 mm diameter.
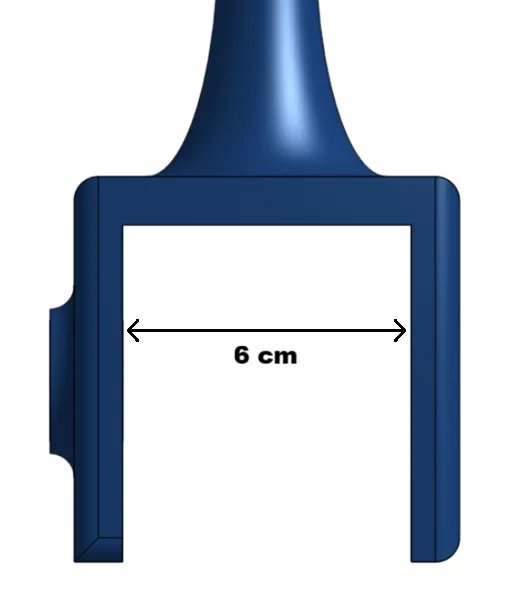
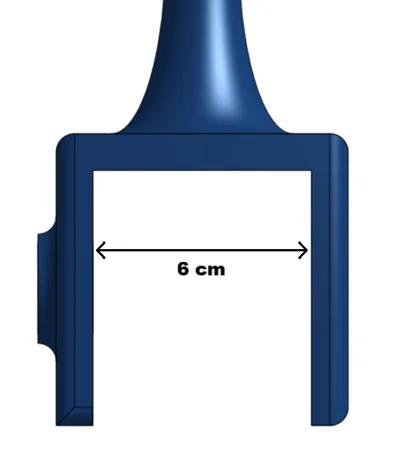
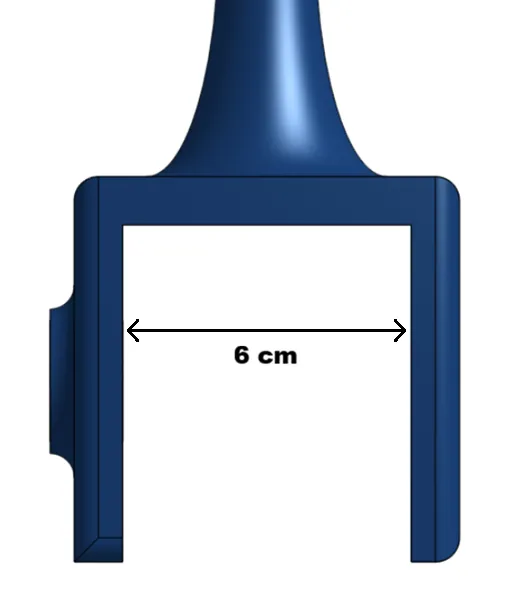
It uses a screw mechanism to attach to any headboard or furniture edge up to 6 cm (≈ 2.3 inches) thick.
Features
- Adjustable ball-joint design for flexible positioning
- Secure screw-on mounting for most headboards
- Compact and sturdy construction
- Easy to print with minimal support requirements
- Ideal for reading, bedside lighting, dorm rooms, and small spaces
Print Settings
- Recommended material: PLA, PETG, or ABS
- Layer height: 0.2 mm
- Infill: 15%
- Supports: Only where indicated (if needed)
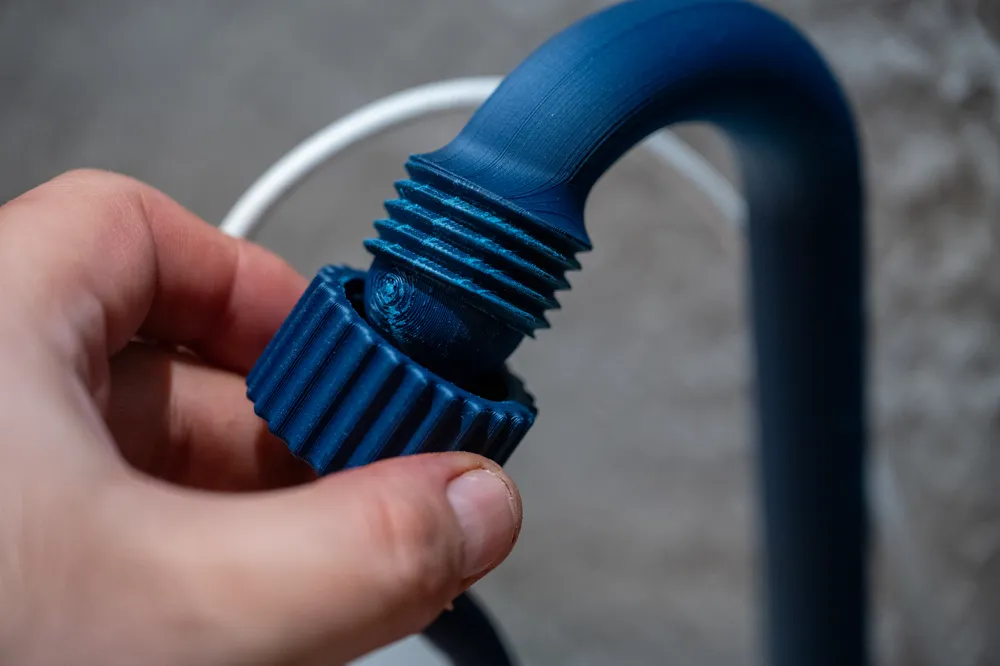
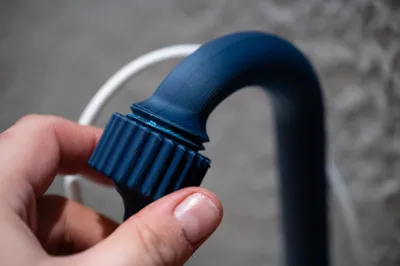
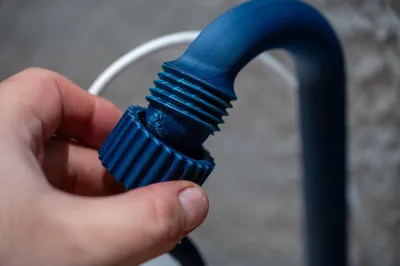
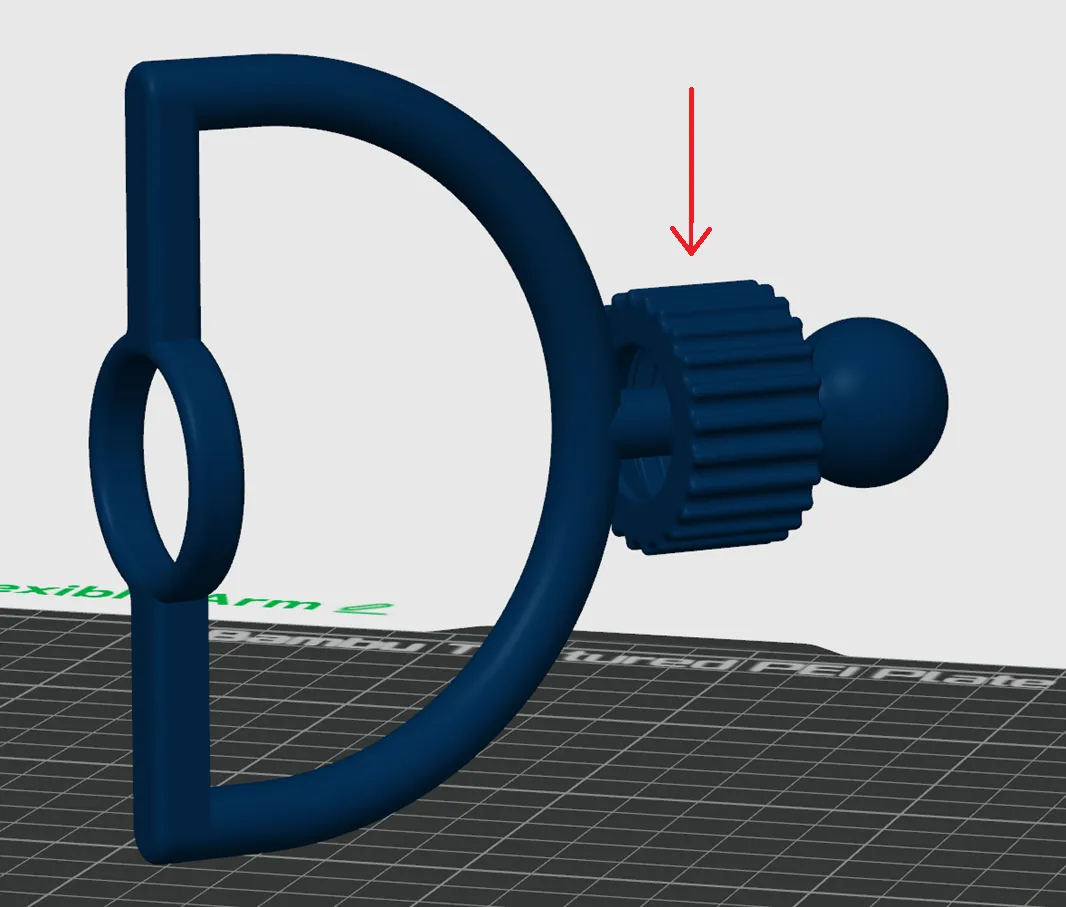
- Please make sure the nut of the adjustable arm is printed in the position suggested in the profile (floating, with supports) so that it remains stuck between the ball and the shade support.
Assembly Instructions
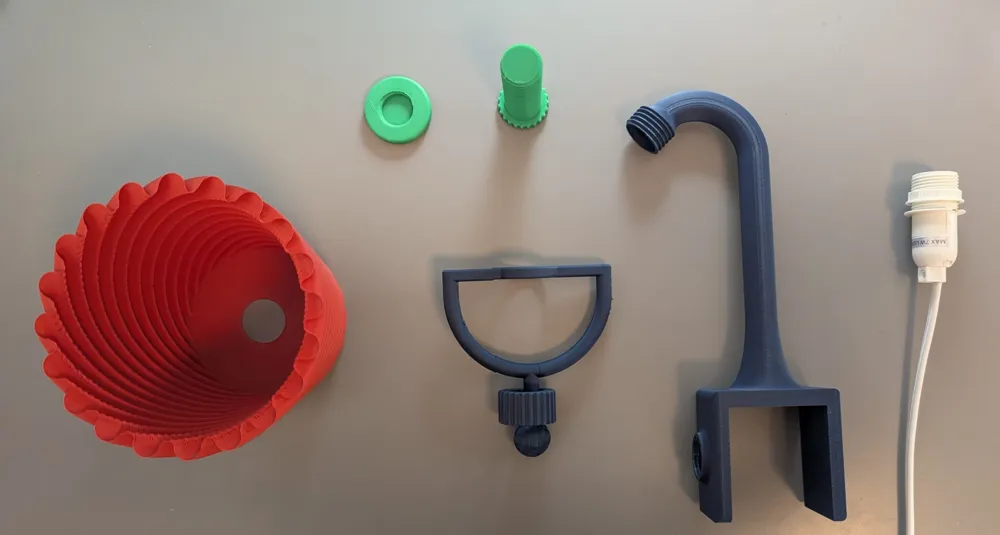
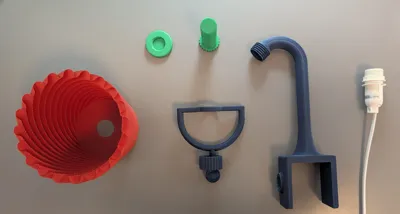
Step 1: Make sure you have all the needed parts (all the printed parts and a E14 light bulb adapter):
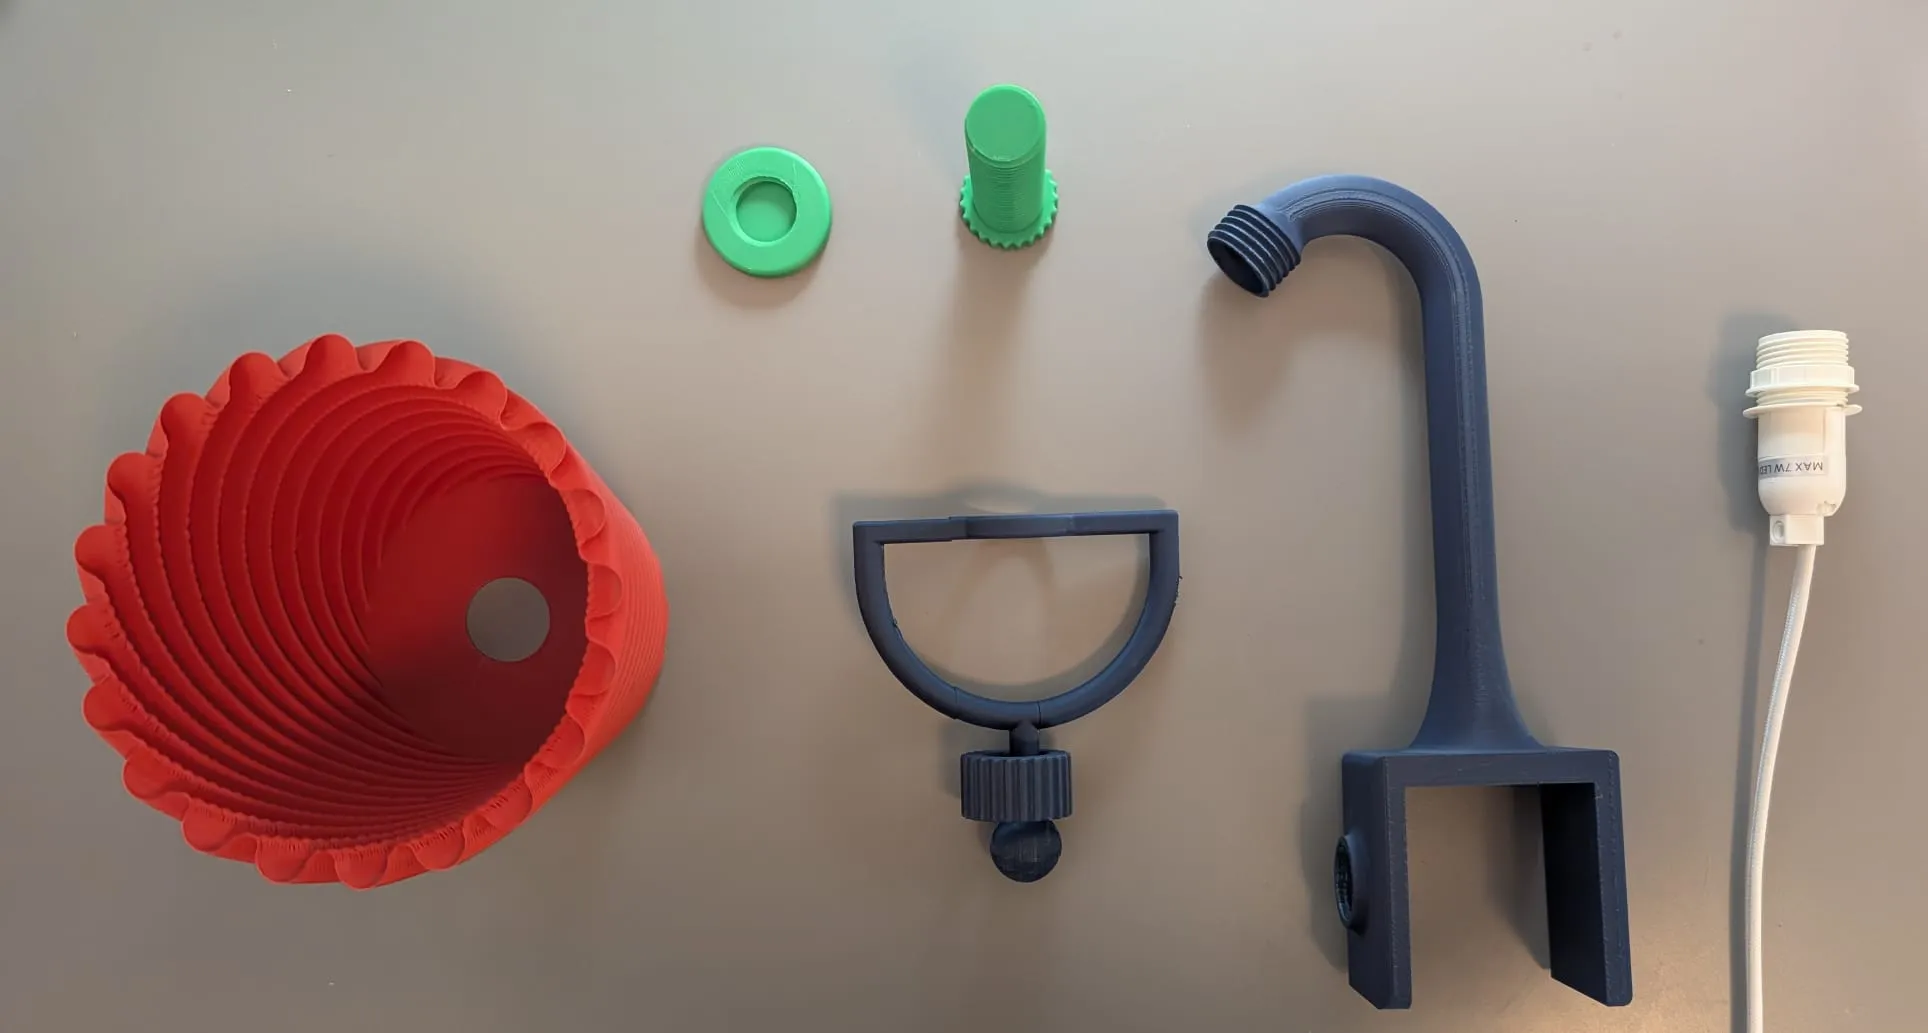
Step 2: Start by inserting the screw in the base:
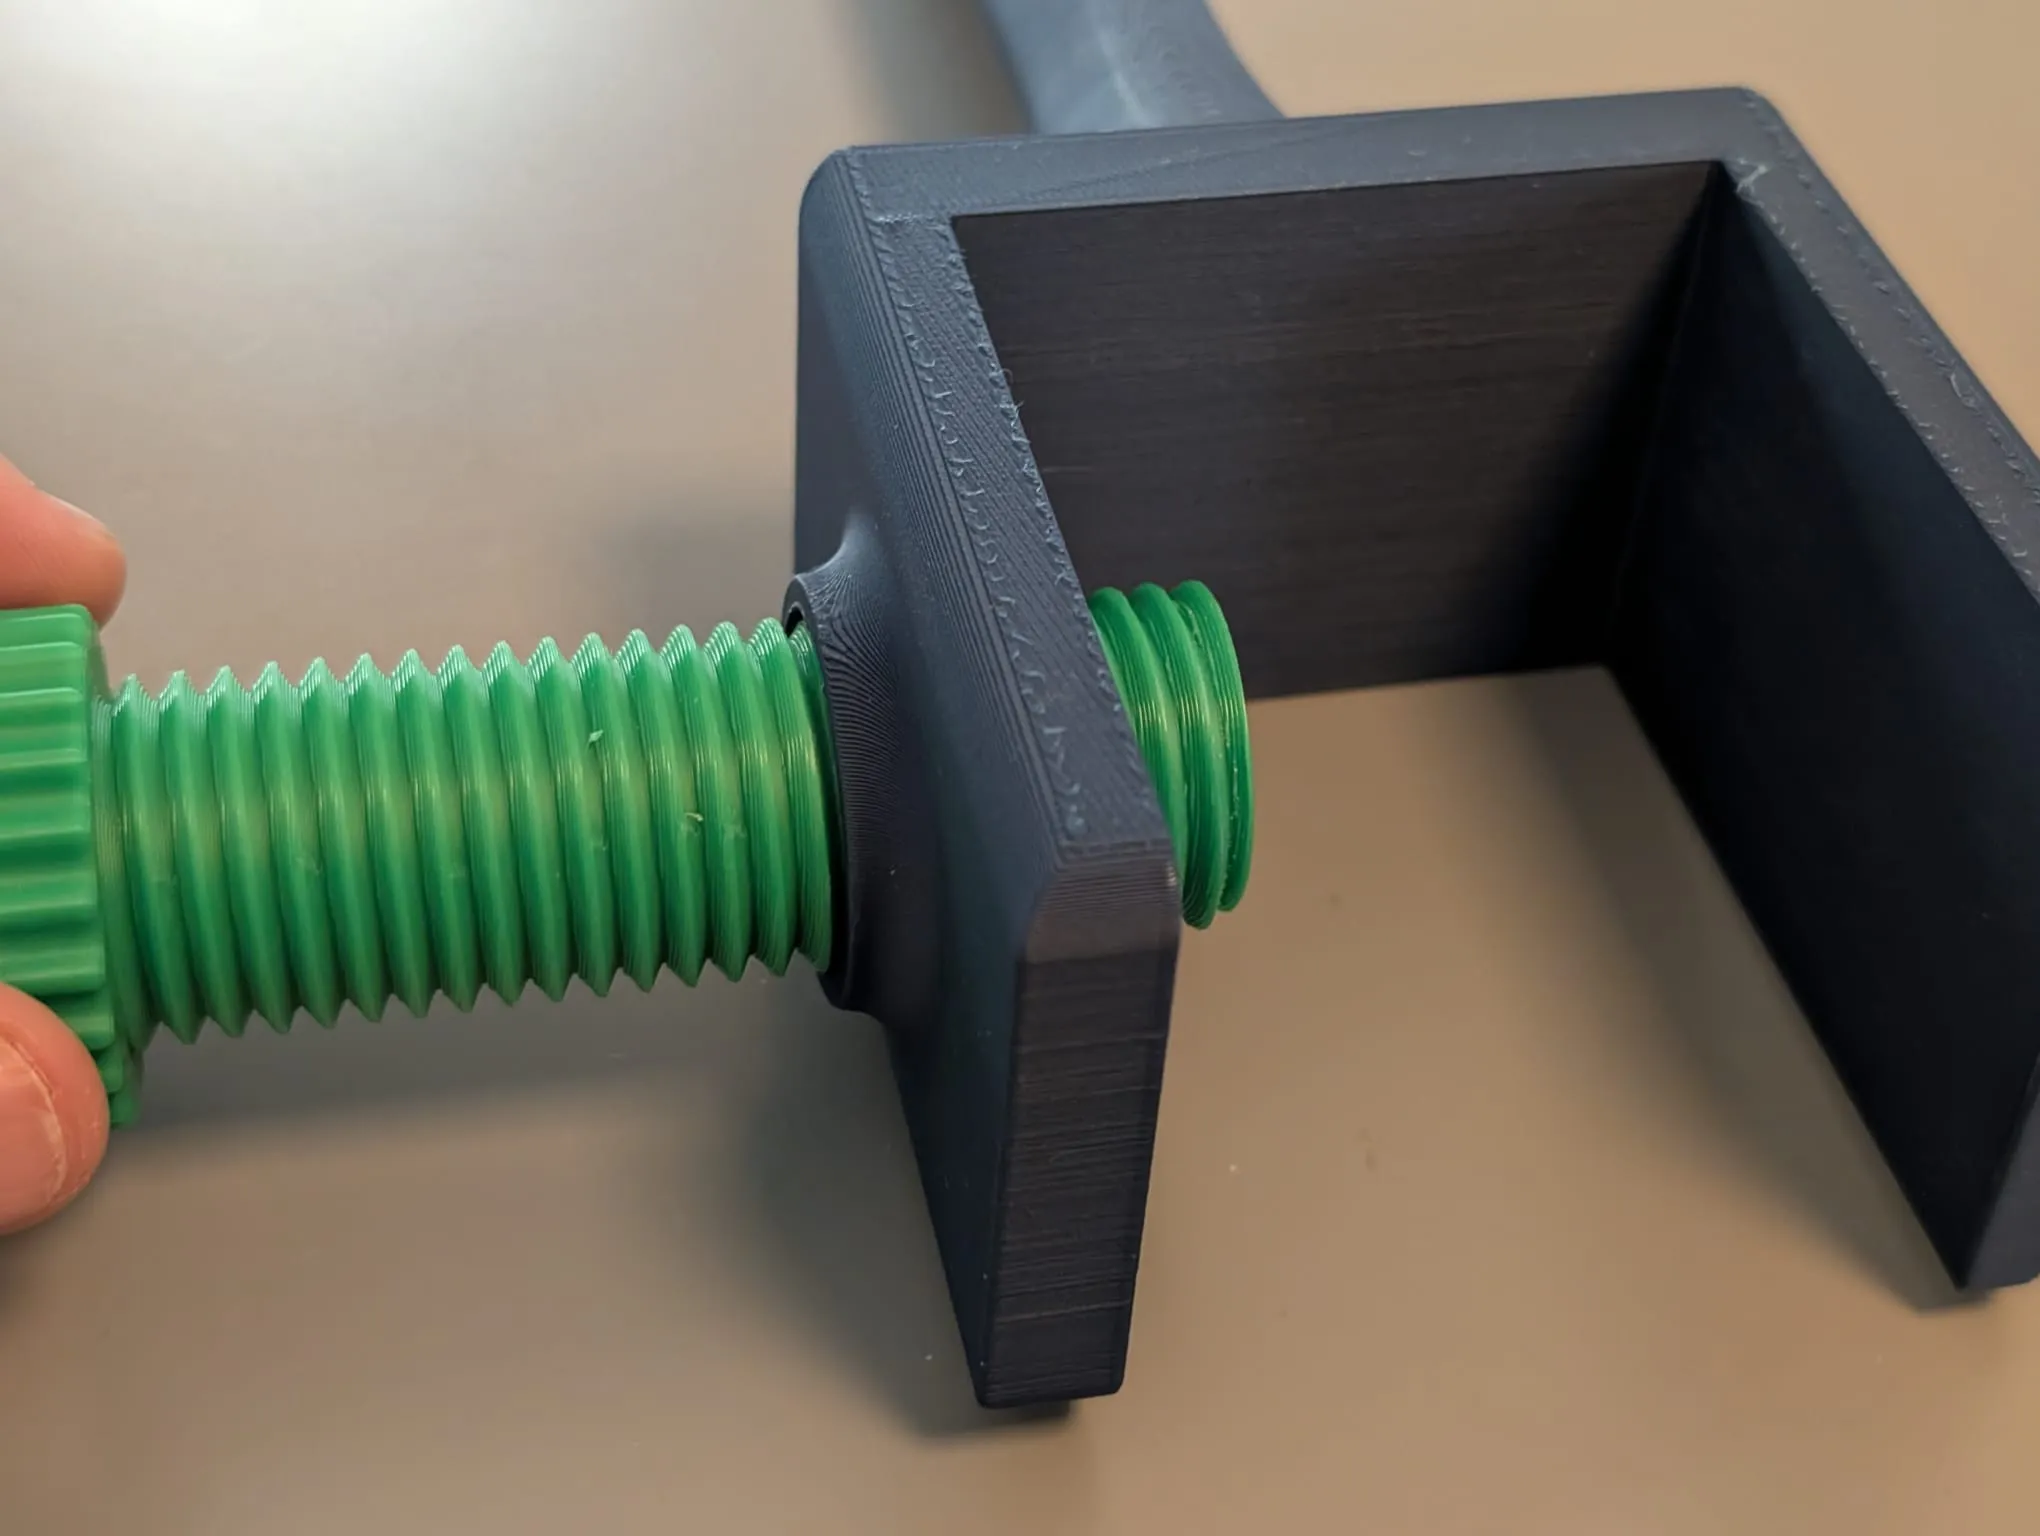
Step 3: After the screw goes to the other side, also screw in the stopper at the end of the screw:
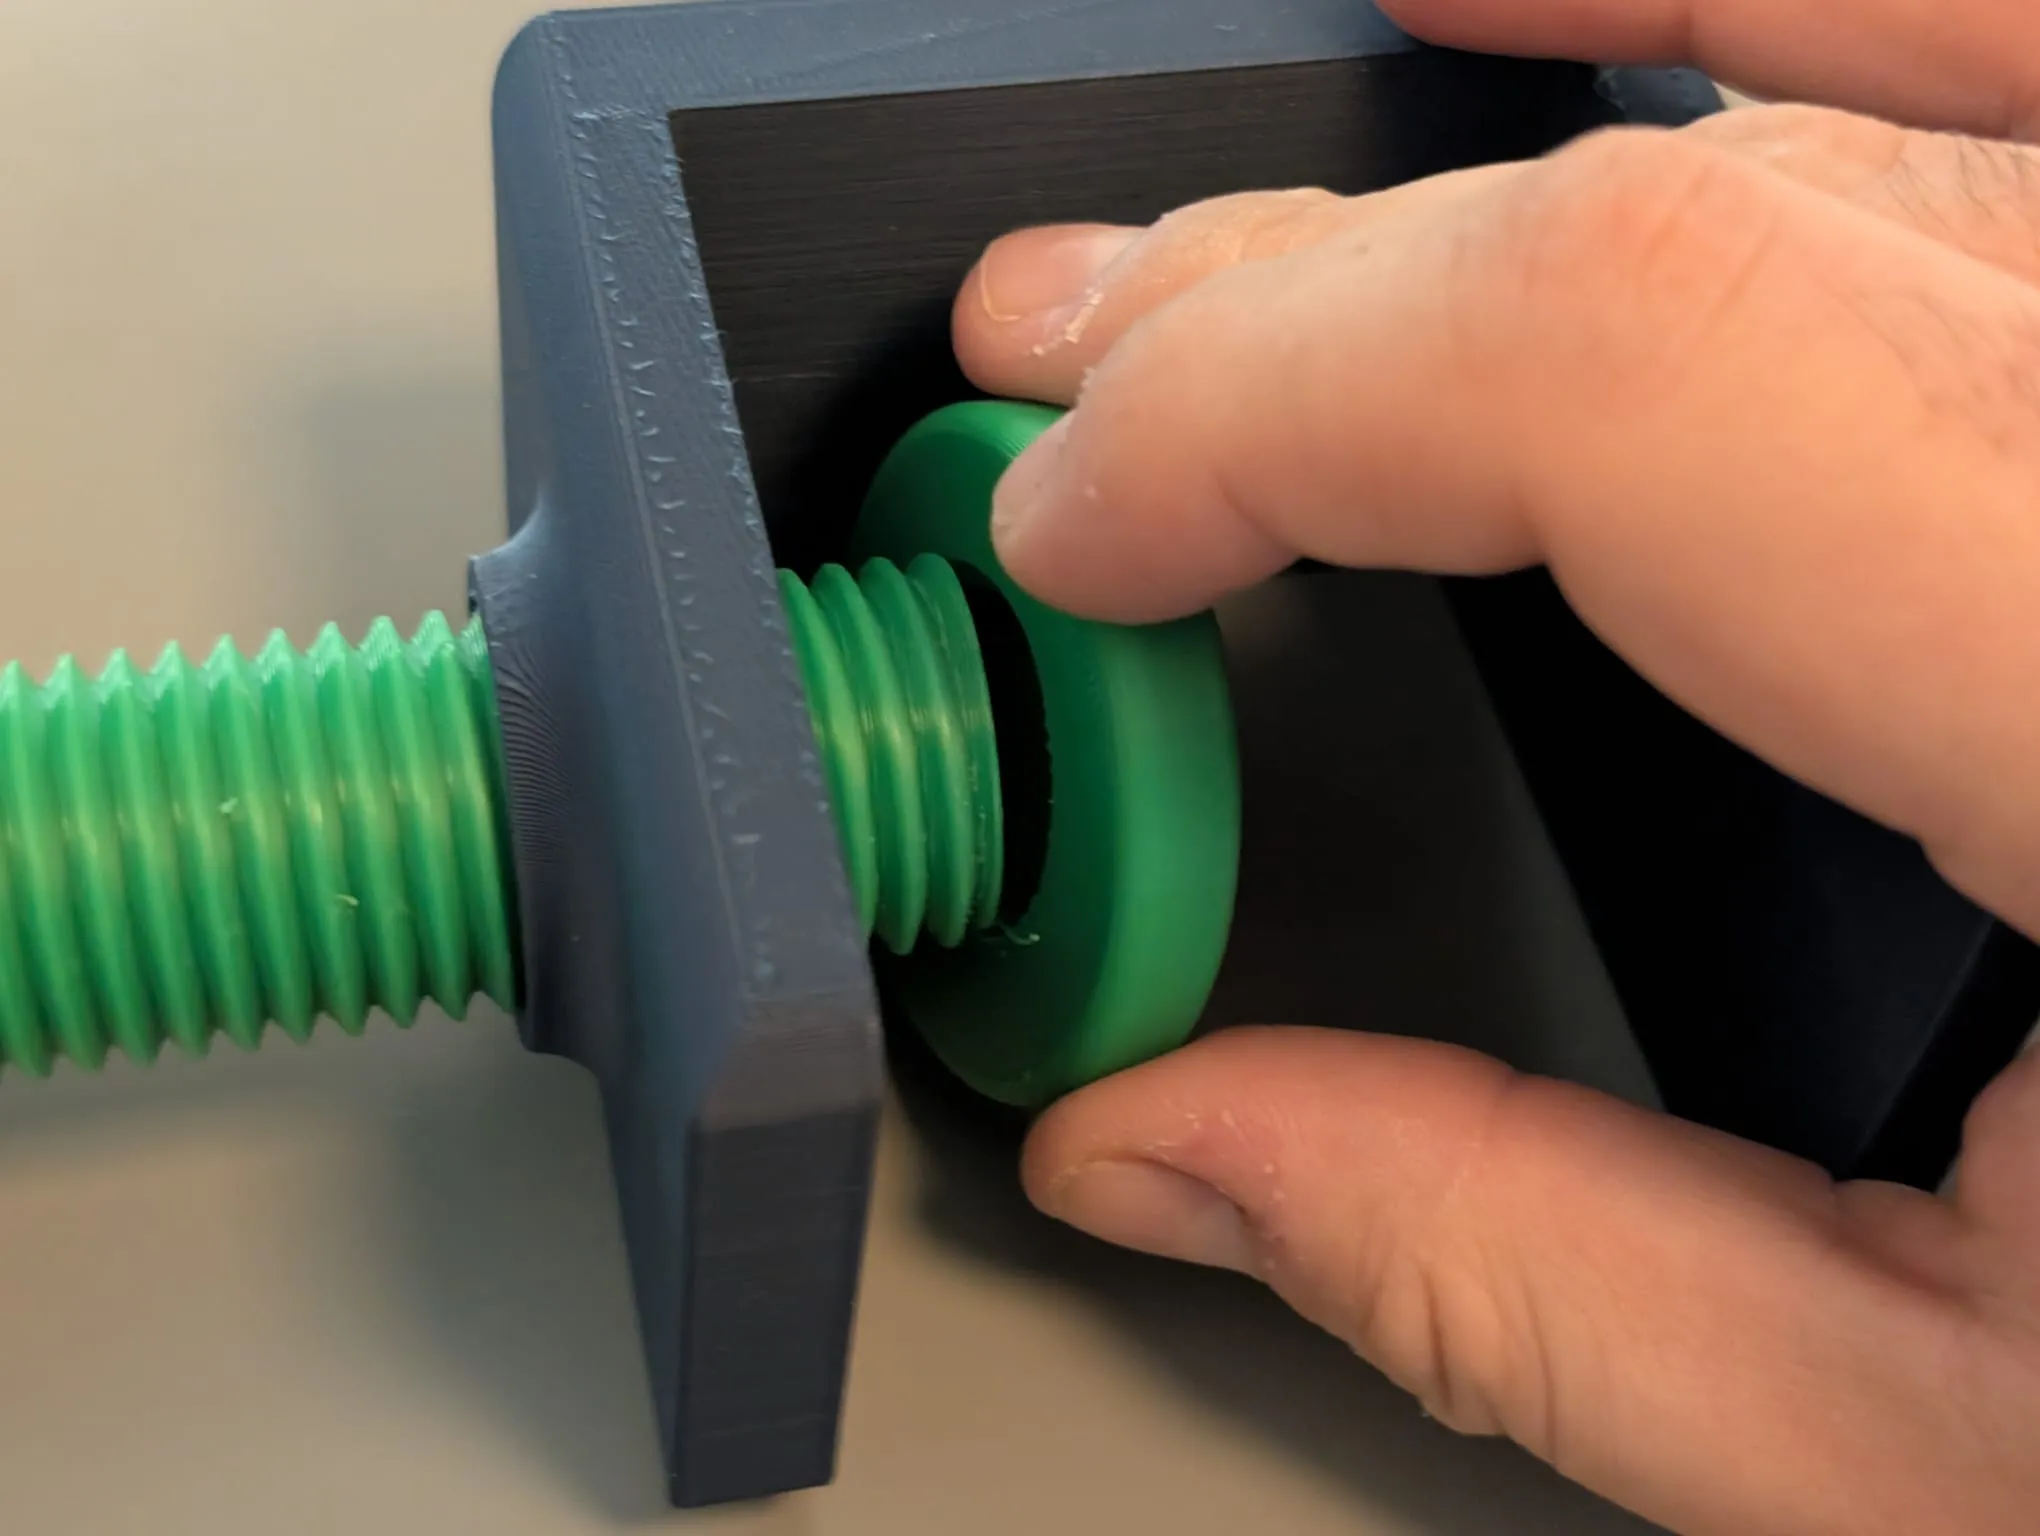
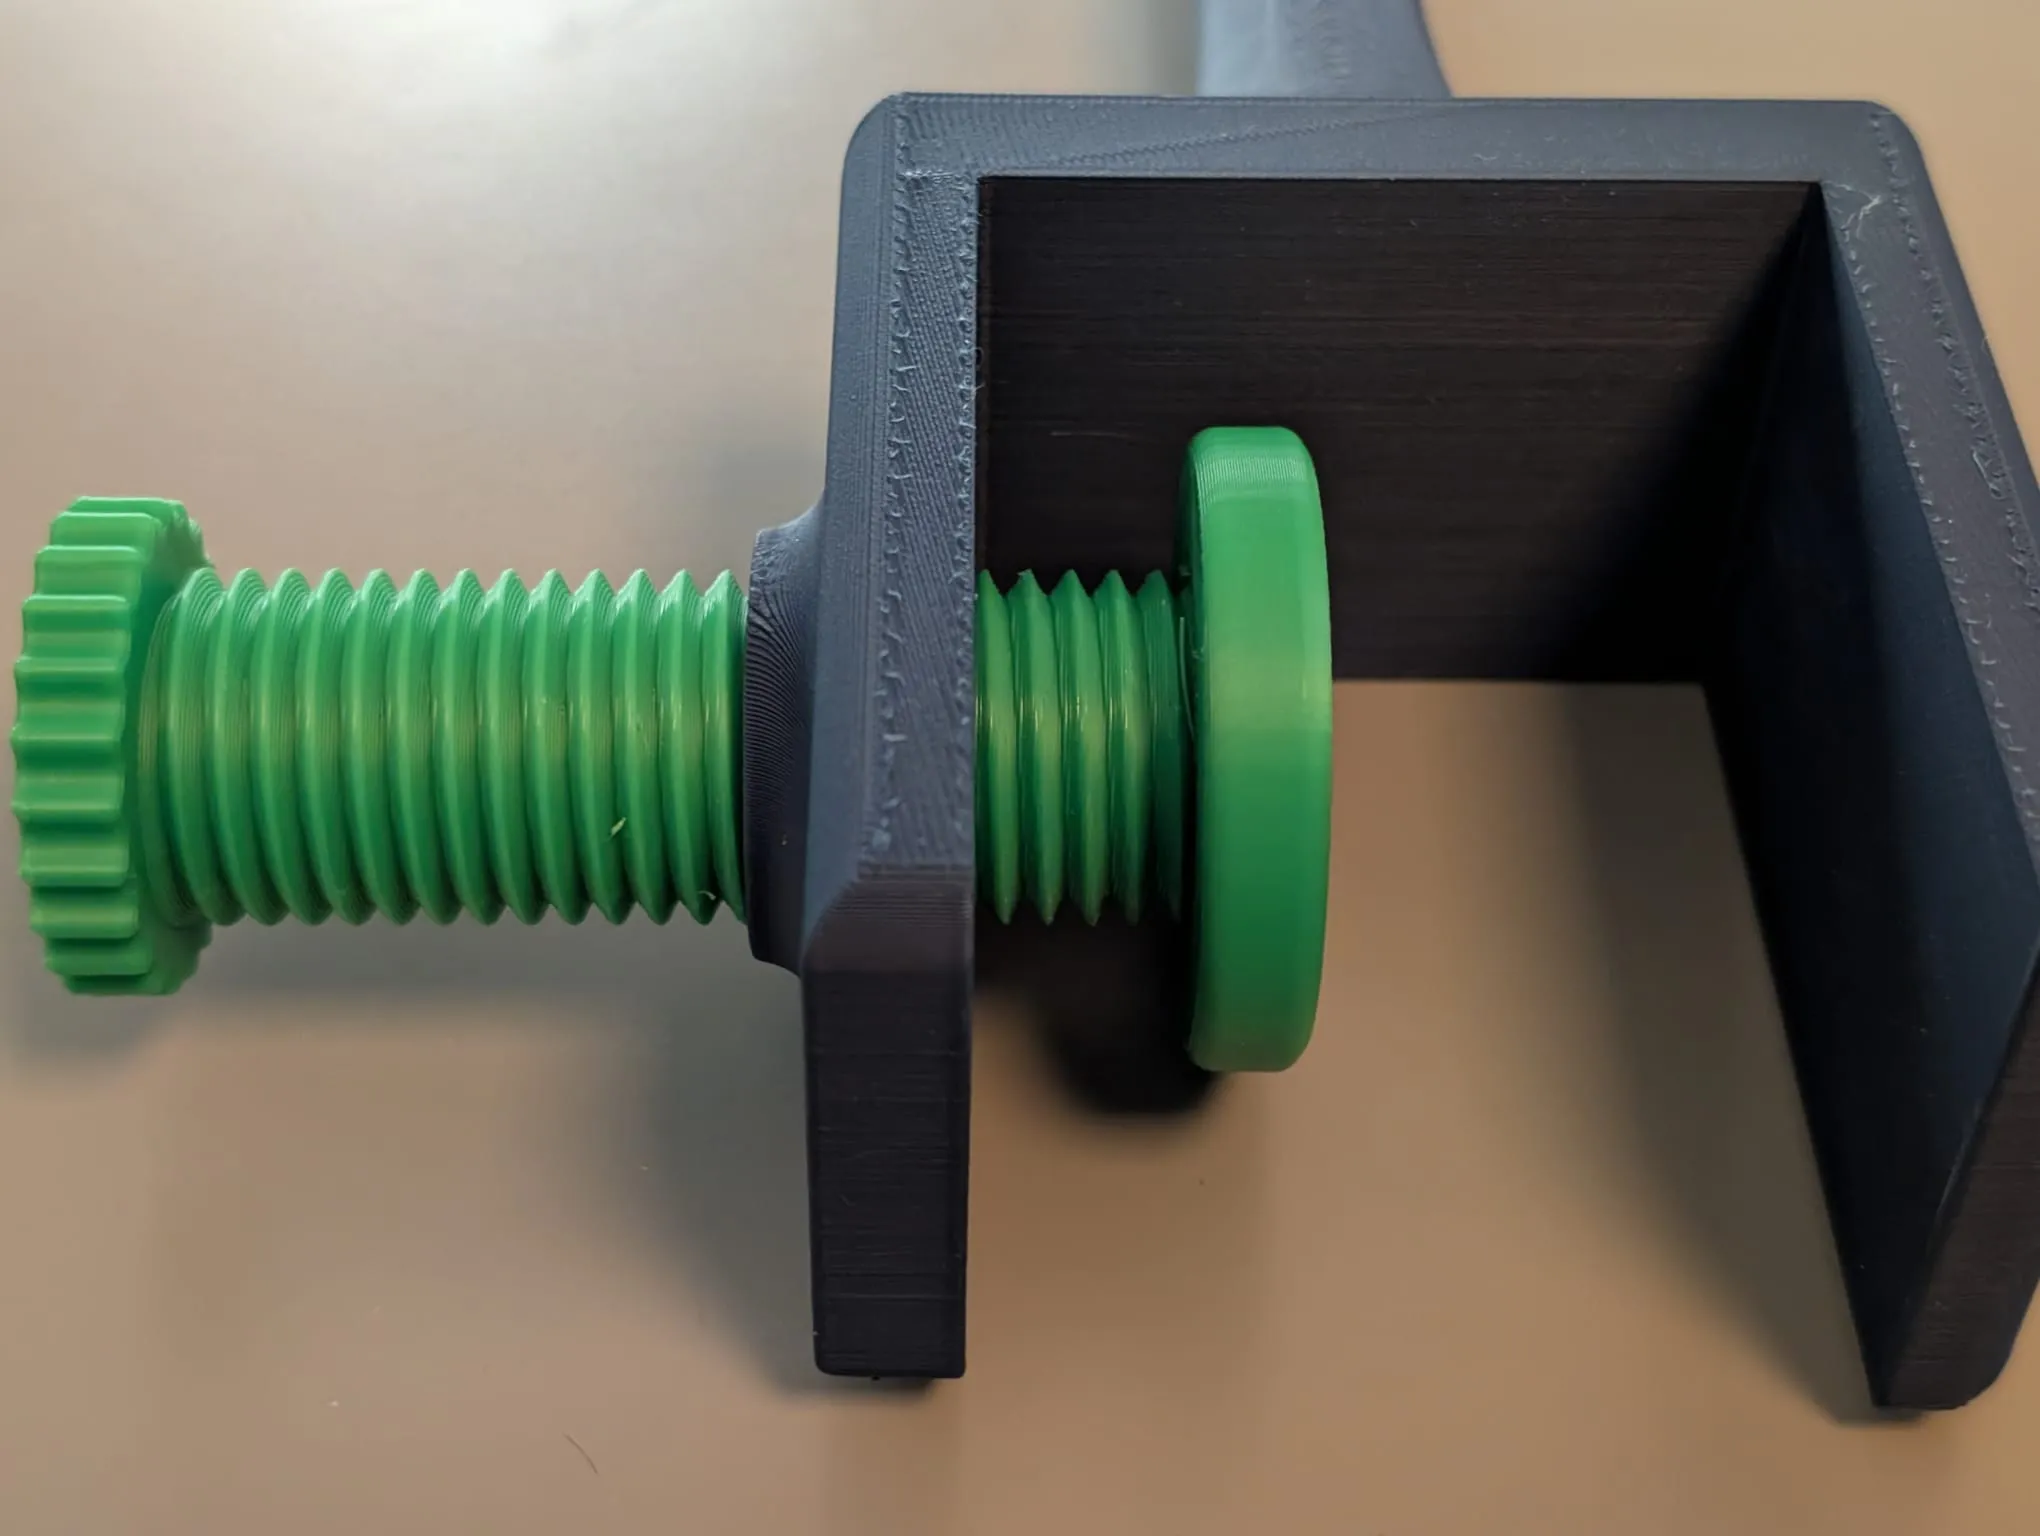
Step 4: Insert the light bulb adapter in the designated hole in the adjustable arm (make sure you remove the nut from the adapter's thread):
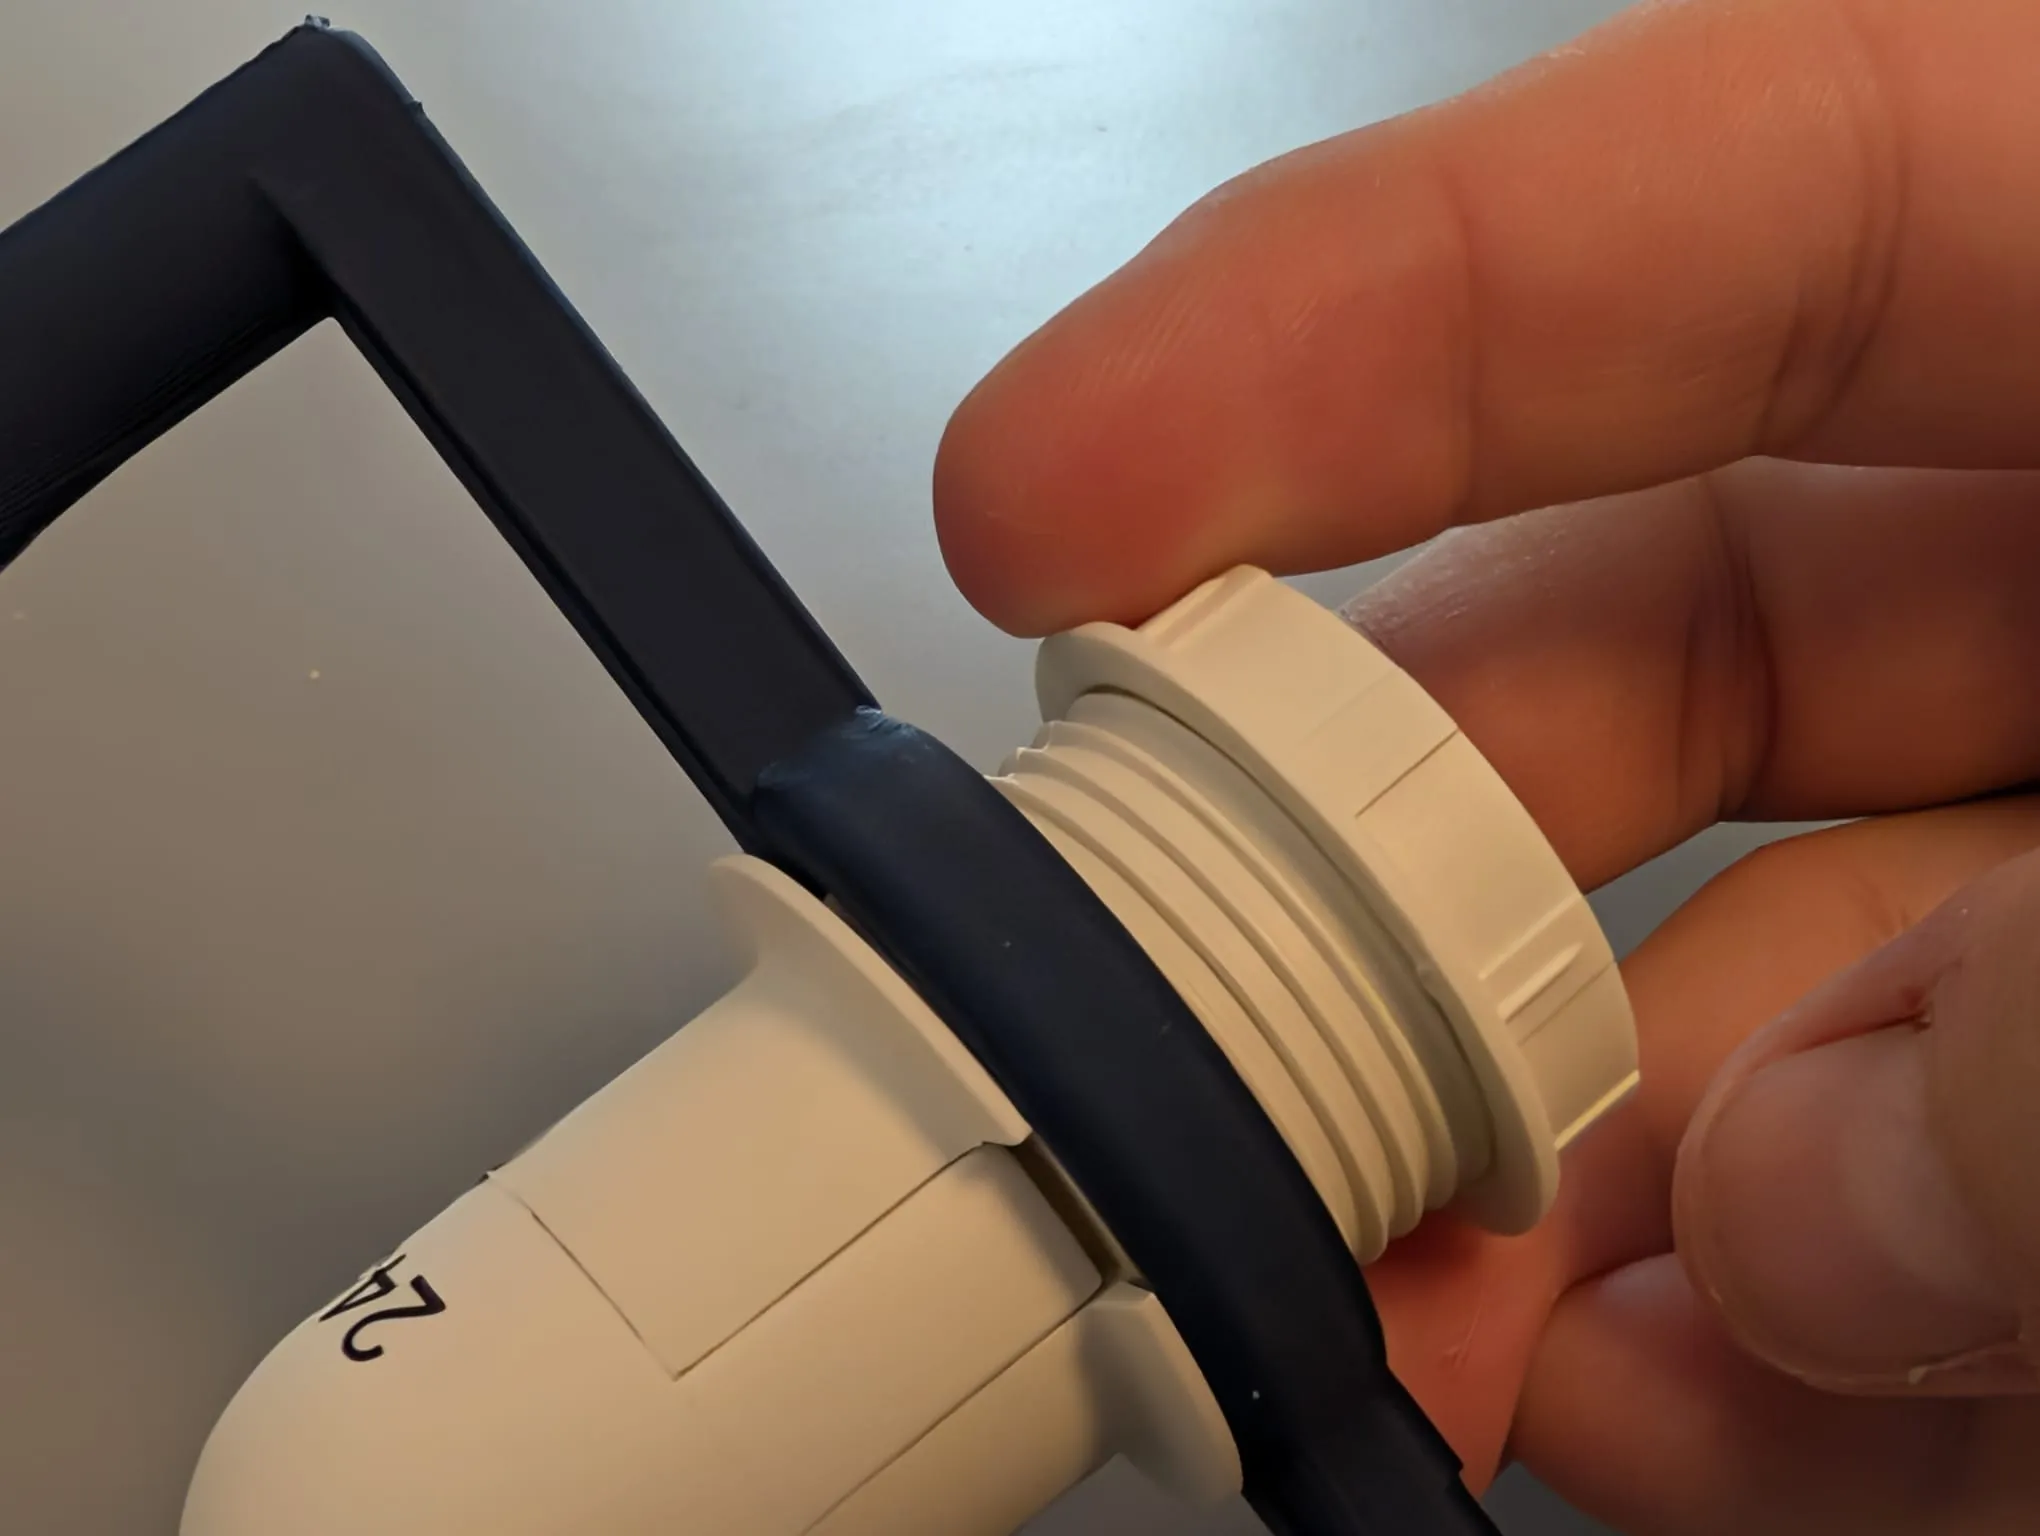
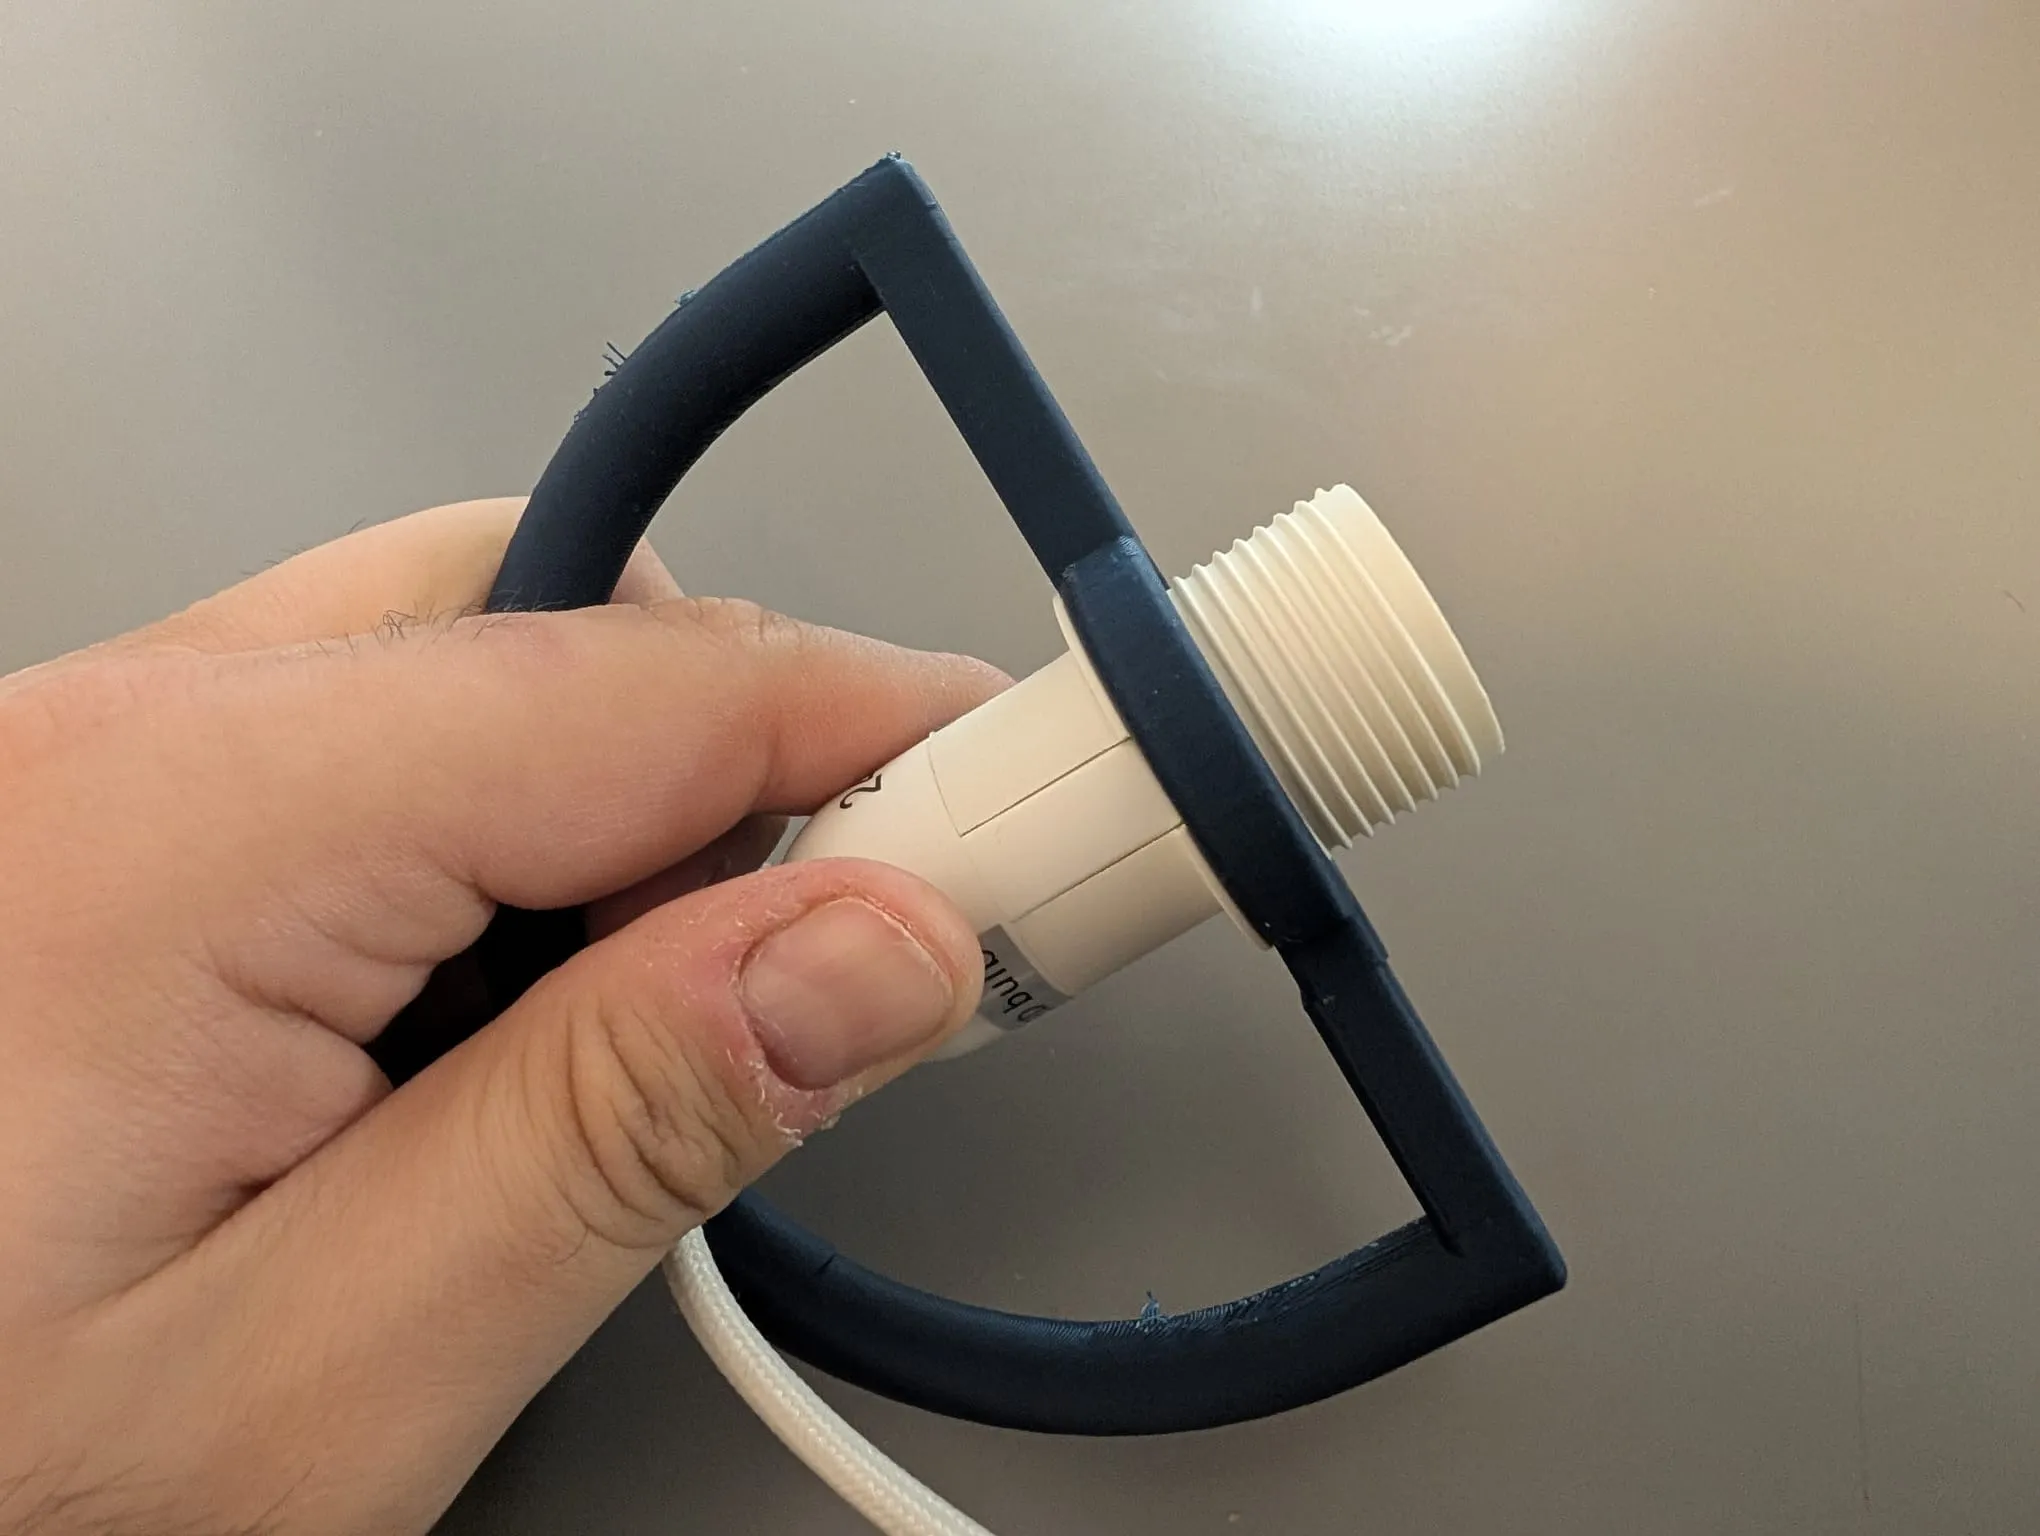
Step 5: Insert the chosen lamp shade:
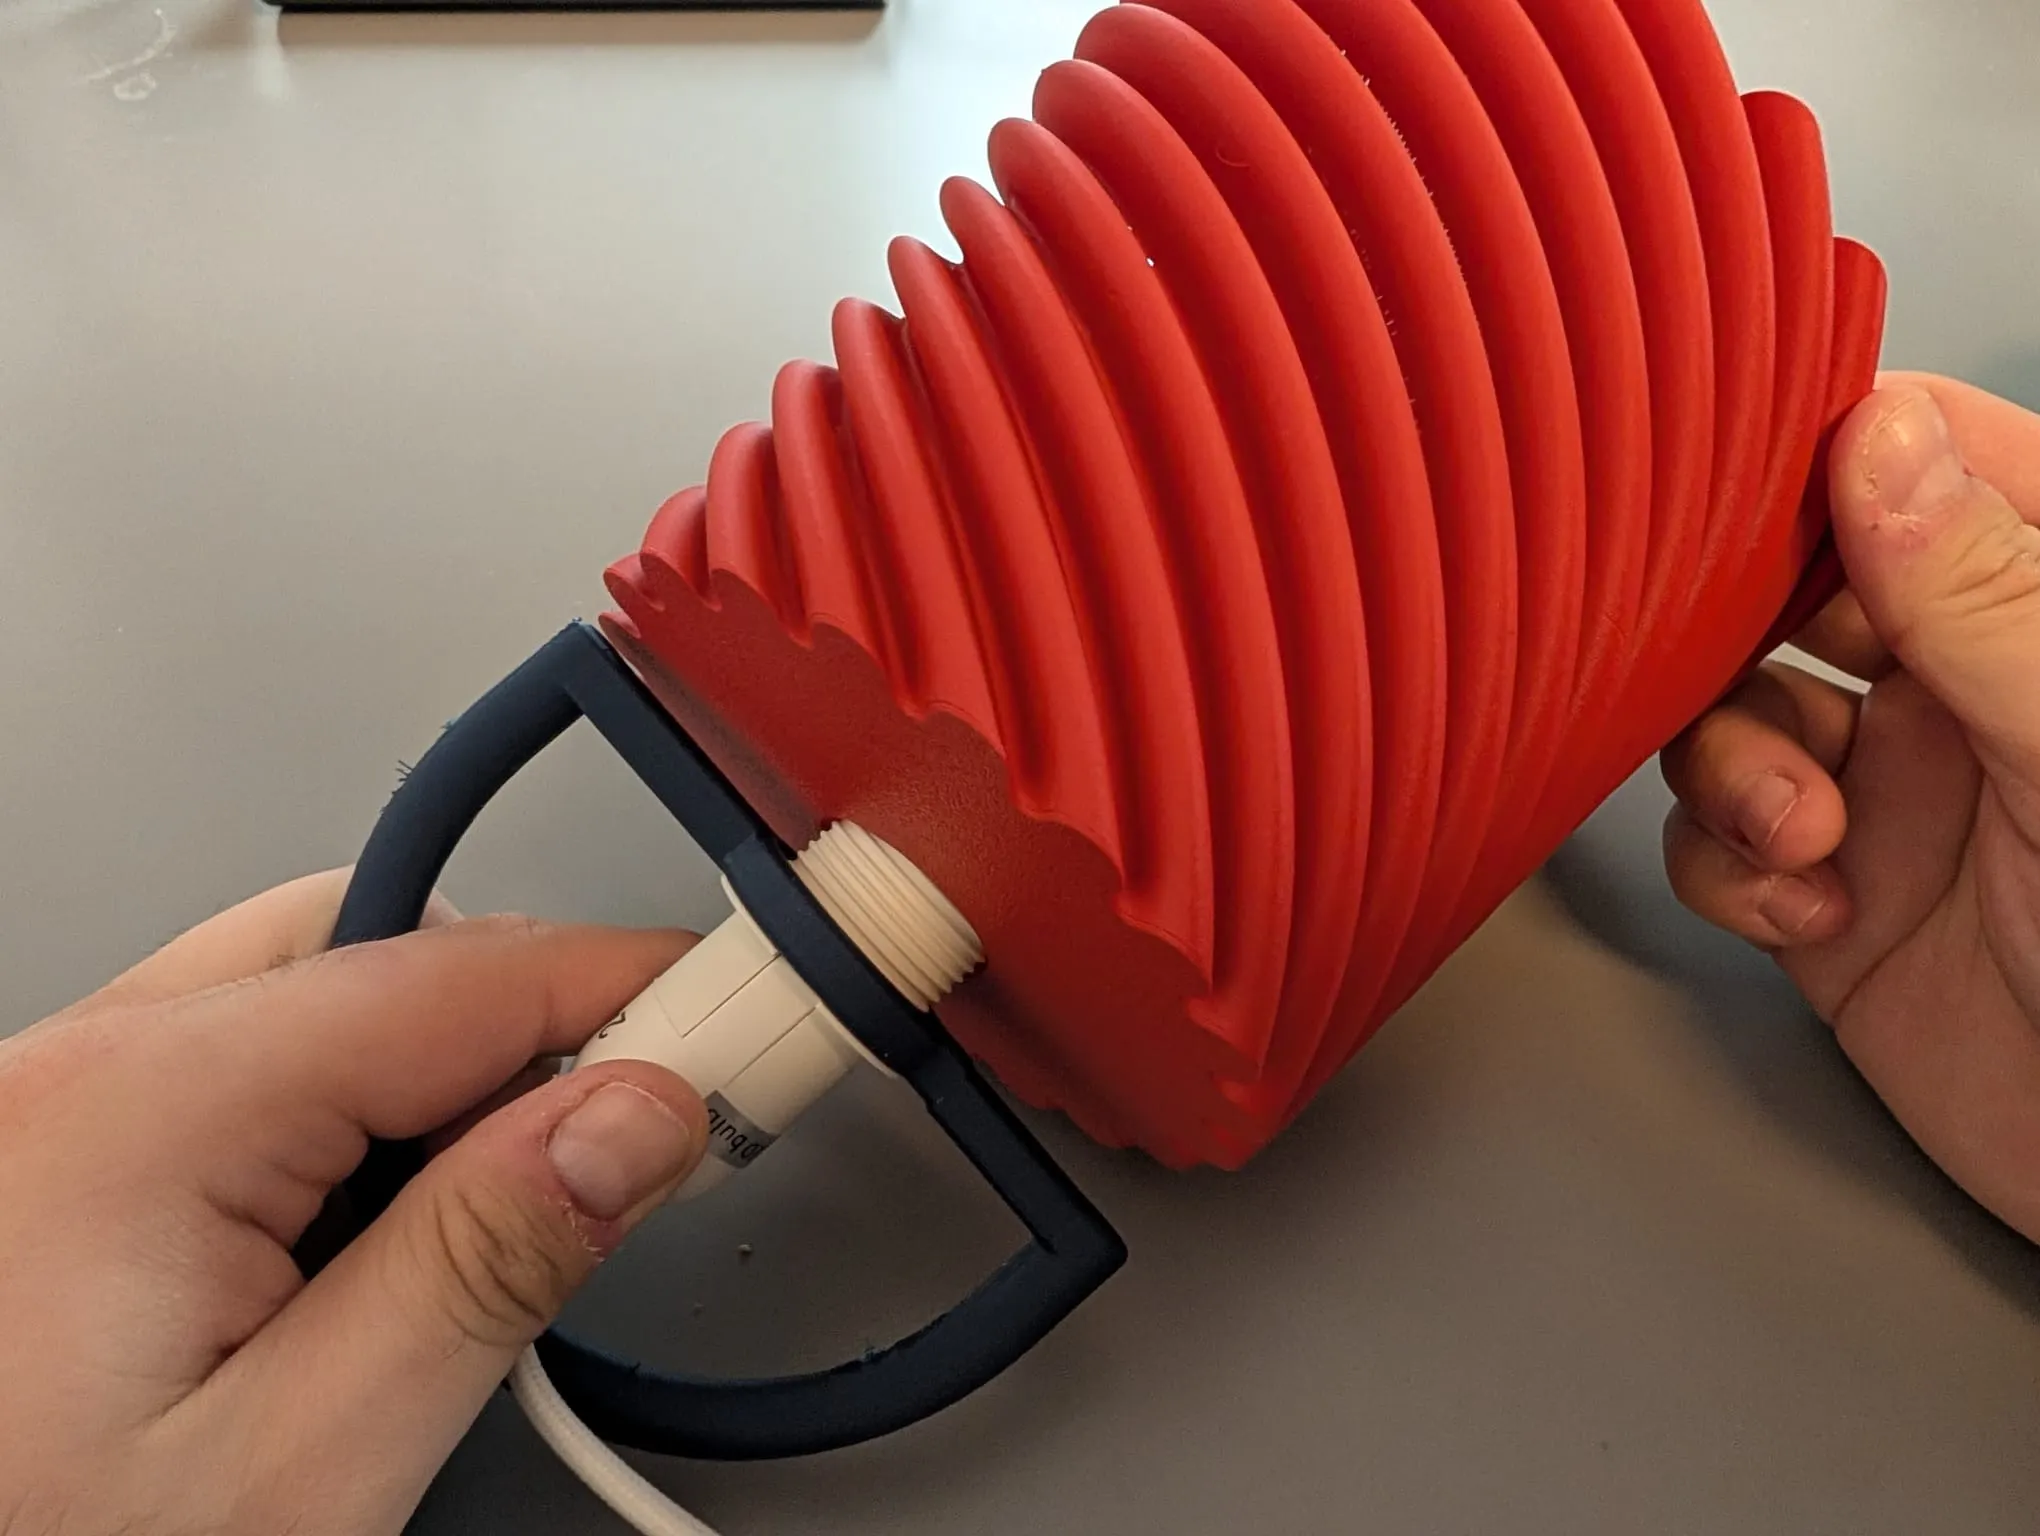
Step 6: Screw the nut on the E14 adapter from inside the shade to hold everything together:
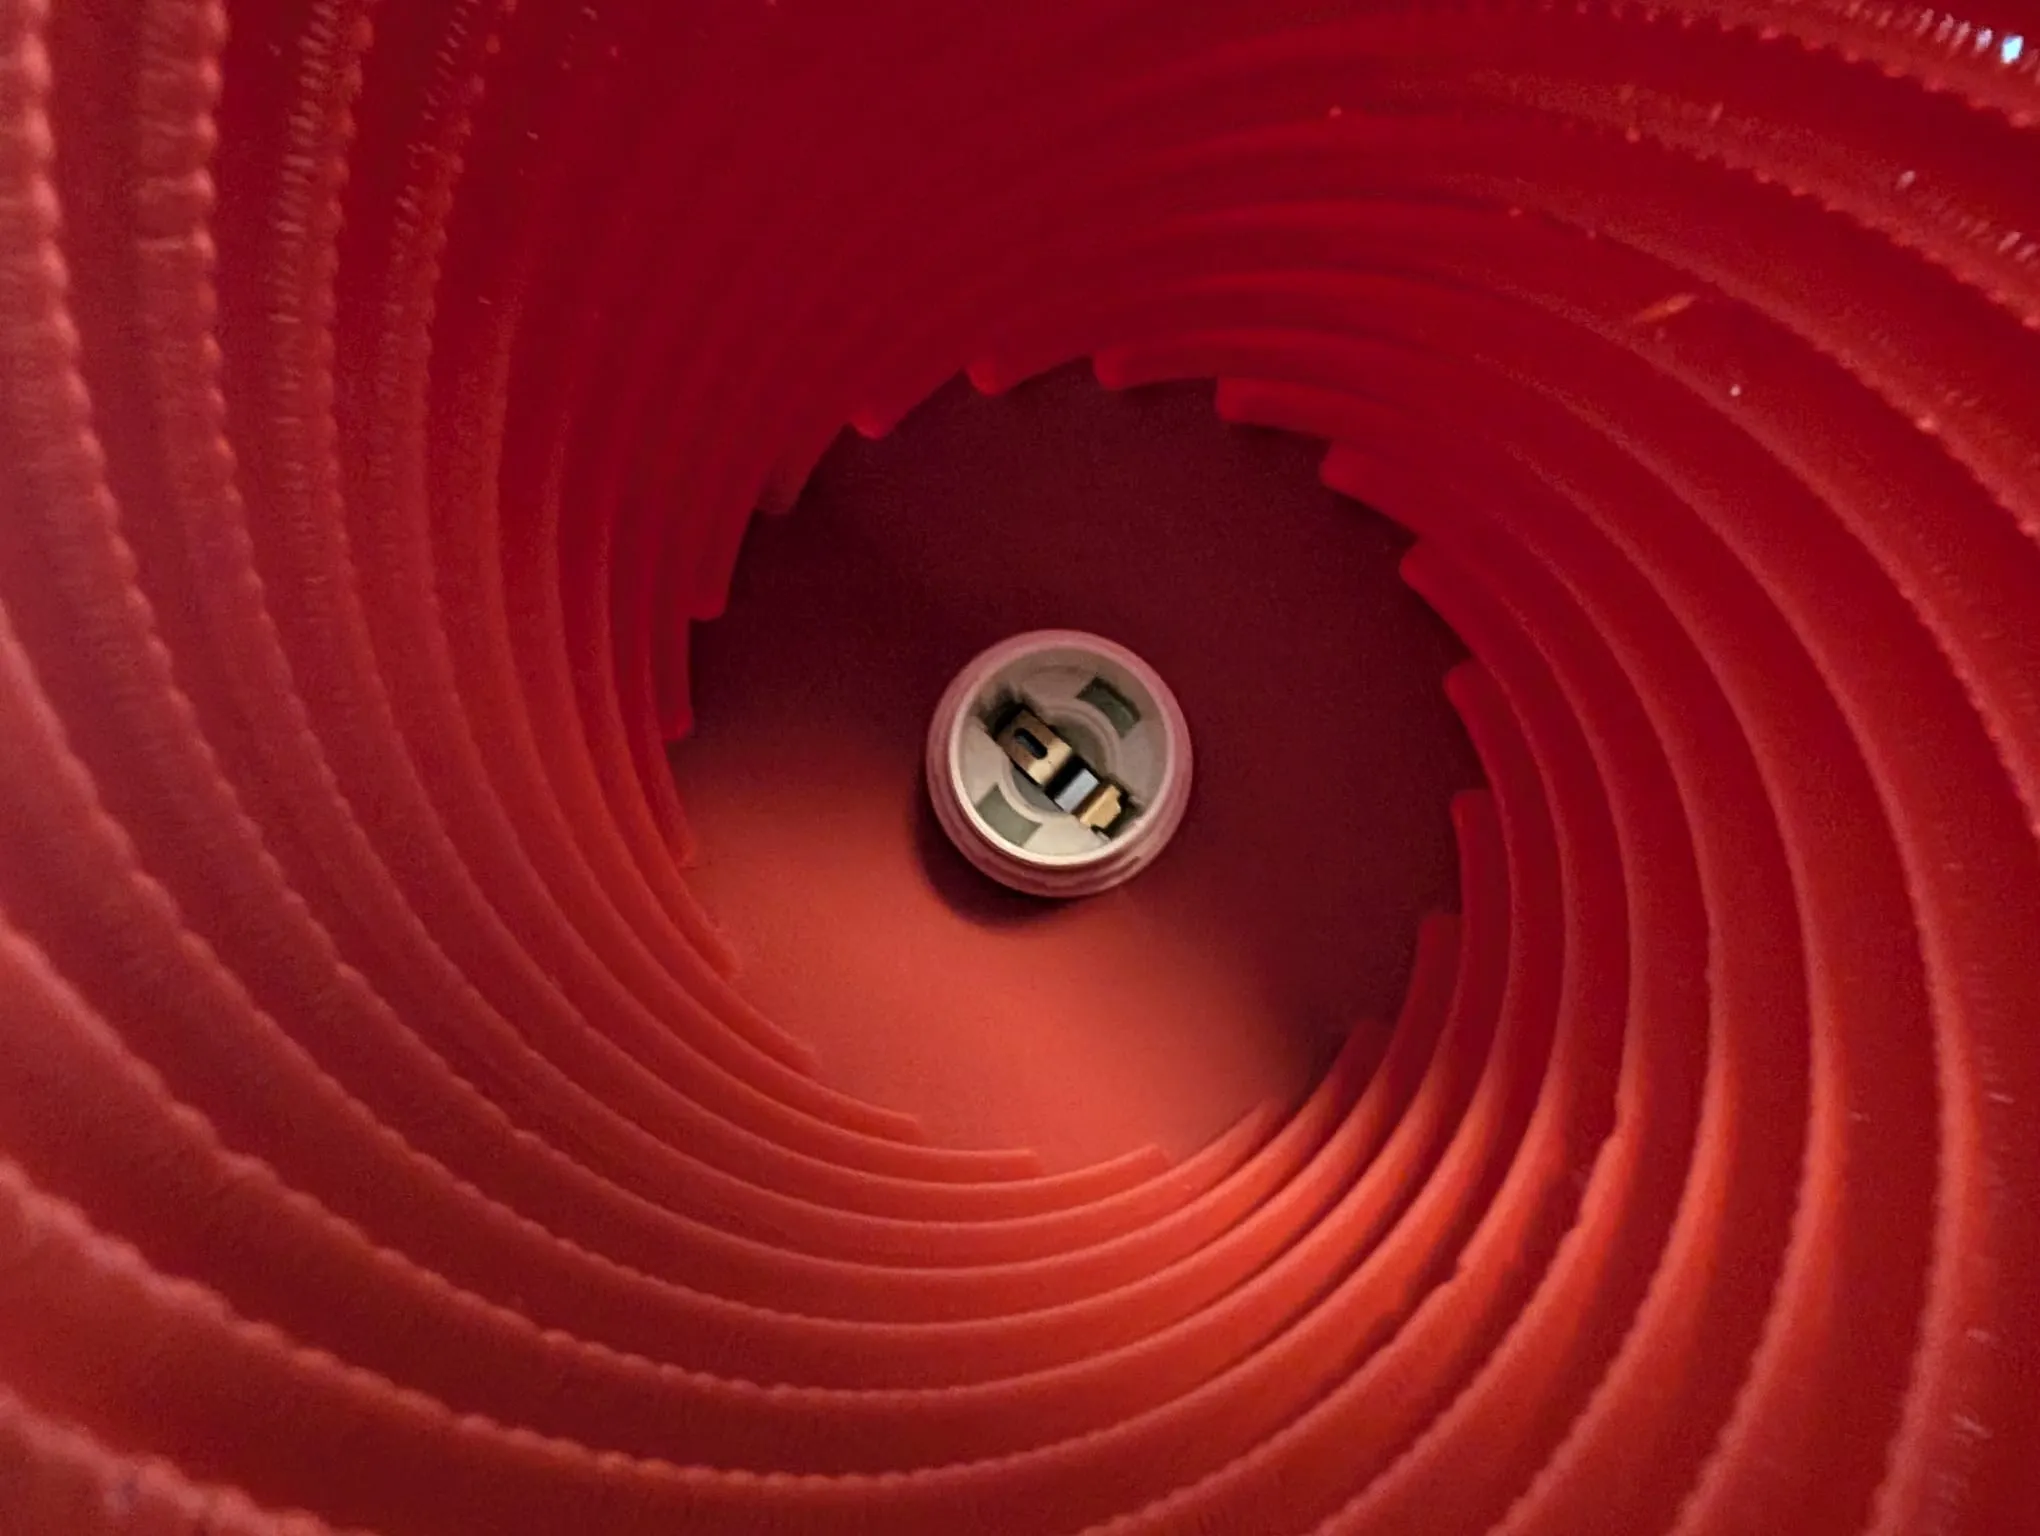
Step 7: Fit the ball inside the designated space from the base and screw in the adapter:
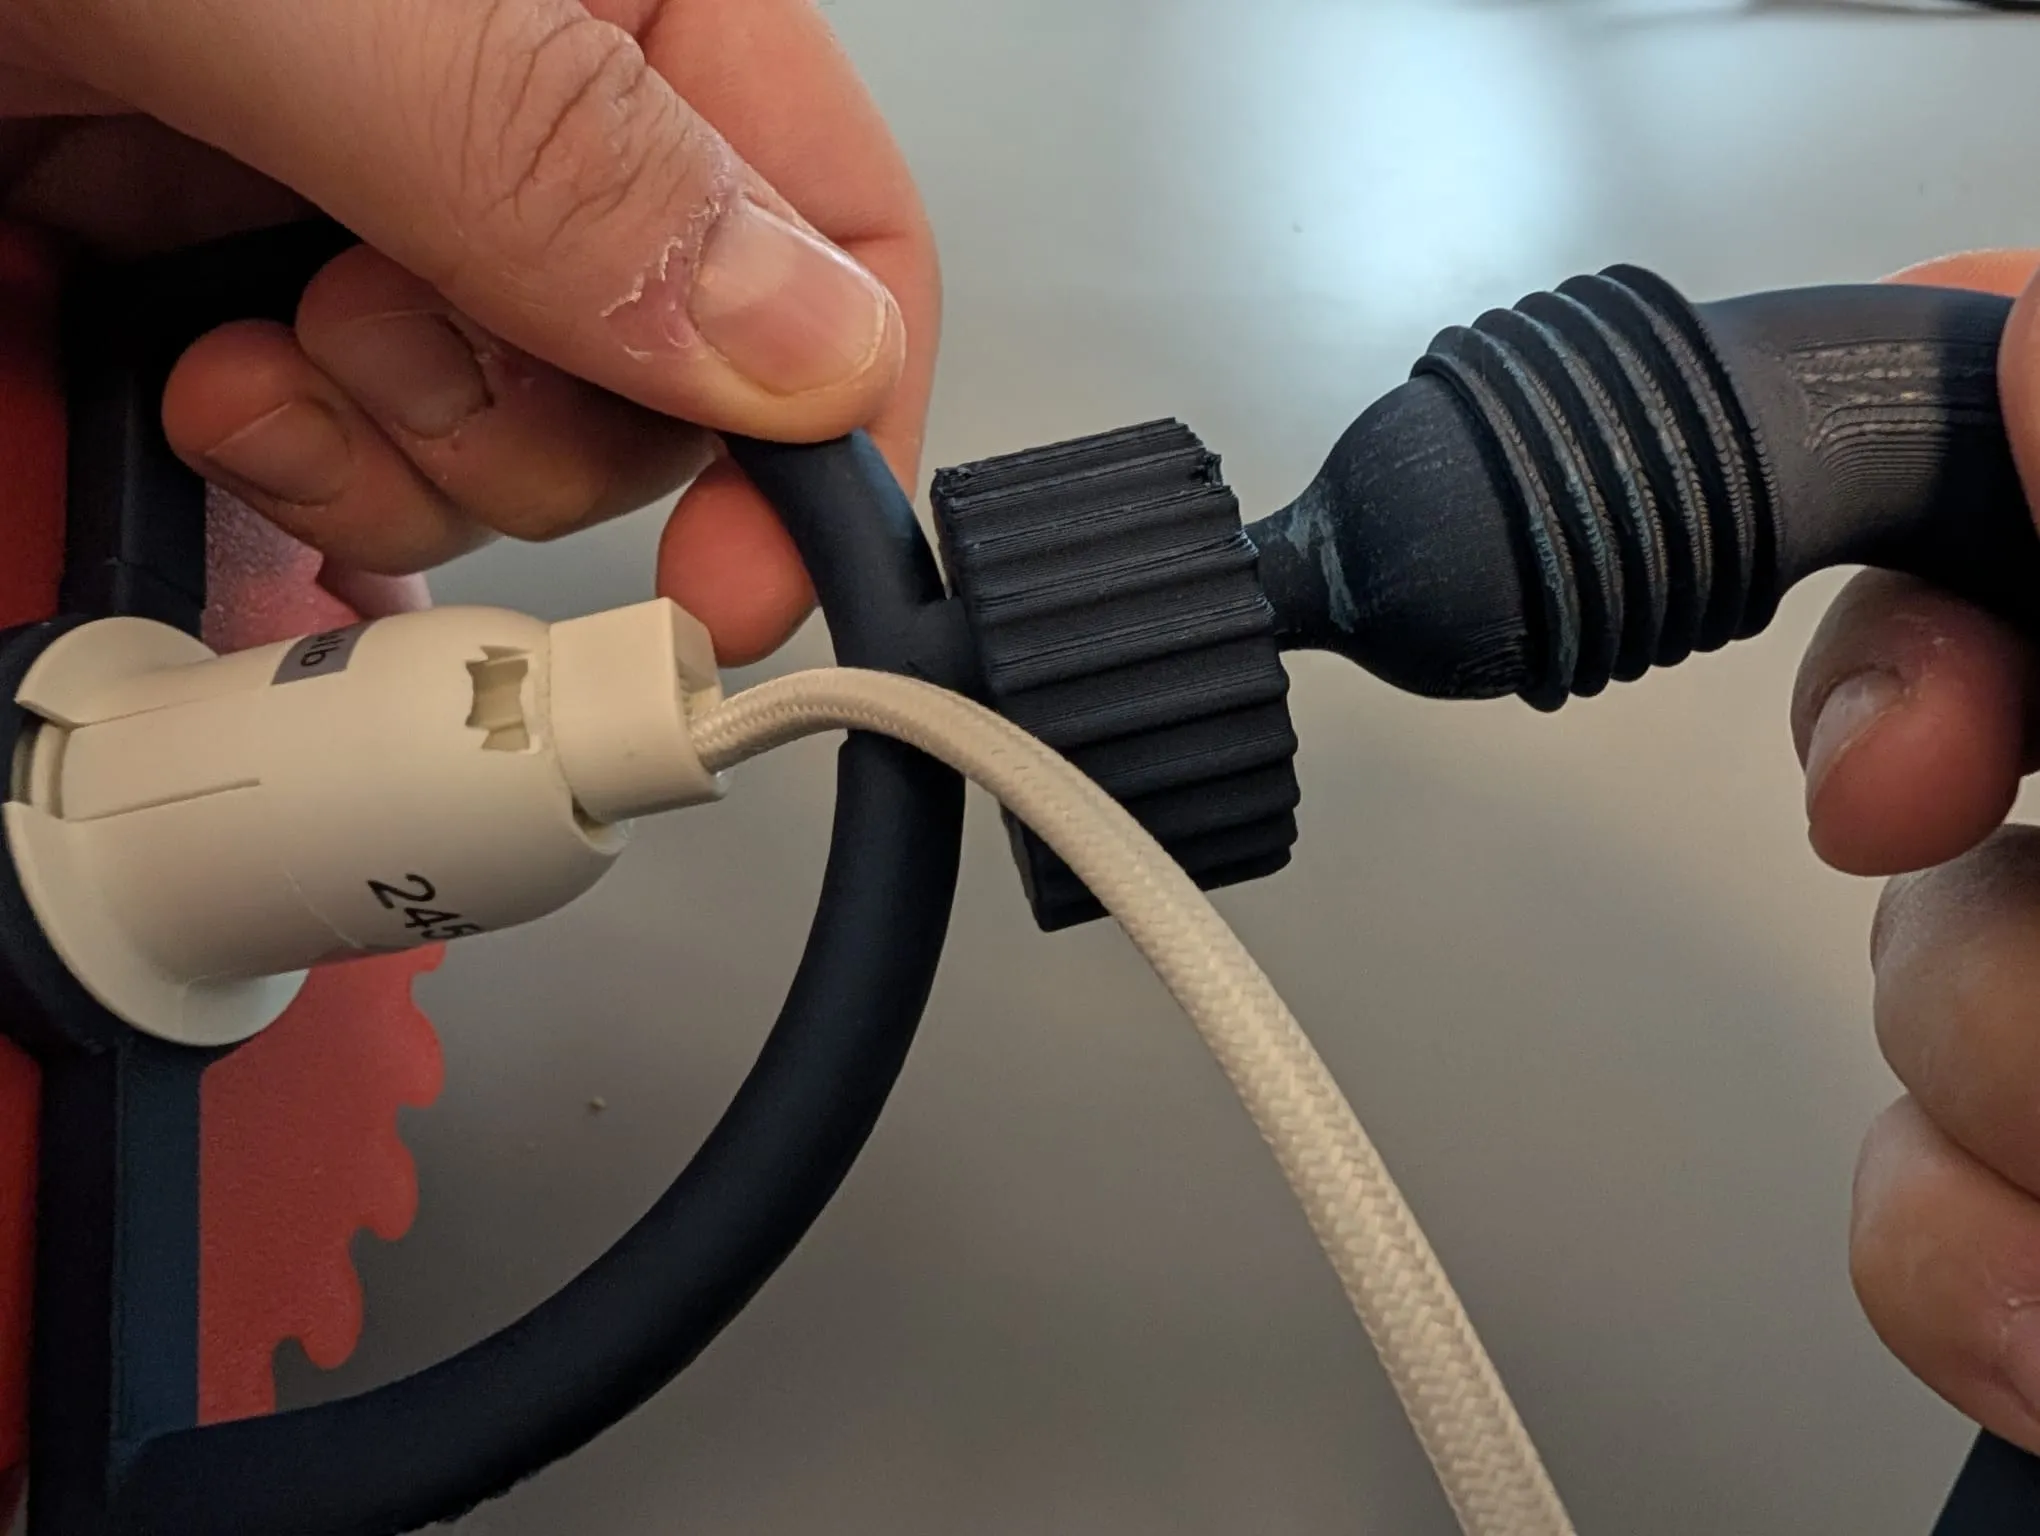
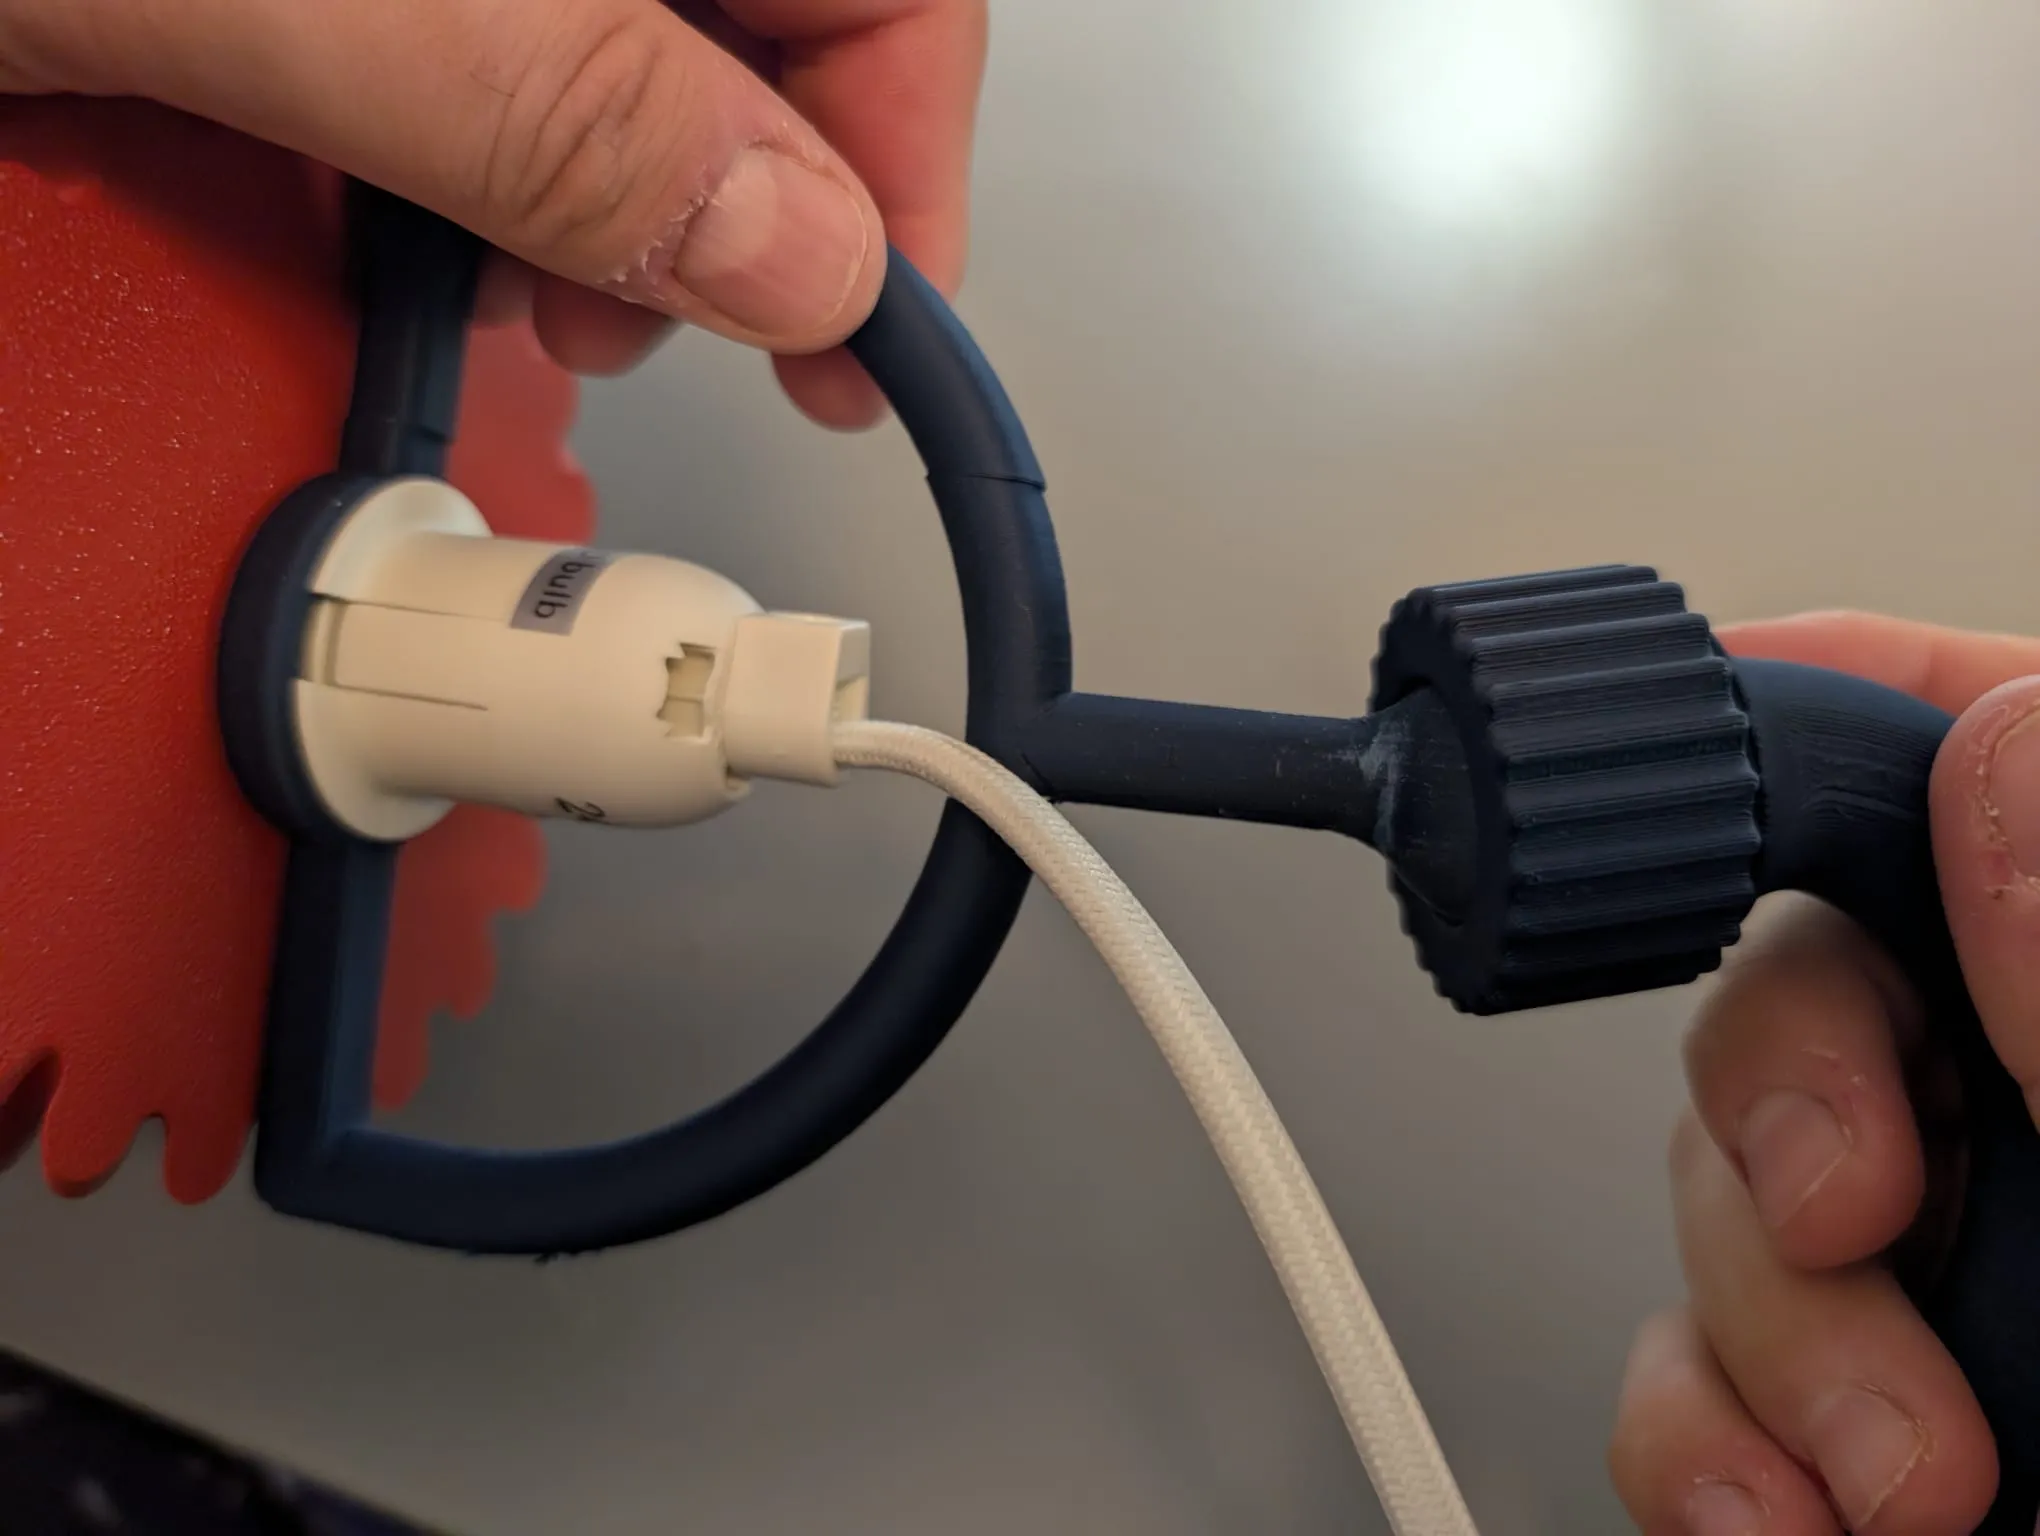
At this point you should have an assembly that looks like this:
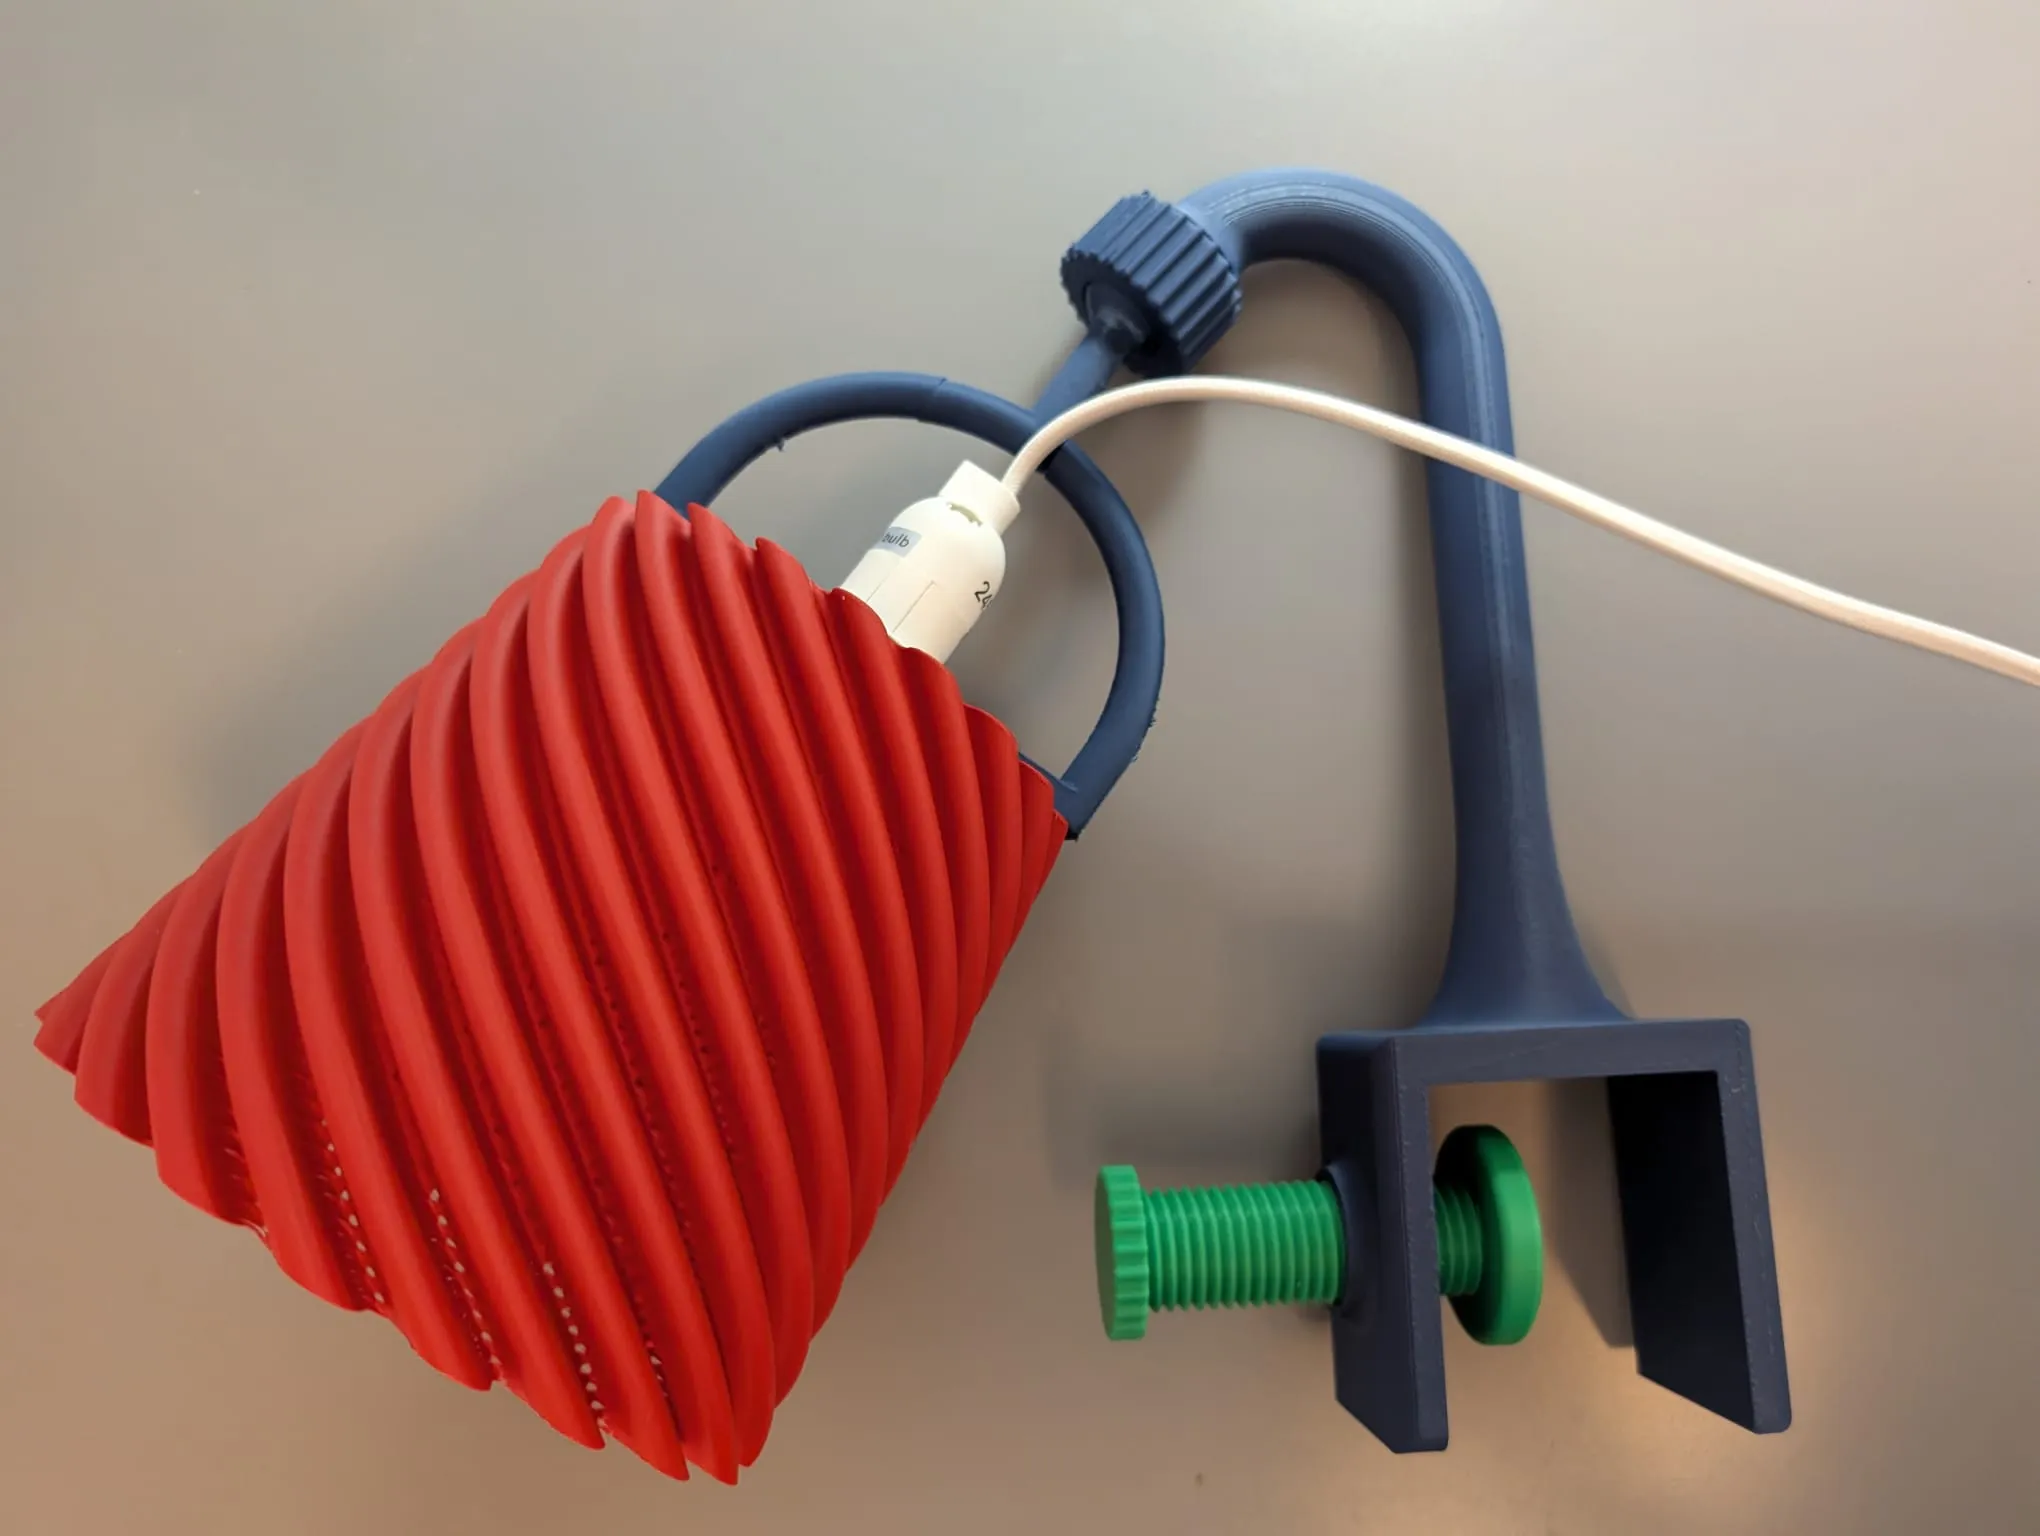
Step 8: Loosen the green screw and add it the the edge where you want it. Notice that it does not stay put and it is floppy.
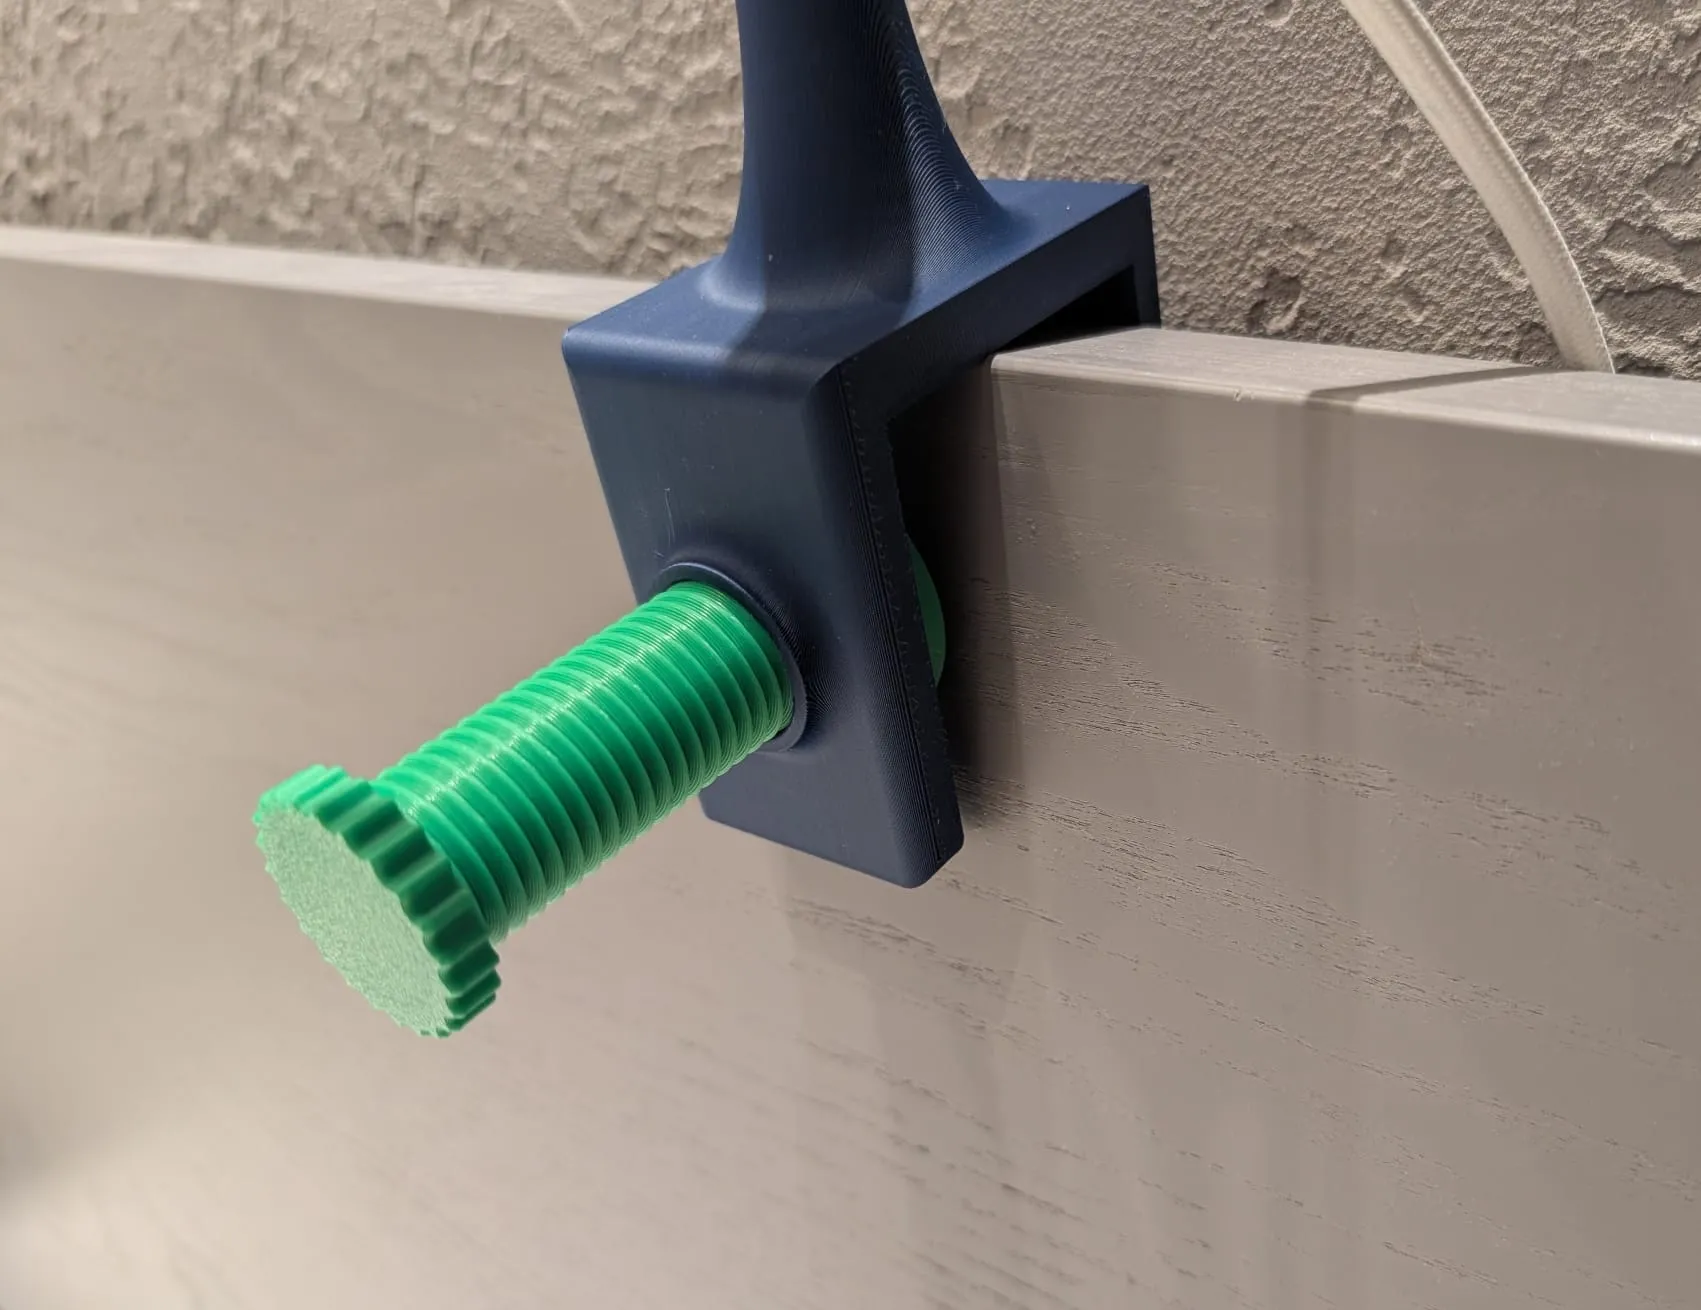
Step 9: Tighten the green screw and make sure it is correctly oriented:
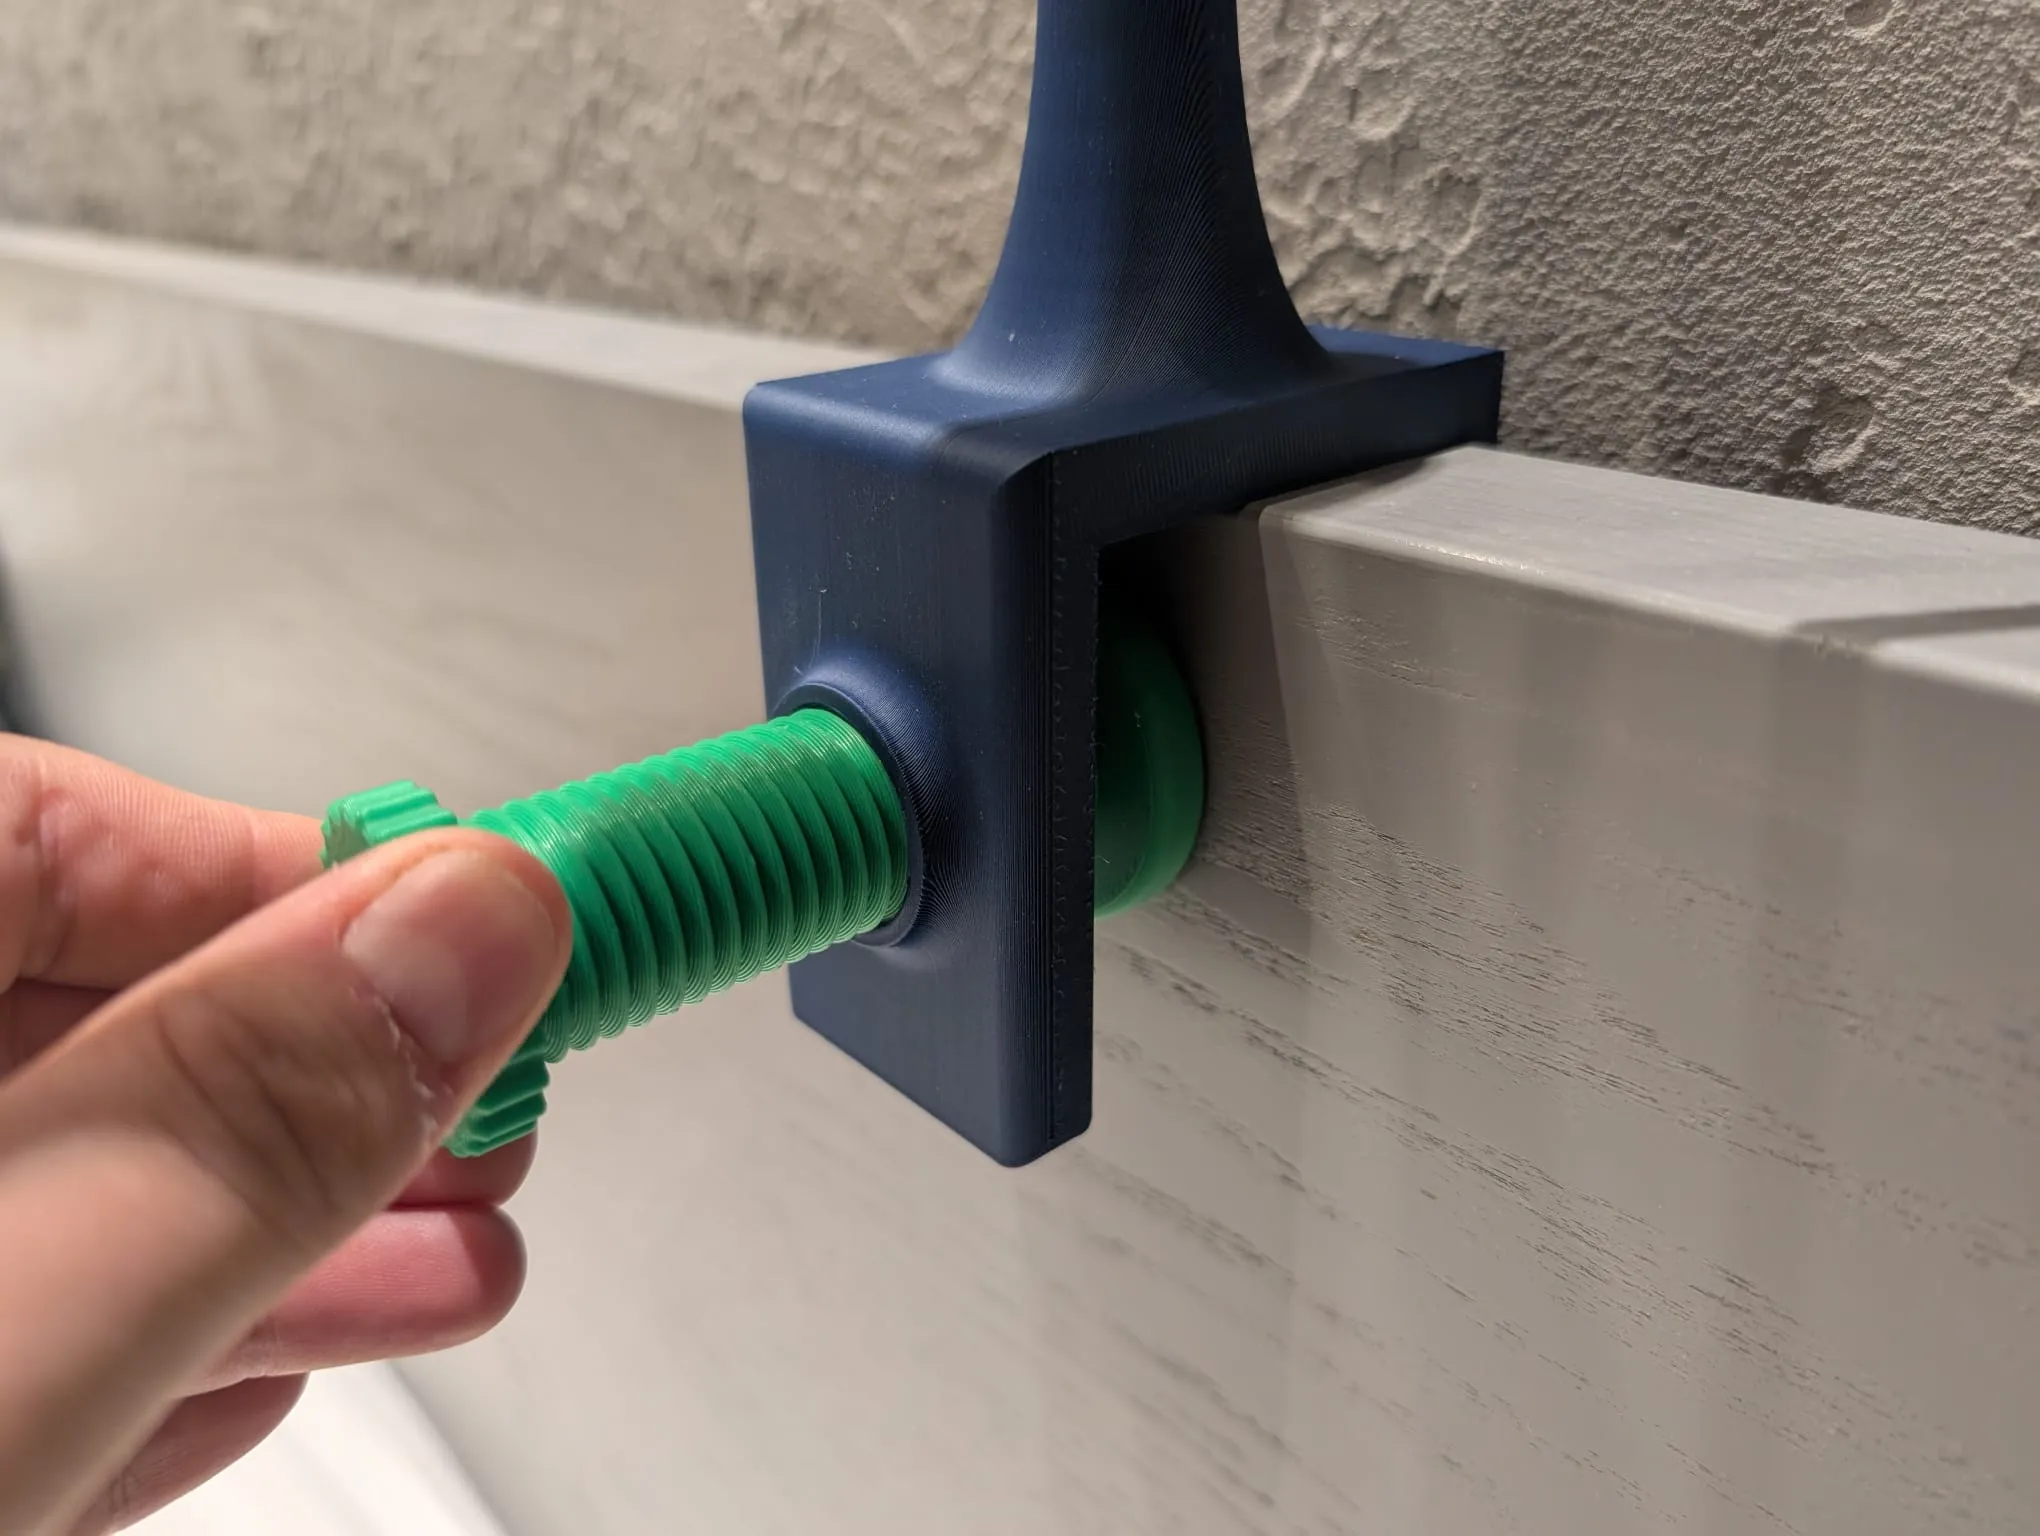
At the end your final assembly should look something like this (don't forget to add an E14 light bulb):
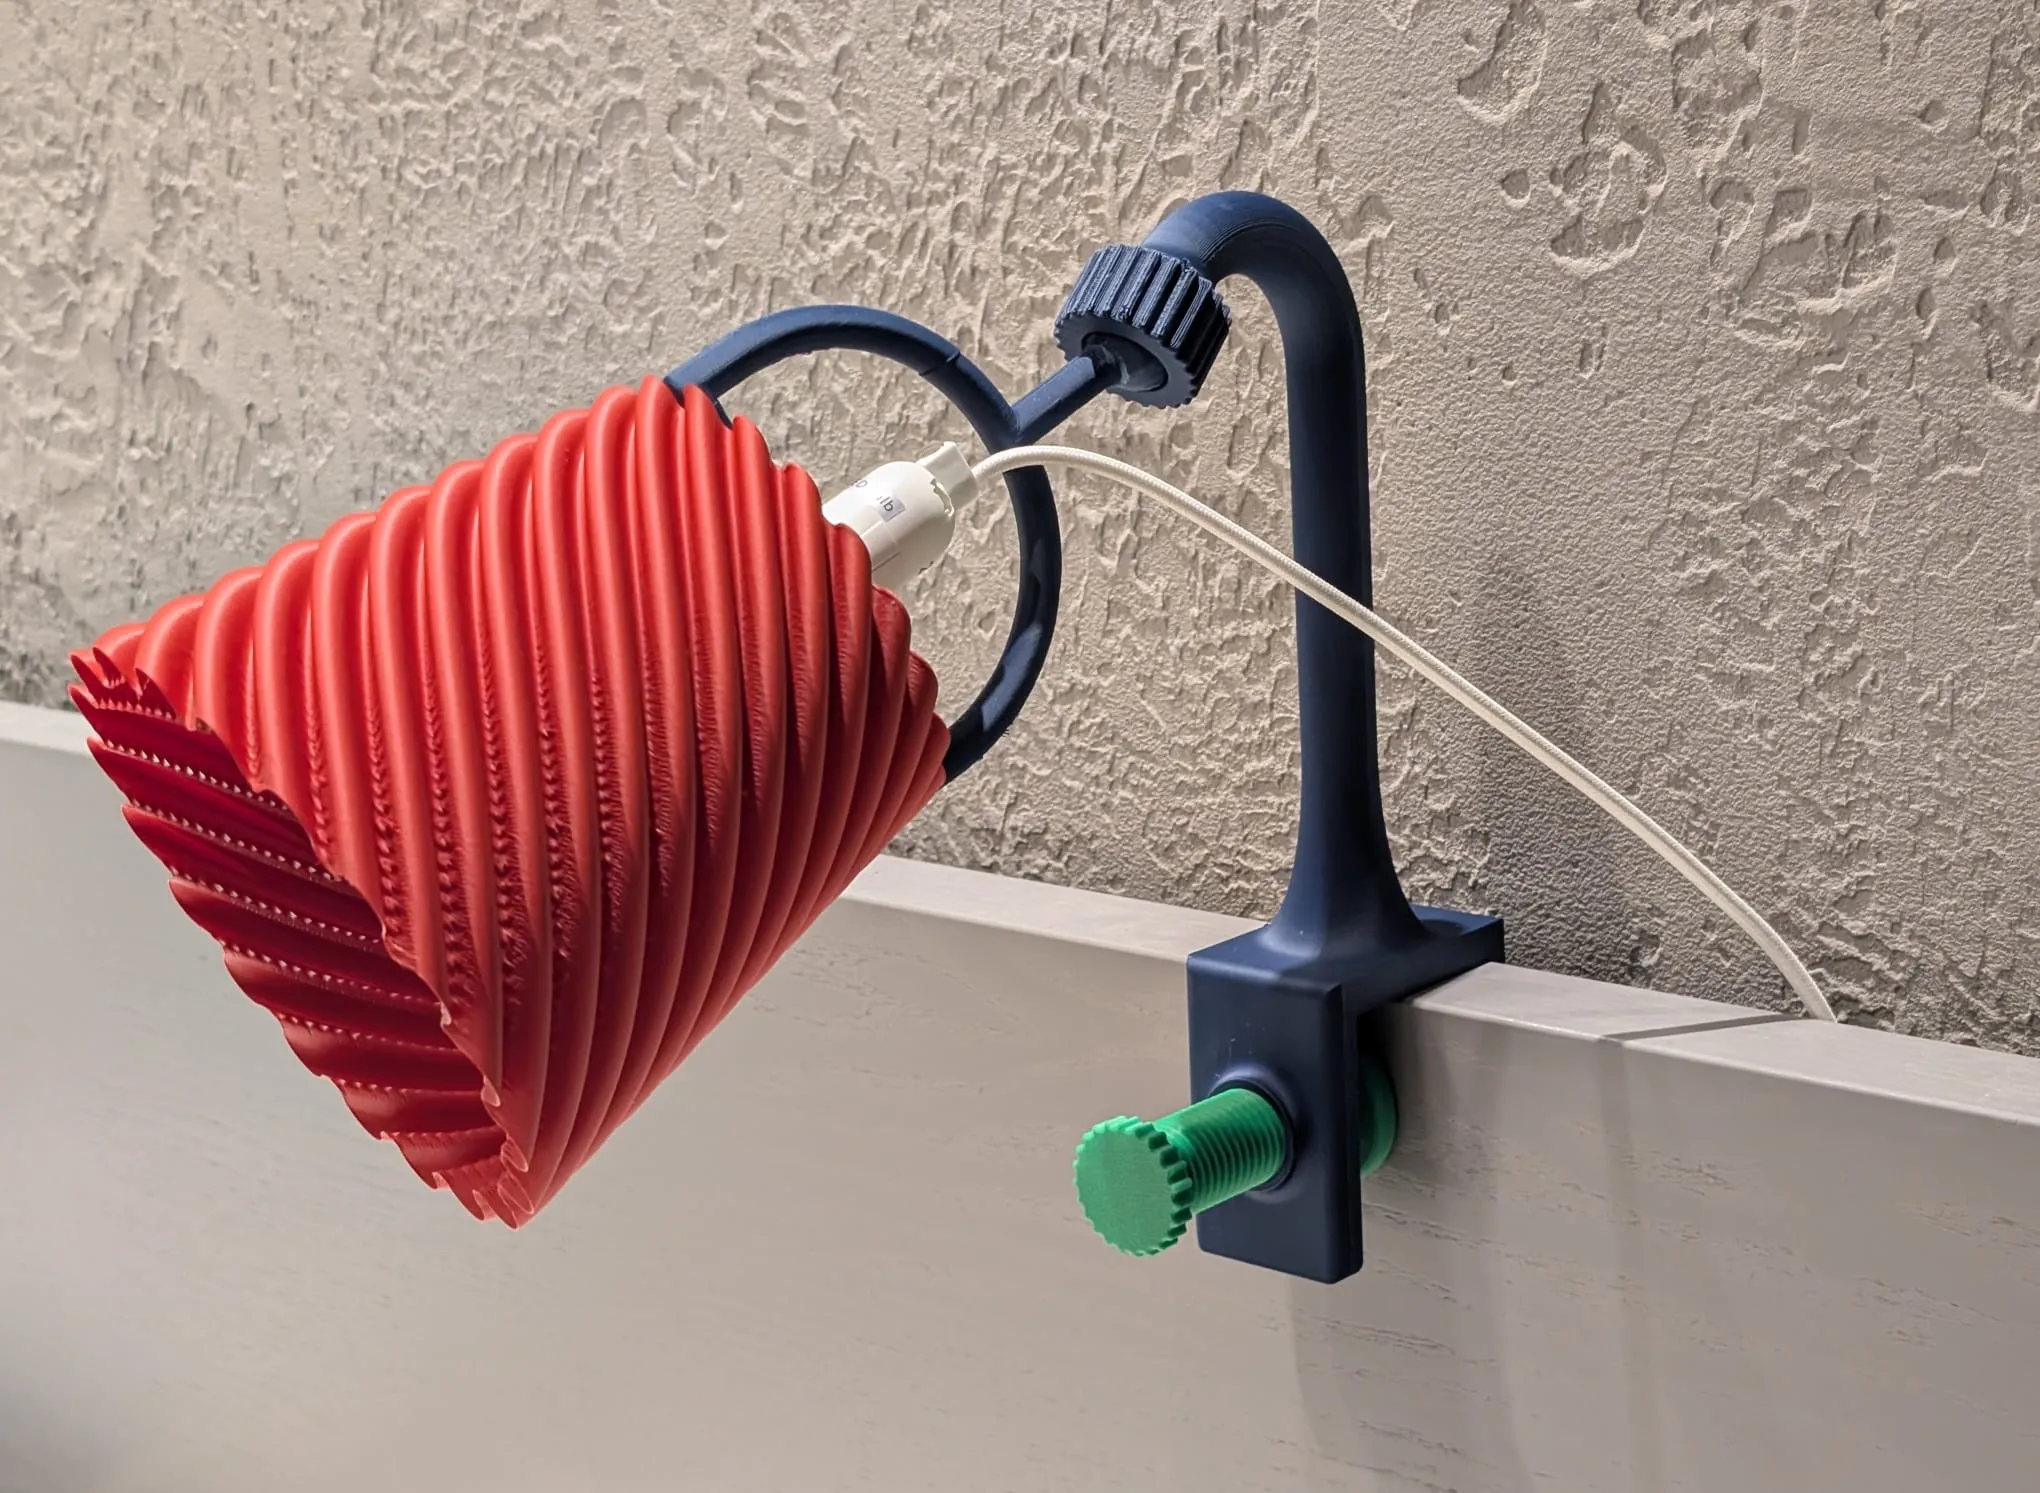
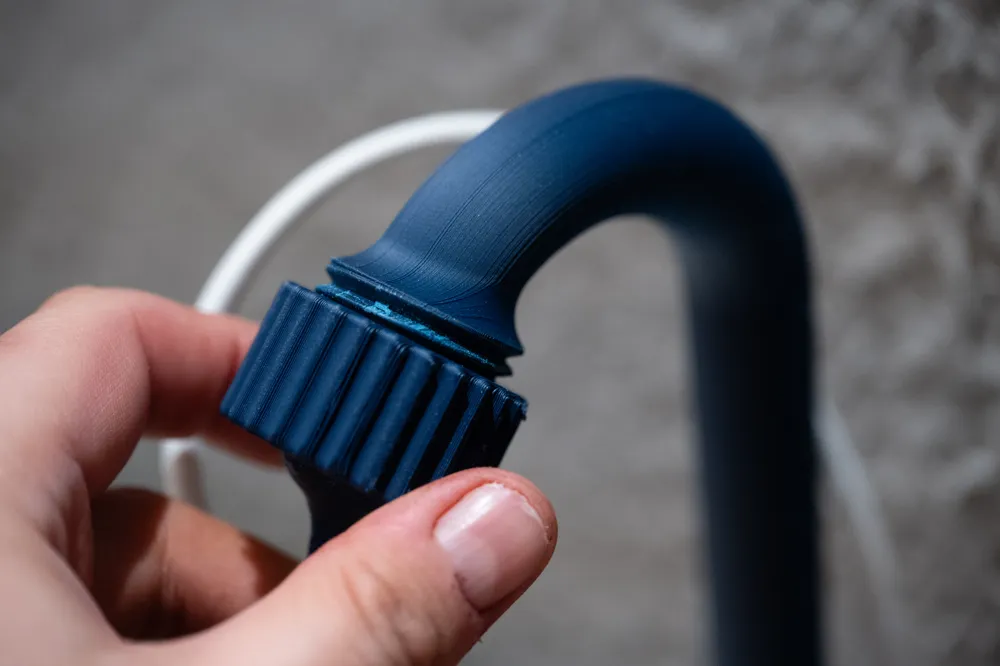

You can adjust the orientation of the light by unthighening the screw on the ball joint, move the arm as you please and then retighten it:
Important Notes
The ball joint is designed to provide a balance between smooth movement and holding power. Depending on your printer's tolerances, minor scaling or sanding may be required for the perfect fit.
If you build one, I'd love to see your make and hear any feedback for future improvements!
License

You may create derivative works based on this object, provided that all such derivative works are published exclusively on the MakerWorld platform and include proper attribution to the original creator. You may not share, upload, host, distribute, or publish this object—or any derivative work of this object—on any other digital platform, marketplace, or distribution channel. Commercial use of this object and any derivative works is strictly prohibited. This includes, but is not limited to, selling, renting, sublicensing, or using the object in any context in which you receive monetary compensation or other financial benefits.


Comment & Rating (0)