

Print Profile(2)

Description
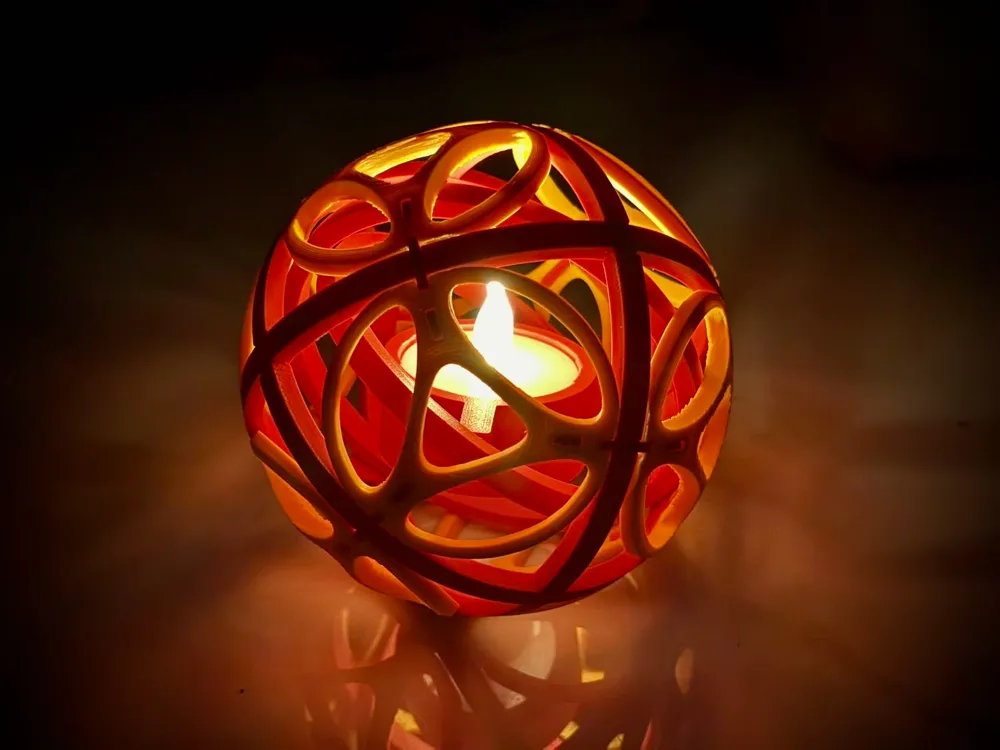

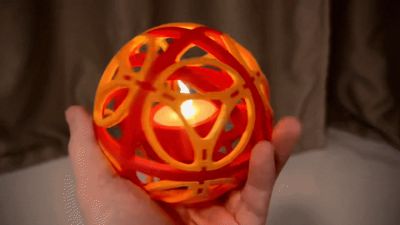
The rolling lantern originated in ancient China, achieving a gravity-based universal joint through a framework of three nested bamboo rings, allowing the central candle holder to remain level and not tip over or extinguish as the bamboo ball frame rolled
Today, I will recreate this ingenious lighting fixture using modern 3D printing. For safety reasons, the core candle is replaced with a Bambulab KC018 candle light (included in the Maker's Supply starter kit)
The installation process is relatively complex, and some parts require glue to secure them. Please read the following instructions carefully. If you encounter any unresolved issues, you can leave me a message
Installation Instructions:
1. First, print the three-axis gimbal ring. I designed this as a Print in Place model. After removal, rotate each axis individually to release the fixed "micro support points" in the middle. During the first rotation, the internal structure may not be broken in, so you need to rotate it repeatedly until it moves smoothly. If it doesn't rotate smoothly at a certain angle, you can manually disassemble it and sand the axle. Or spray a small amount of WD40 and continue rotating repeatedly.
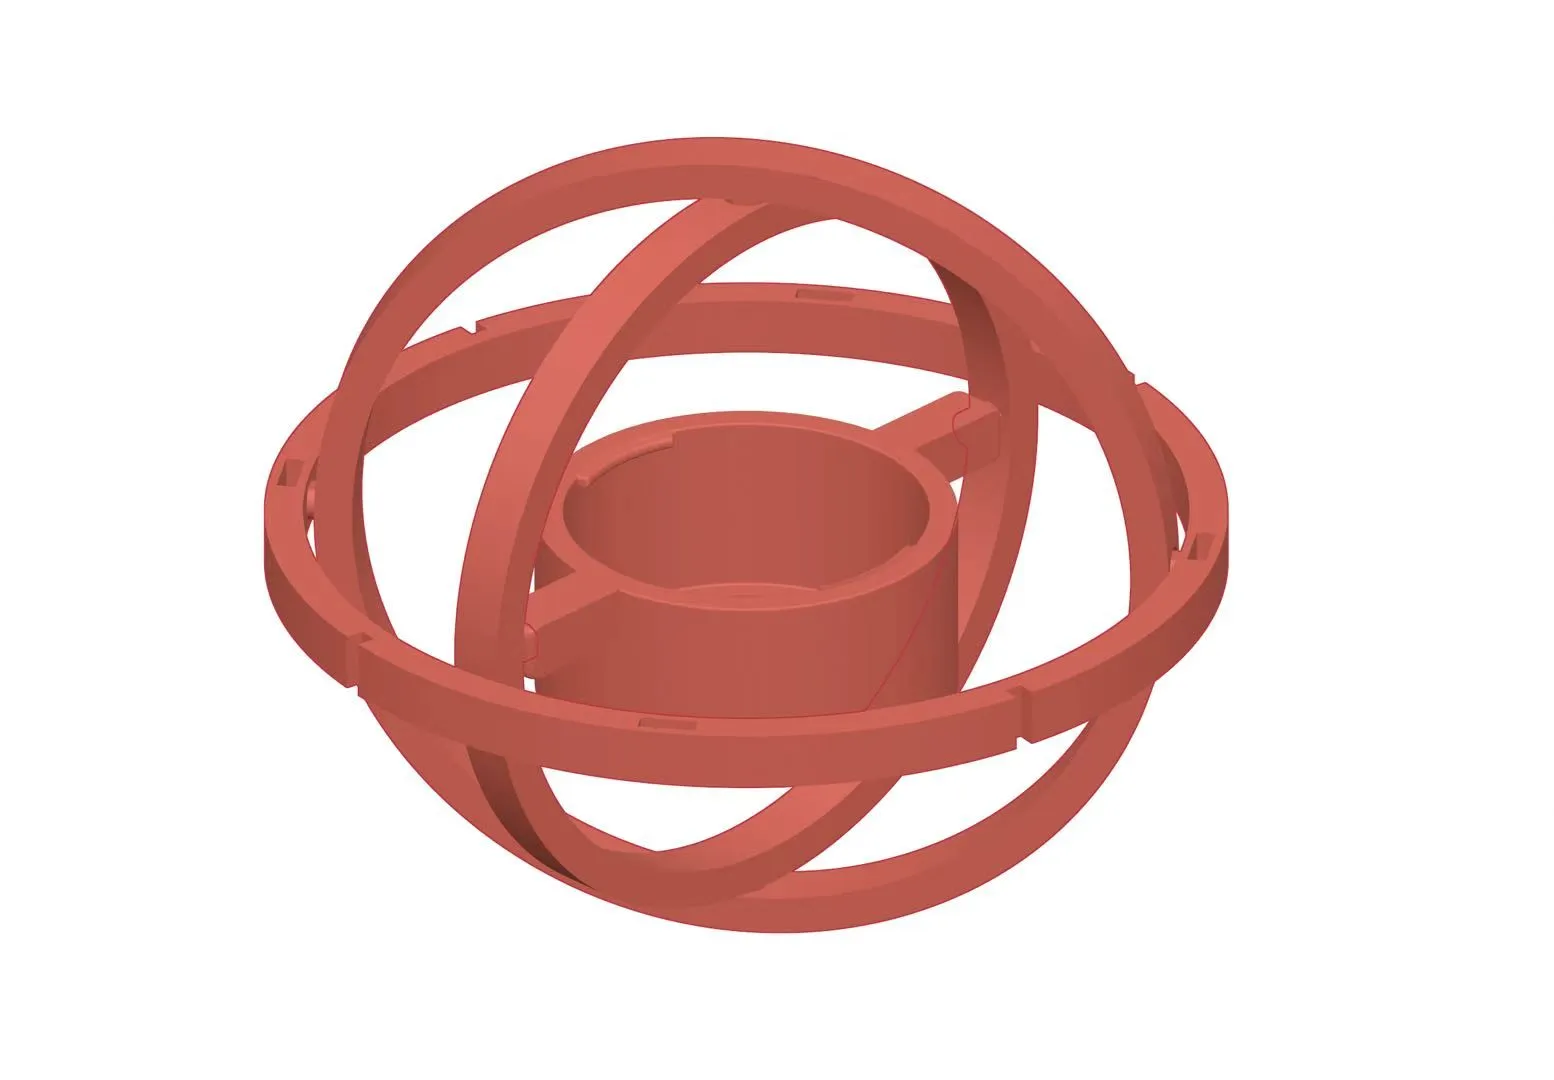
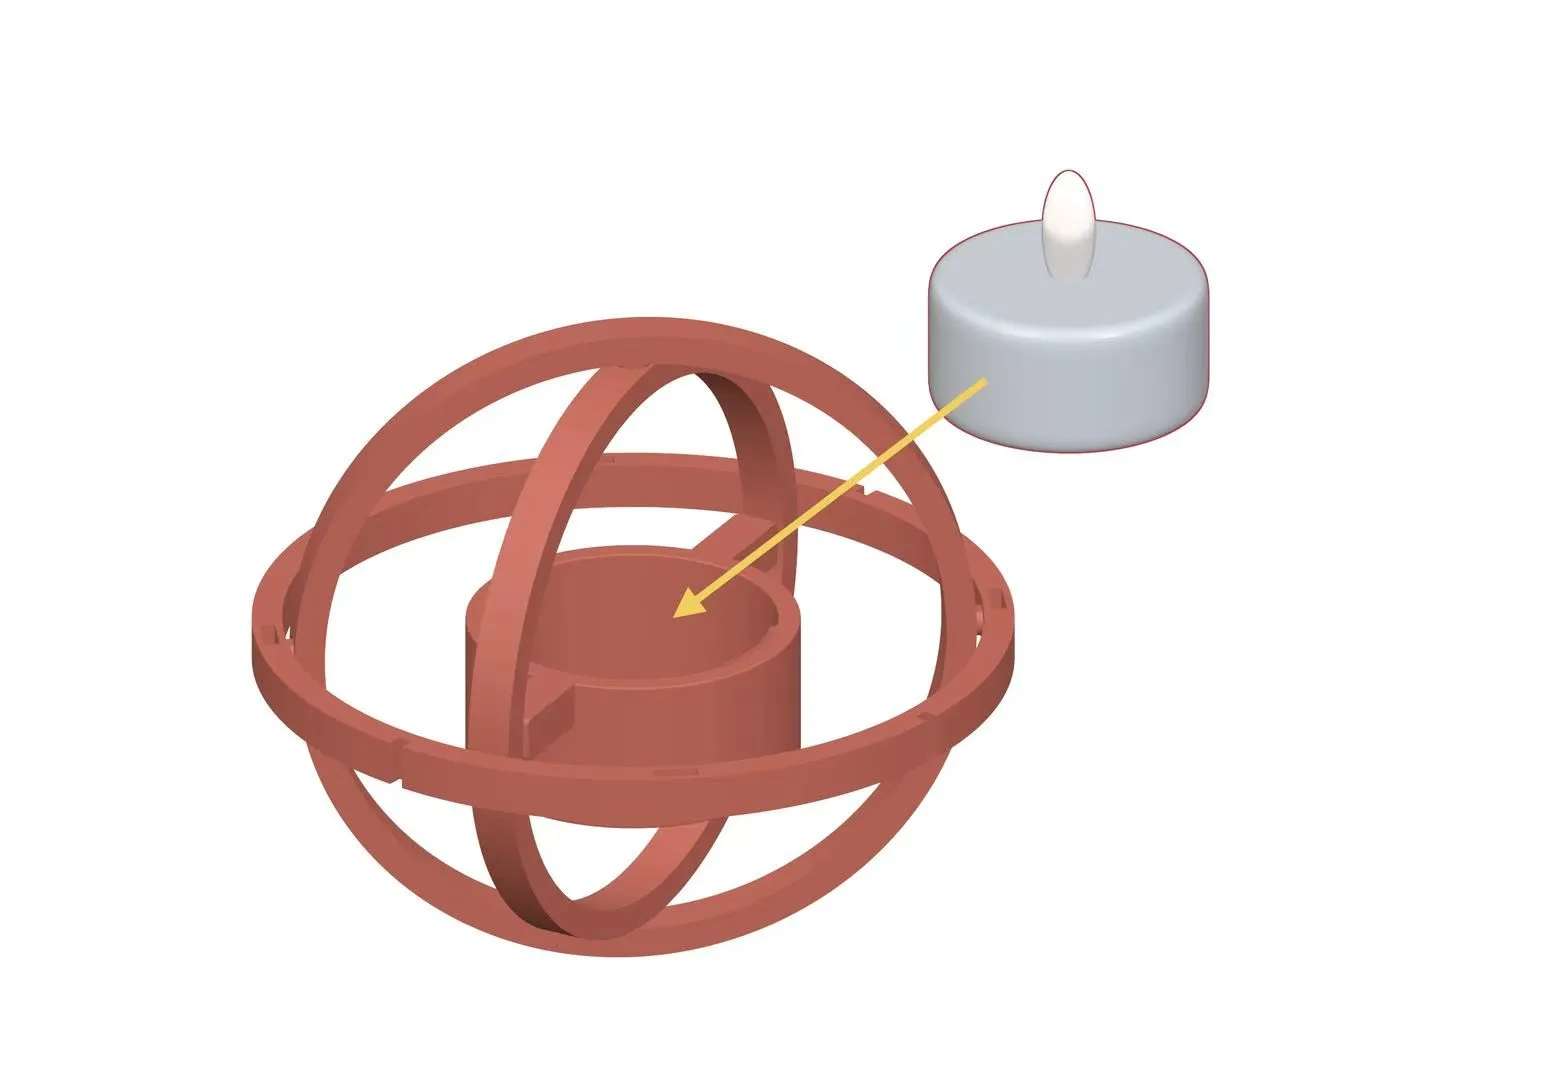
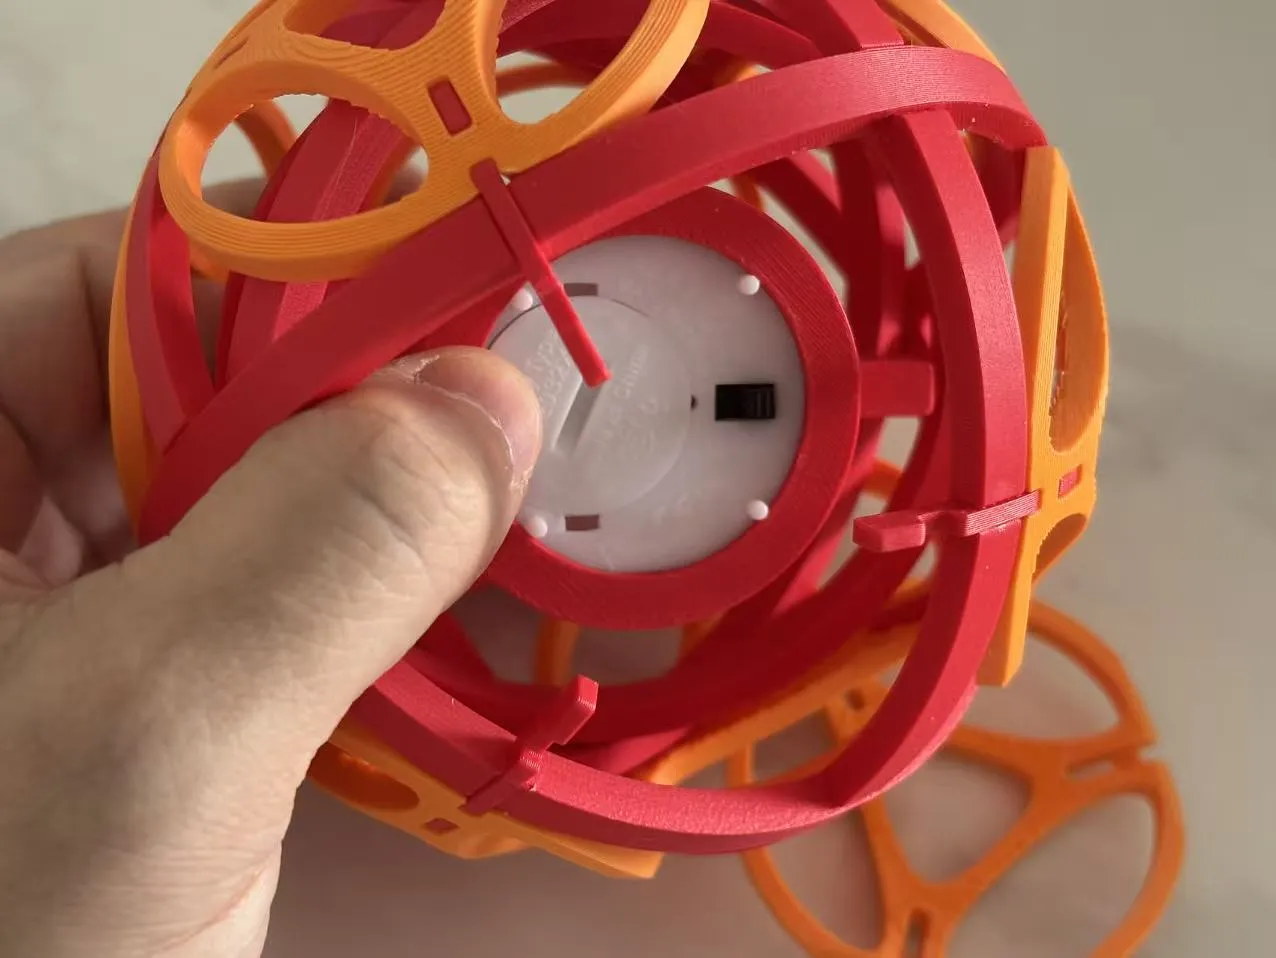
2. Insert the candle light, rotate the outer ring, and check if the central component can self-rotate under gravity to remain level
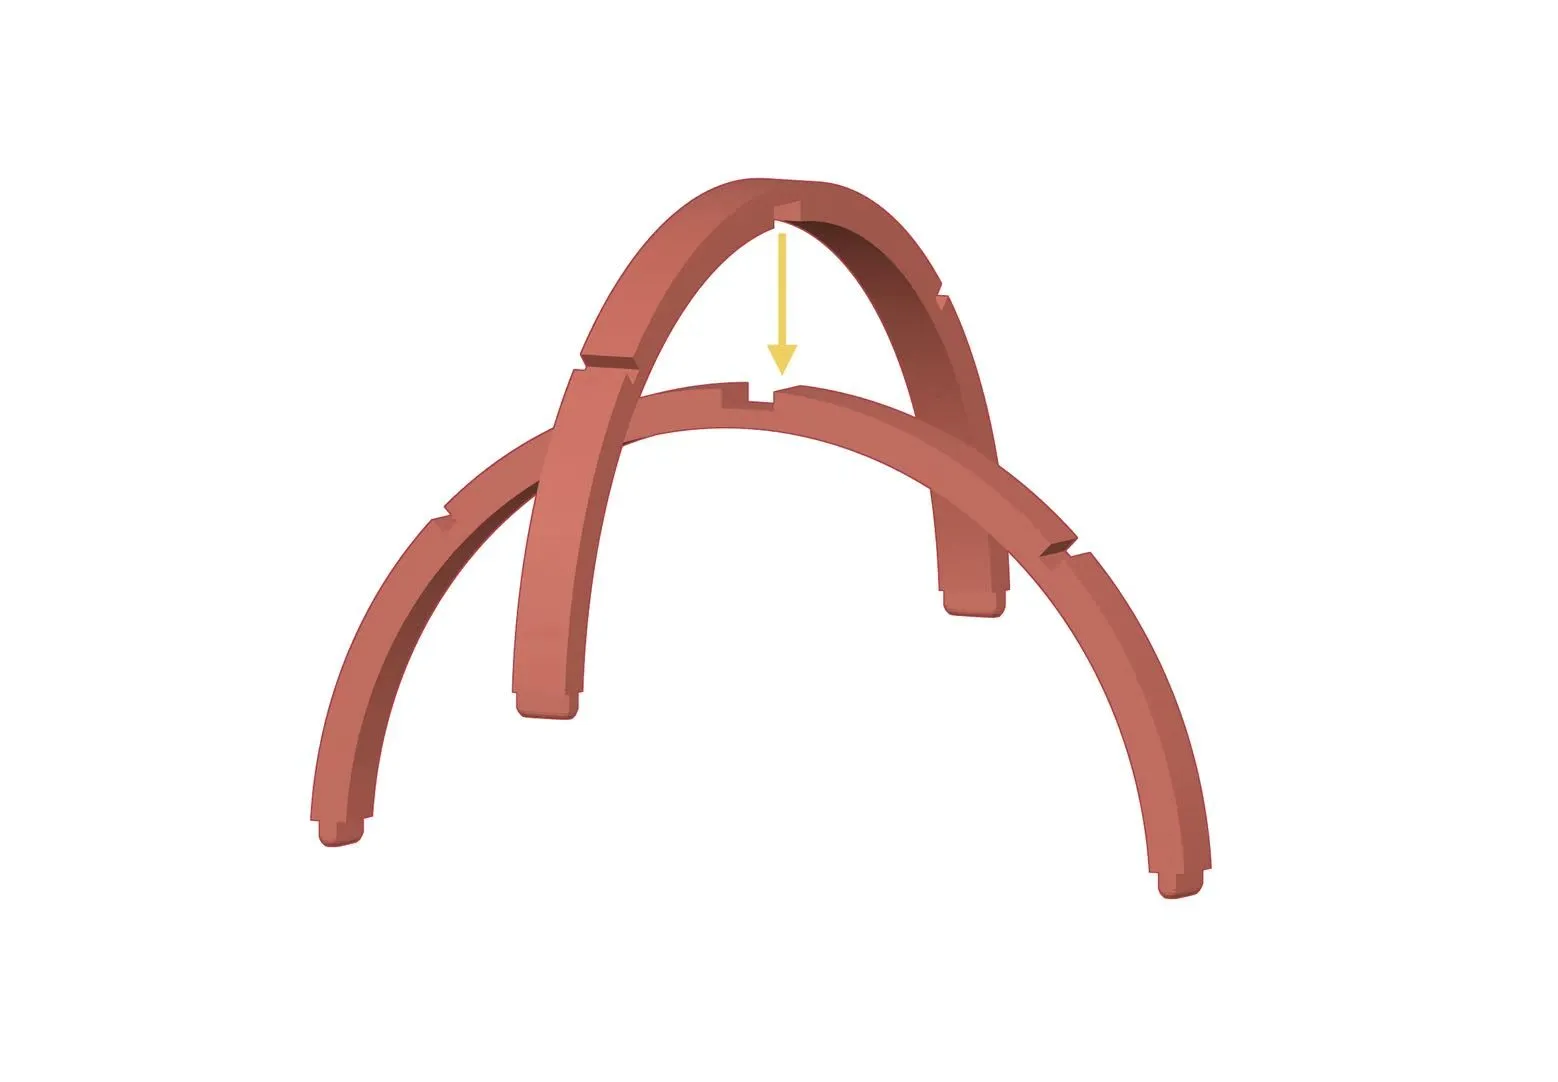
3. Connect the upper and lower parts of the outer frame. At this step, the connection points can be secured with glue
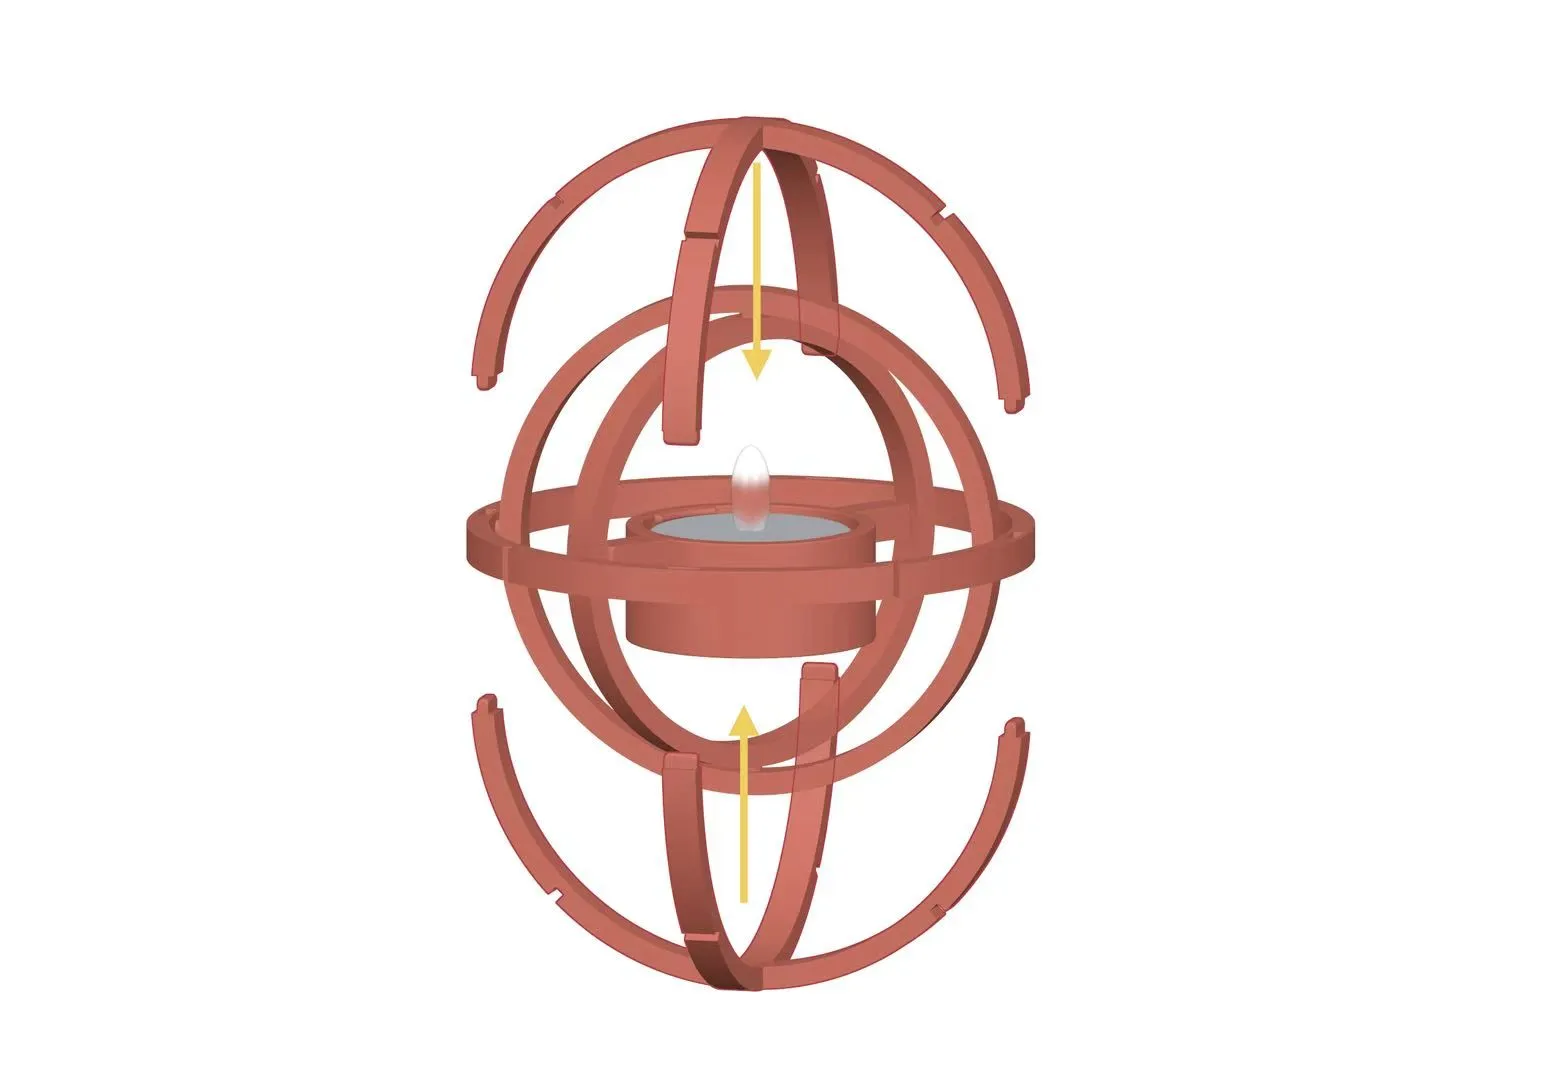
4. Connect the outer frame and the rotating ring (No glue is needed here; this allows for a detachable inspection and maintenance structure)
5. Insert the shell clips onto the frame
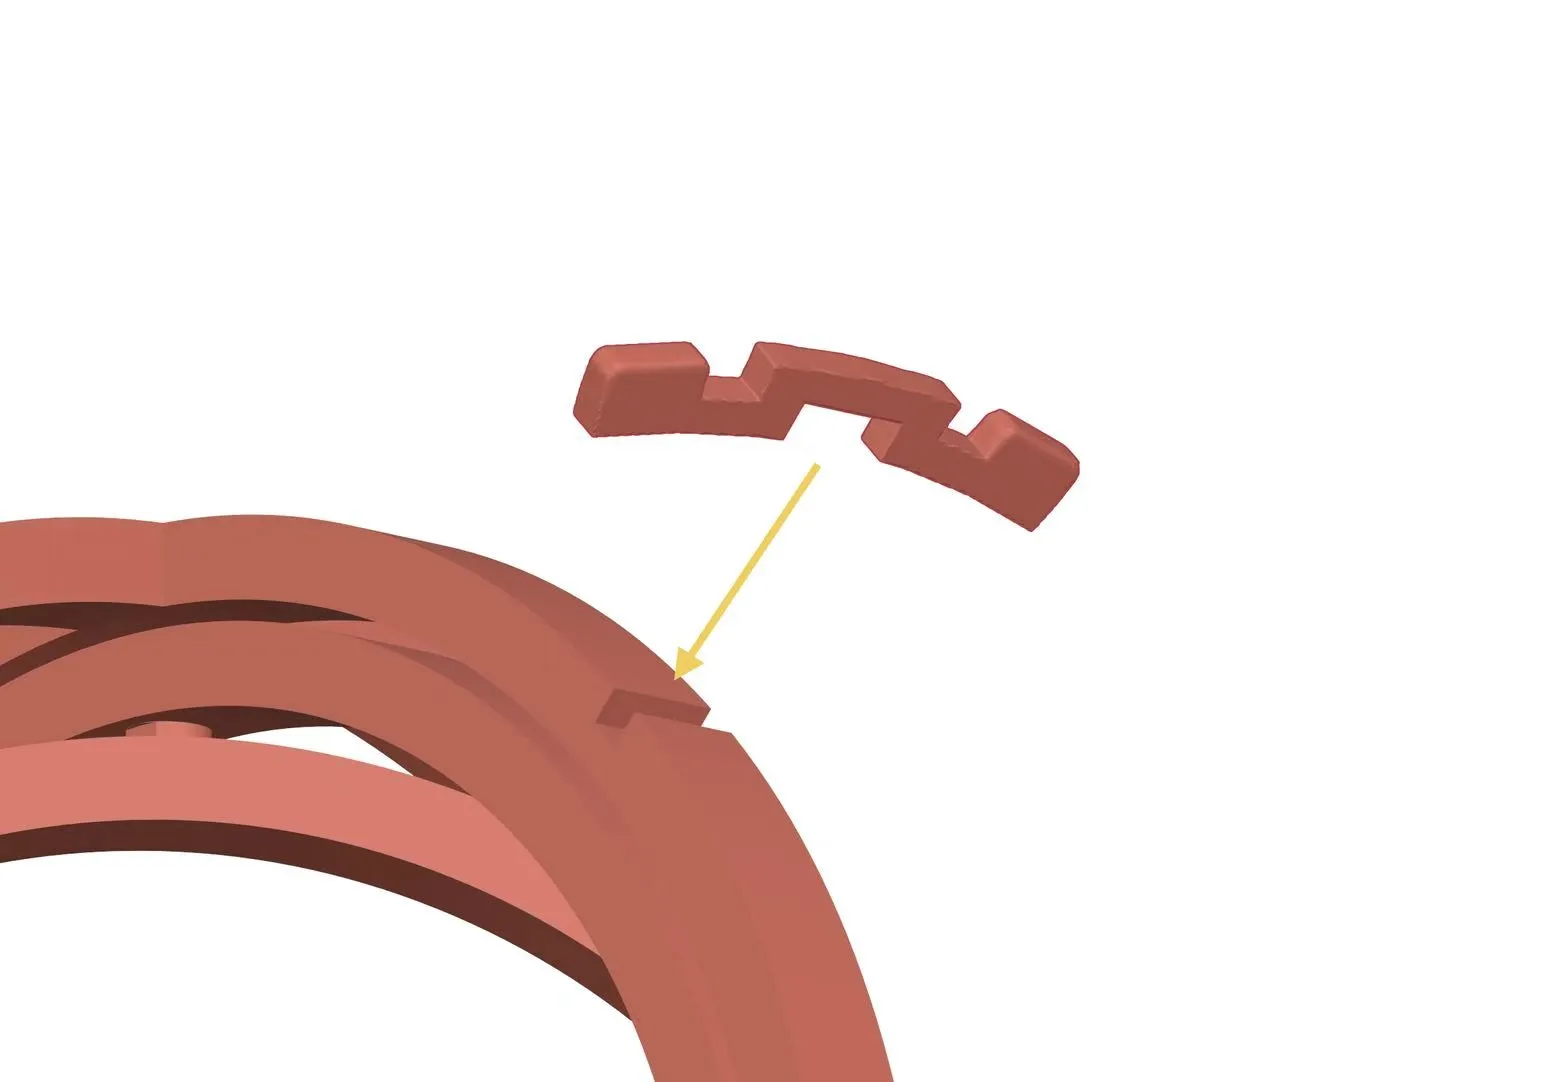
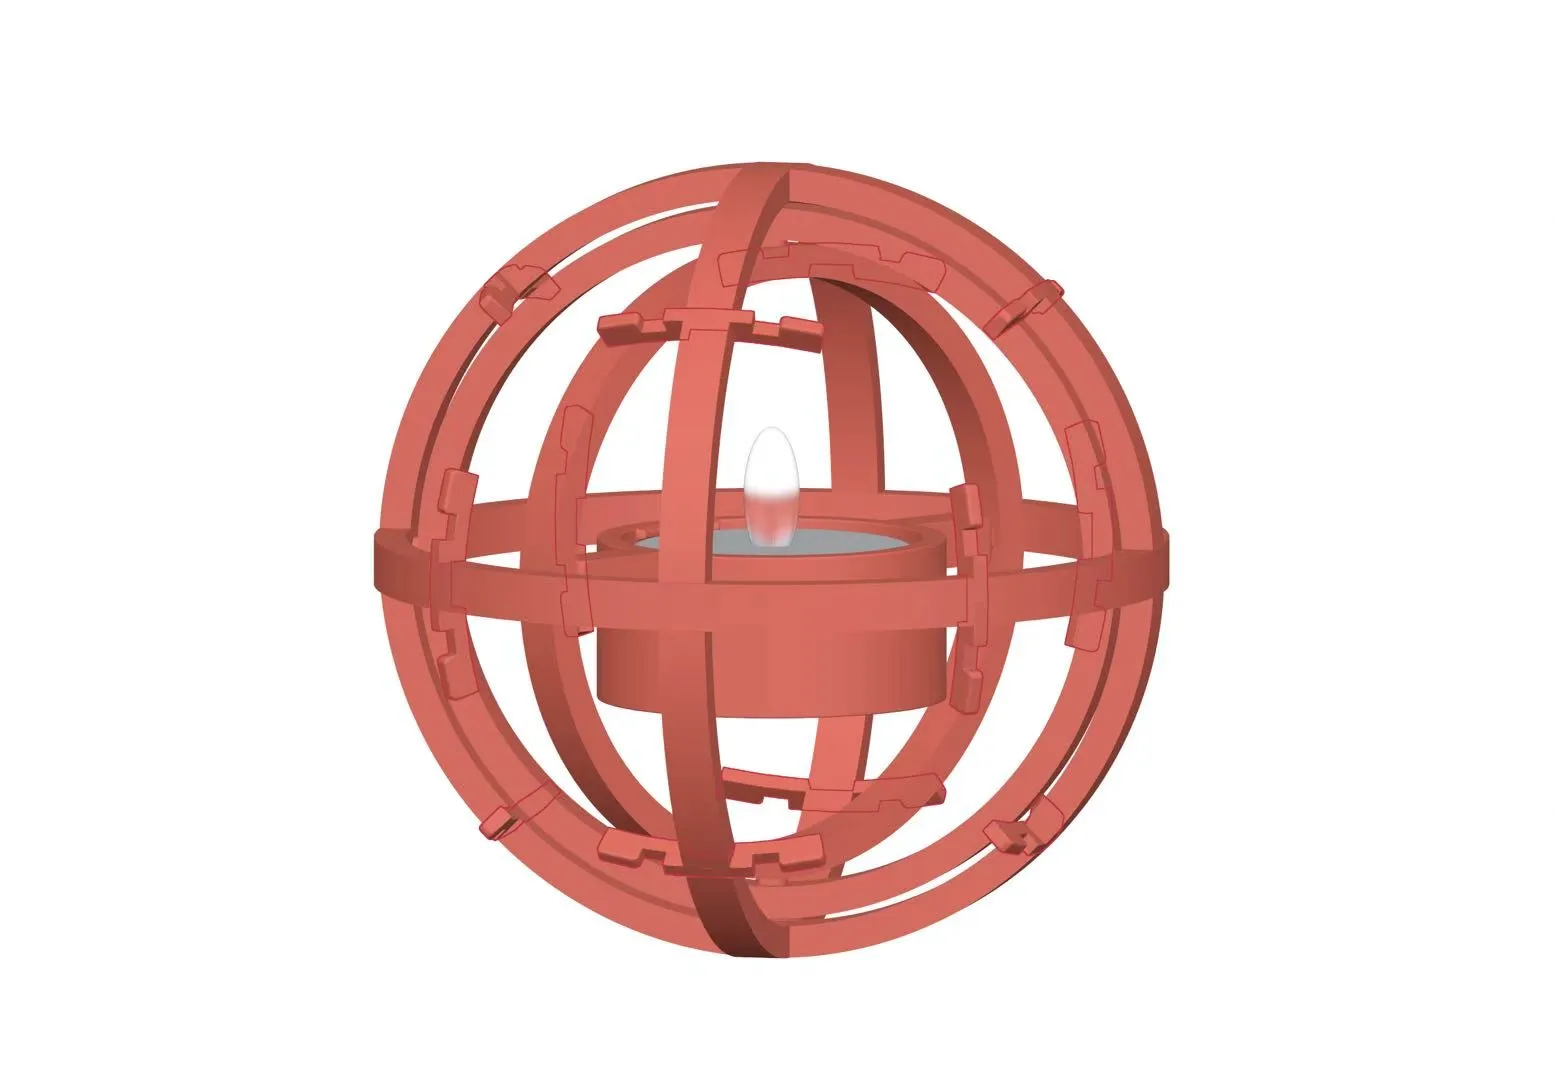
6. There are 12 clip installation points in total. After confirming they are in place, reinforce with glue
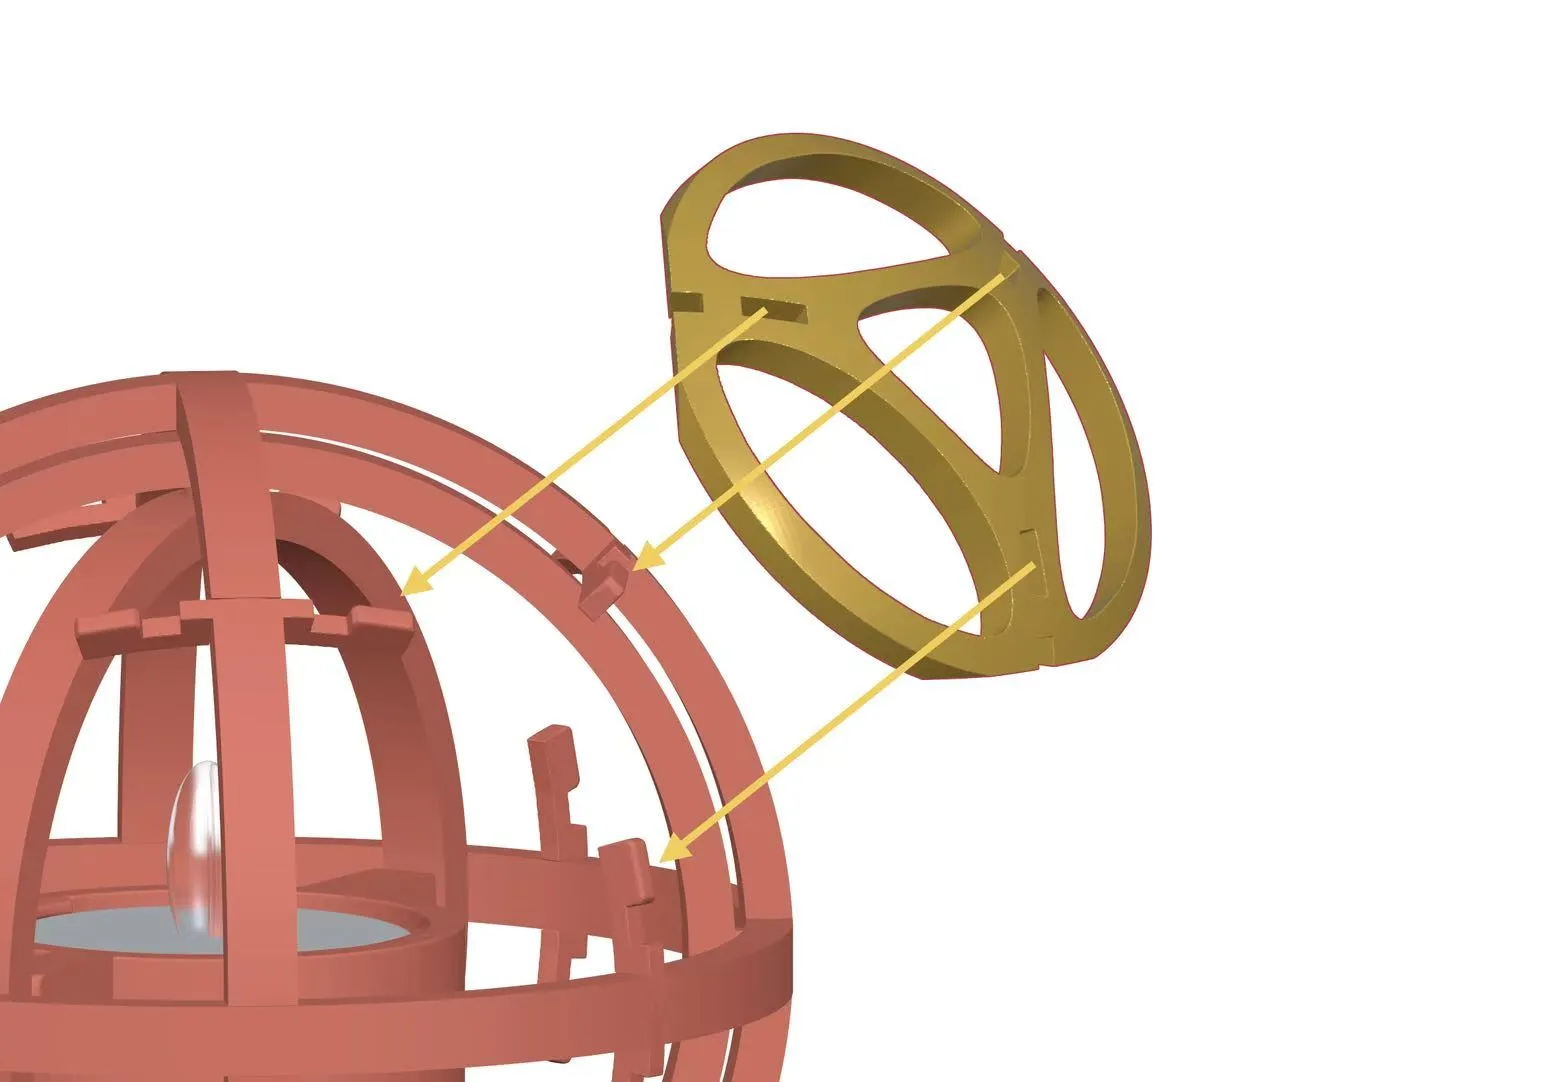
7. Align with the clip positions and install the outer shell. Each shell piece connects to three clips. Since the outer shell needs to be removed for turning the light on/off and replacing batteries, no glue is needed here
8. Once all 8 shell pieces are installed, assembly is complete
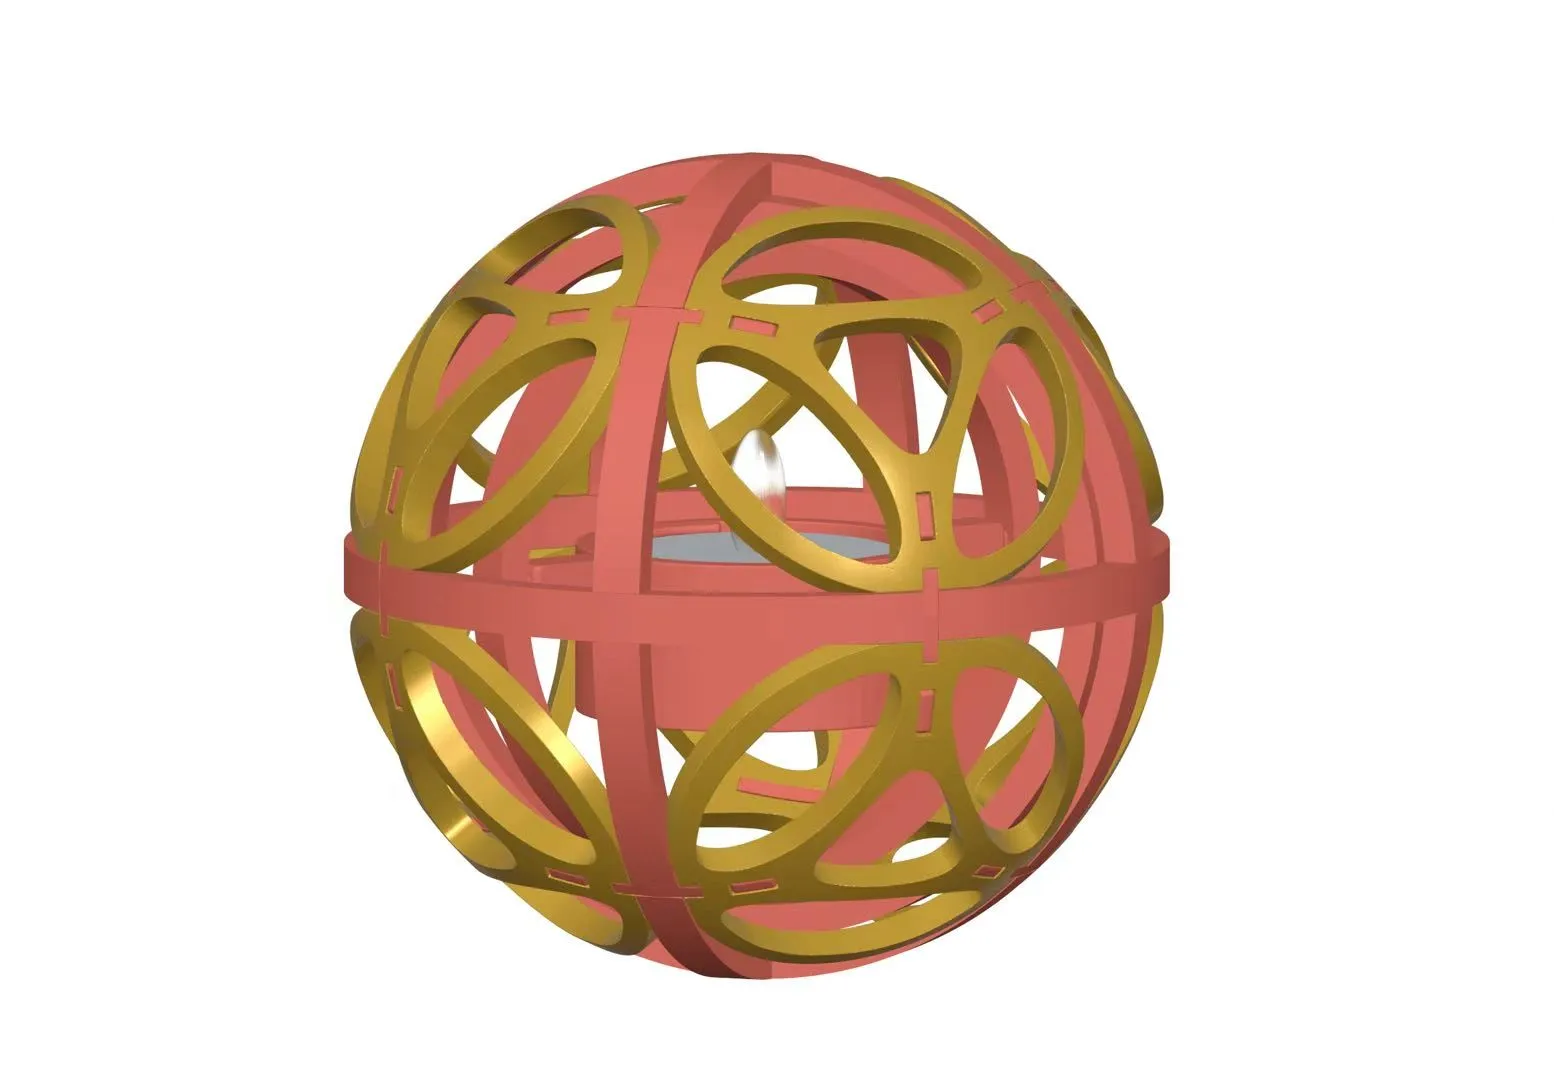
Removing and installing the outer shell is required to turn the light on/off and change batteries. DO NOT attempt to operate by reaching your fingers through the shell's cutouts, as there is a risk of trapping your fingers!!
———————————————————————————————————
2026.7.3 Update
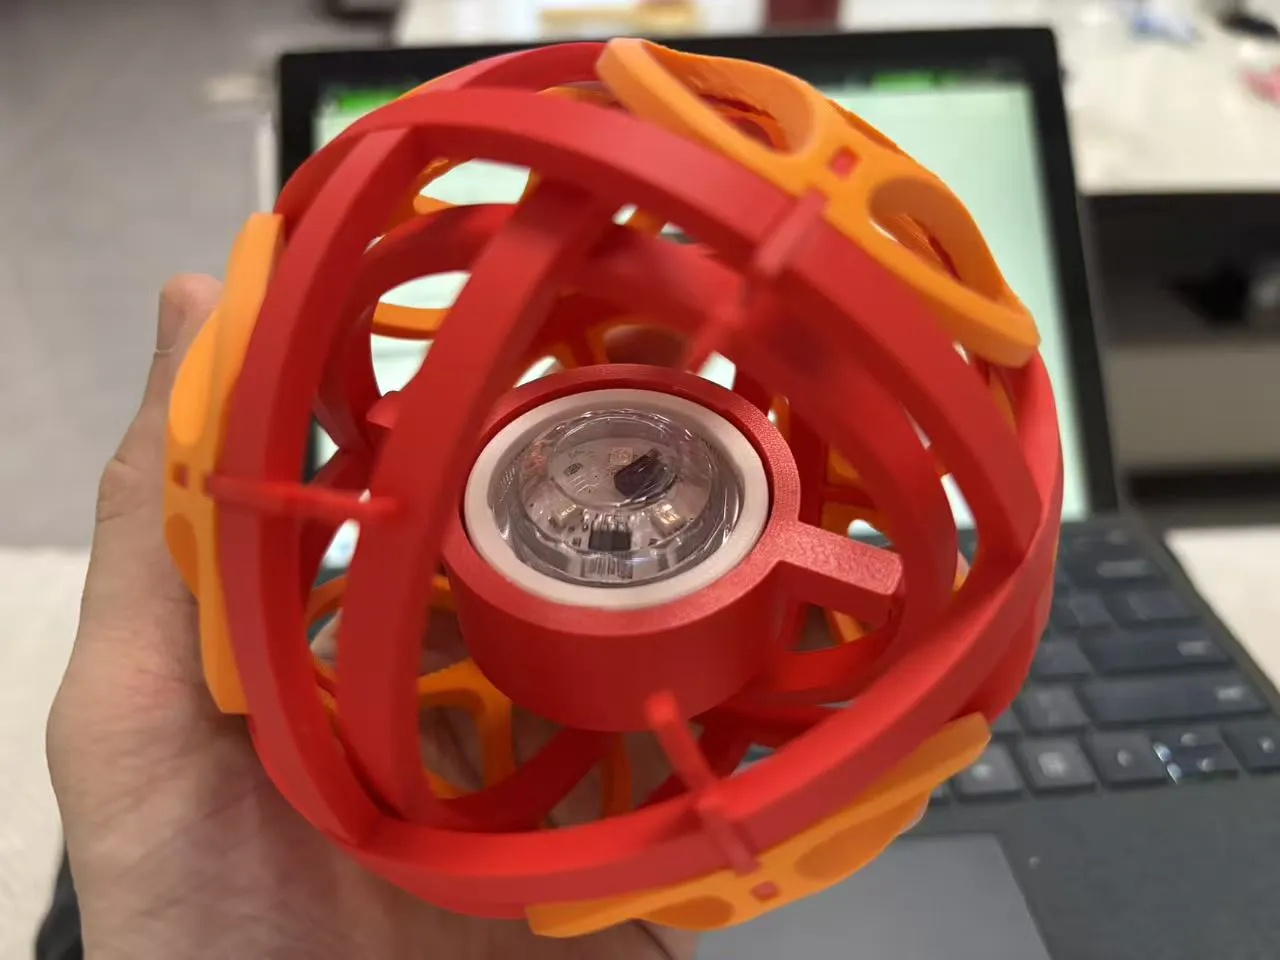
Added a nesting part to adapt to the KC020 waterproof remote control light. The candle light can be replaced with the remote control light, eliminating the need to remove the outer shell every time you turn the light on or off
Boost Me (for free)
License

You may create derivative works based on this object, provided that all such derivative works are published exclusively on the MakerWorld platform and include proper attribution to the original creator. You may not share, upload, host, distribute, or publish this object—or any derivative work of this object—on any other digital platform, marketplace, or distribution channel. Commercial use of this object and any derivative works is strictly prohibited. This includes, but is not limited to, selling, renting, sublicensing, or using the object in any context in which you receive monetary compensation or other financial benefits.


Comment & Rating (0)