Search models, users, collections, and posts

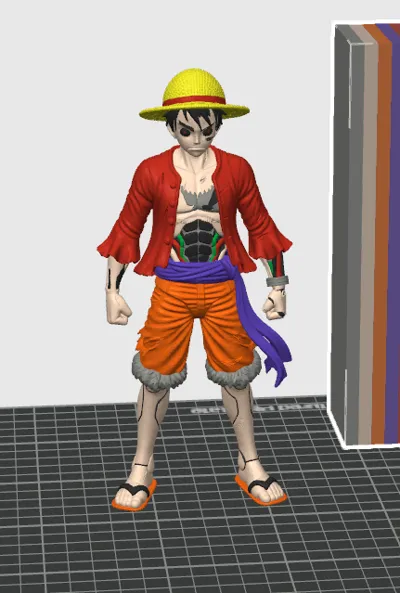
Cyborg Luffy
IP Report

Print Profile(1)

0.2mm layer, 2 walls, 10% infill
Designer
2.7 h
1 plate
Open in Bambu Studio
Boost
2
2
0
0
3
1
Released


Description
Content has been automatically translated.
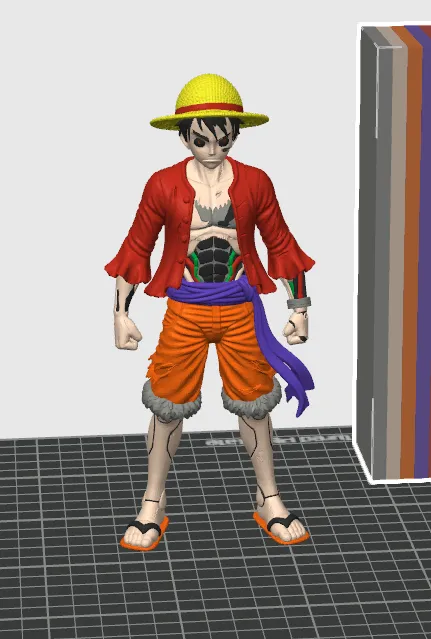
Cyborg Luffy: Project Pacifista (Multicolor & Optimized)
Take the Straw Hat captain to the next level with this spectacular Cyborg / Cyberpunk style redesign! Inspired by an alternate version where Luffy becomes Vegapunk's ultimate weapon, this model features incredible mechanical details exposed on the abdomen, arms, and face, combined with his classic attire.
To ensure you have the best printing experience based on your equipment and available time, I have prepared 3 different printing options in this project:
º What does this project include?
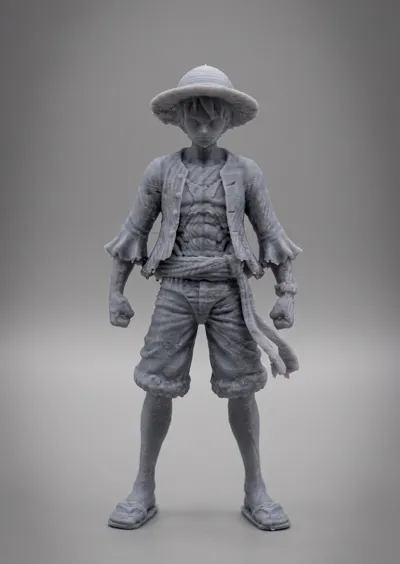
- 1. Monochromatic Version (Single Color): The complete model in a single piece. Ideal if you don't have an AMS system, if you want a quick statue-like print, or if you prefer to paint the figure by hand.
- 2. Full Multicolor Version (Single Piece Multicolor): The complete model digitally painted in 8 colors (requires 2 AMS units). Ideal if you want to print everything at once without worrying about gluing parts.
- 3. Optimized Multicolor Version by Parts (Multipart - 3 Pieces) [RECOMMENDED]: The crown jewel. I have strategically cut the model into 3 parts (Head, Torso, and Legs) with integrated bolt-type connectors (dowels).
- Why use this option? By separating the head and torso onto distinct plates, you drastically reduce the number of color changes per layer. You will save over 50% of time and avoid massive filament waste from purging!
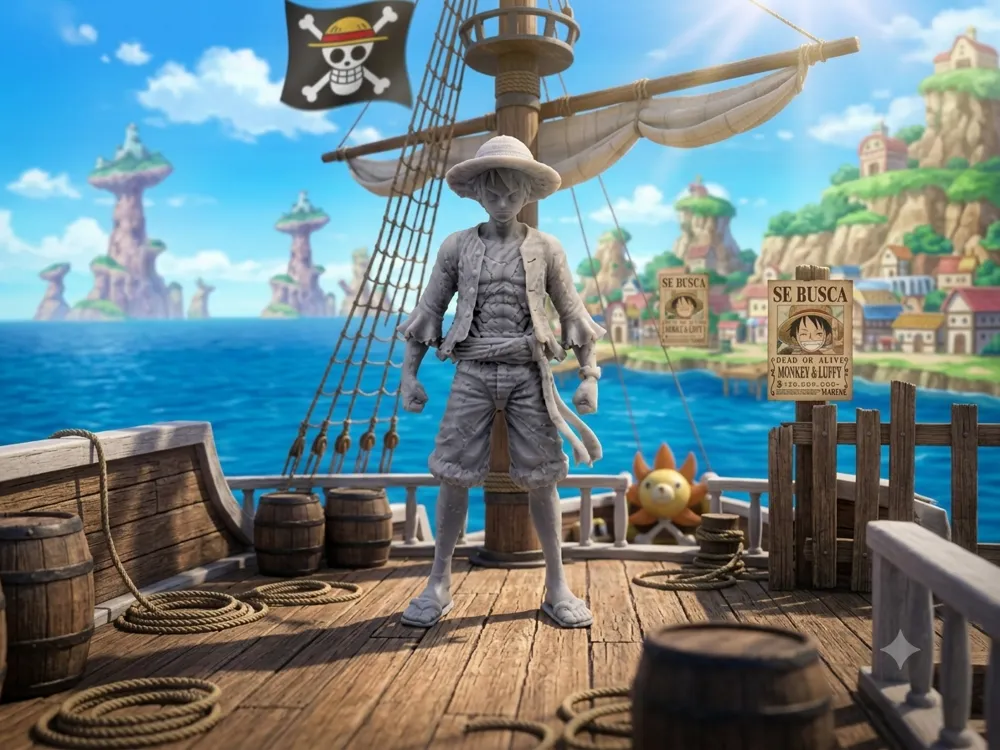
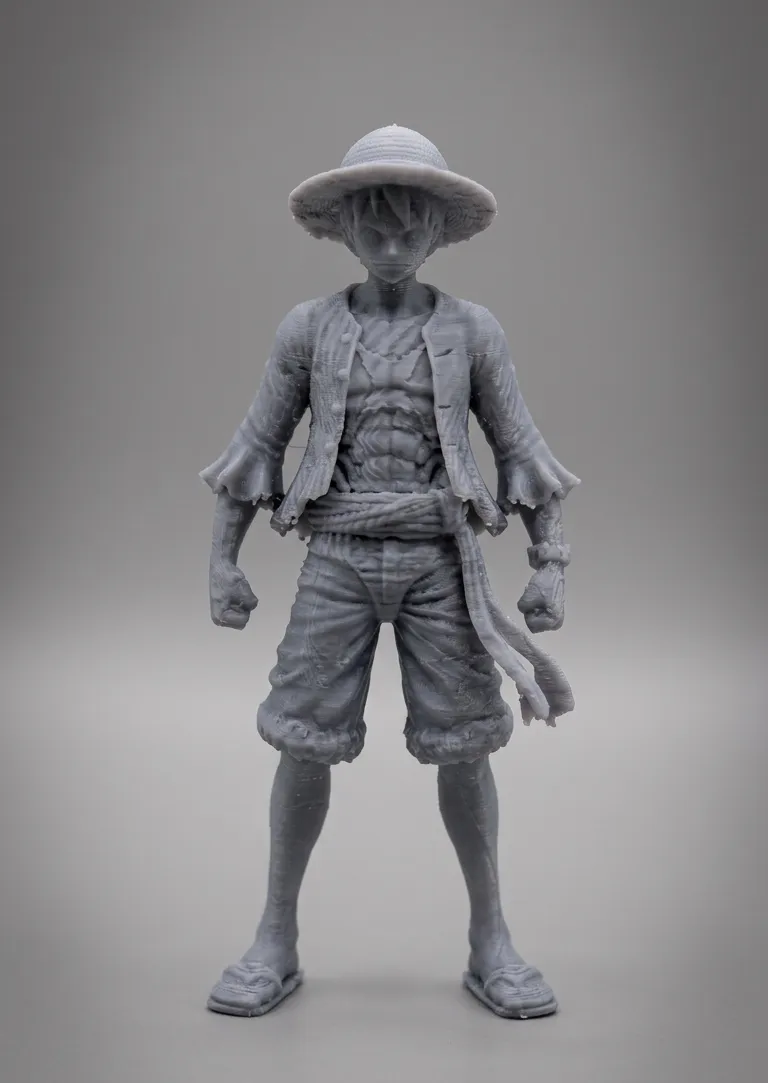
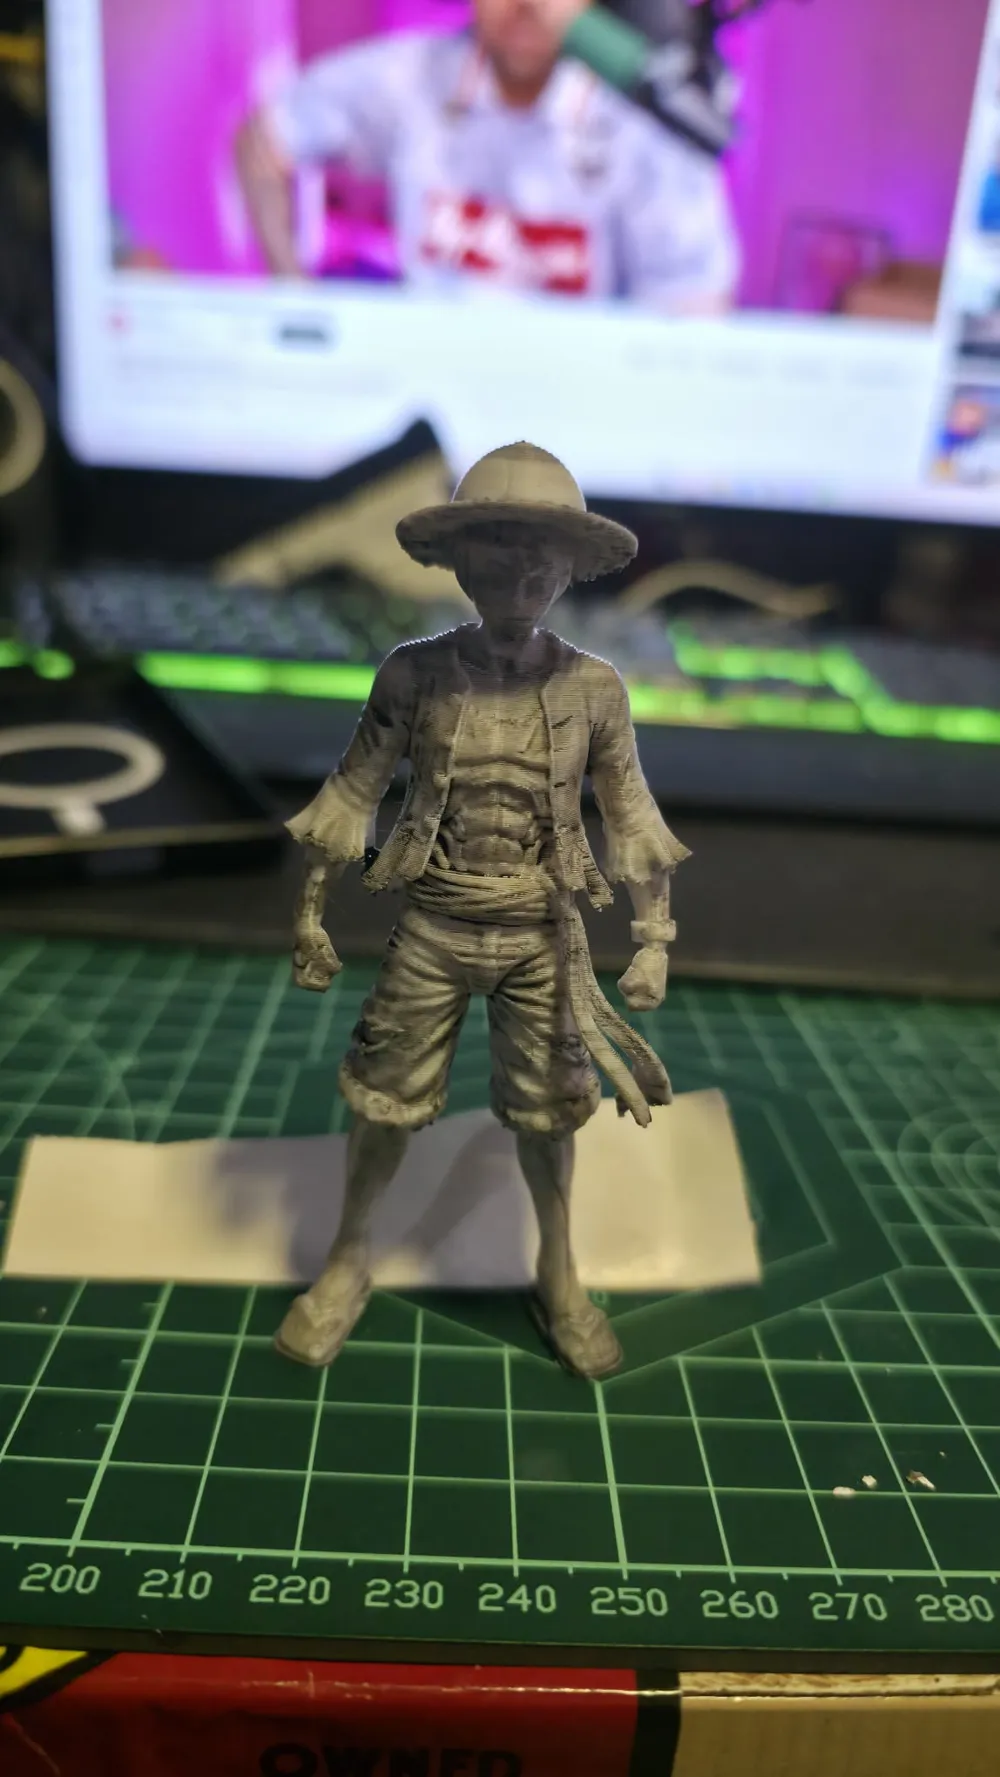
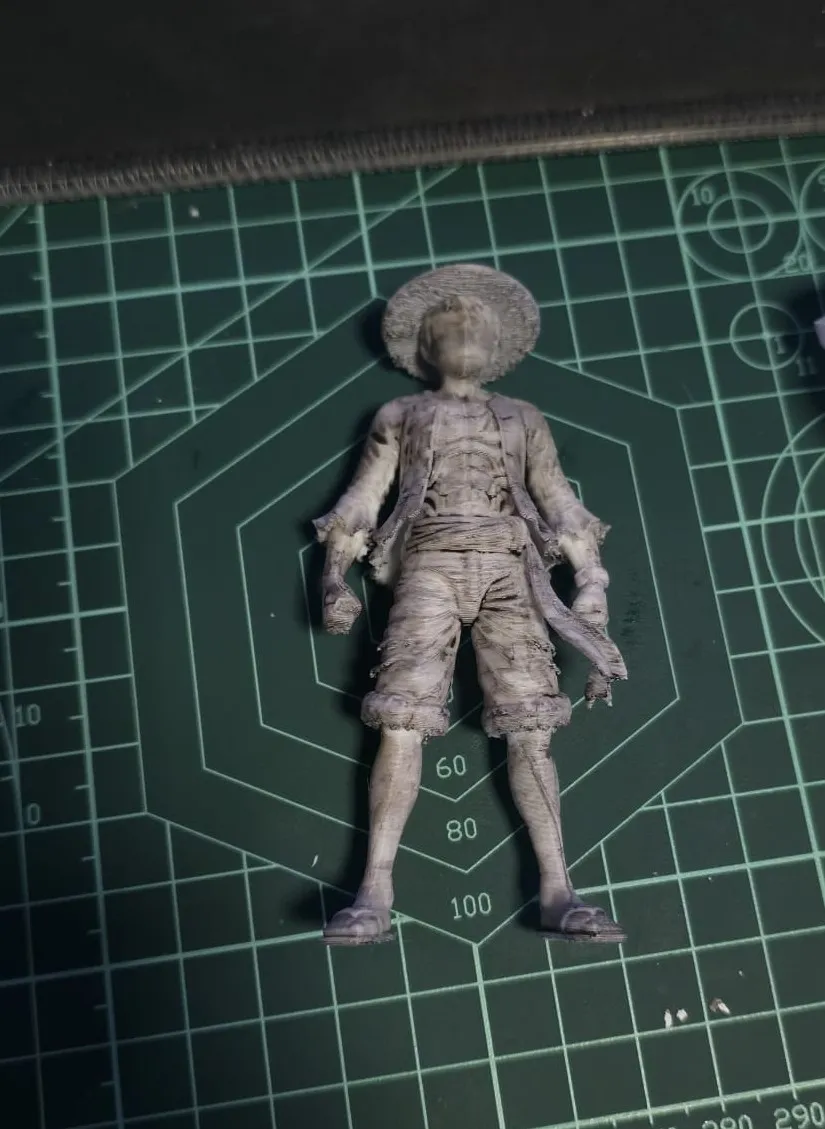
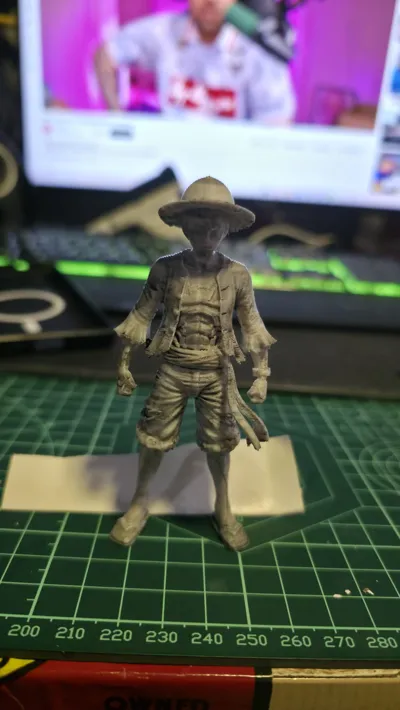
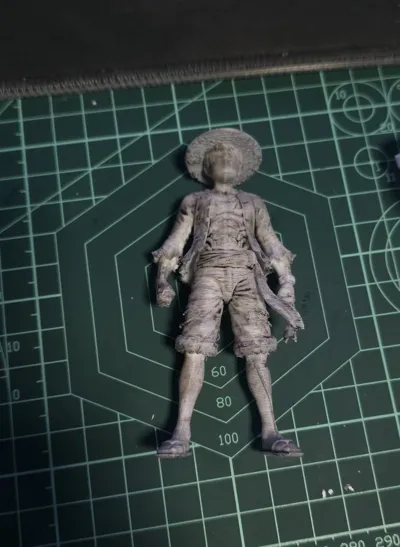
Important note about reference photos: Please note that the printed model you see in the cover images was made at a much smaller scale than the original file size for a quick test. Due to this drastic size reduction, some definition in the smaller details is lost. If you print the file at its original scale (or larger), the level of detail, the sharpness of the wires, and the facial features will look much better!
🔧 Instructions for the 3-Part Version
- Print the three plates separately using the optimized profiles.
- Carefully remove the supports.
- Insert the alignment pins (dowels) into the guide holes in the neck and waist.
- Apply a small drop of super glue (gel super glue) to the joints and press for a few seconds. The pieces will fit perfectly and invisibly!
Did you like the model? If you print this Luffy, please share a photo of your result in the comments section and leave a rating. It helps me immensely to continue creating and optimizing models for the Bambu Lab community!
License

This user content is licensed under a
Creative Commons Attribution


Comment & Rating (0)