
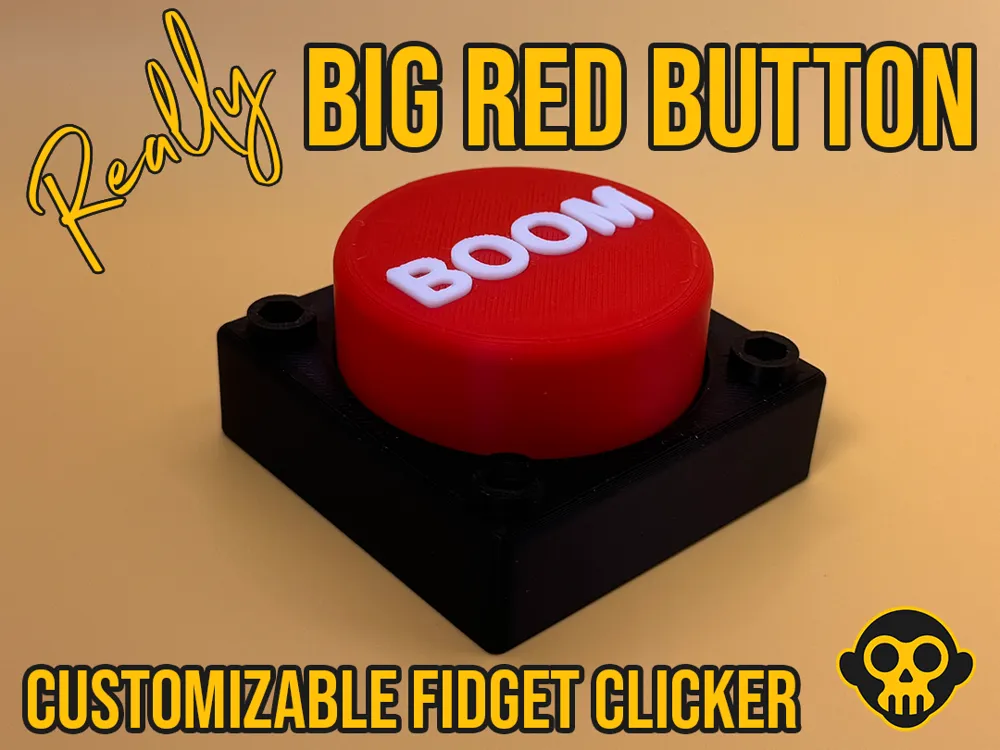
REALLY Big Red Button Fidget Clicker
Print Profile(1)
Bill of Materials

- MX Style Keyboard Switches x 3:
Description

--------------------
Please like and follow to be notified of all of my designs - some more exciting stuff in the pipeline!
--------------------
*** YOU WILL NEED THREE KEYBOARD SWITCHES - SUCH AS https://amzn.to/4rum85Q (UK) or https://amzn.to/3OaodW7 (US) ***
Overview
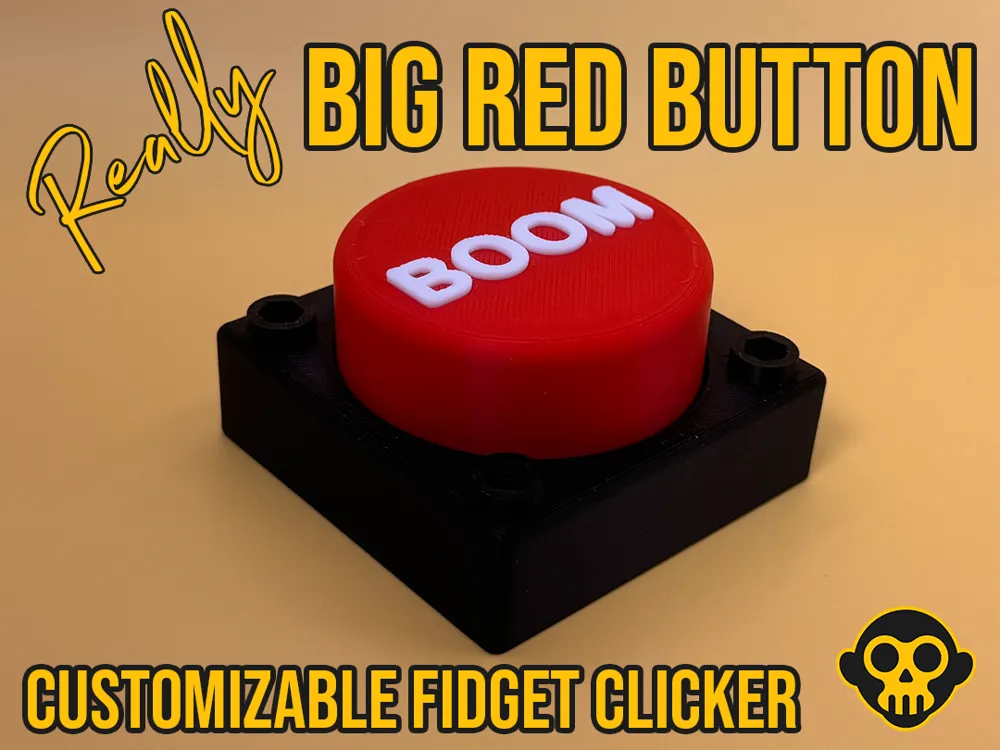
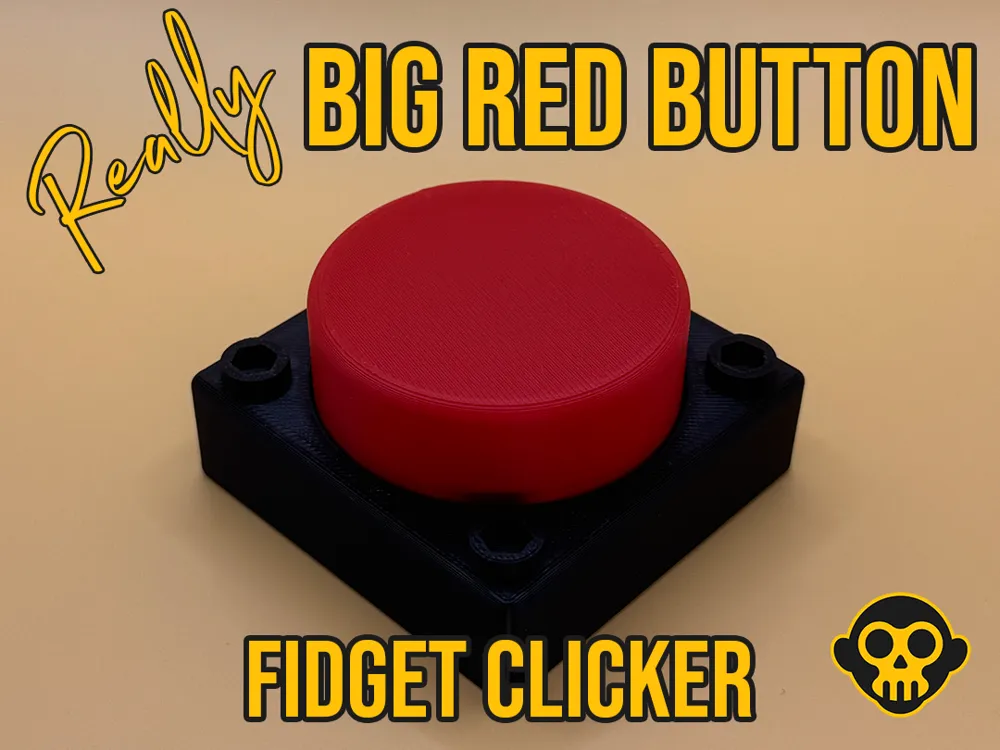
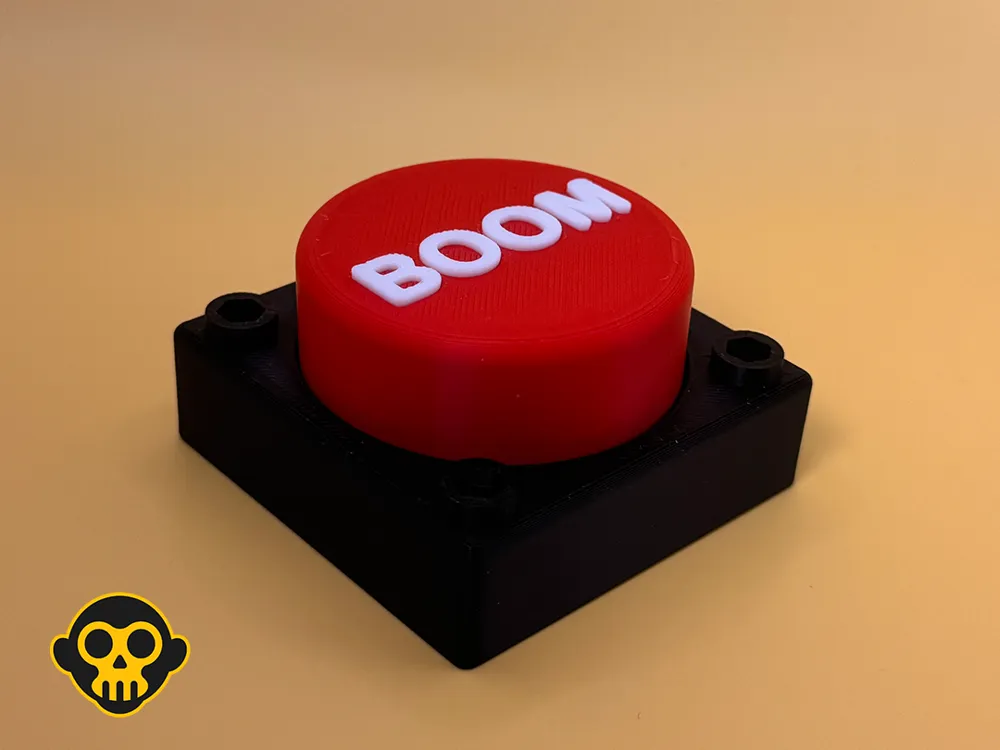
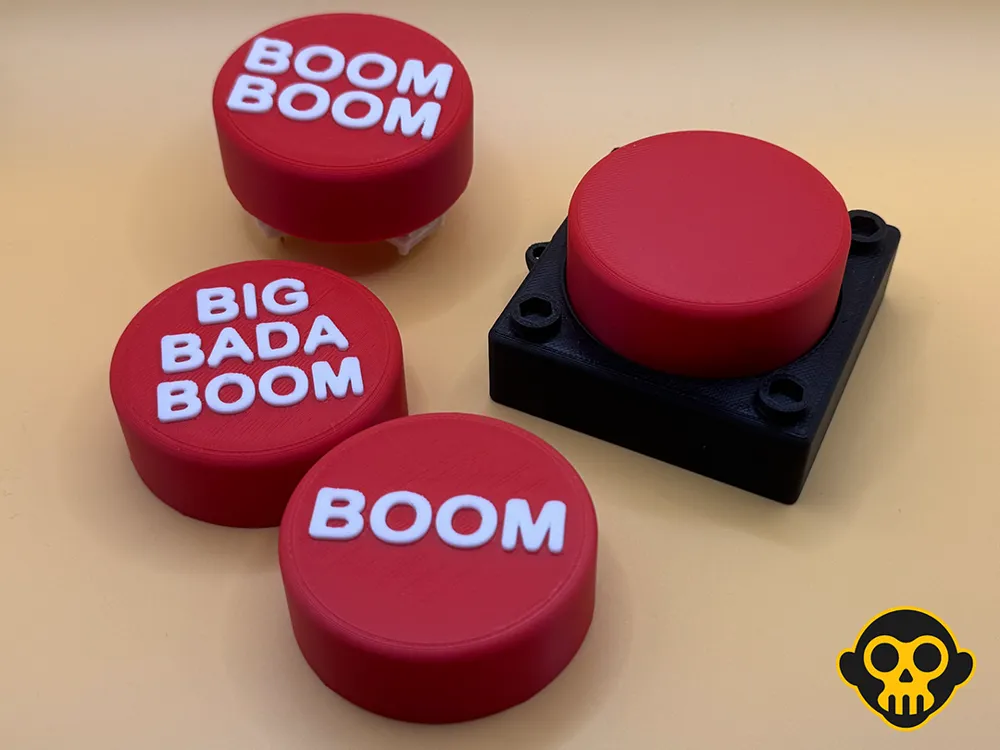
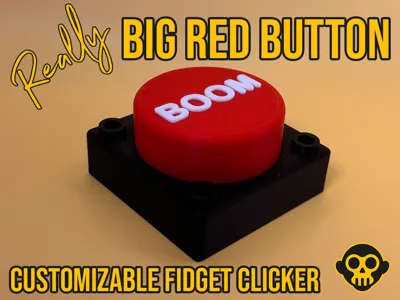
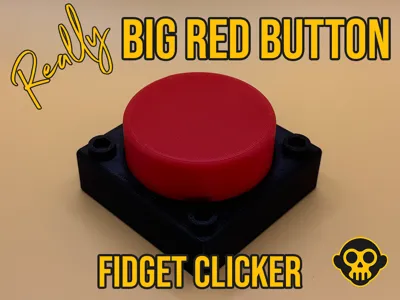
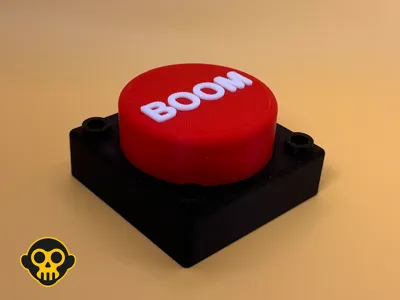
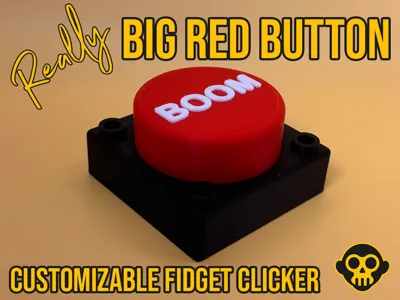
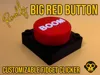
A REALLY Big Red Button fidget clicker powered by 3 MX-style mechanical keyboard switches. It has a chunky novelty button feel, a satisfying triple-click action, and a customisable top so makers can add their own text.
The finished model measures approximately 65 x 71 x 36 mm when assembled. The base also includes a keychain hole, so it can be clipped to a bag, keys, desk setup, or fidget collection.
Printing Details
Print difficulty: Easy, but good bed adhesion is important.
Recommended settings:
- Material: PLA
- Layer height: 0.16 mm
- Supports: None required
- Infill: 15% or similar
- Walls: 2+ walls recommended
- Printer: Any FDM printer should work
The button tops need good adhesion during printing, so make sure your build plate is clean and consider using a brim if your printer/material combination needs it.
An AMS is not required for the text versions. For a colour change, simply add a pause at the correct layer in your slicer, swap filament, then continue the print.
File Formats Included
- 3MF project file
Variations
Included parts:
- Base
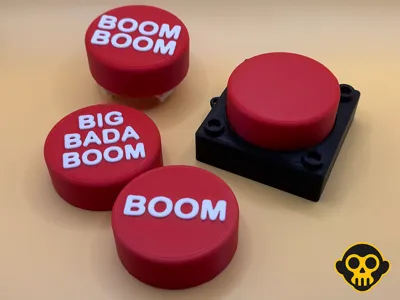
- Plain button top
- Customisable text plate with 1 line of text
- Customisable text plate with 2 lines of text
- Customisable text plate with 3 lines of text
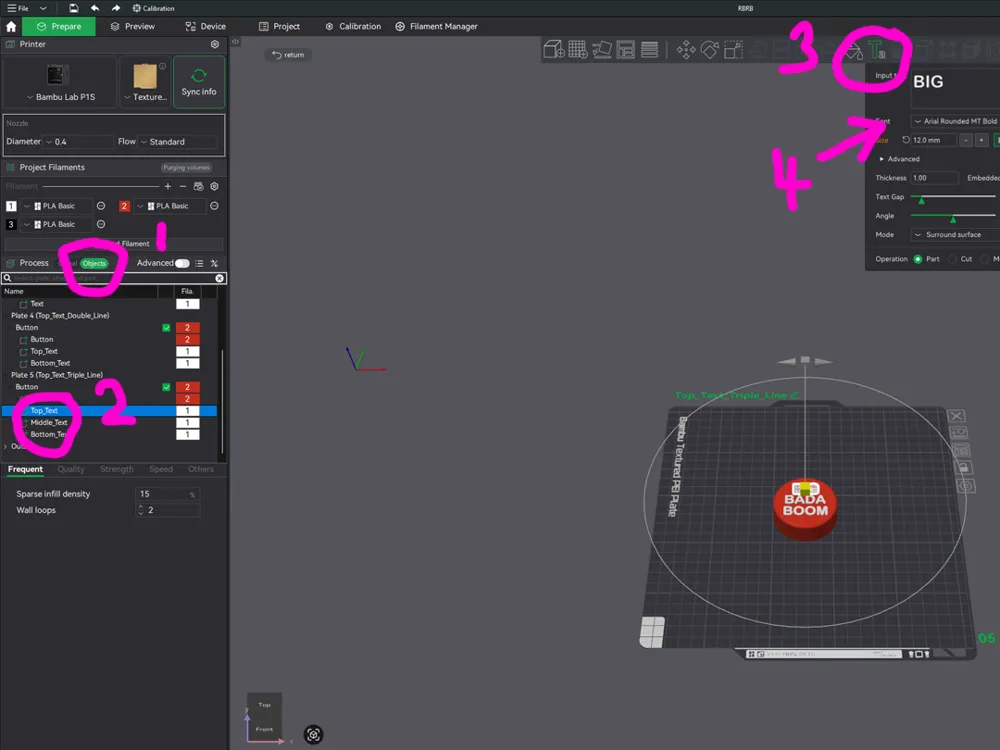
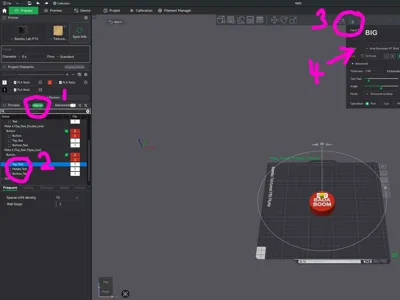
The text can be customised directly in the slicer. Select the button top on the plate, open the Objects list, select the text object, then use the Text tool to amend the wording. You can change the text, size, font and position as needed.
Assembly
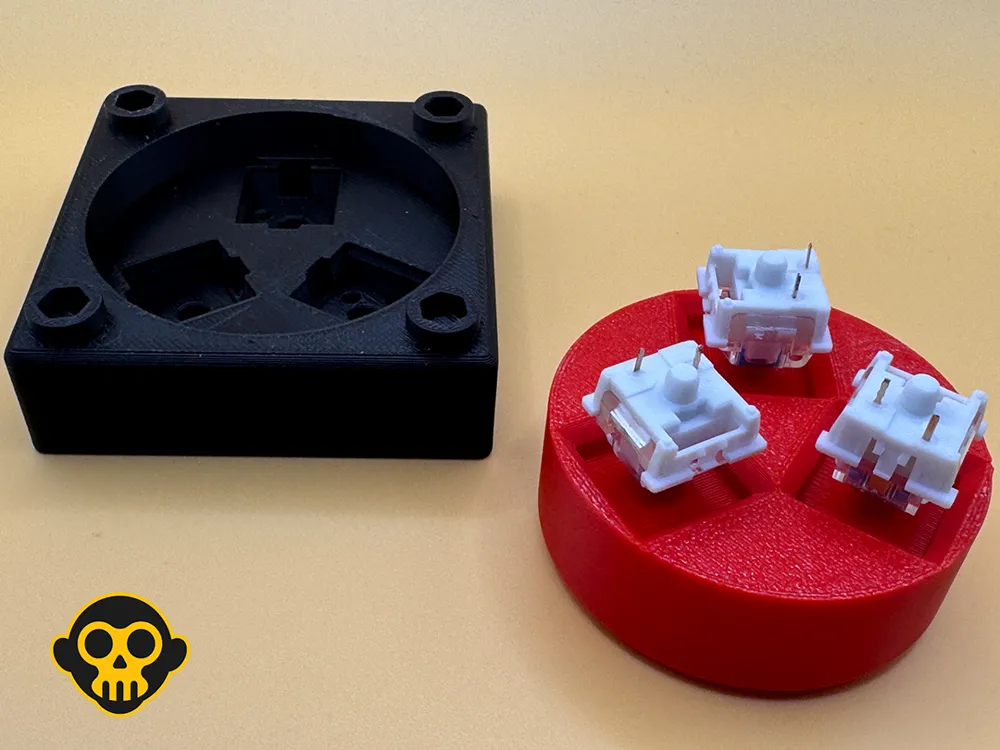
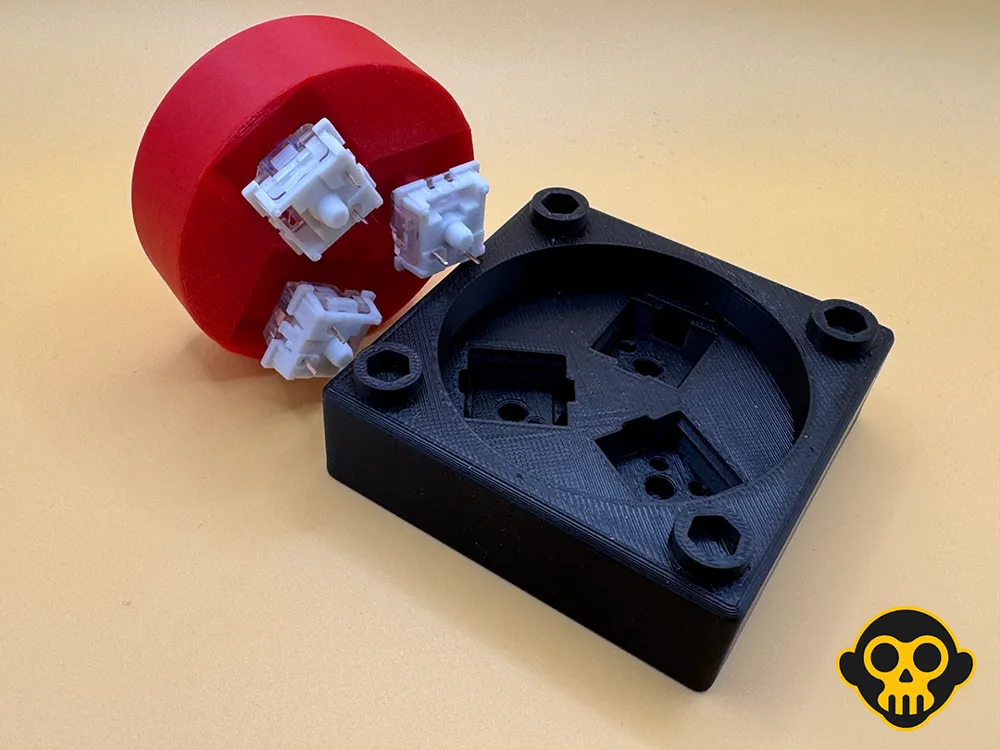
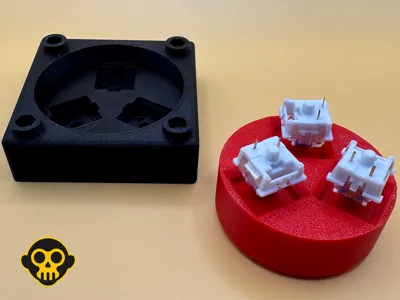
You will need 3 MX-style mechanical keyboard switches. Standard Cherry MX, Gateron, Kailh-style or similar MX-compatible switches should fit.
Assembly order is important:
- Print the base and chosen button top.
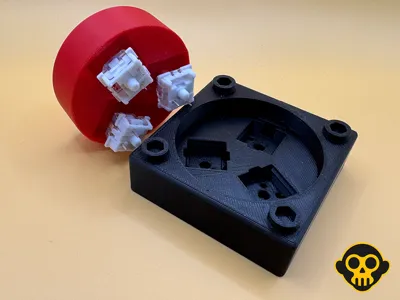
- Insert the 3 switches into the TOP part first.
- Align the switch pins as shown in the model/images.
- Once the switches are seated in the top, place the top into the base.
It is much easier to align everything by fitting the switches into the top first, rather than putting the switches into the base first.
Please like and follow for more…
Boost Me (for free)
If you like the model, please consider a boost
License

You shall not share, sub-license, sell, rent, host, transfer, or distribute in any way the digital or 3D printed versions of this object, nor any other derivative work of this object in its digital or physical format (including - but not limited to - remixes of this object, and hosting on other digital platforms). The objects may not be used without permission in any way whatsoever in which you charge money, or collect fees.


Comment & Rating (6)