







Print Profile(1)

Description
🎵 Lightbox Lamp "Technics" - Light Sign for DJs and Audiophiles
Bring the club or recording studio atmosphere directly to your home with this elegant lightbox dedicated to the historic Technics brand. Perfect to place next to your turntables, on your vinyl record shelf, or on your desk
The design faithfully reproduces the iconic split logo (white on black and black on white), creating a striking visual effect whether off or on
✨ Project Features
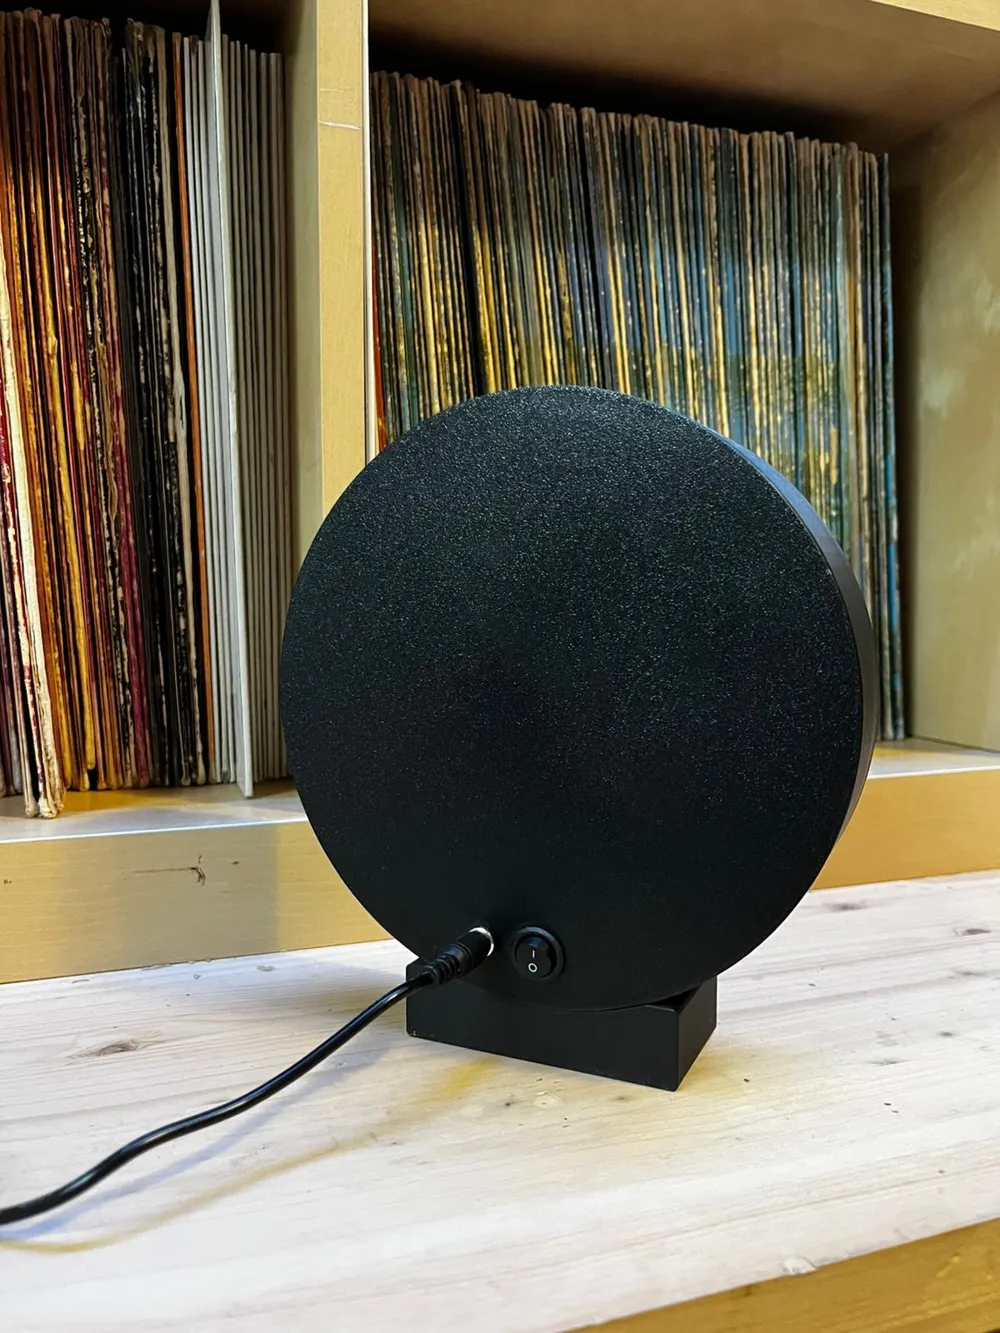
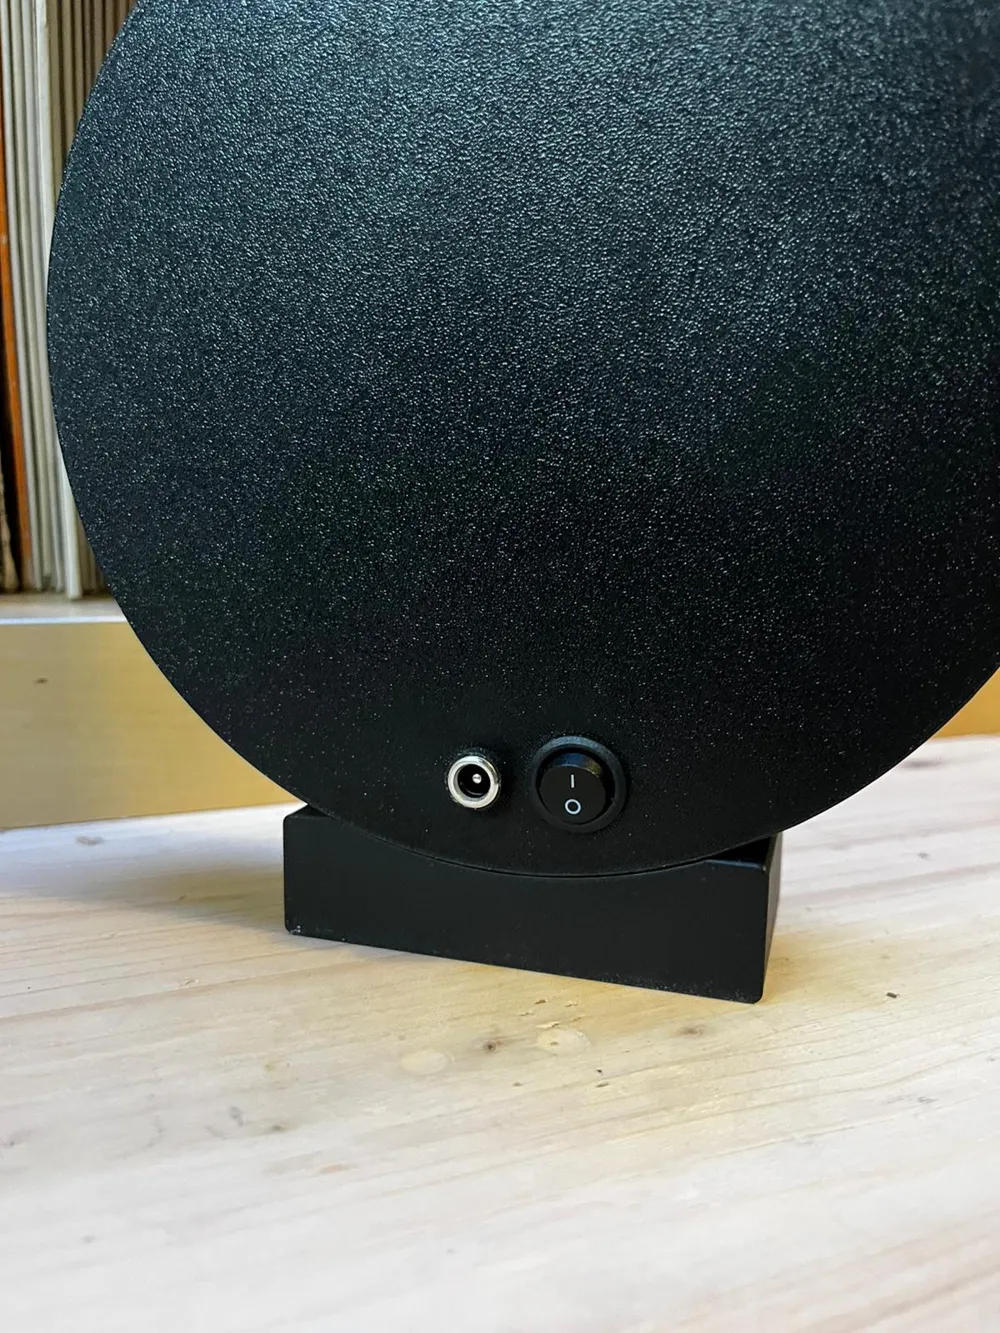
- Ready for electronics: The back panel features custom-sized holes for a DC power connector and a rocker switch, for a professional and tidy look with no dangling wires
- Integrated base: Includes a stand to keep the lamp perfectly upright
- Uniform lighting: The front panel thickness is balanced to allow homogeneous light diffusion, keeping the black opaque and covering
🛠️ Required Materials (BOM - Electronics)
To complete this lightbox, you will need some simple non-printable electronic components
- LED strip: A COB LED strip (5V or 12V) is recommended to avoid the "dot effect" and ensure smooth, continuous light. Alternatively, high-density LED strips (e.g. 120 LED/m)
- Switch: 1x Mini round rocker switch (KCD1 or similar, standard flush mount size)
- Power connector: 1x DC female panel mount jack (standard 5.5 x 2.1 mm)
- Power supply: Corresponding to the voltage of the chosen LED strip
- Miscellaneous: Electrical wires, soldering iron, solder, and hot glue or double-sided tape (if not included with the LED strip)
🖨️ Printing Tips
- Material: PLA or PETG are perfect for this project
- Front Panel: * Print face down. I recommend using a textured PEI plate to give the logo surface a professional finish (as seen in the photos)
- Back Panel and Base: Standard print with 15-20% infill. The textured plate will also give the back a nice rough effect
🔧 Assembly Instructions
- Prepare the back panel: Insert the DC jack and the switch into their respective holes on the back. Secure them with their nuts
- Wiring: Solder the negative (GND) cable from the jack directly to the LED strip. Solder the positive (VCC) cable from the jack to one pin of the switch, and from the other pin of the switch, connect to the positive of the LED strip
- Lighting: Glue the LED strip along the inner perimeter of the front housing
- Closure: Join the back panel to the front panel
- Turn on the music: Place the lamp on its base, connect it to the power supply, flip the switch, and put on a nice vinyl record
Happy printing! If you like the model, don't forget to leave a like, upload your print profile, and show photos of your final result in the comments
License

You may create derivative works based on this object, provided that all such derivative works are published exclusively on the MakerWorld platform and include proper attribution to the original creator. You may not share, upload, host, distribute, or publish this object—or any derivative work of this object—on any other digital platform, marketplace, or distribution channel. Commercial use of this object and any derivative works is strictly prohibited. This includes, but is not limited to, selling, renting, sublicensing, or using the object in any context in which you receive monetary compensation or other financial benefits.


Comment & Rating (3)