
Led ams
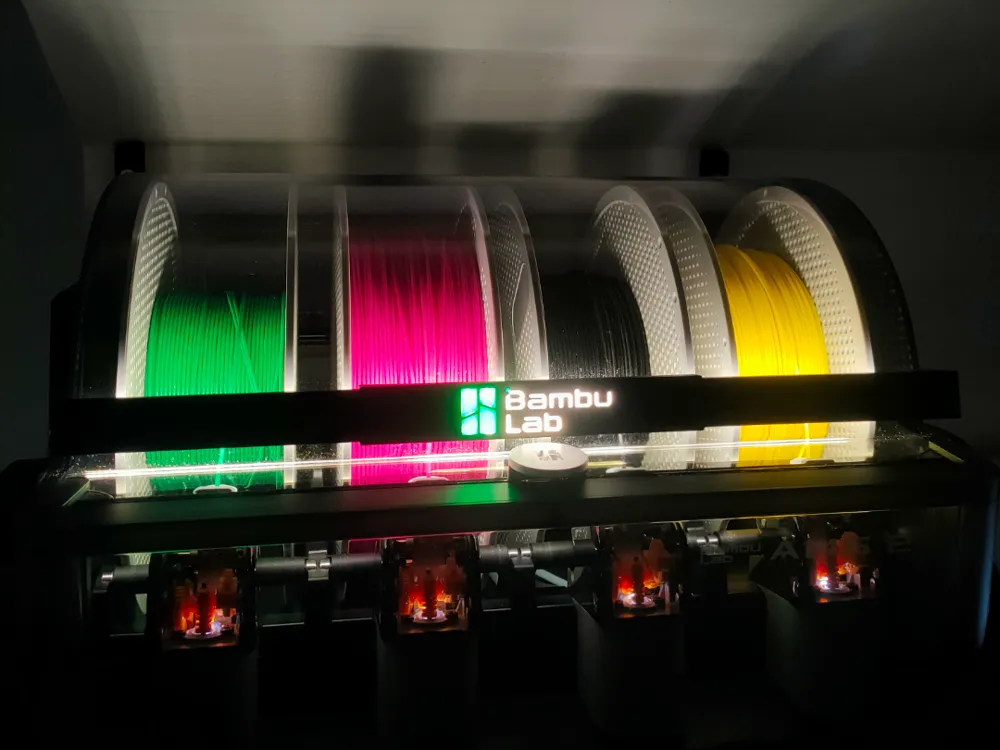
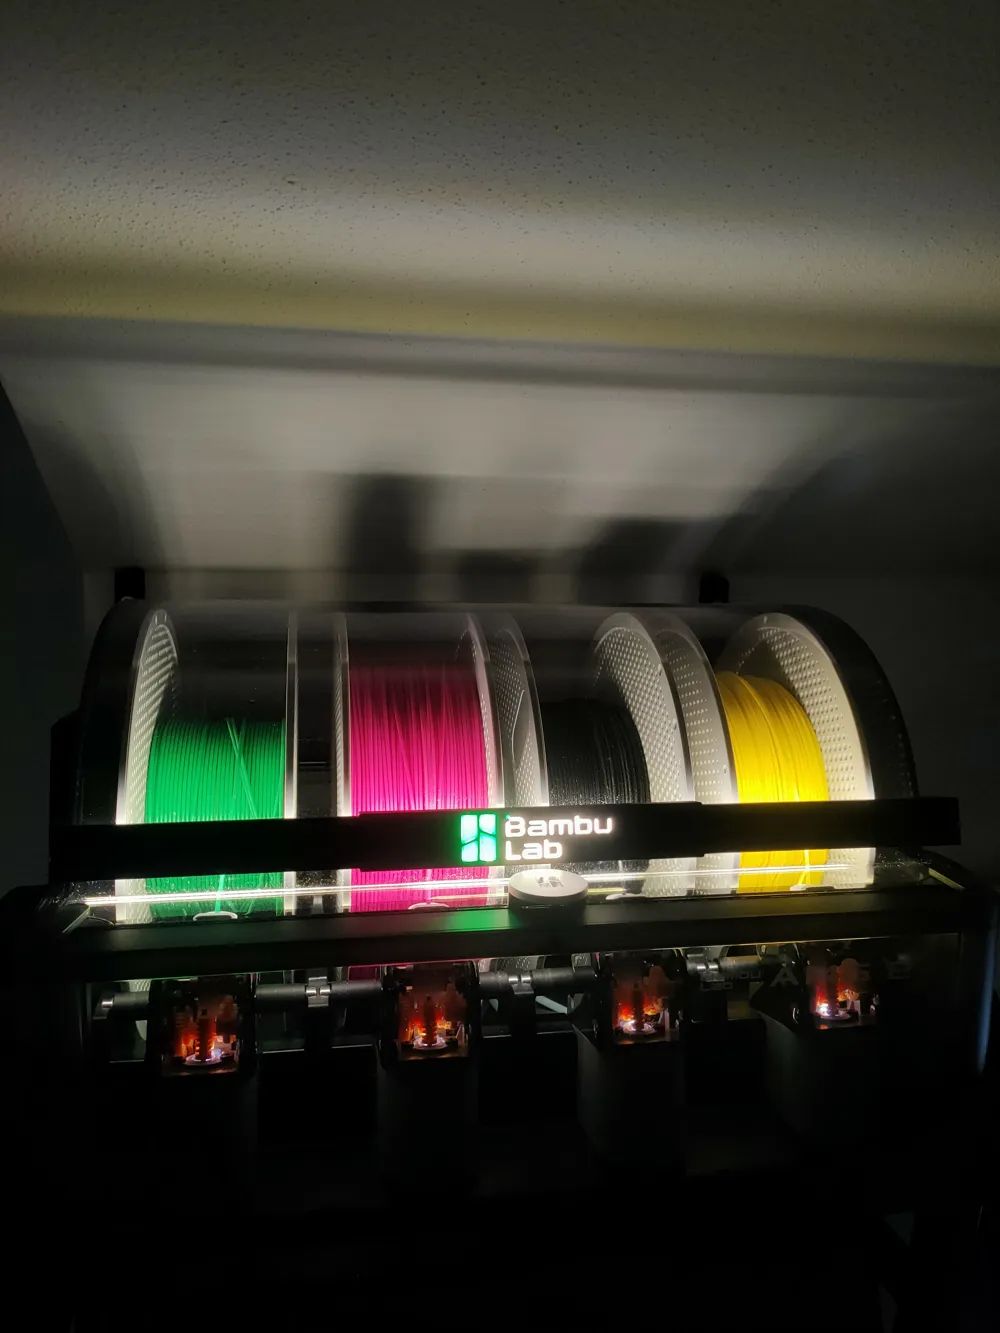
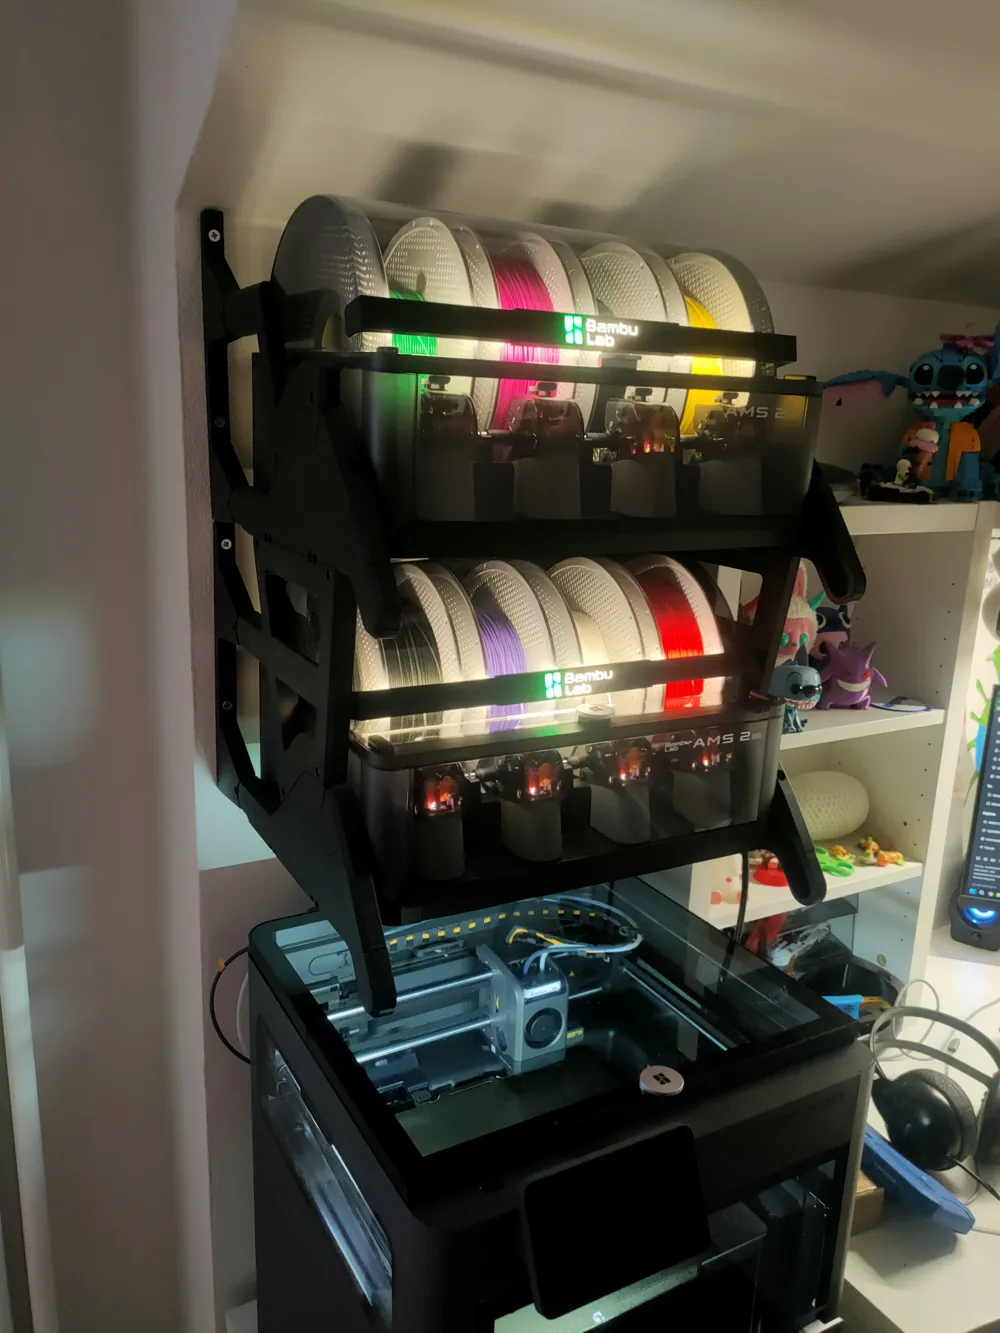


Print Profile(1)
Description
Boost Me (for free)
If you like my work buy me a coffee :-D

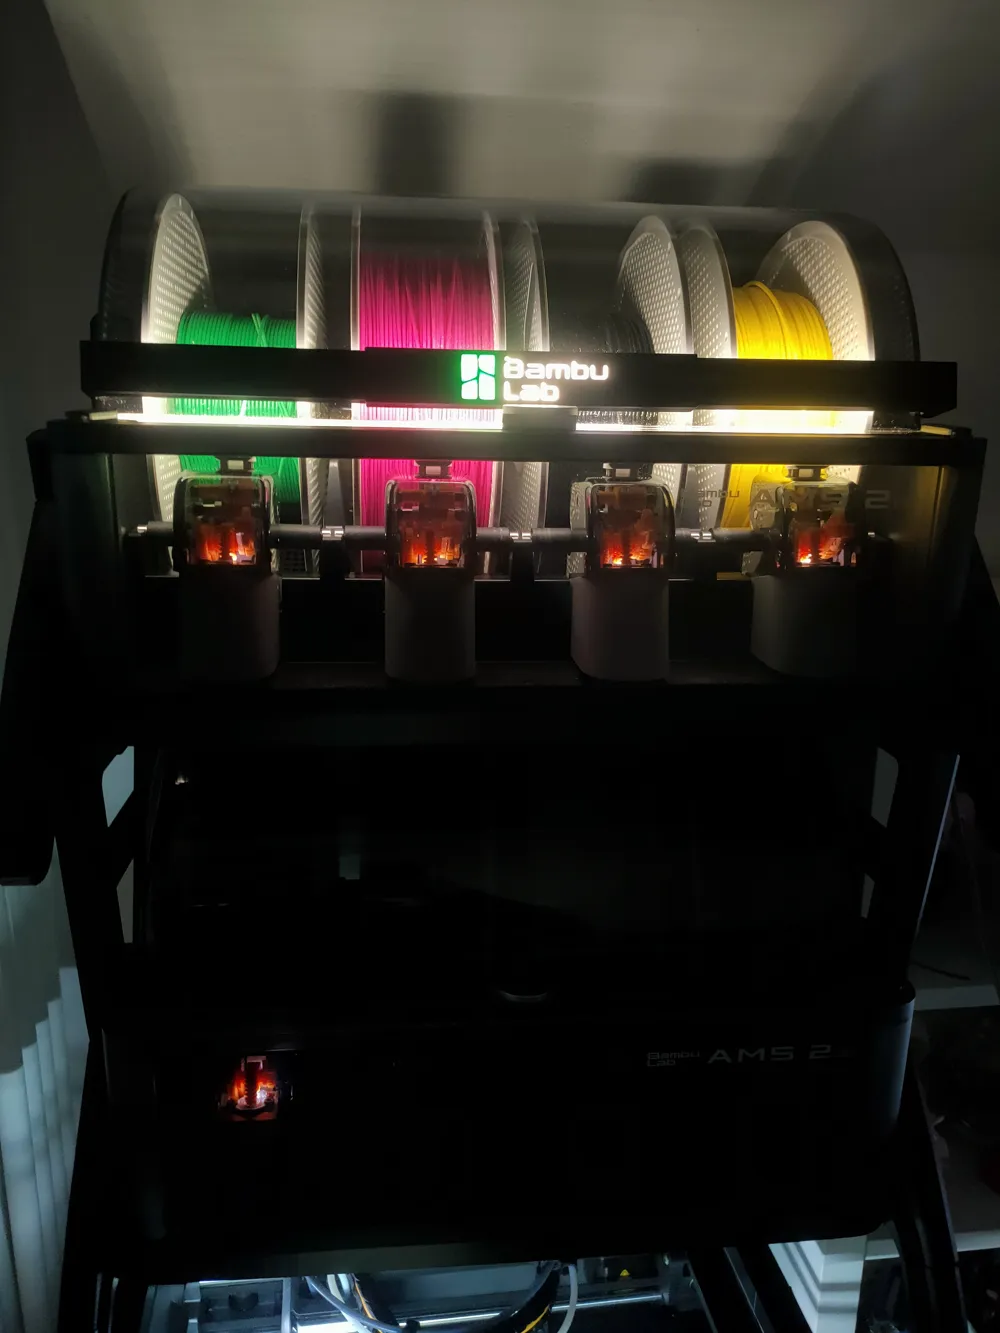
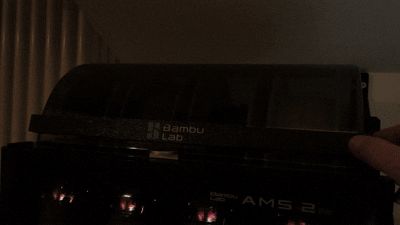
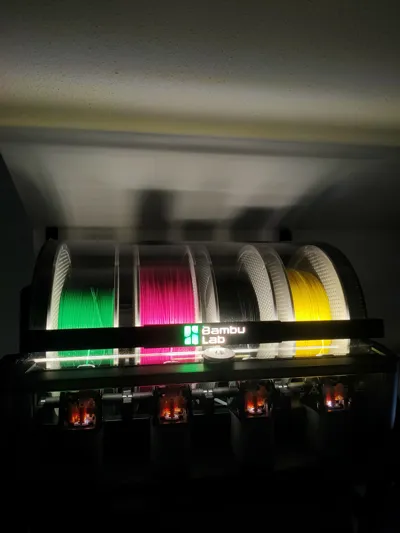
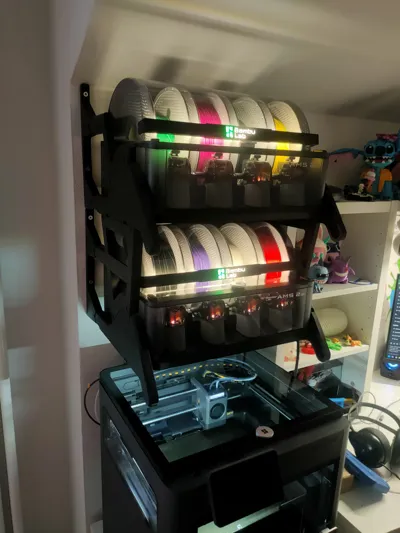
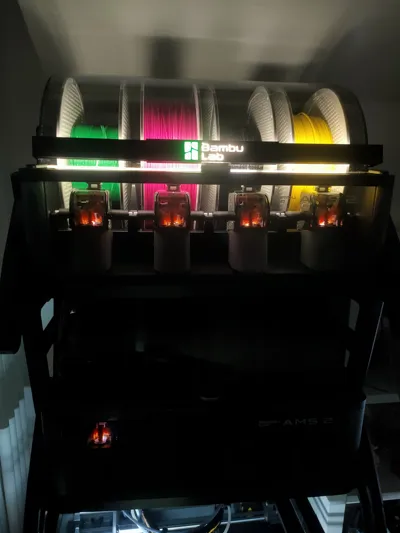
I decided to make this LED bar because I had difficulty seeing the spools in my AMS.
There are two versions, one with a switch and one without, you can use a USB-C connector or even a simple LED strip with a cable.
- The first step is to place double-sided tape on the ends of the two printed parts
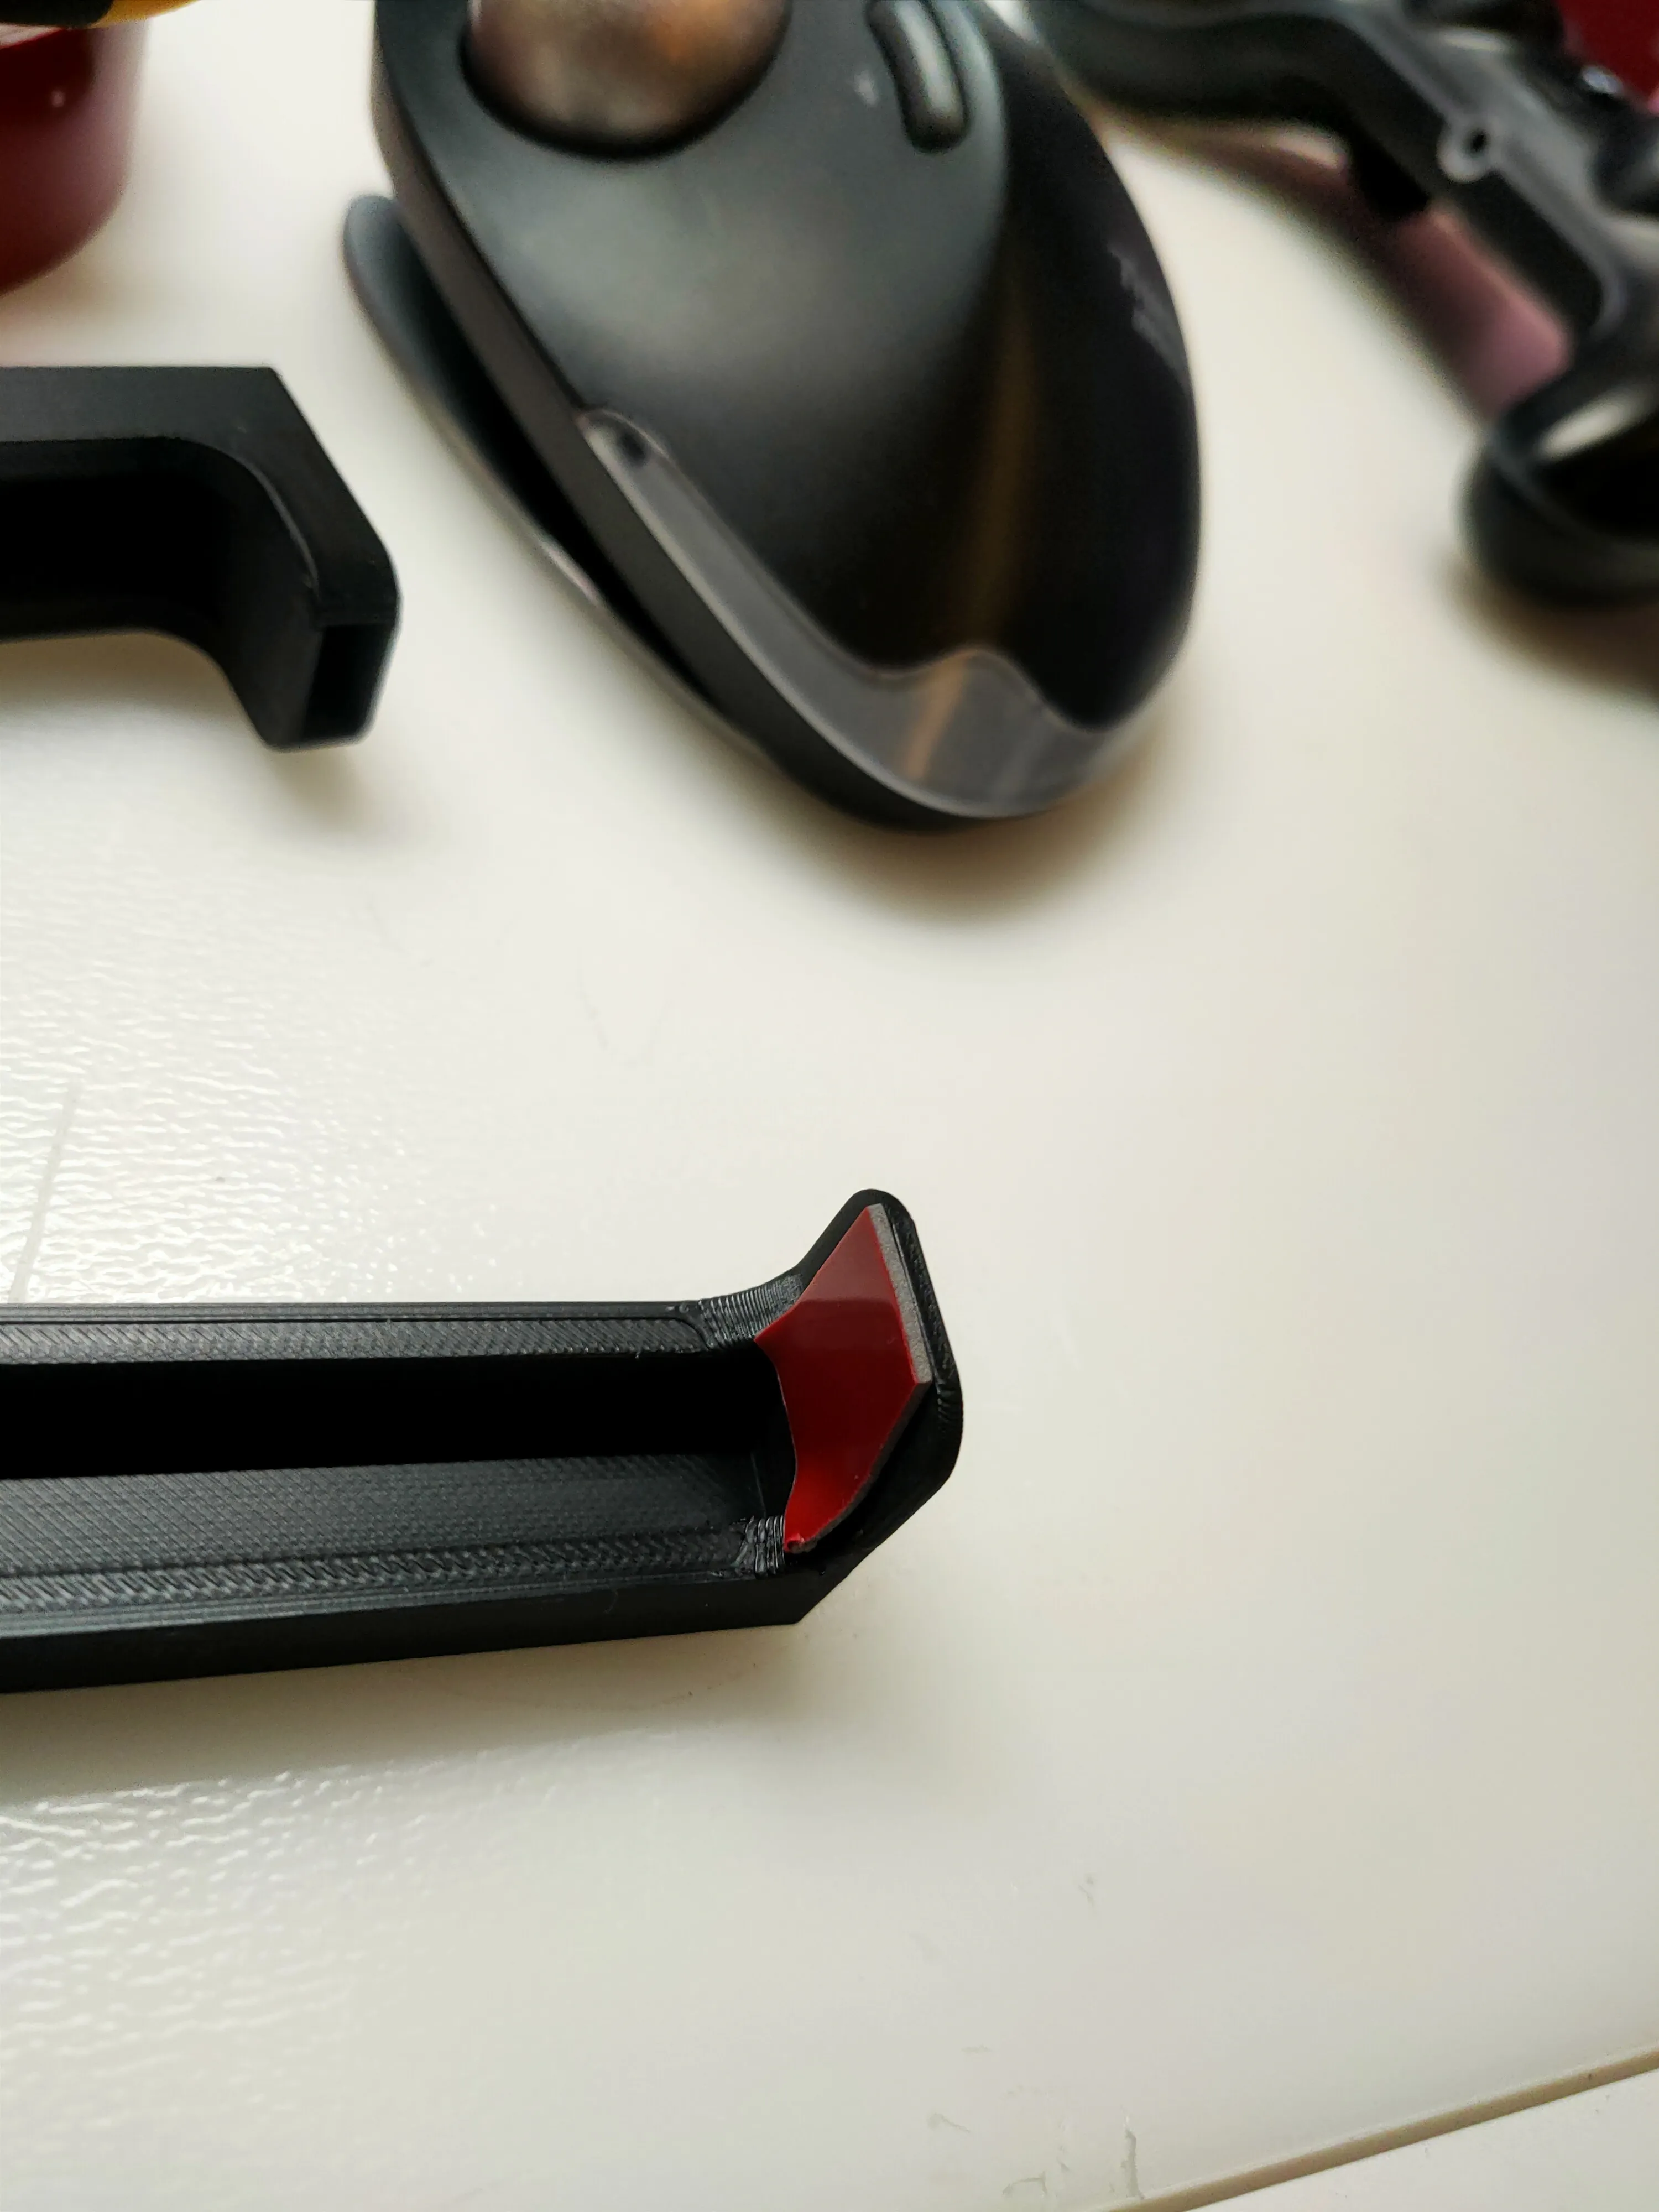
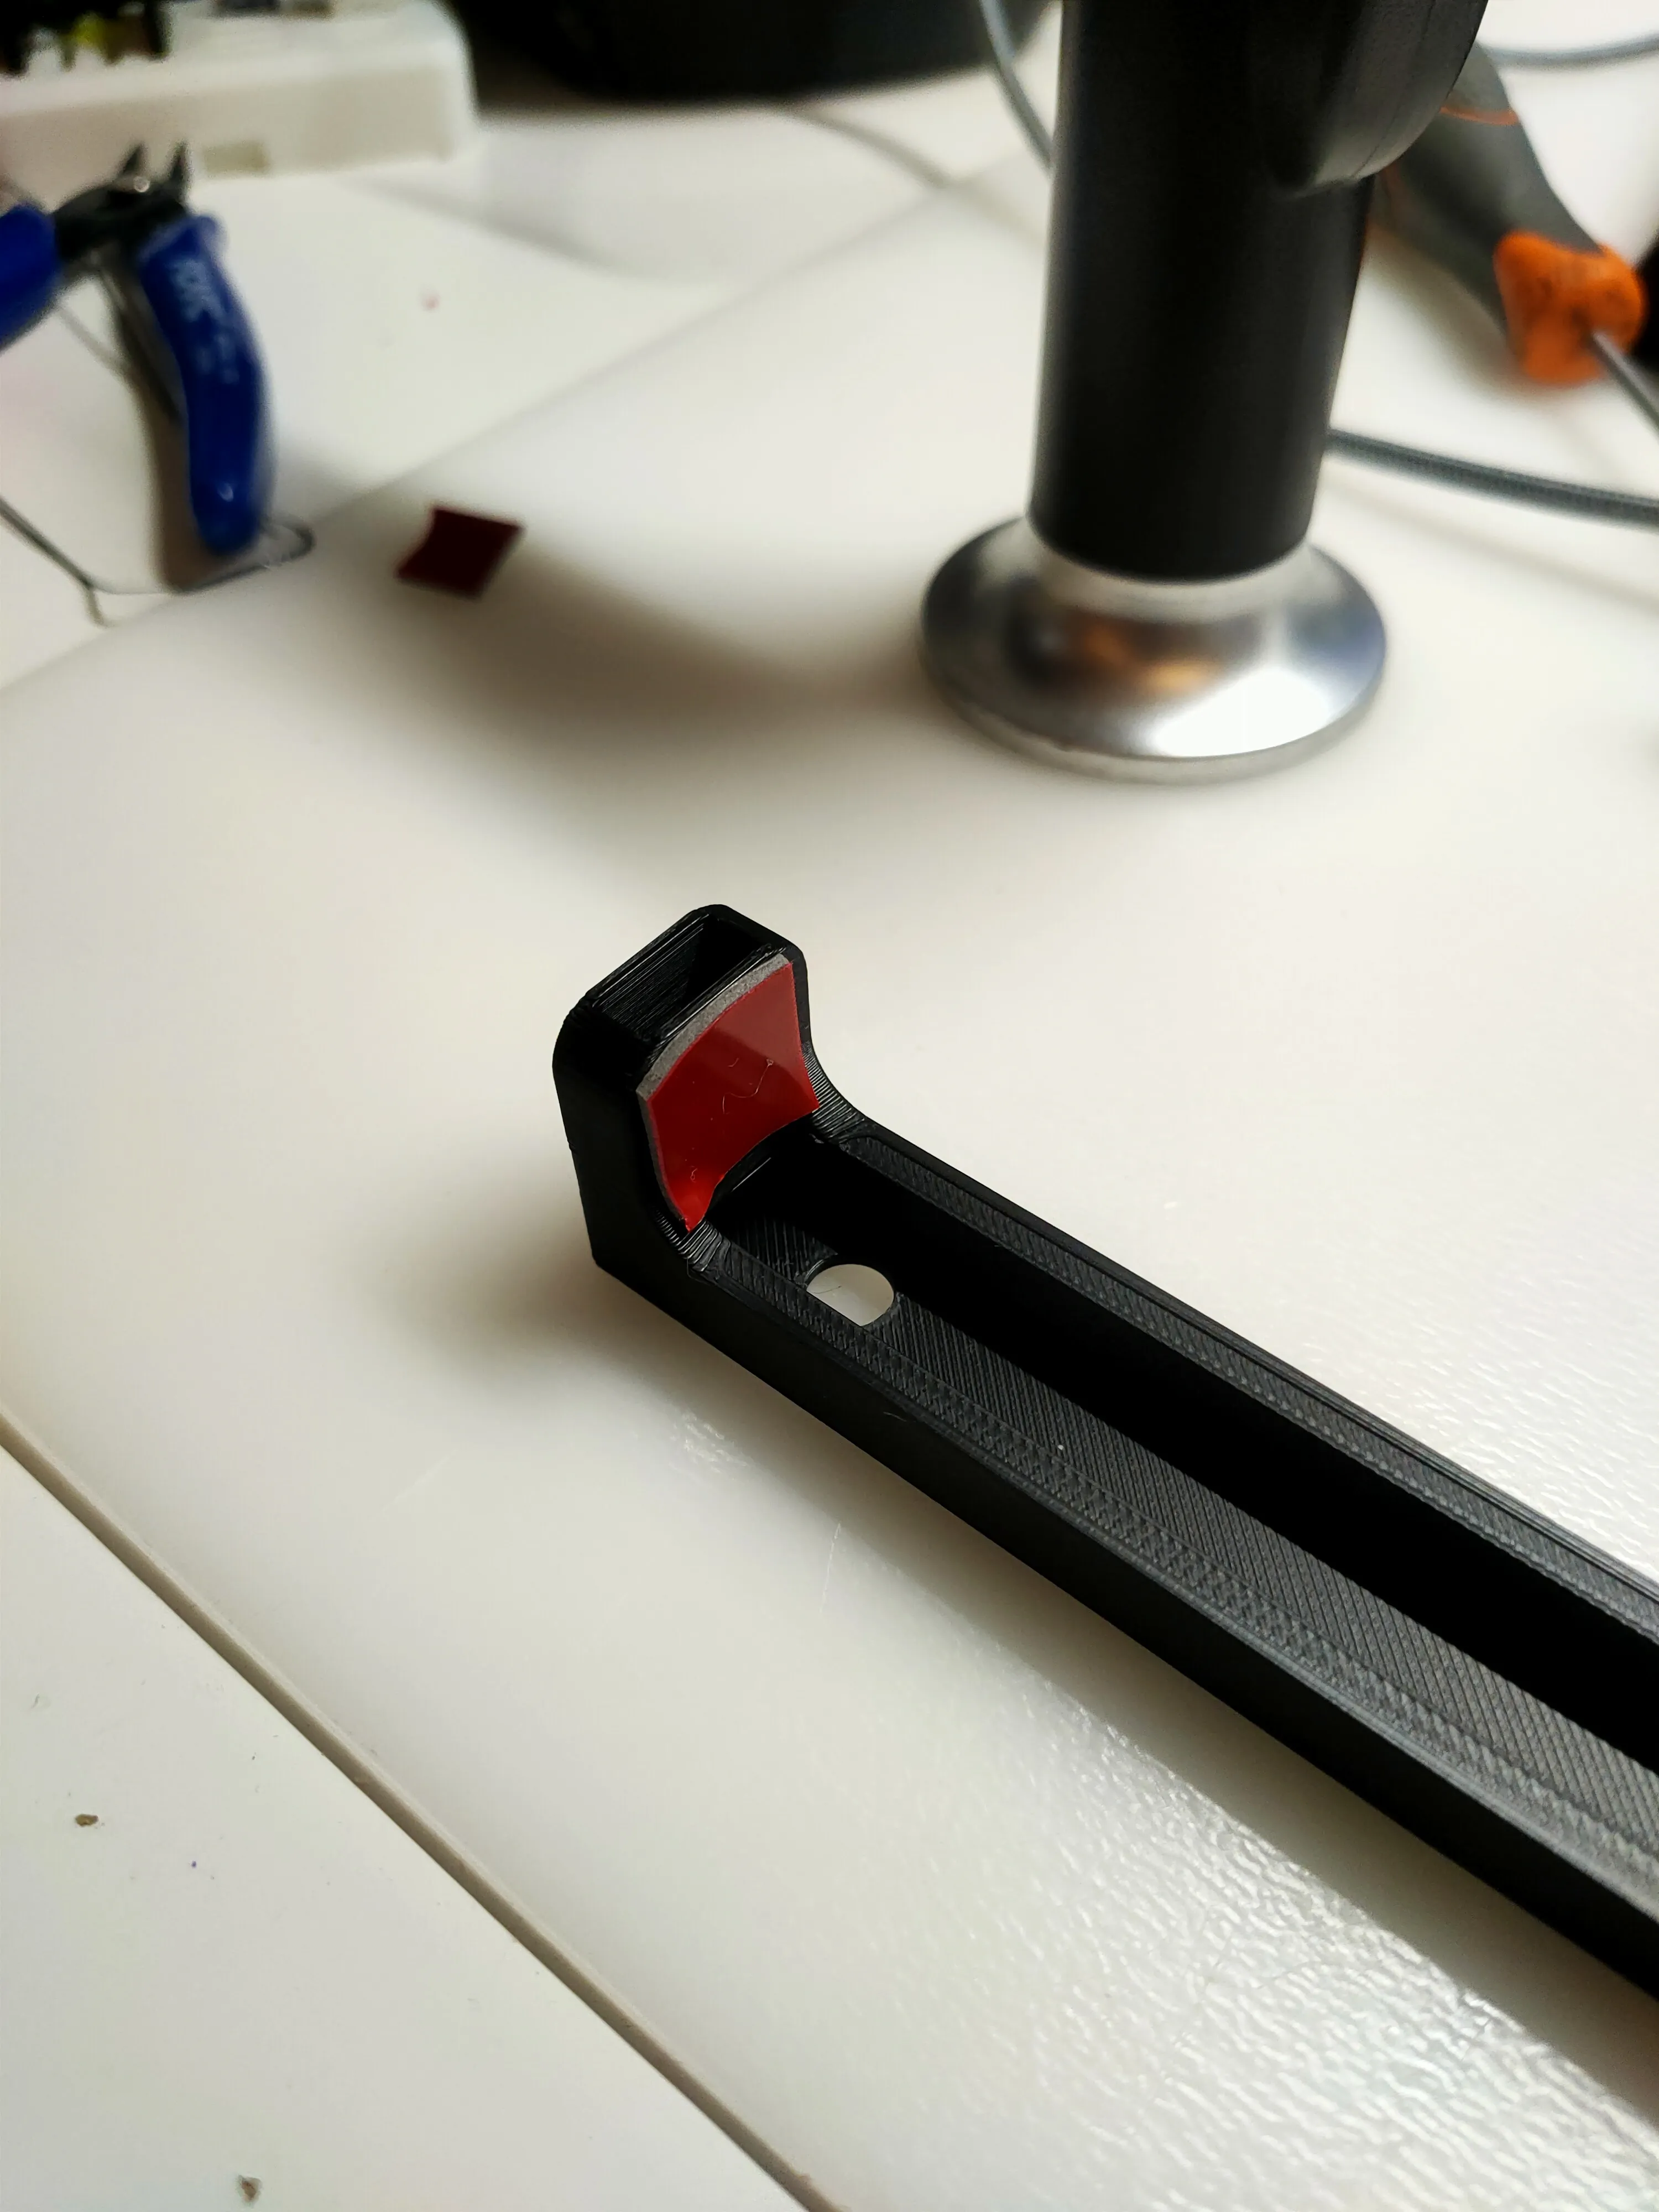
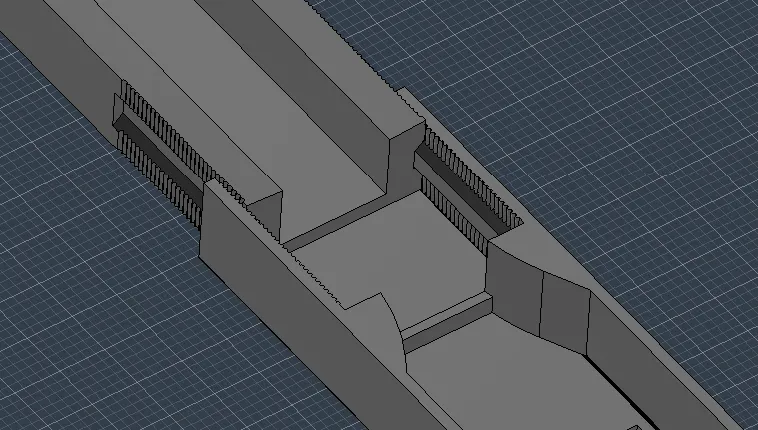

assemble the structure for the LED, deciding from which side to route the wire

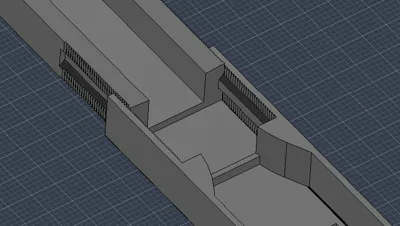
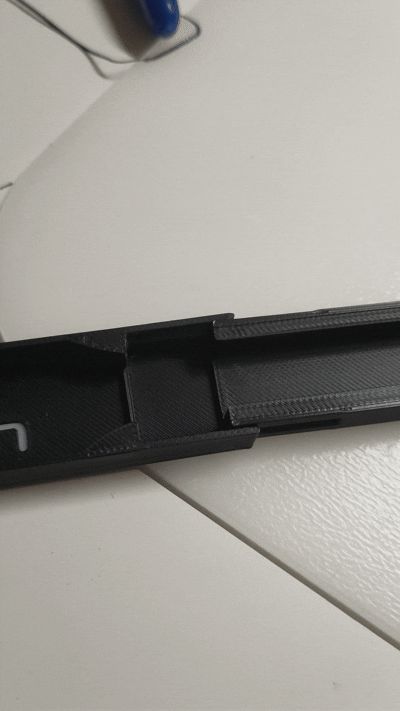
Once assembled, position it on the AMS and take the measurement by pressing on the sides, the internal part is serrated and will maintain its position.
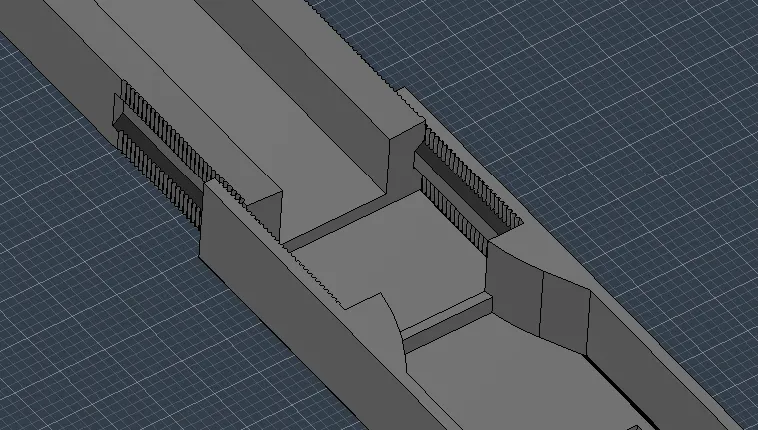
If you want to use the USB connector, cut the two tabs and insert it, adding a drop of glue so that it cannot be pulled out
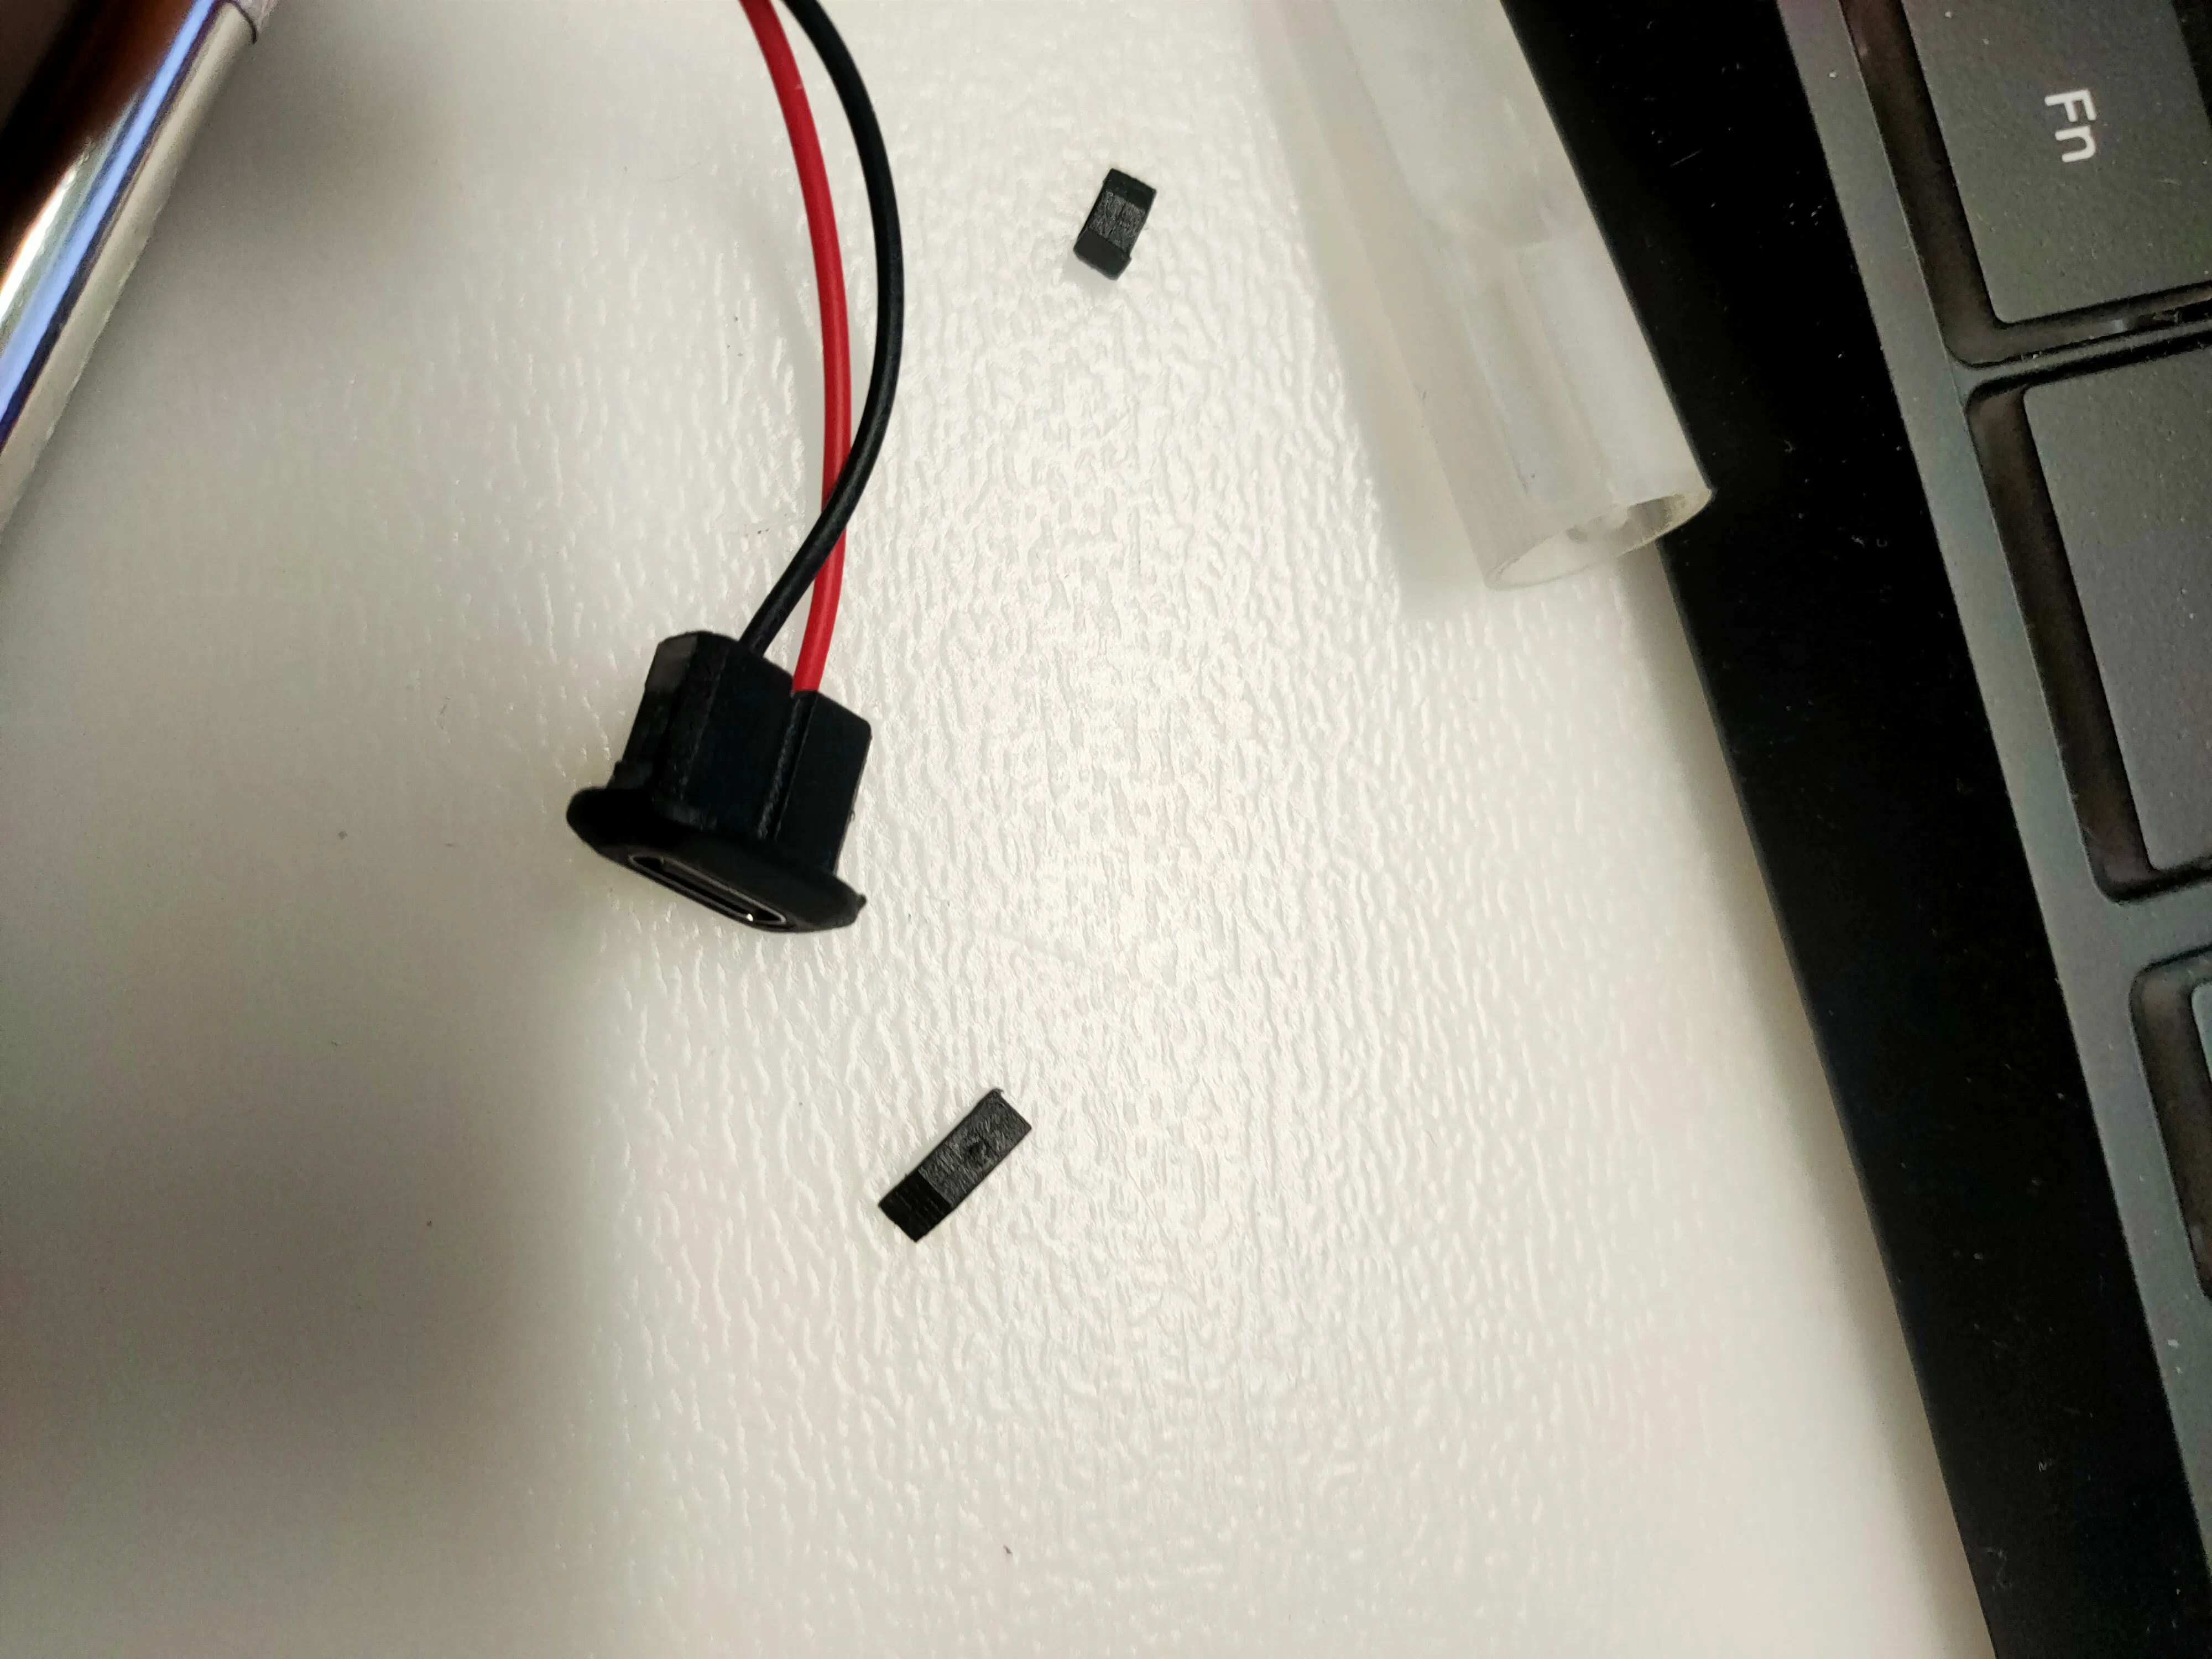
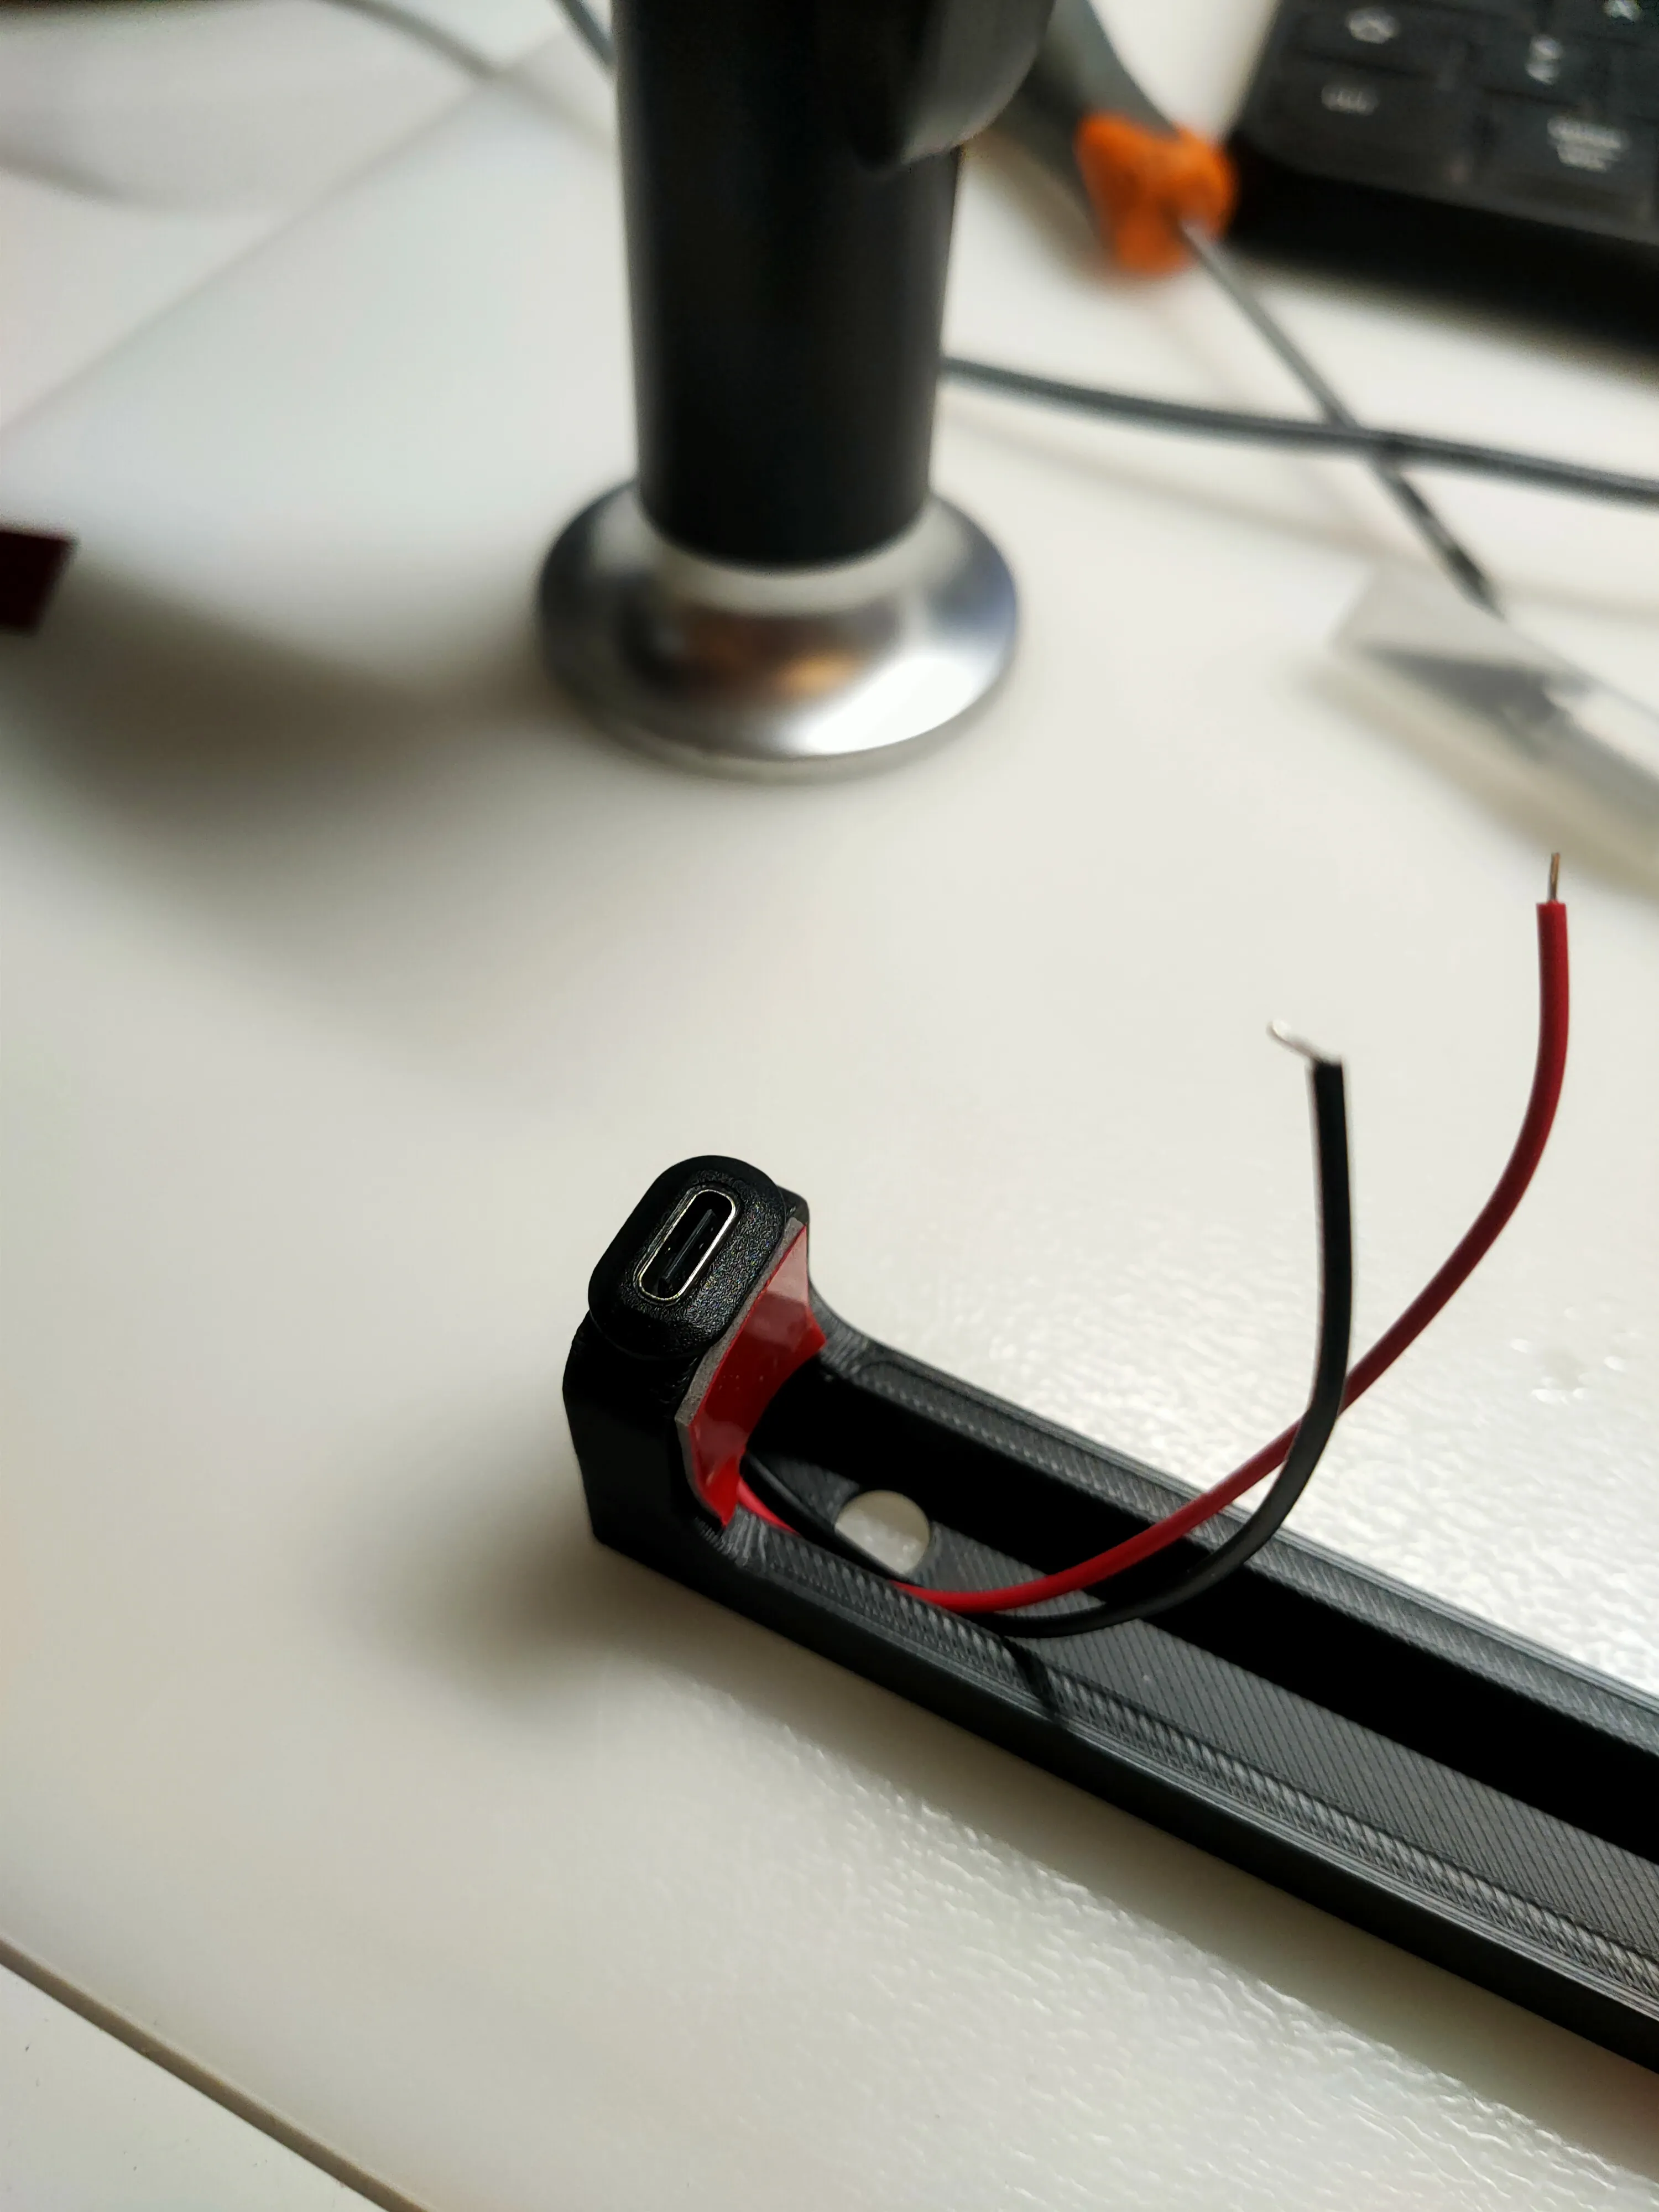
- at this point, if you want to install the switch, slightly cut the metal tabs to reduce bulk and solder a wire (red)
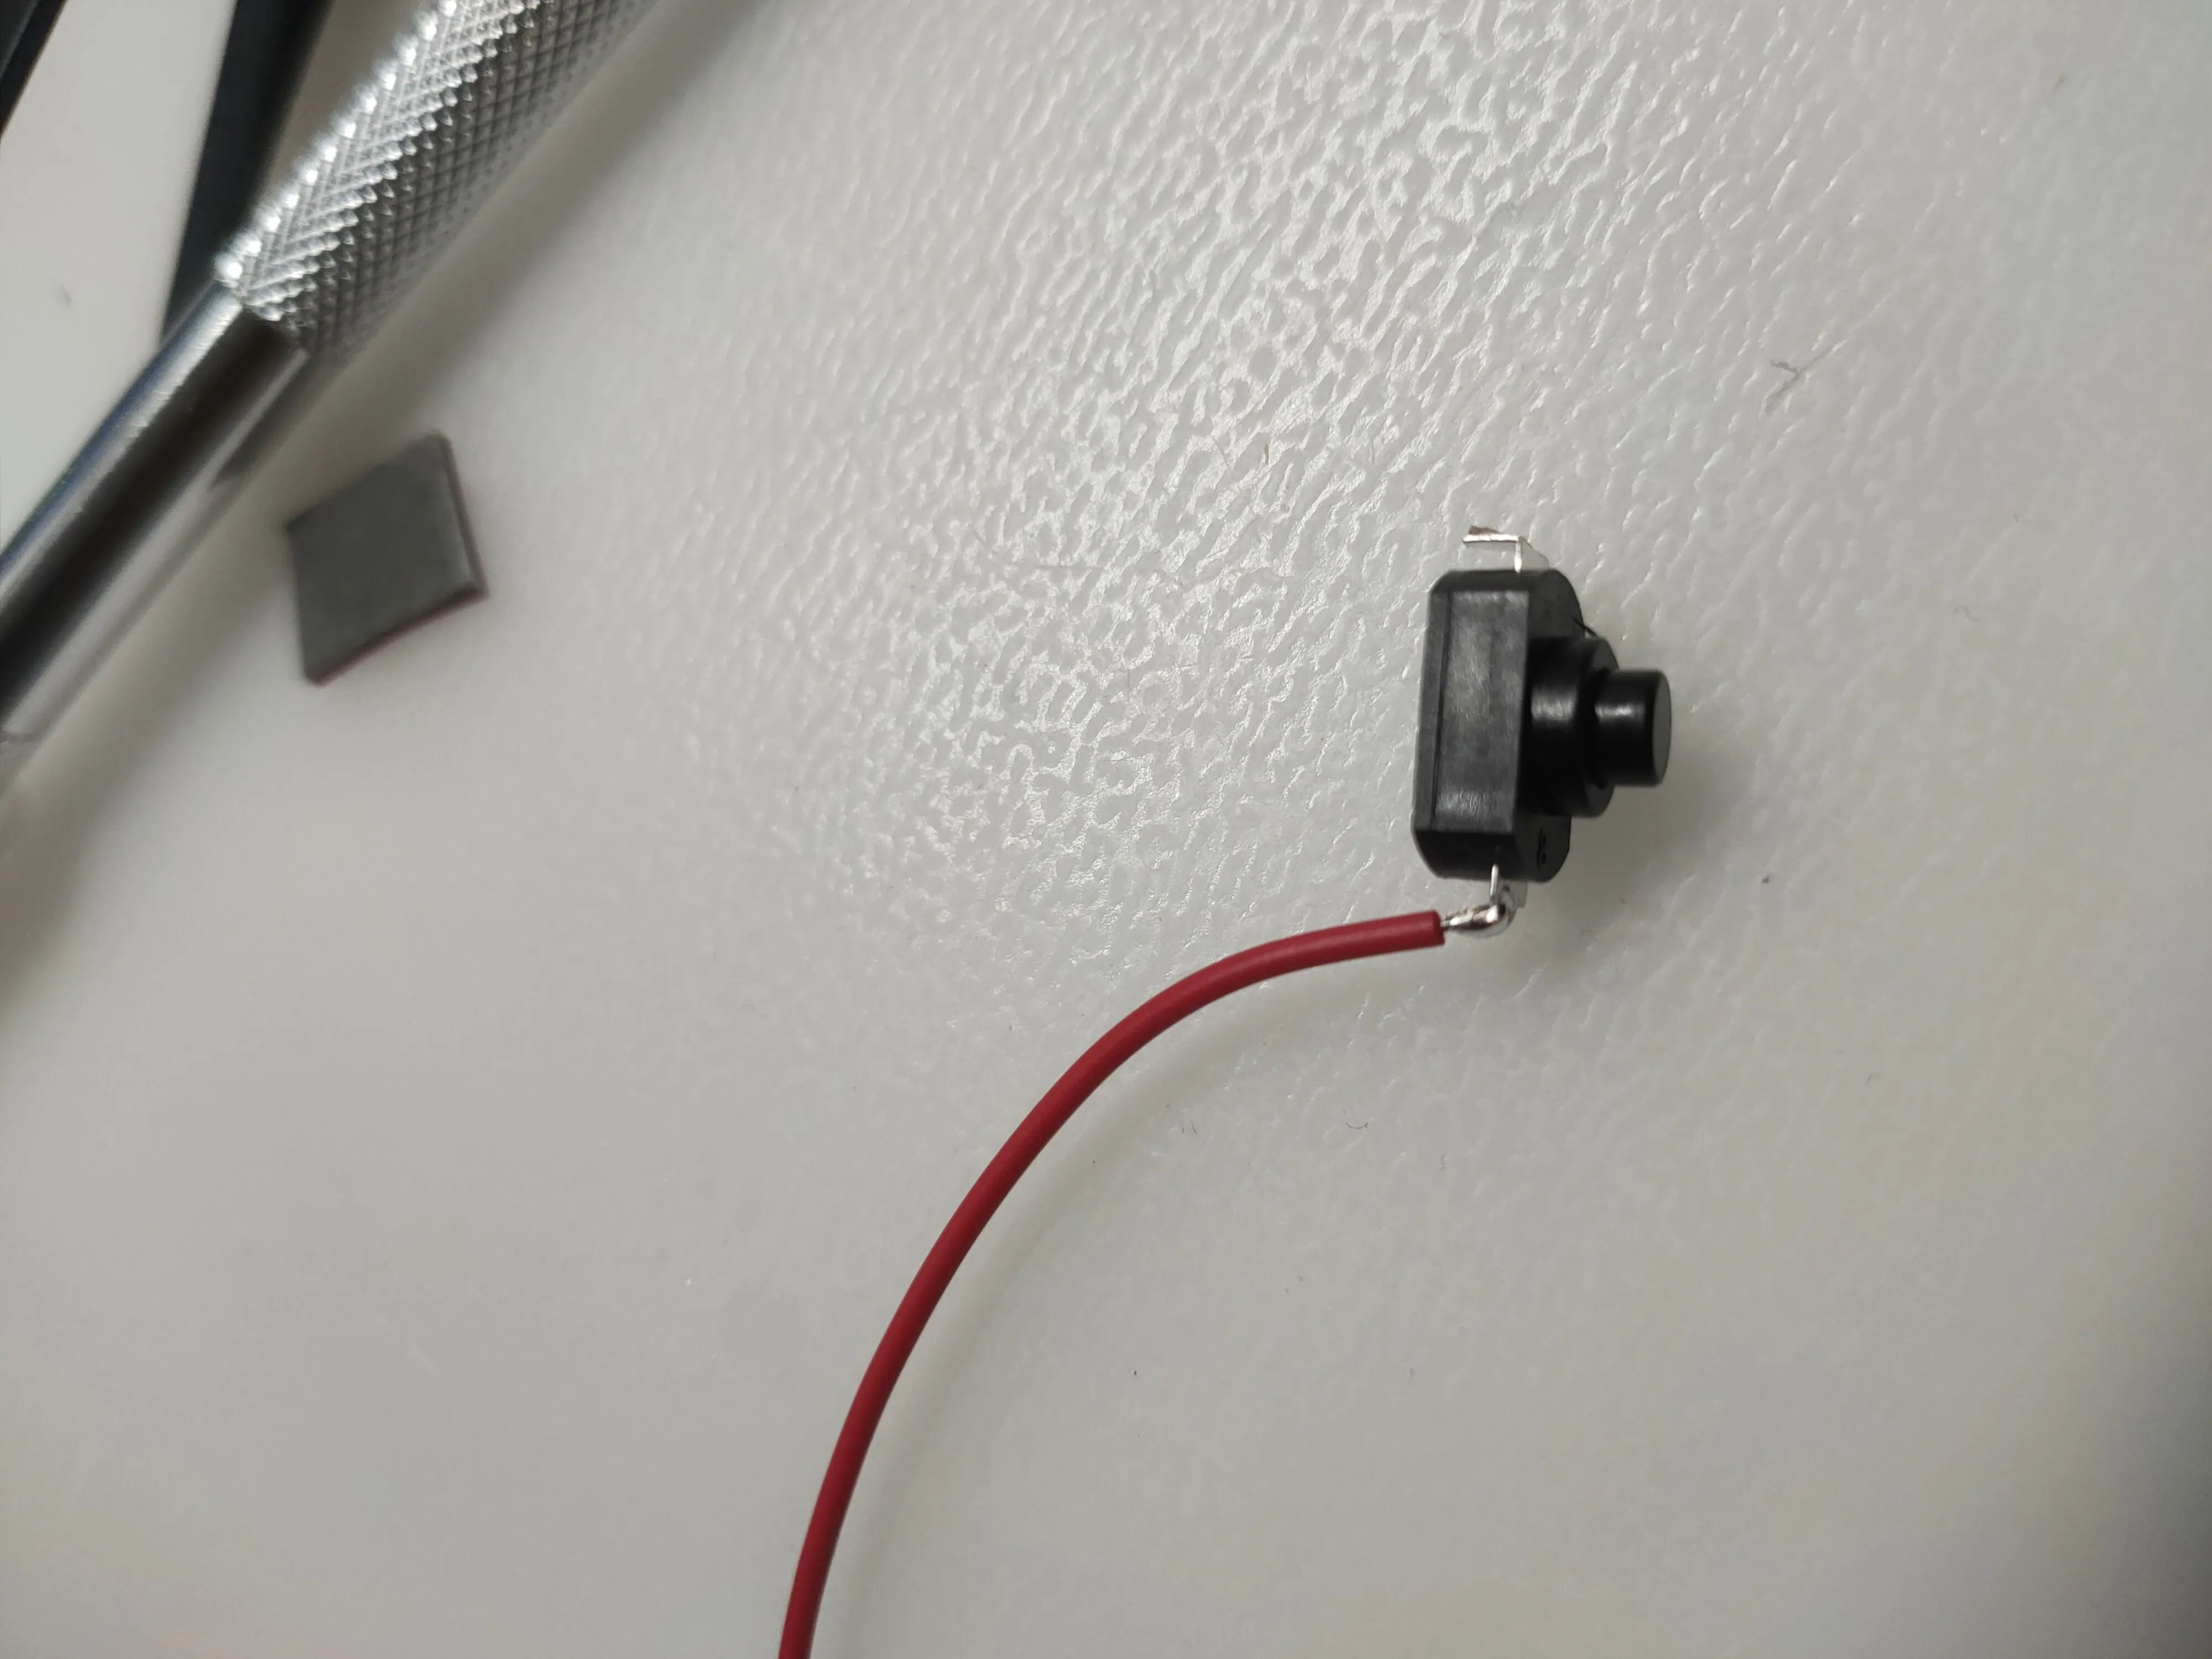
- solder the red wire from the USB-C connector to the other end of the switch.
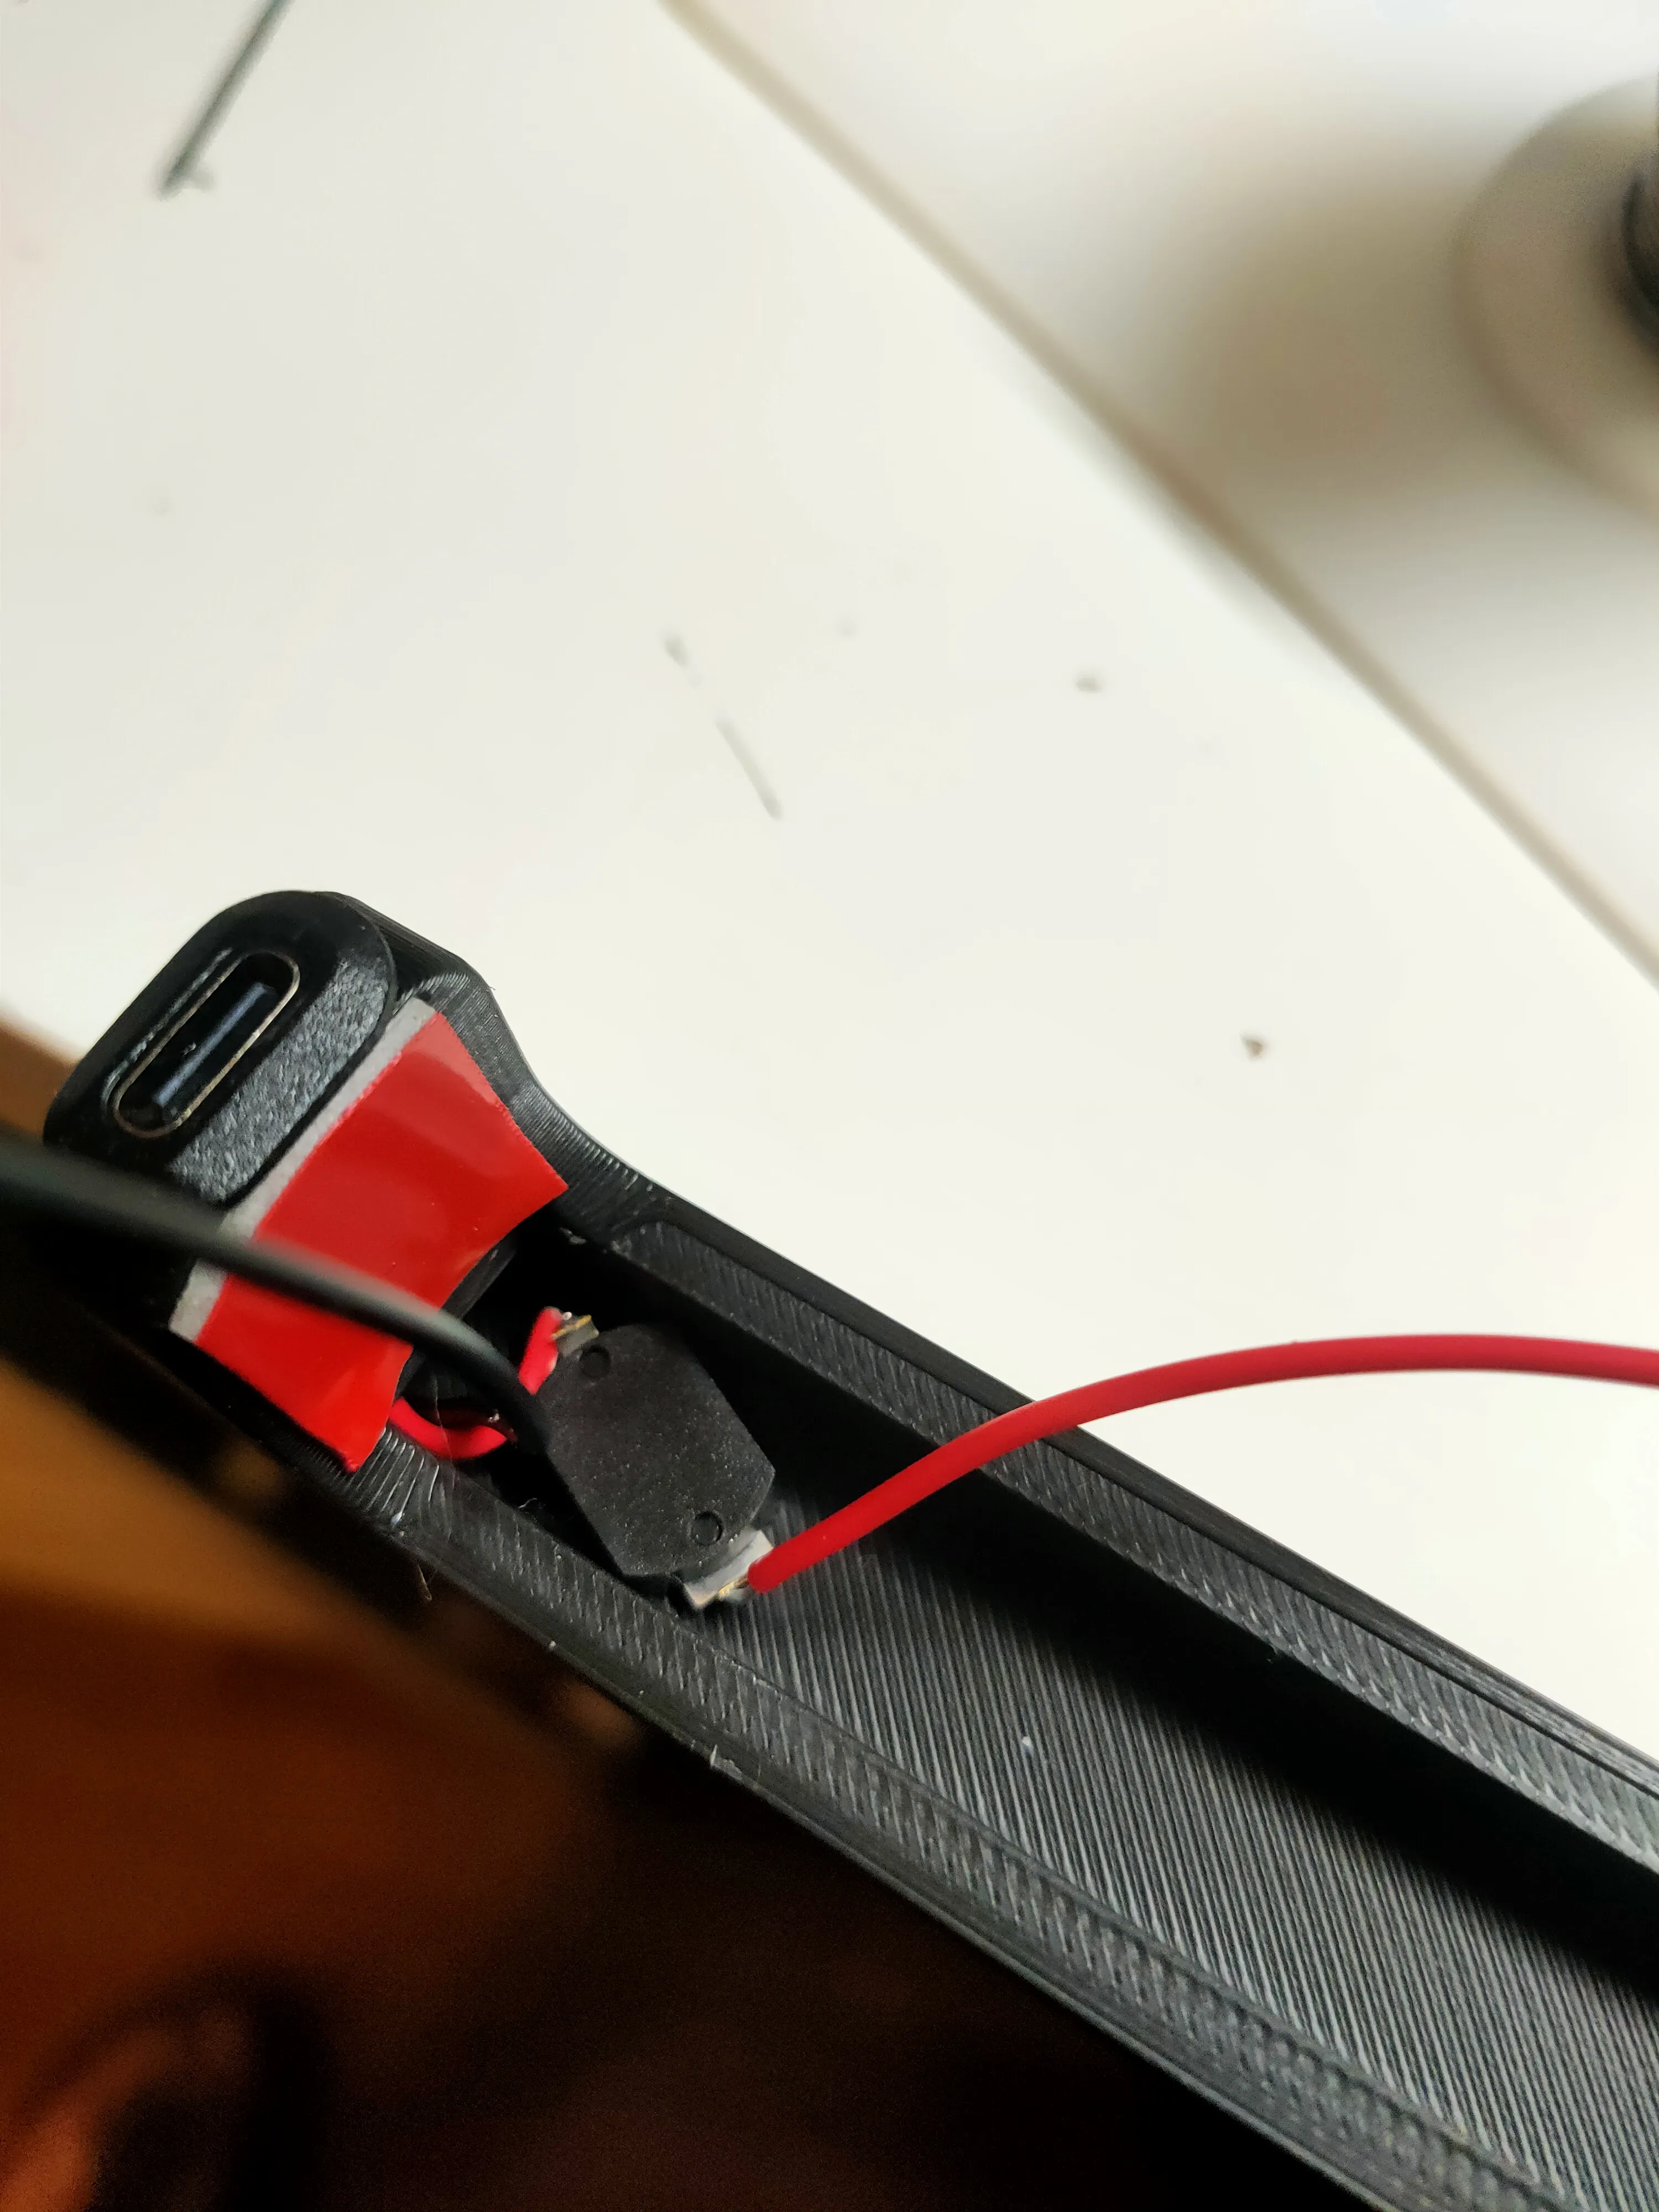
- at this point you should have a black and a red wire, and they need to be soldered to the LED strip
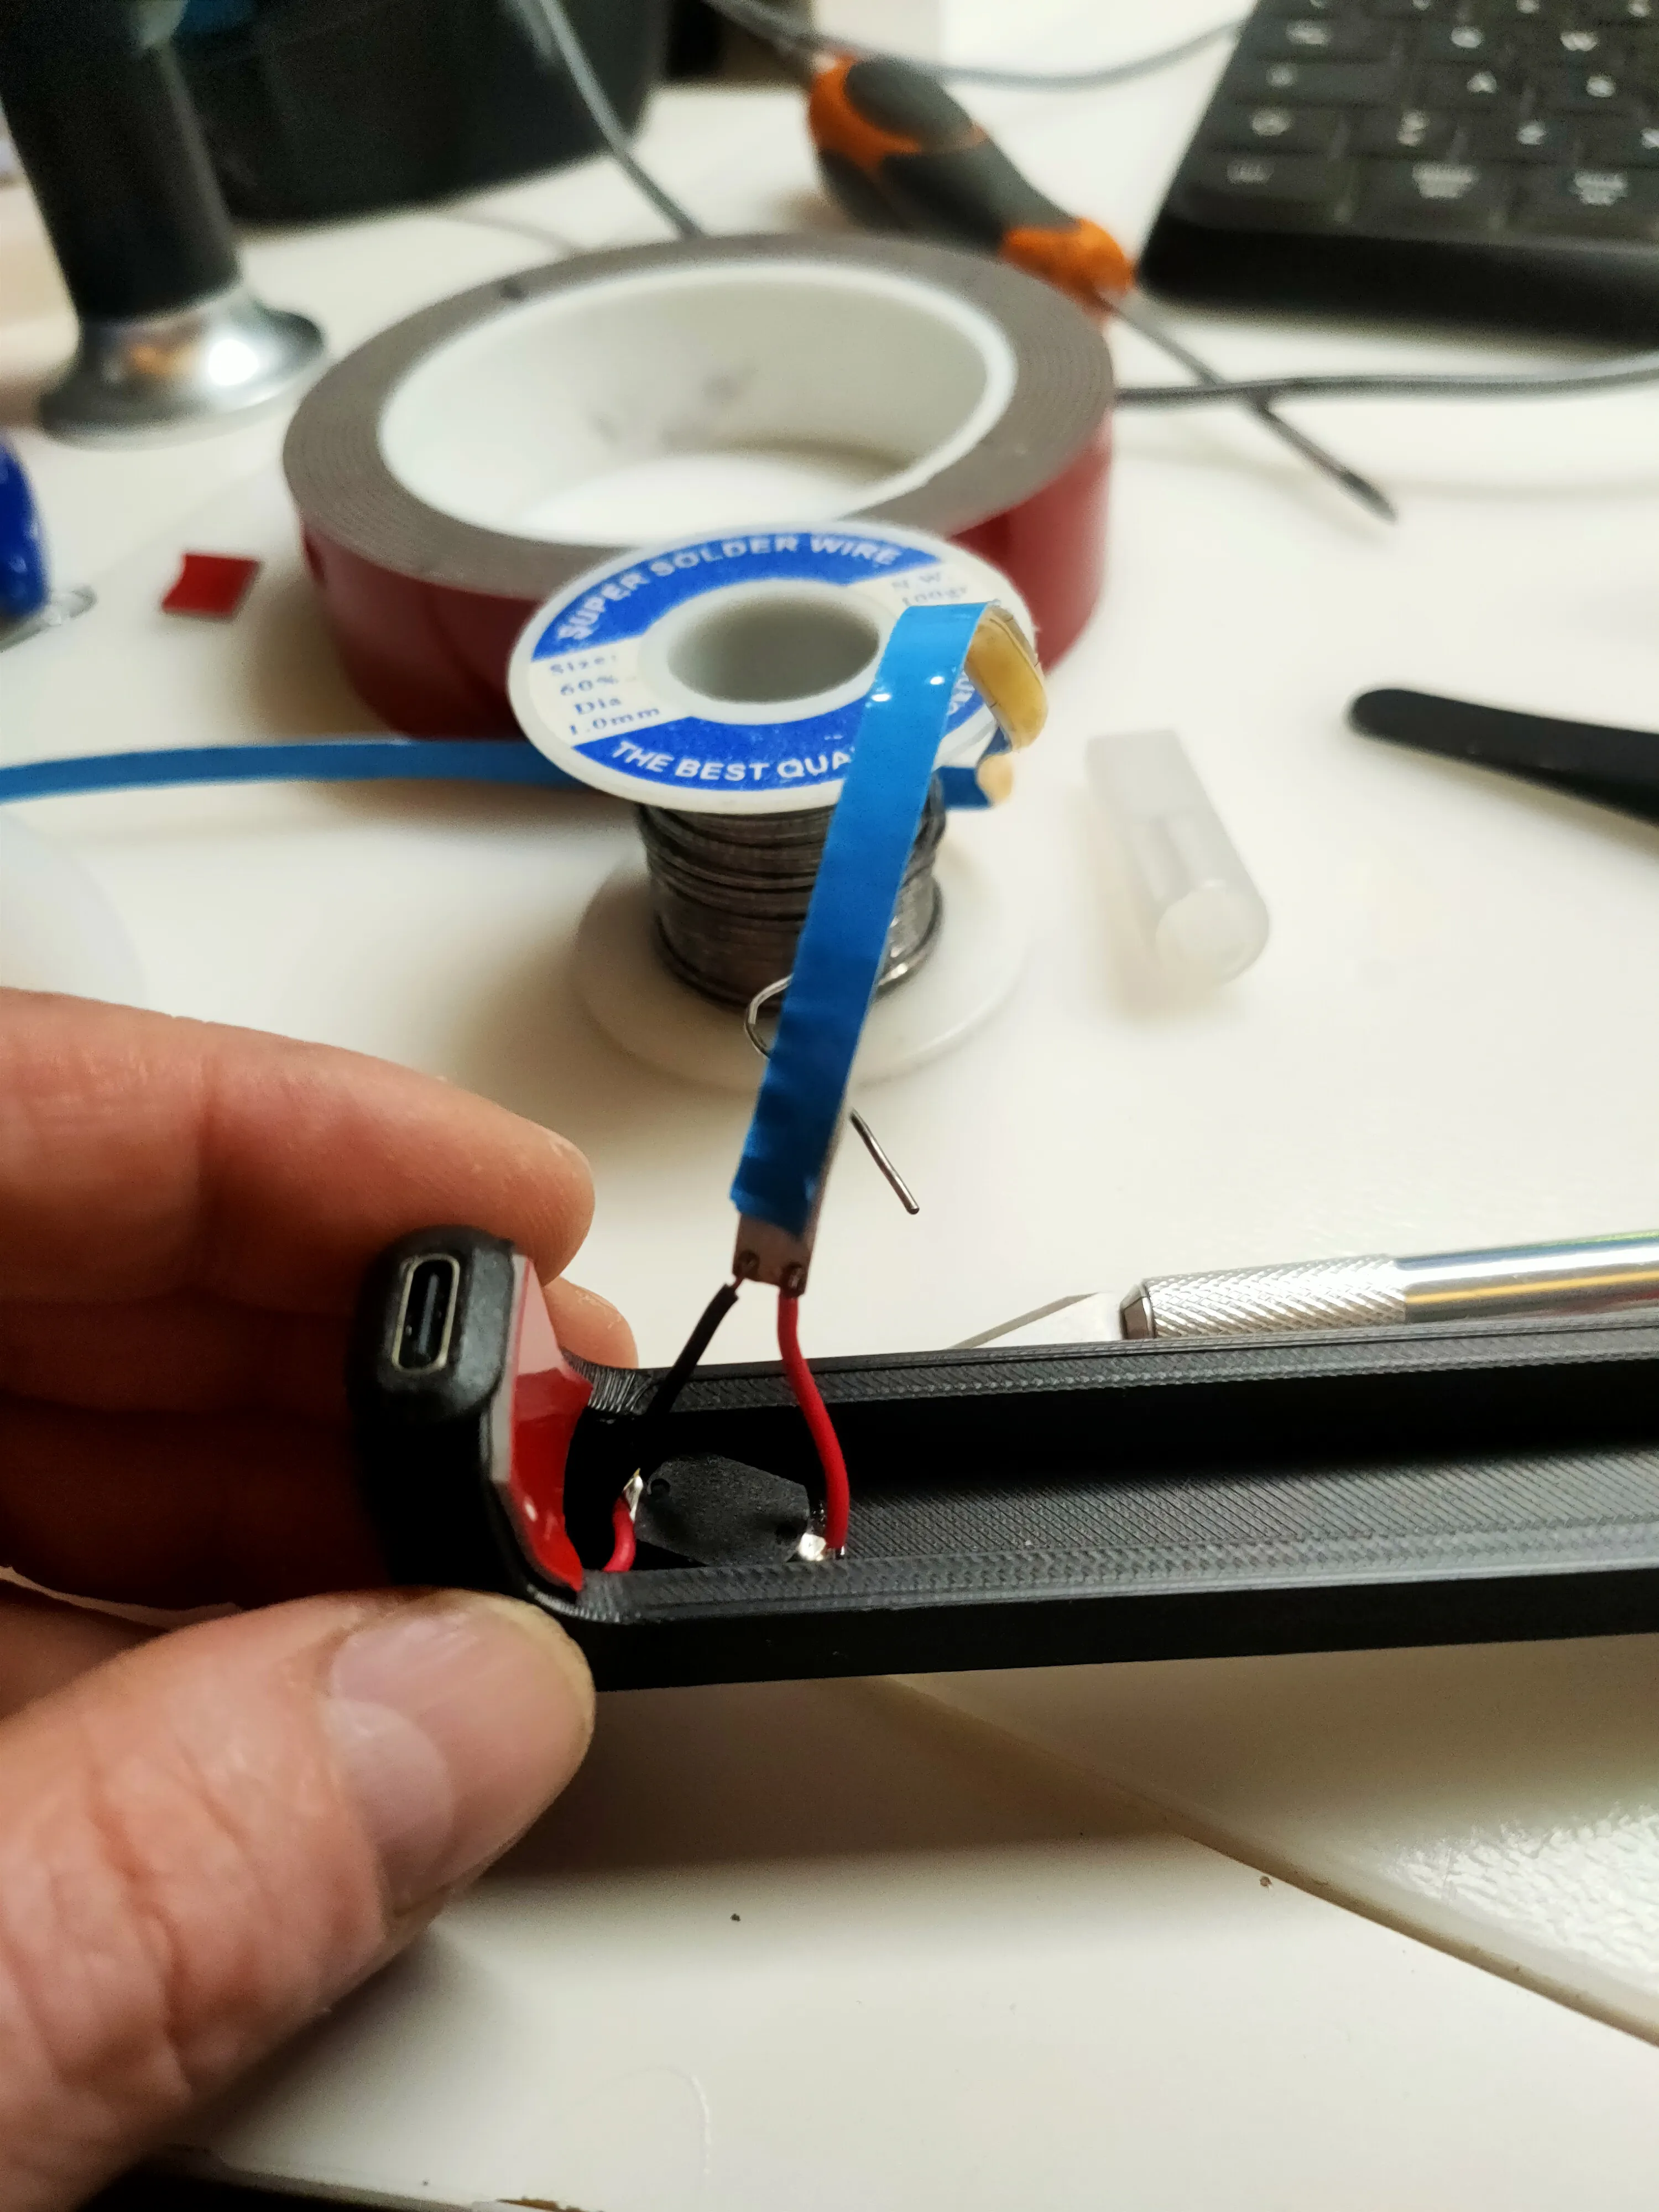
now glue the LED strip along the entire bar

- remove the film from the double-sided tape
- position the bar at your preferred height
- push the ends inwards to make the double-sided tape adhere
Cable clips are also included in the file
Materials
Switches
https://a.aliexpress.com/_EJiJxQK
USB-C Connectors
https://a.aliexpress.com/_Eu50imI
LED Strip
https://a.aliexpress.com/_EyC3lXU
5mm
License

You shall not share, sub-license, sell, rent, host, transfer, or distribute in any way the digital or 3D printed versions of this object, nor any other derivative work of this object in its digital or physical format (including - but not limited to - remixes of this object, and hosting on other digital platforms). The objects may not be used without permission in any way whatsoever in which you charge money, or collect fees.


Comment & Rating (2)