Magnet Storage - All sizes from Makerworld Ref.


Print Profile(21)


Bill of Materials


Description
Boost Me (for free)
I usually don’t ask for this, but I’ve noticed that many creators actively encourage it on other platforms—and it makes sense, as it helps increase visibility. So, if you can follow me, it would make difference. It’s a great way to support my work and show appreciation. For more insight subscribe my blog at: https://designrepcom.com/ This design is freely available for the community, but if you enjoy my work and would like to show your support, you can boost this project. Thanks!
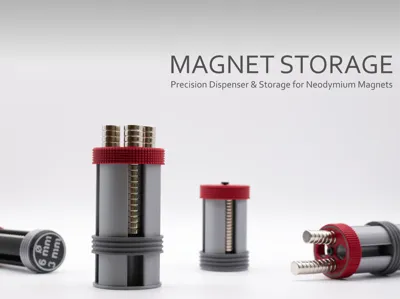
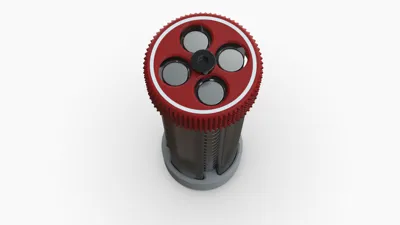
What It Is
Anyone who works regularly with small neodymium magnets knows the problem. You organize them carefully, and at some point they have already found their way into a cluster; stuck to every ferromagnetic screw sharing the same drawer, bridging across compartments, and occasionally jamming the whole thing shut. The drawer refuses to open because a group of magnets has settled into just the right alignment to block it.

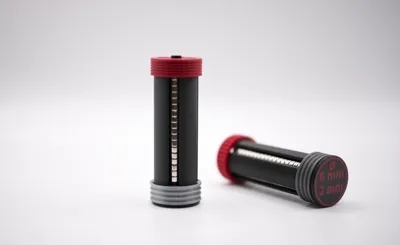
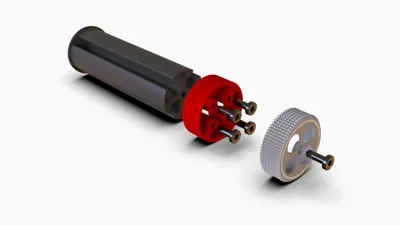
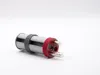
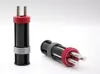
This product came directly from that frustration. The Magnet Storage is a 3D-printable dispenser designed to keep magnets contained, separated, and accessible, one at a time, without the usual mayhem.
Difficulty level: beginner. Assembly only requires a screwdriver.
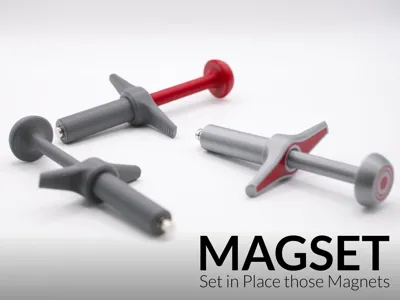
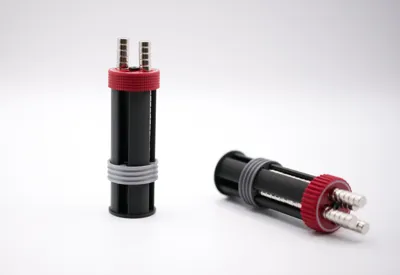
MagSet - Magnet Insertion Tool
The companion tool for the Magnet Storage is already available. The MagSet - Magnet Insertion Tool, I will be adding more and more sizes in the comming days

Key Features
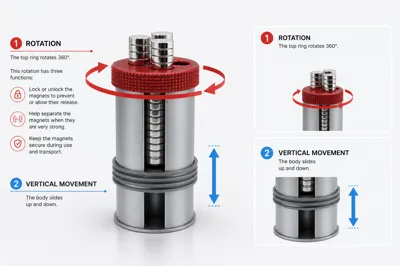
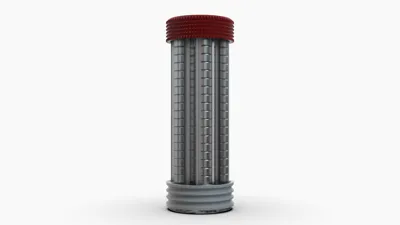
- Dispenser-style access: magnets are retrieved individually, which keeps the rest of the batch undisturbed - Up to 80 magnets per storage unit
- Easy to detach magnets from the stack

- Prevents spontaneous clustering during storage
- Designed to minimize contact with surrounding ferromagnetic materials
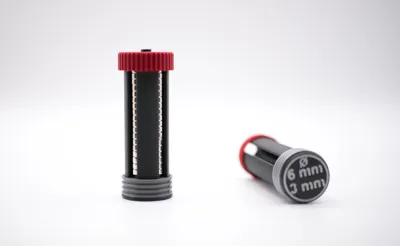
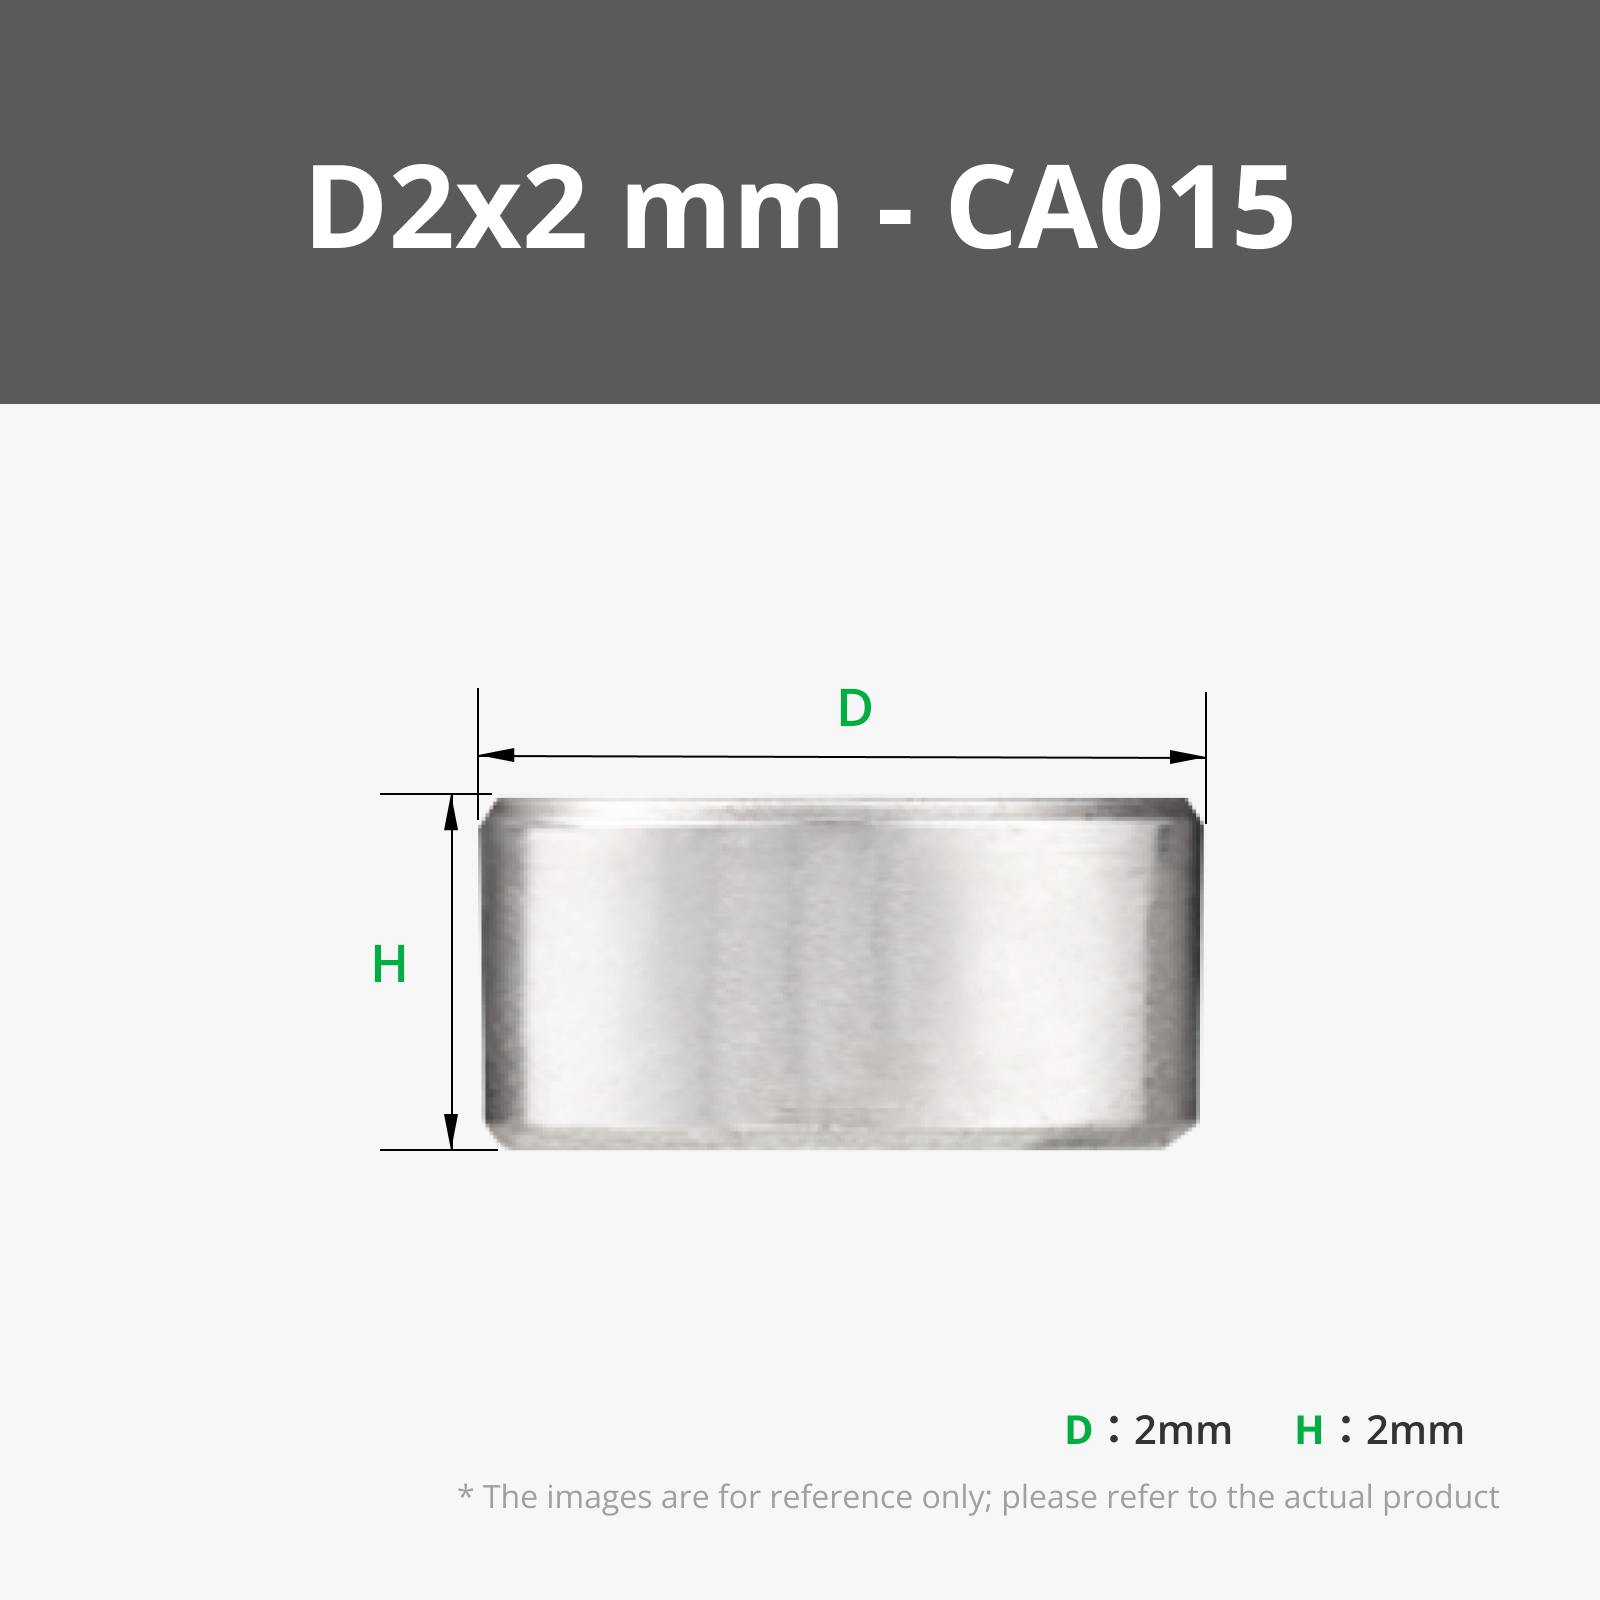
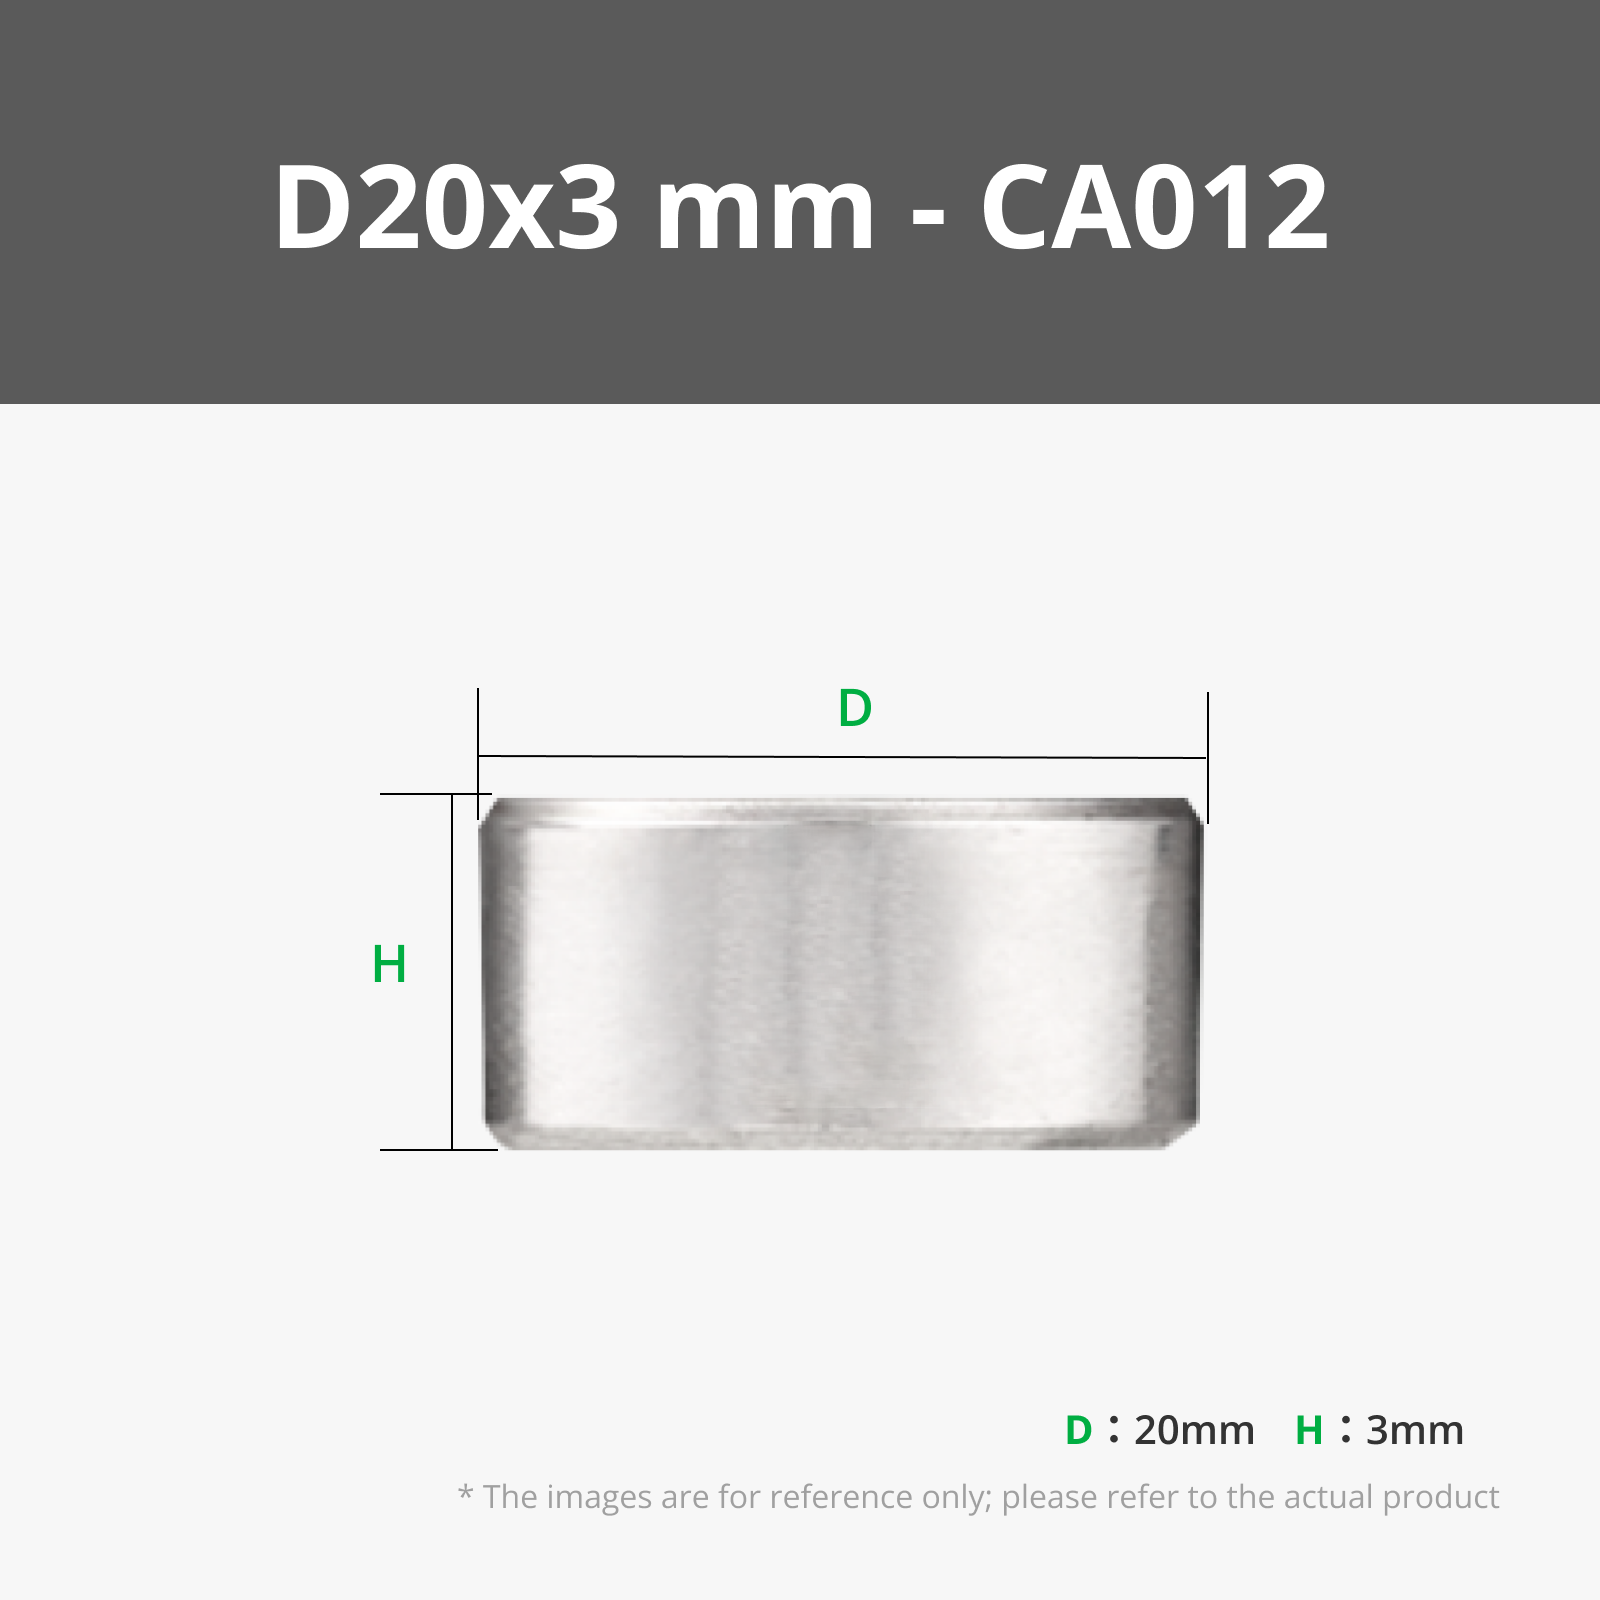
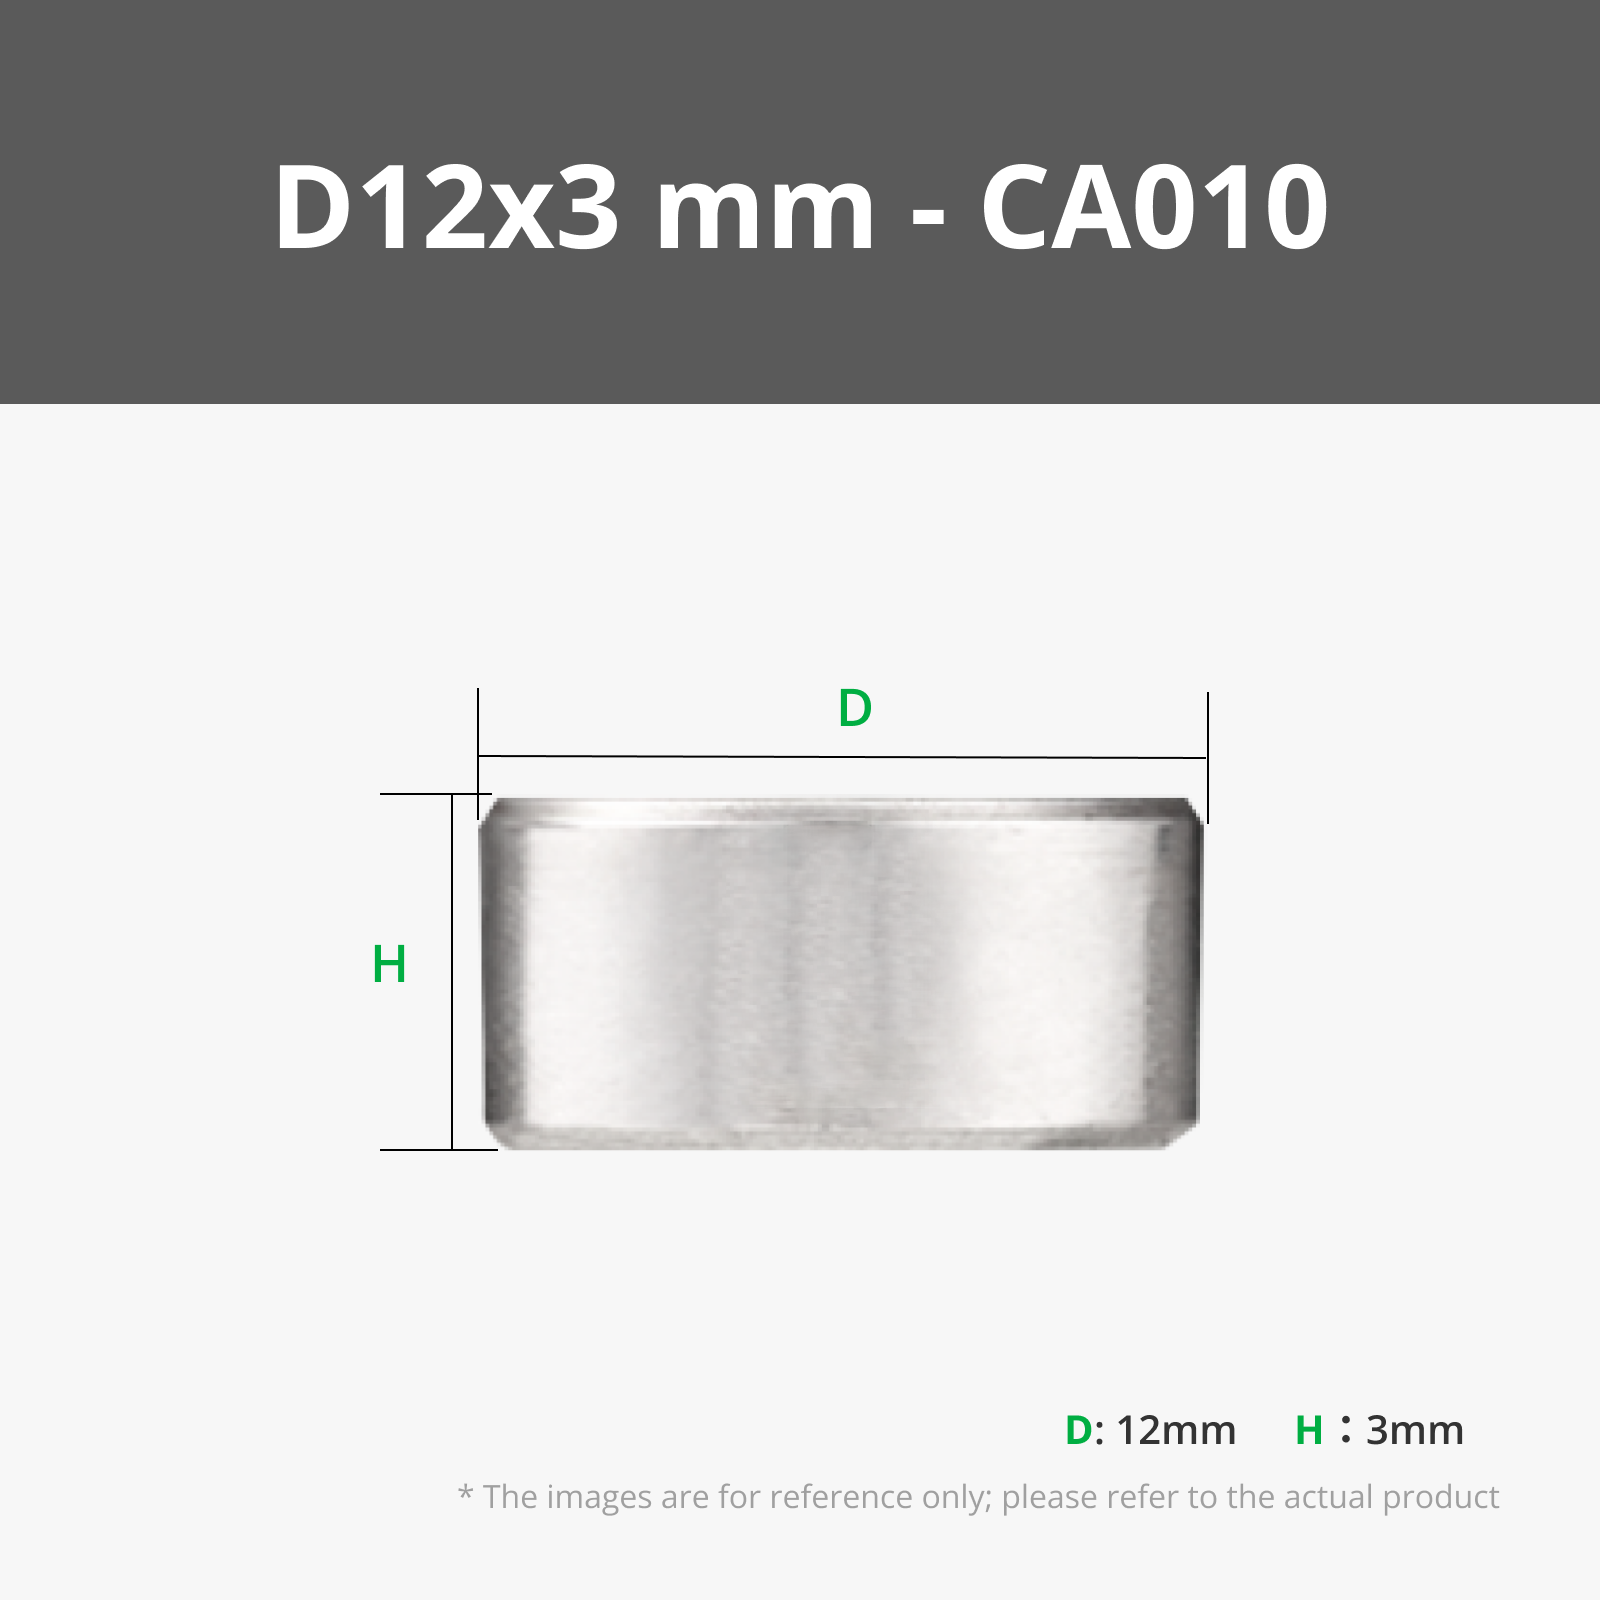
- Compatible with multiple magnet diameters (see available profiles)
- Assembled with self-tapping screws only
- Compact enough to sit on a workbench or integrate into a larger storage setup

Hardware Materials and assembly
- 5x BT2.6x8 SHCS Self-Tapping screws - For magnets of 6 mm diameter or more
- 5x BT2x5 SHCS Self-Tapping screws - For magnets of 5 mm diameter or less
Note:
The magnet with a diameter of 3mm (CA014) and lower (CA014) is very small, so this is a special case
The usual BT2x5 SHCS Self-Tapping screws are large. In this case, you should insert the magnets without the bolts on the bottom, but the first one should have a small drop of cyanoacrylate glue to permanently secure it to the container.
You still need:
- 1x BT2x5 SHCS Self-Tapping screws - for the top cap
In principle, any ferromagnetic screw of the appropriate size will work mechanically. That said, ferromagnetic fasteners placed near magnets will attract them, which can complicate assembly. The self-tapping screws listed above are the tested choice and the recommended starting point.

Magnets
Buying the magnets through the links below is a practical way to support the project if you found it useful:
- See Bill of materials
Print Materials
No special filament required. Standard PLA works for most use cases. PETG is worth considering if the dispenser will be more durable. Anyway, just do't use TPU ;)
Design Notes
The usual approach to magnet storage is a divided tray or compartmentalized drawer. It seems logical, but magnets are persistent: given enough of them in proximity, they will bridge compartments, attract nearby hardware, and generally resist the idea of staying put. A jammed drawer is the mild version of the problem.
The approach here is different. Rather than trying to contain chaos inside a closed space, the dispenser controls how magnets are accessed. The stored batch stays undisturbed while you interact with one magnet at a time. It is a small shift in logic, but it makes daily use noticeably less frustrating.

Future Plans
The initial release covers the most common magnet diameters used in maker and 3D printing workflows. Depending on community feedback, versions for larger disc magnets or rod magnets may follow.
If a specific size or configuration is missing from your setup, feel free to reach out here or at designrepcom.com.
Curious About My Tools? Check This Out!
For those of you who often ask about the tools I use to bring ideas to life, this article, The Journey From Idea To Object (Part I), offers some insights into the initial stages. It highlights the use of various tools, including software like Autodesk Fusion for CAD design, Blender for render and Bambu Studio for 3D printing preparation, and other... So, if you're curious about the software and hardware too, that I've incorporate in my workflow, take a look at the link for more details!" – Visit https://designrepcom.com/ for much more.
License
You may create derivative works based on this object, provided that all such derivative works are published exclusively on the MakerWorld platform and include proper attribution to the original creator. You may not share, upload, host, distribute, or publish this object—or any derivative work of this object—on any other digital platform, marketplace, or distribution channel. Commercial use of this object and any derivative works is strictly prohibited. This includes, but is not limited to, selling, renting, sublicensing, or using the object in any context in which you receive monetary compensation or other financial benefits.
Comment & Rating (76)