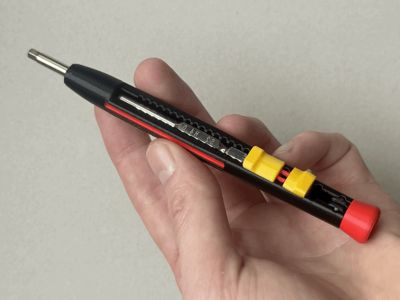
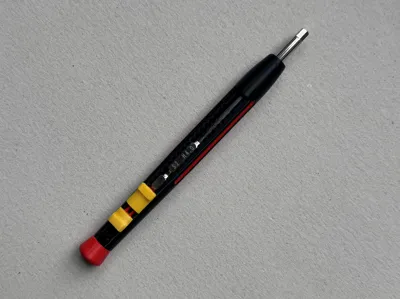
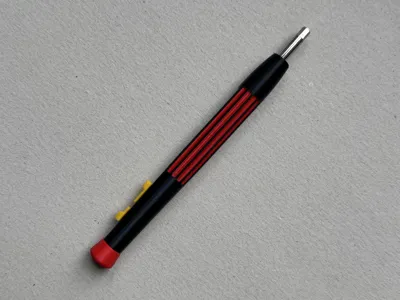
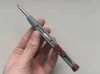
Adjustable Screwdriver


Print Profile(2)
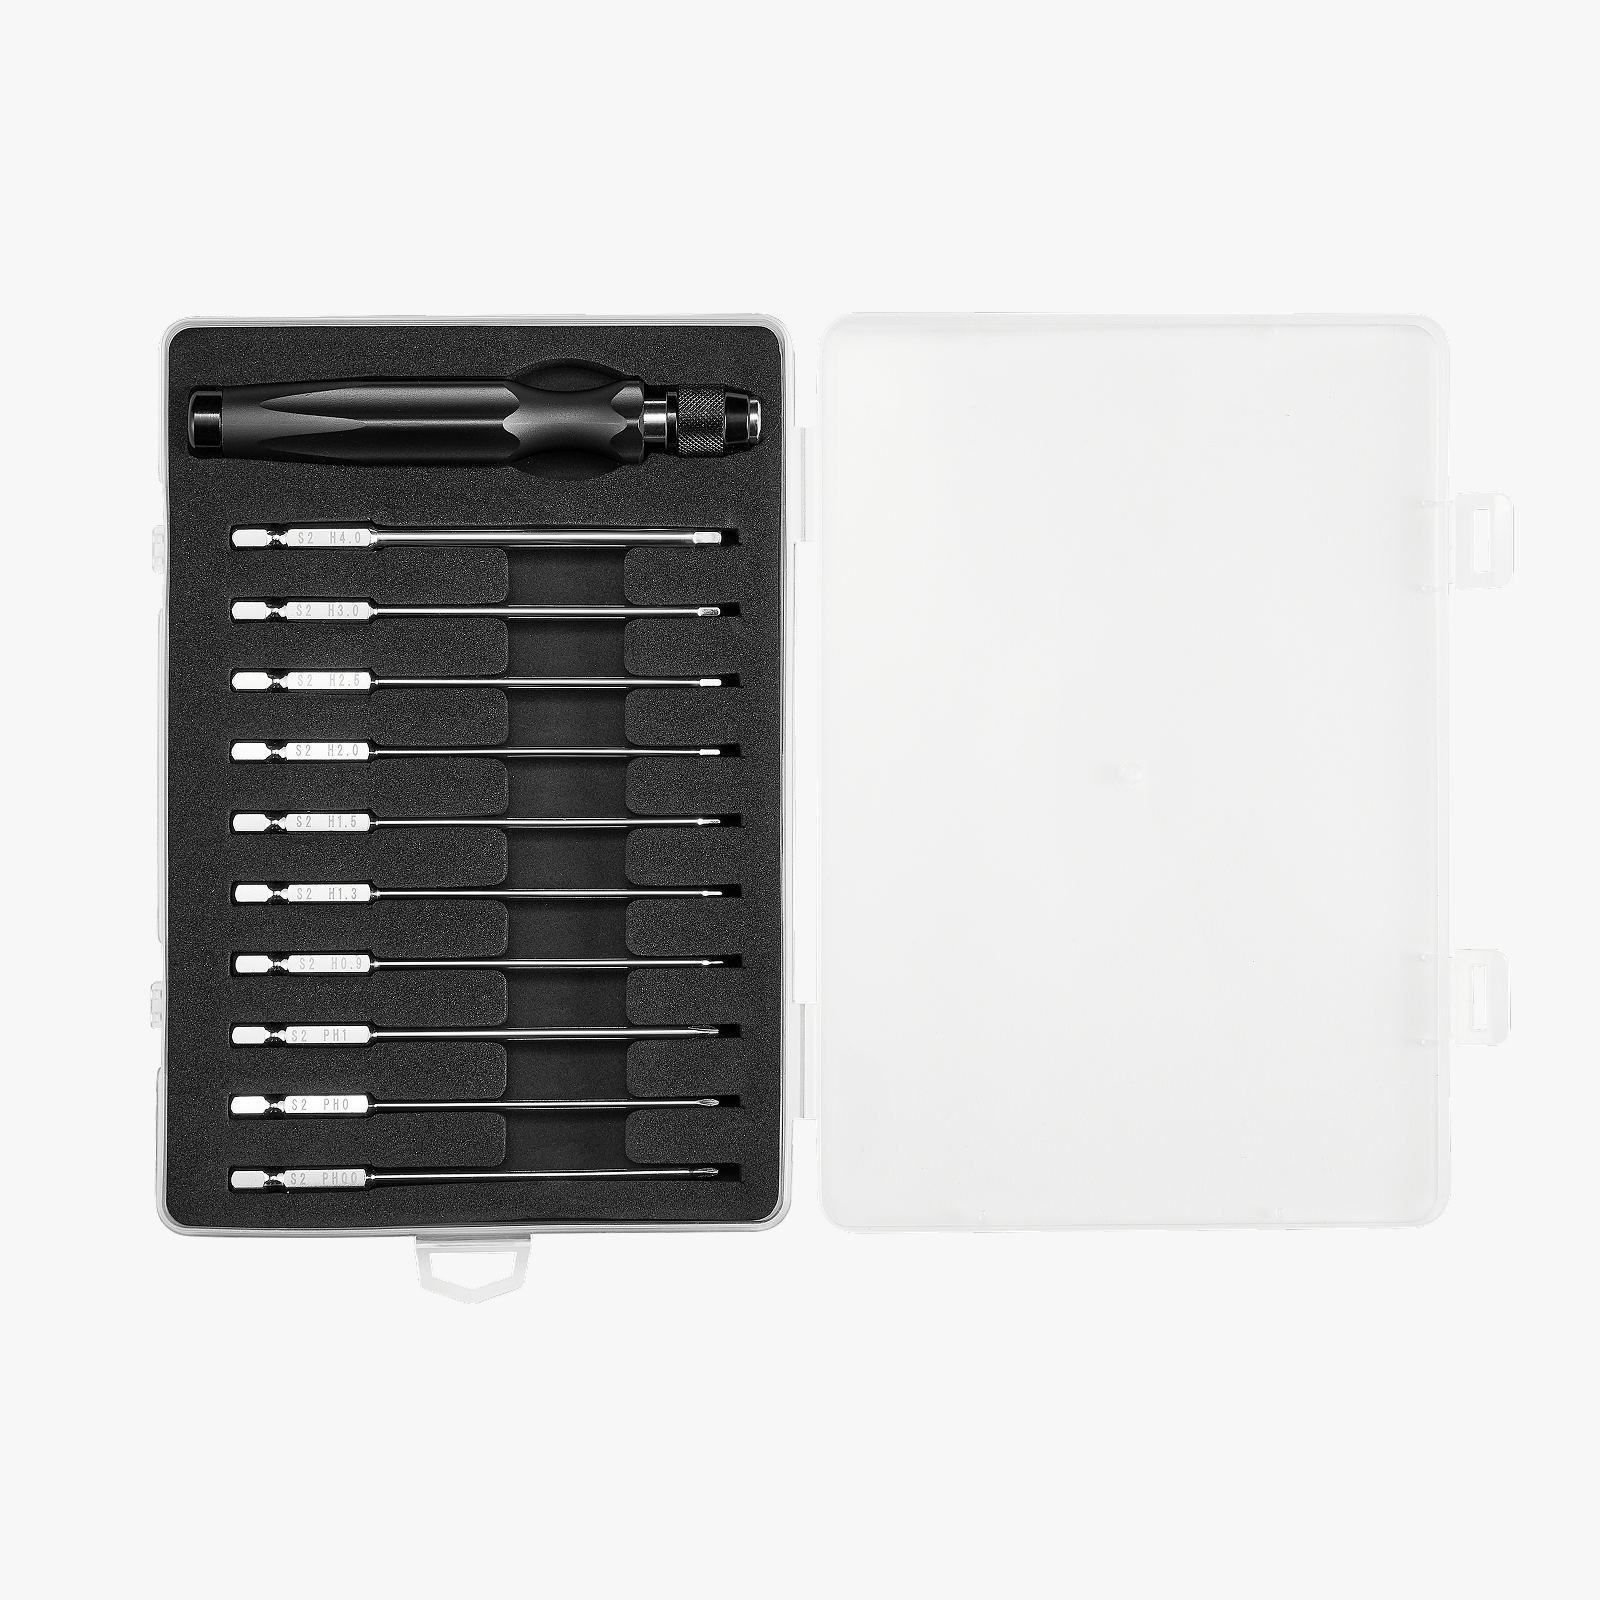
Bill of Materials

Description
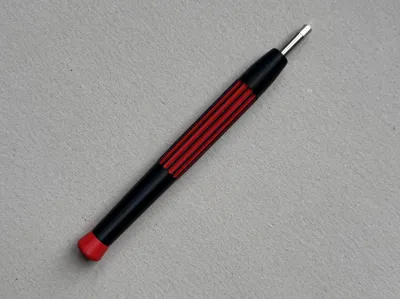
I designed this adjustable screwdriver handle to be used with the MakerSupply Screwdriver bits.
This handle allows you to adjust the length of the bits to your needs. It has a fully mechanical lock with more than 20 increments.
It's fully 3D printed (except for magnets) and easy to assemble in only a few steps.
Please read through the notes at the end of the description.
Step 1. Insert 3 x D4x2 (or 4 x D4x1.5) magnets into the inner slider. If the fit is loose, use a bit of superglue to secure the magnets in place.

Step 2. Install the lock.

Step 3. Install the end lock into the end swivel. It is press in place. Align the bottom of the end lock with the groove in the end swivel.


Step 4. Insert the slider assembly into the main body.

Step 5. Insert the end lock assy into the main body. Align the notches and snap in place.

Assembly is complete.
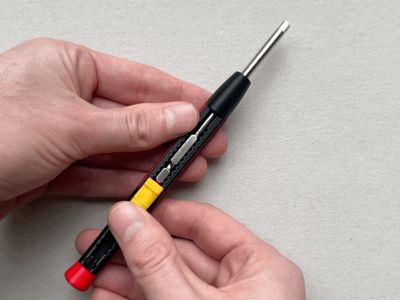
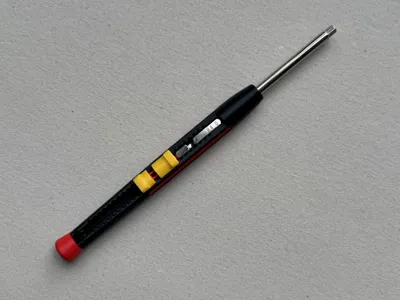
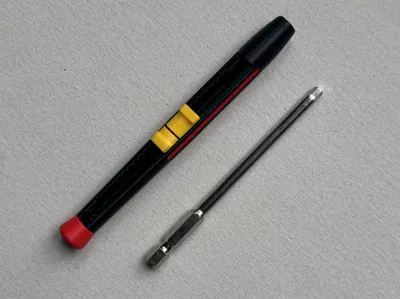
To use the handle, insert a bit from the front.

Then slide it to your desired length and pull back the lock to lock it into place.

Some important notes:
- The tolerances are very important. Please ensure your printer is calibrated and operating as normal.
- The inner slider has small features which might wear down over time resulting in a loose feel.
- When first assembling everything, the sliding movement and lock might feel sticky. I suggest to run the slider up and down to break it in. This improves after some repetitive sliding motion.
Only the inner slider uses supports for printing, it is very important to use an incompatible filament for the support interface to improve the surface finish of the sliding surface (more details in the print profile).
Boost Me (for free)
If you like this project, please consider boosting! Thank you :)
License
You shall not share, sub-license, sell, rent, host, transfer, or distribute in any way the digital or 3D printed versions of this object, nor any other derivative work of this object in its digital or physical format (including - but not limited to - remixes of this object, and hosting on other digital platforms). The objects may not be used without permission in any way whatsoever in which you charge money, or collect fees.
Comment & Rating (4)