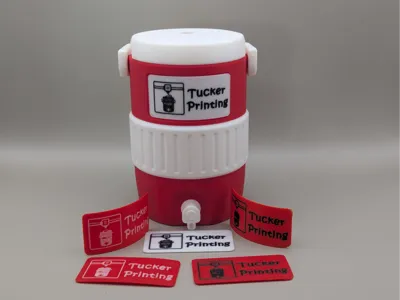
Cooler modification for customisation - Step 1


Print Profile(0)
Description
Quick notes:
- If you use this please add a photo in the comments. It helps me figure out how people are using this.
- This is based off animuL67's ‘std 12oz can’ model. You will need to download it here: https://makerworld.com/en/models/2647823-cooler-can-holder-std-12oz-can
- This can be used on different sizes but you'll need to adjust the negative cutout manually.
Quick description:
- This process requires a combination of 3 files:
- Step 1
- Download the cooler and negative file (this). Open the cooler in Bambu Studio and center it. Add the negative part to the object and also center it. Print.
- Step 2
- Download the plate and customise it with your logo/image/text. You can print face down for a clean effect or face up if you want to add some 3d to it. Print.
- Step 3
- Download the bending mold and print in petg or something with heat tolerance. (pla can work but can warp or stick so it's not recommended)
- Step 4
- Heat up the customised plate. I've tested it with a heat gun and hot water and both work. Once the plate is bendable throw it into the mold and compress it. If it's out slightly you can apply more heat, adjust and re-compress. Let this cool down in the mold to force the plate into shape.
- Step 5
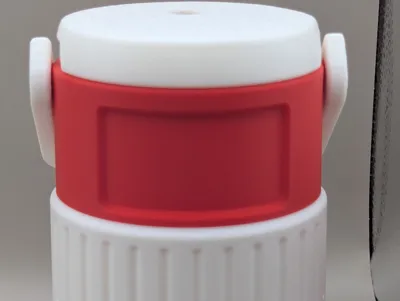
- The cooler should now have a cutout and the plate should be bent to the shape. It's ready to glue!
- Step 6
- Leave a photo comment because I want to see what you created!
Detailed description:
Download the cooler and negative file (this).
Open the cooler file, right click and center the object (it won't be selectable if it's already centered):

Right click the object and add the negative part you downloaded:

In the objects menu on the left, choose that negative part and center it:

Ignore the little circles, they were added to make the centering of the negative part work.

The cooler is now ready to print. I'd recommend checking out the optional test print to try this process out before committing to a full print.
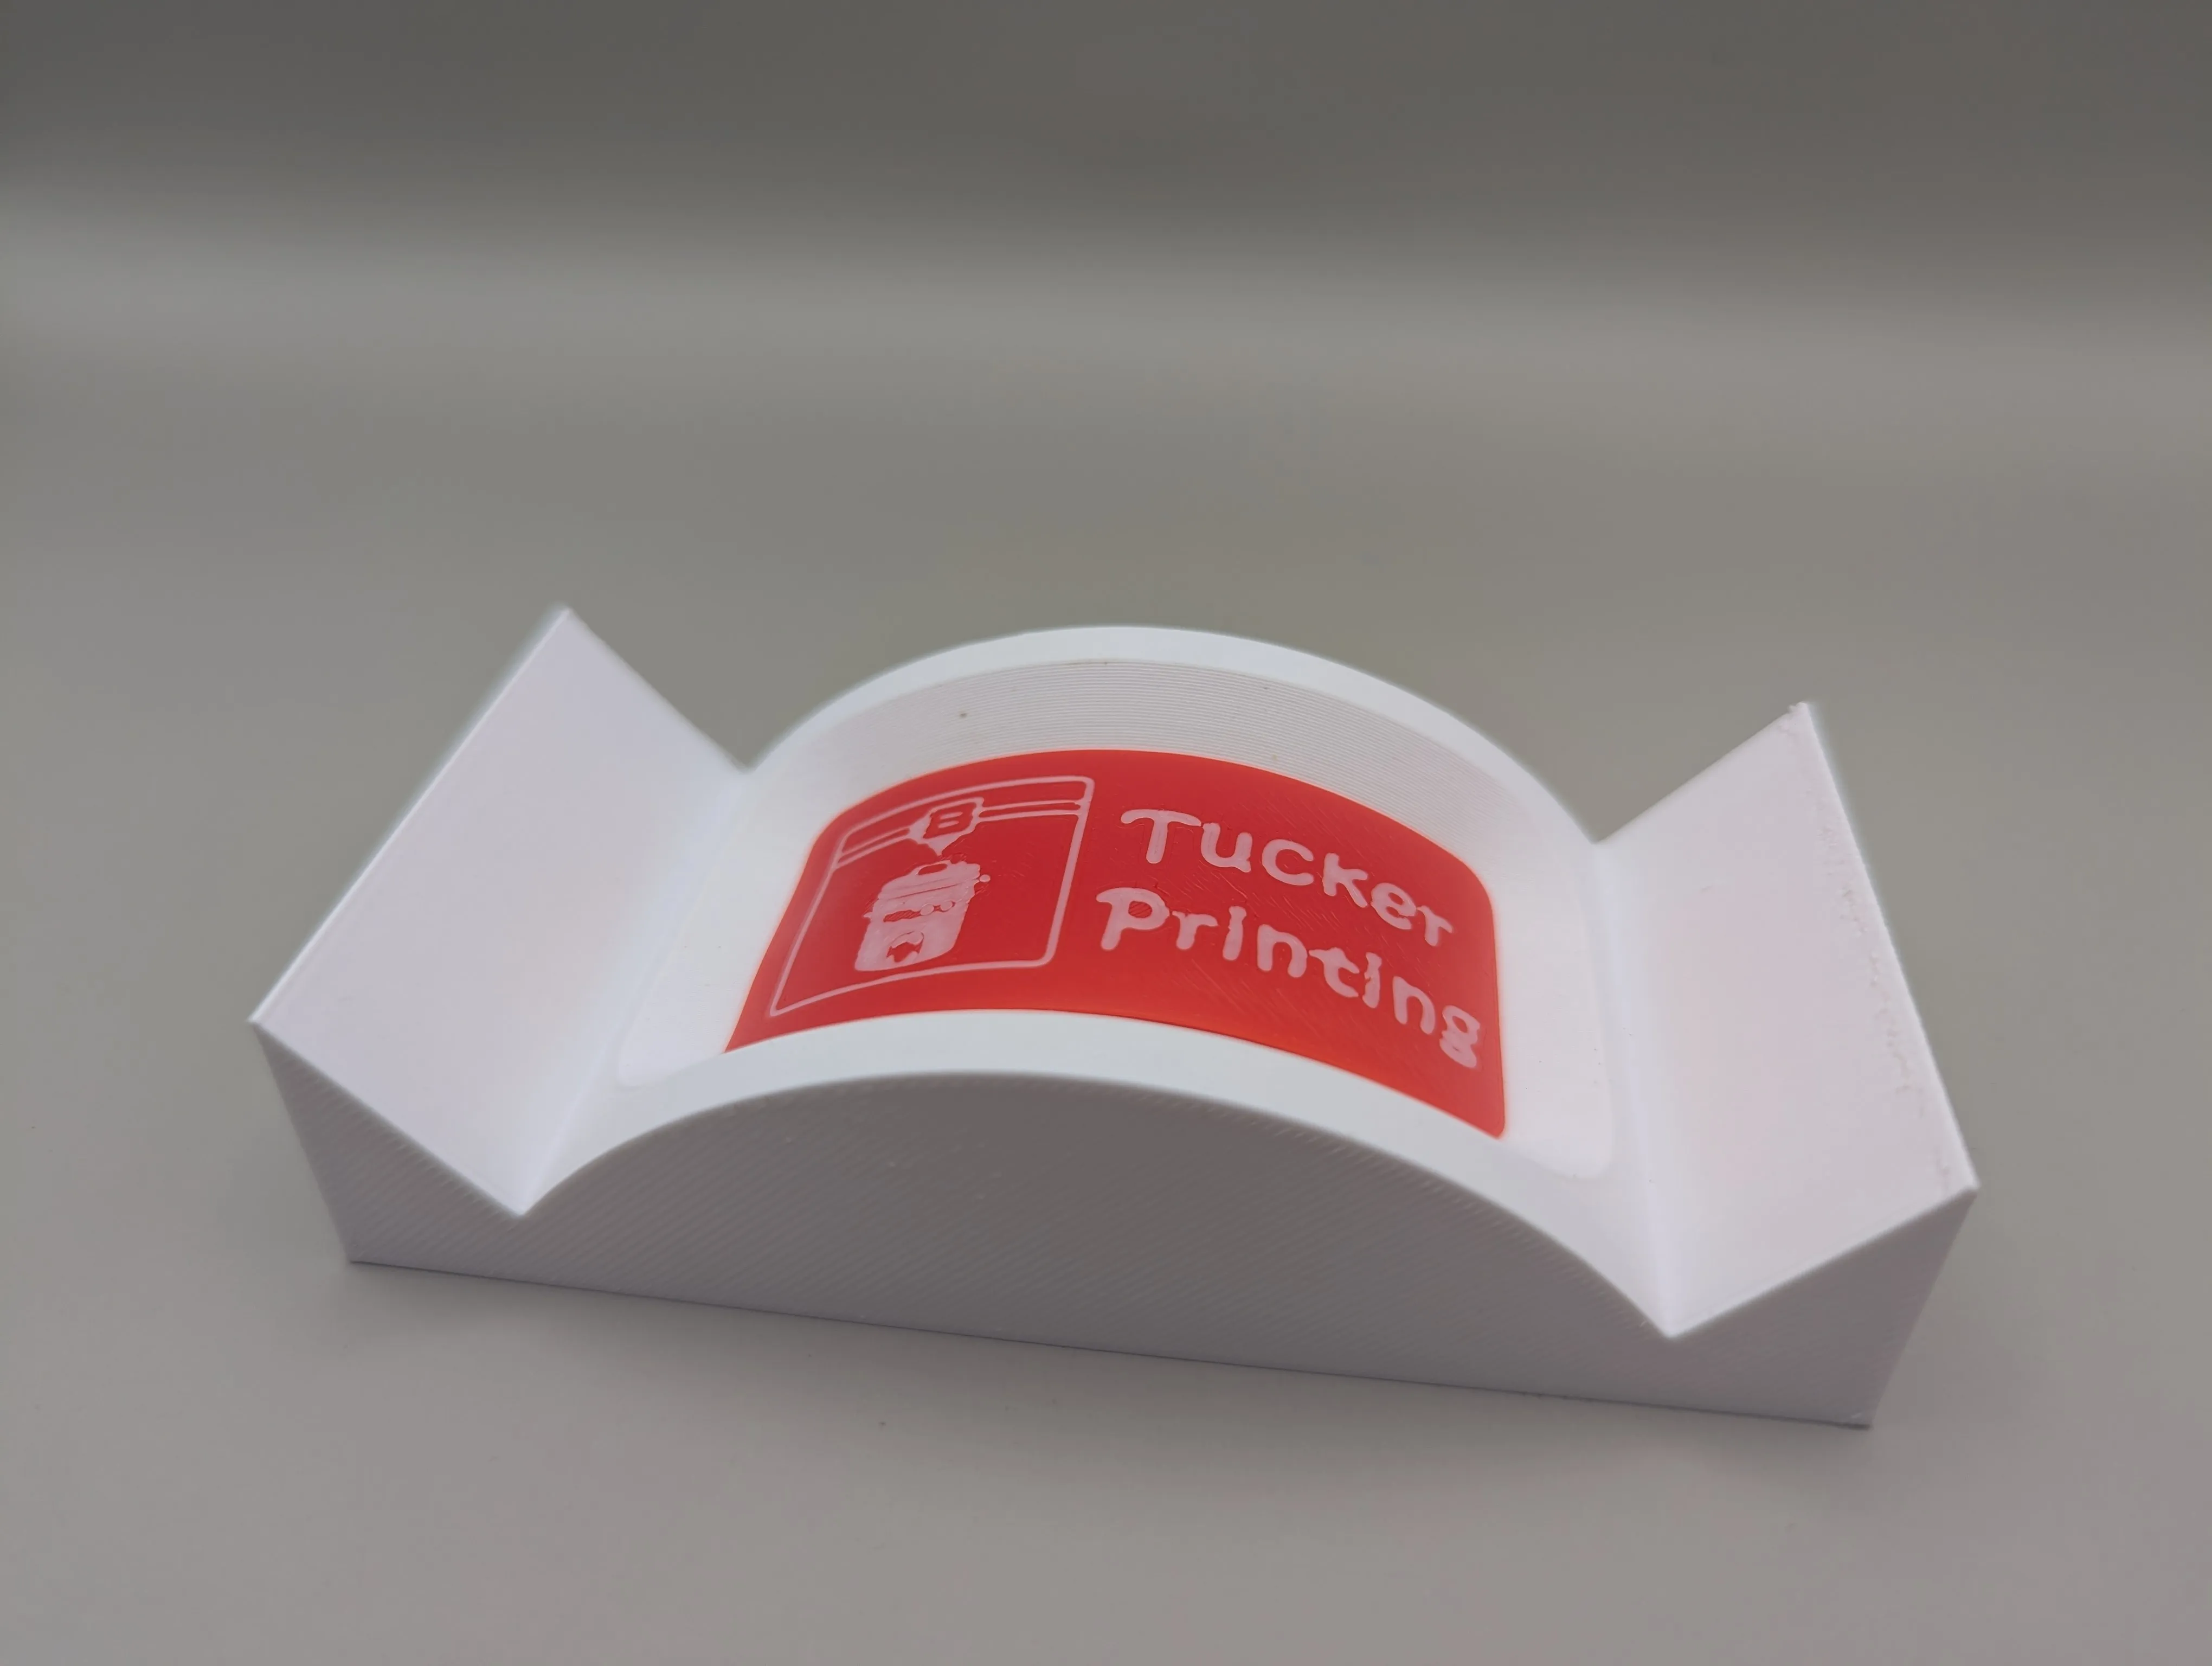
Download the plate template to customise. This has both face up and down options.
- Face down for a nice clean crisp finish when using a smooth plate
- Face up if you want to add some 3d to it
- The more height you add to your design the harder it is to bend and can break (lucky its a simple quick print eh?)
- There are examples in this file you can edit or learn from
I'd recommend printing a couple of plates at once incase you have issues with the heating and bending process.
Download the bending mold. I highly recommend printing this in petg or anything with heat tolerance. I have tried it with pla to try it out, worked but after a few attempts there was some warping of the mold.
I added an optional holder in the back to heat up or pour water on. I also did it on a tile and in a cup, use whatever floats your boat.

Place the bendable plate face up on the other half of the mold.

Compress it to force the bend. It's worth quickly checking to see it fit in correctly, you do have an opportunity to fix it while its warm with a heat gun or more hot water. Once you are happy let it cool down to let the bend get the correct angle.

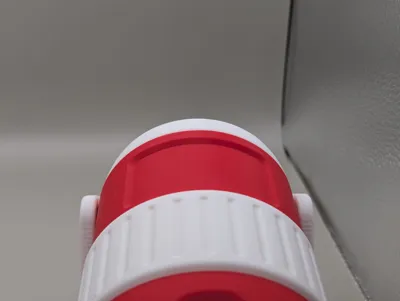
After it should look like this:
This is now ready to glue on
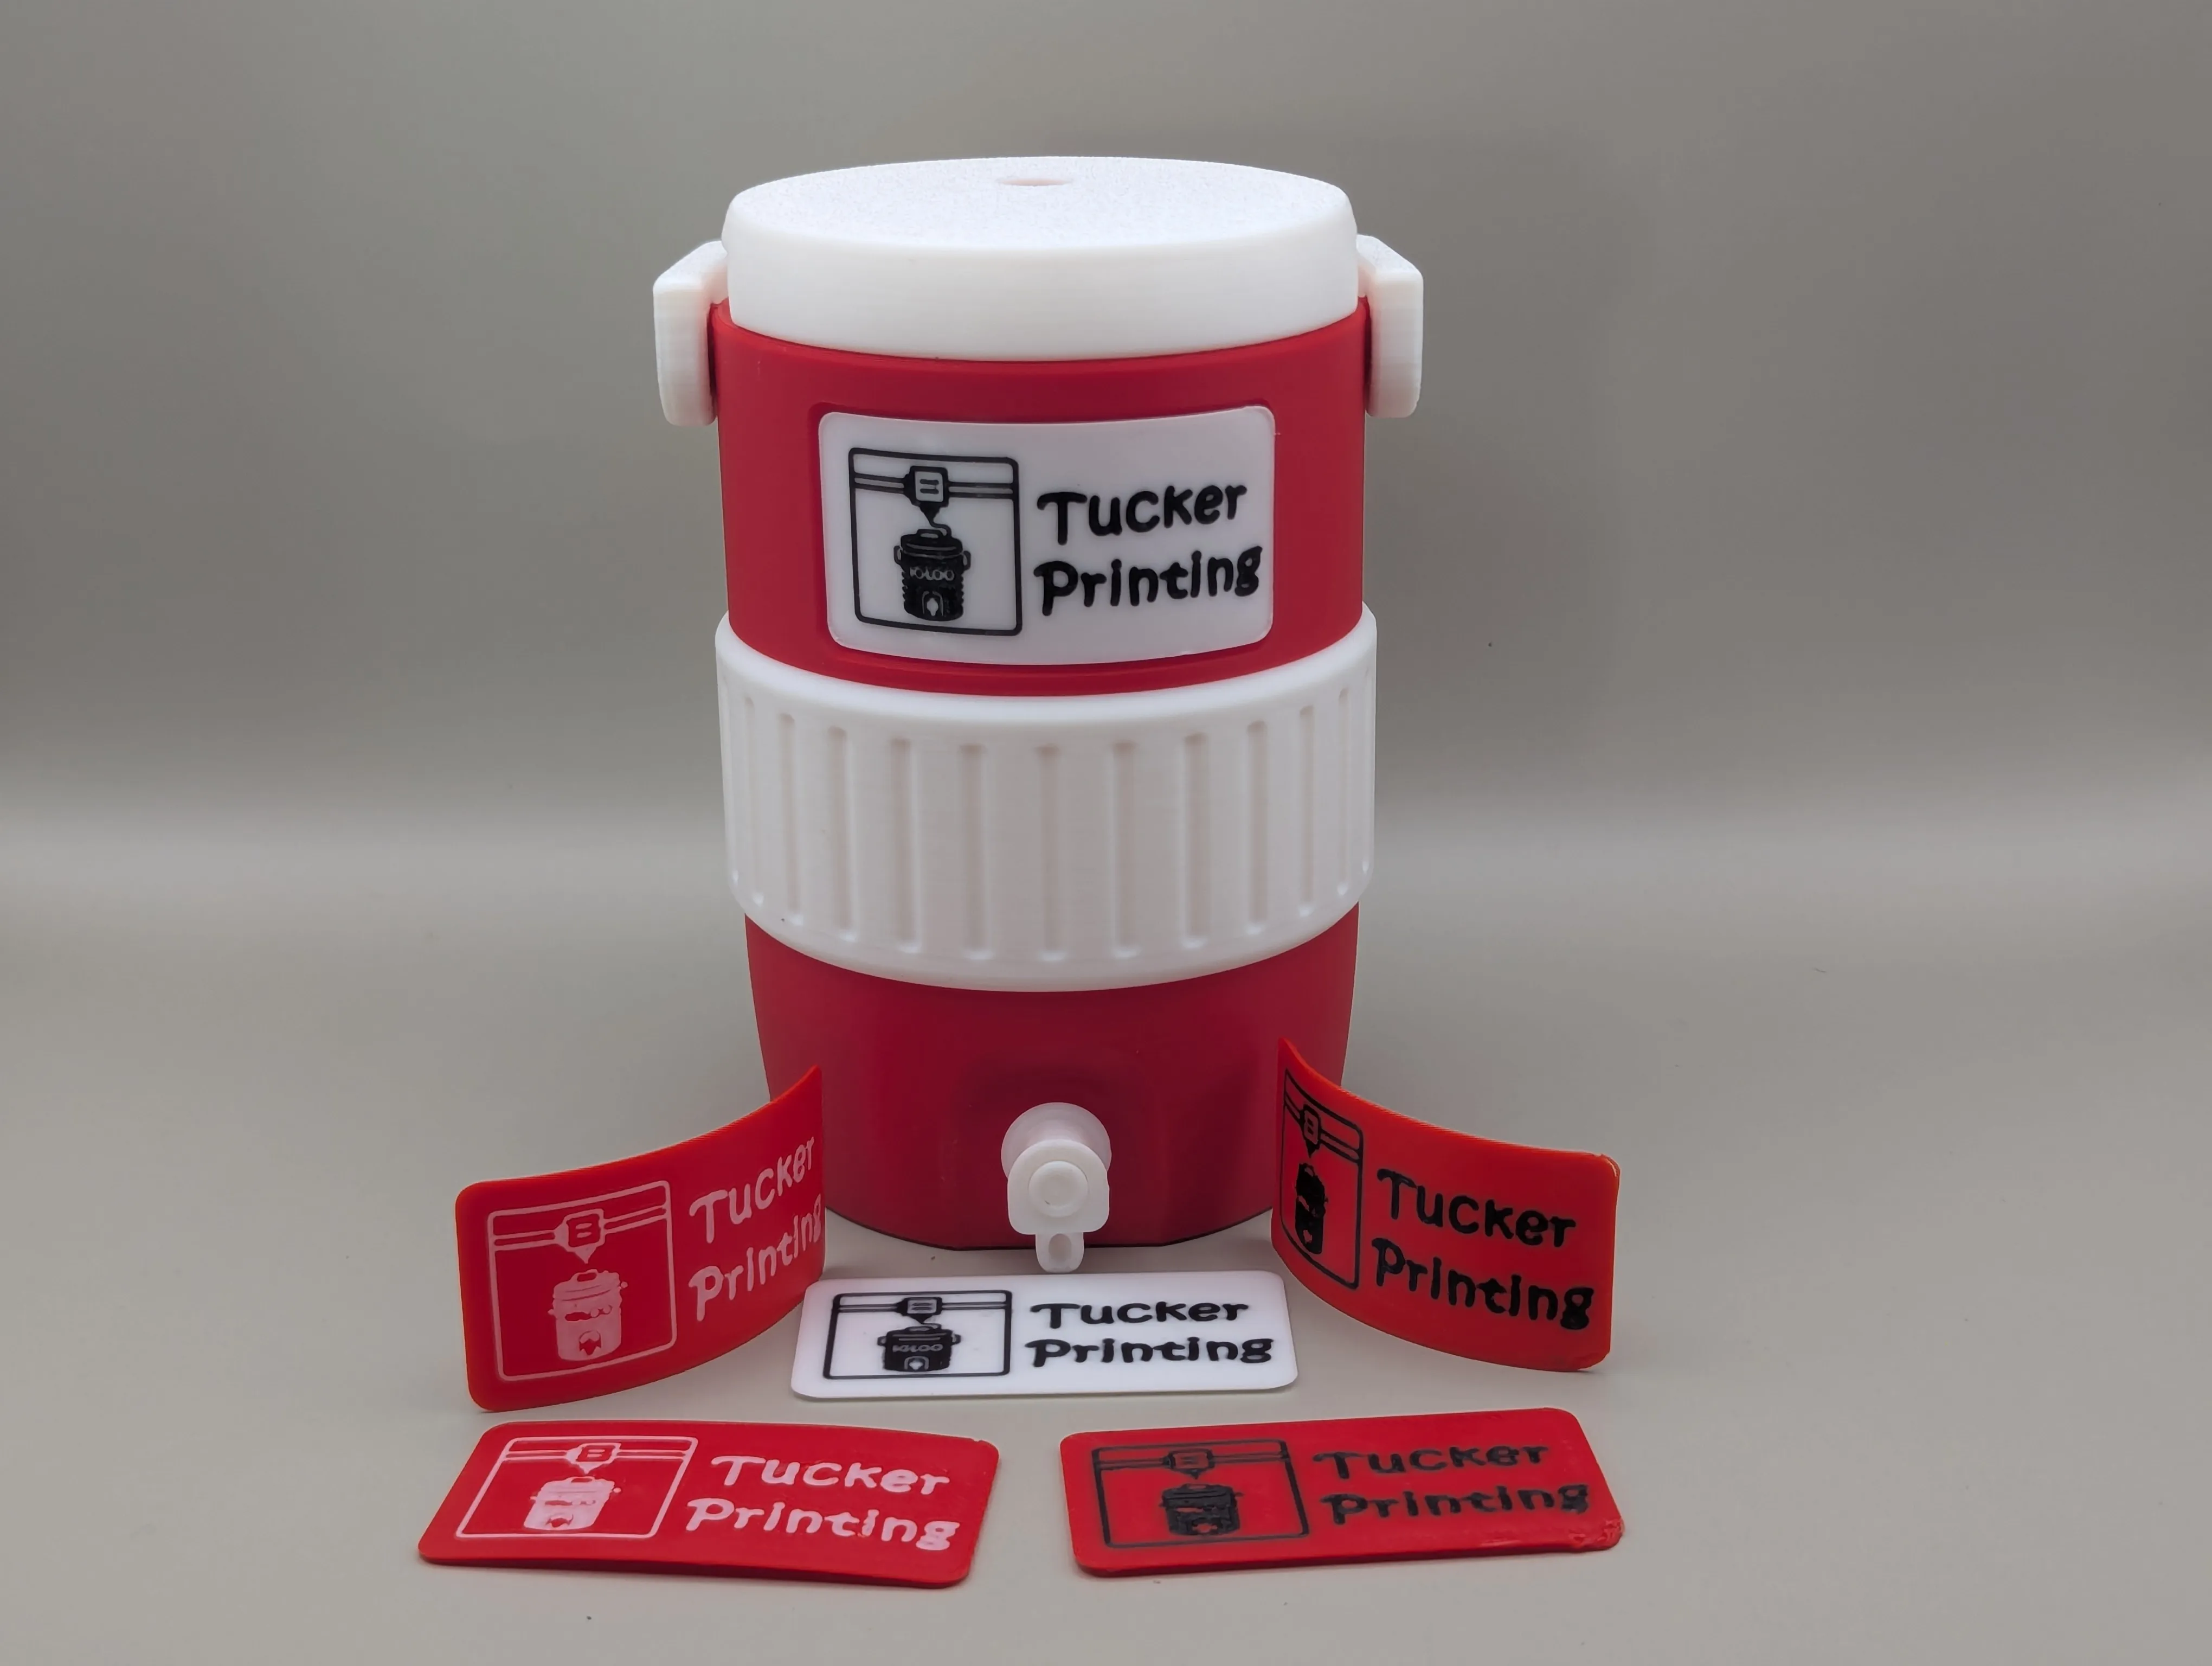
Enjoy your customisation without all the filament changes!
Want to apply this to a different size?
You can move the negative part manually. I'd recommend using the inbuilt cutter inside of studio to isolate the area and print tests untill you are happy.

Remember to comment with that photo if you print it please.
License
You shall not share, sub-license, sell, rent, host, transfer, or distribute in any way the digital or 3D printed versions of this object, nor any other derivative work of this object in its digital or physical format (including - but not limited to - remixes of this object, and hosting on other digital platforms). The objects may not be used without permission in any way whatsoever in which you charge money, or collect fees.
Comment & Rating (2)