
AMS Cable Management
Print Profile(3)
Bill of Materials

Description
Boost Me (for free)
𝗬𝗼𝘂𝗿 𝗳𝗿𝗲𝗲 𝗕𝗼𝗼𝘀𝘁 = My design supply pack 📦 Click "𝗙𝗼𝗹𝗹𝗼𝘄" to get more useful models! 👀
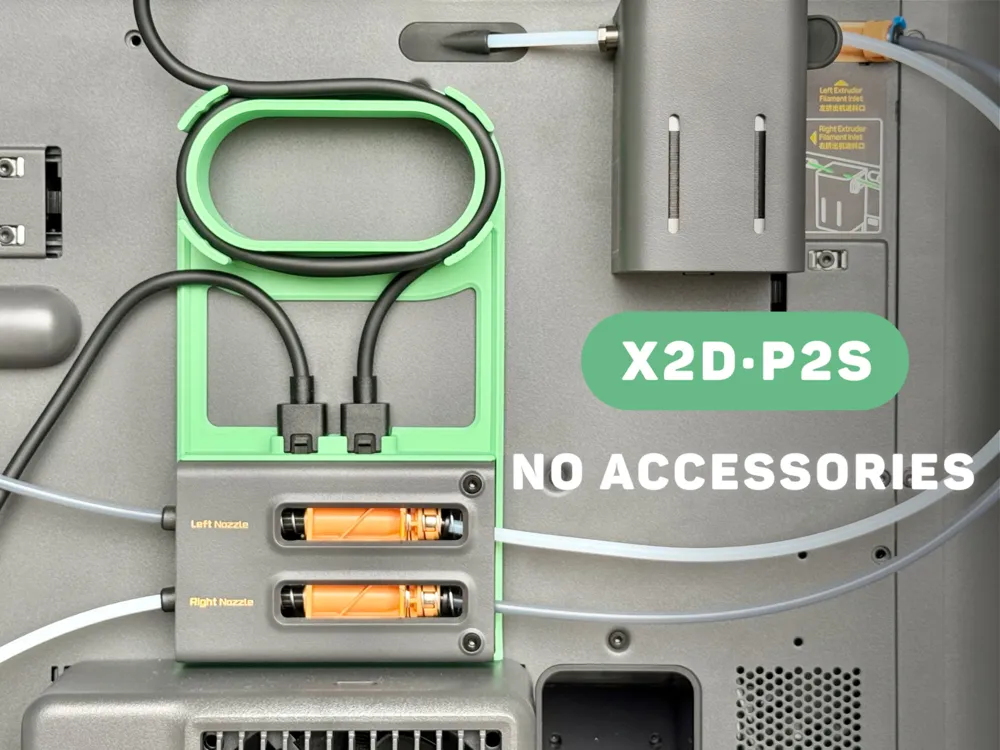
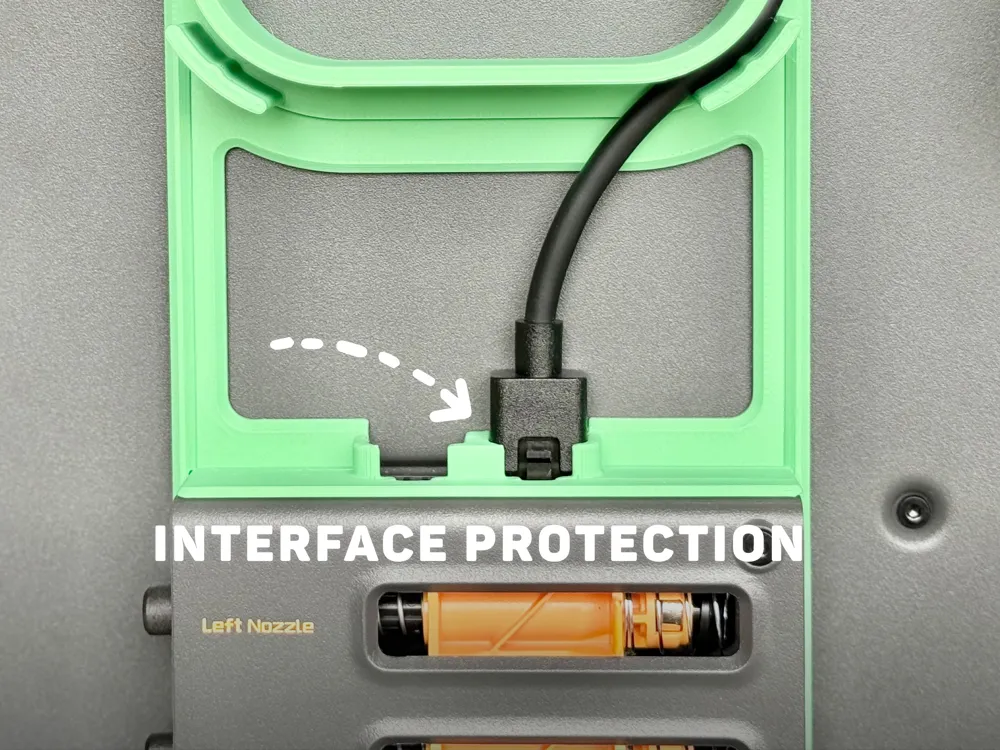
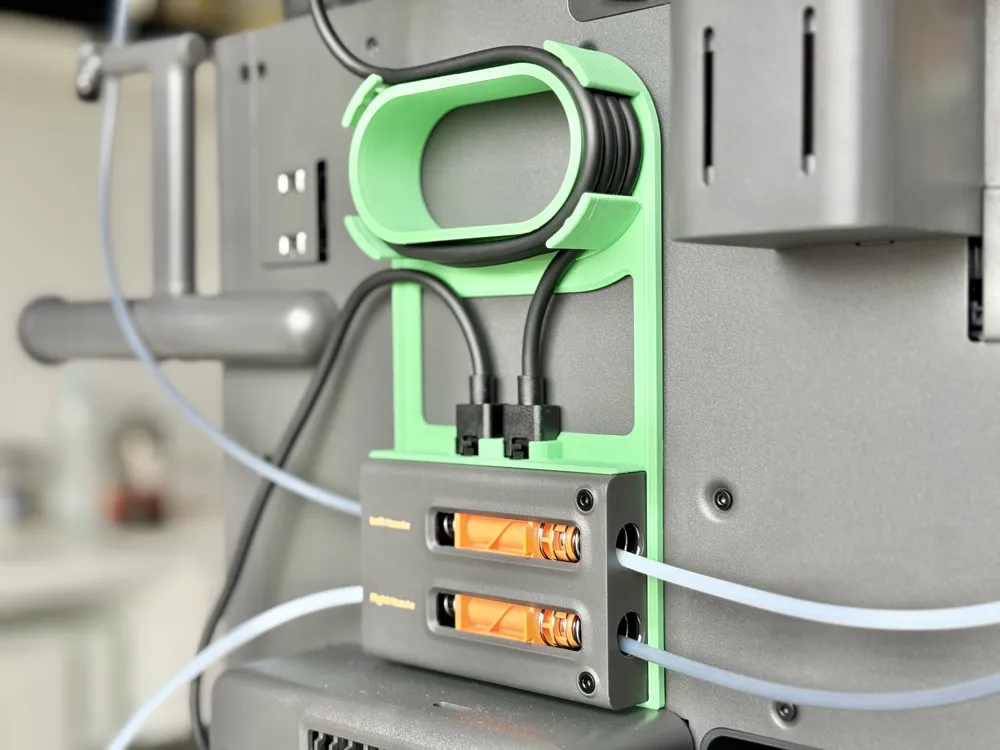
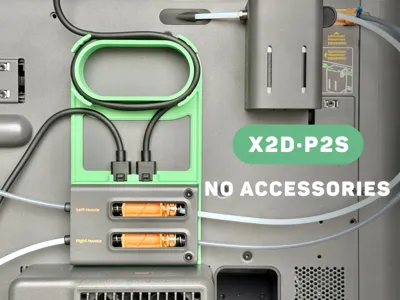
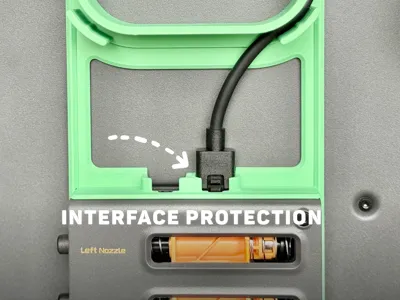
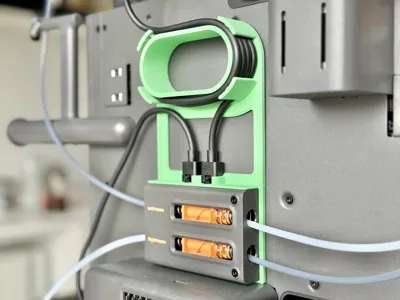
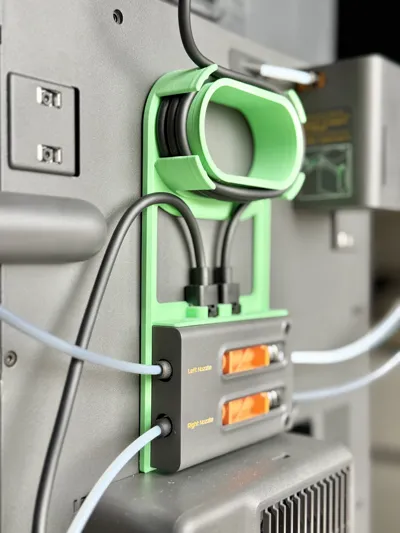
To keep the back of the printer neat and organized, I designed this cable management accessory for X2D / P2S. It effectively fulfills its purpose without requiring any additional parts. Give this clean and simple design a try! 👀
( hi, I am challenging to create 100 practical models. Follow me to get update reminders. )
🧲 Installation steps:
1. Remove the left and right Teflon tubes, and the 6-pin cable above them. (How to remove the Teflon tube on the right: Move the orange part to the far right so that the tube opening is exposed from the right side, and then remove the Teflon tube in the same way.)
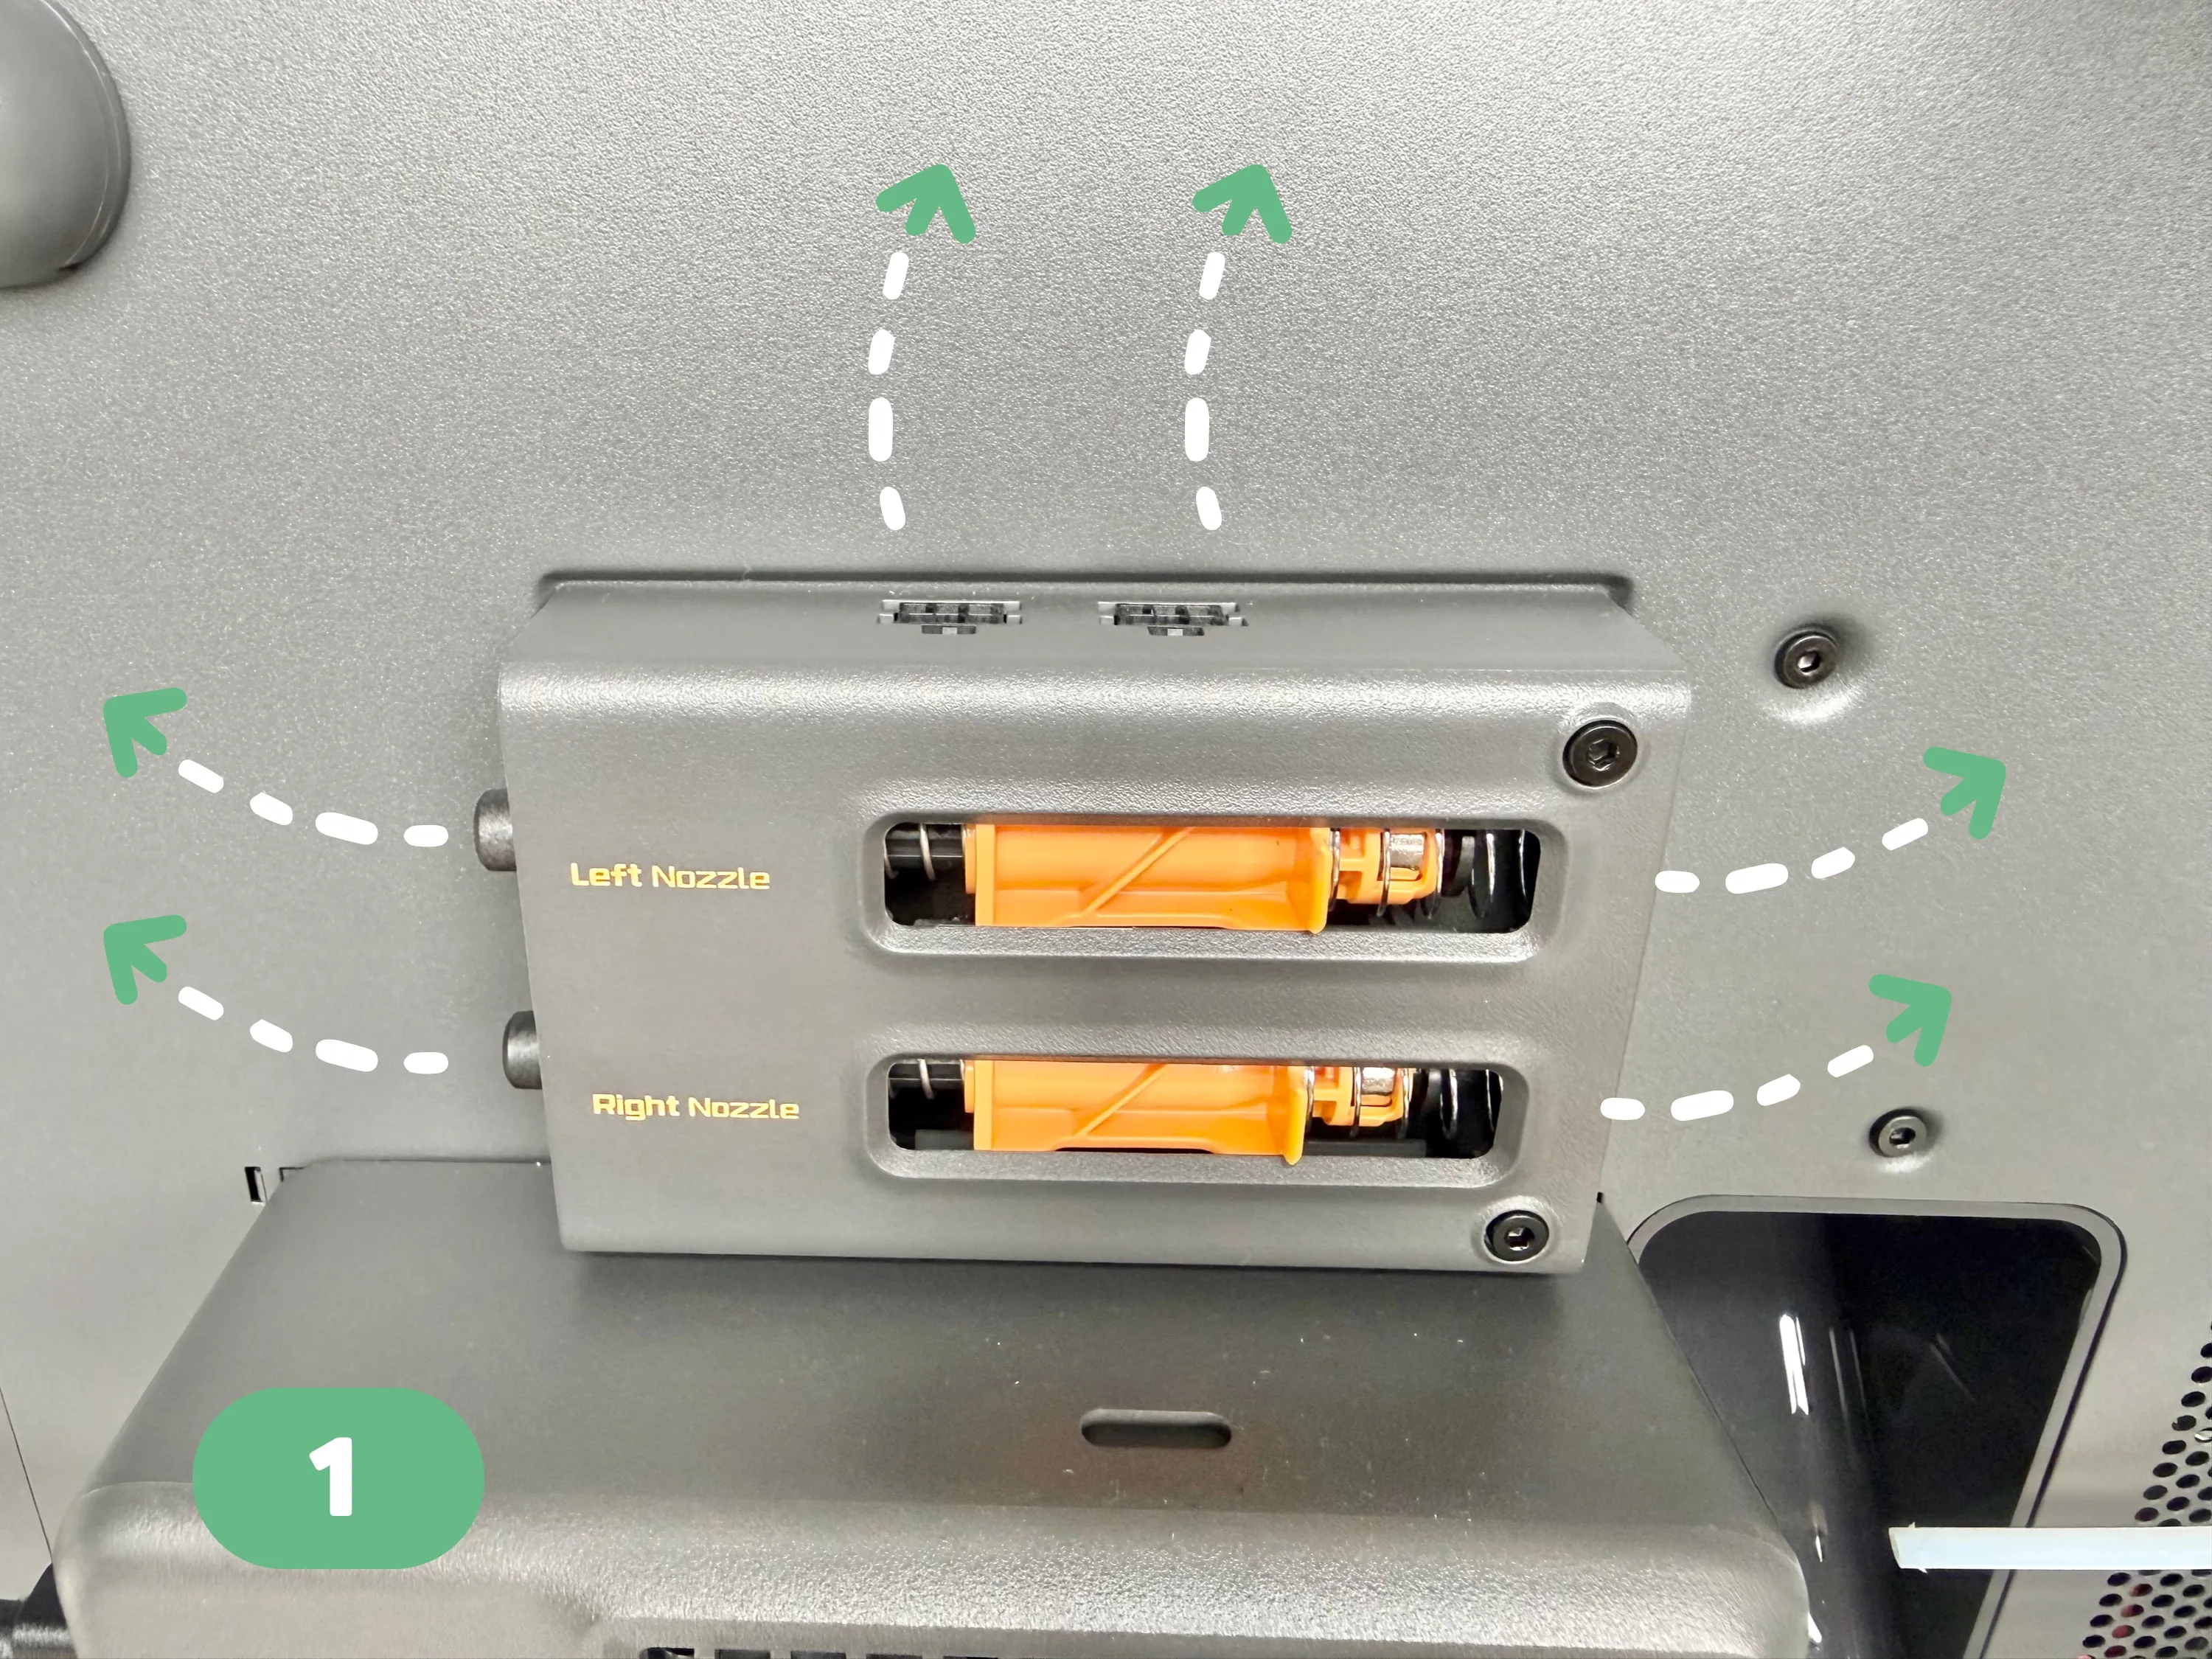
2. Insert the left side of the model into the left side of the AMS buffer.
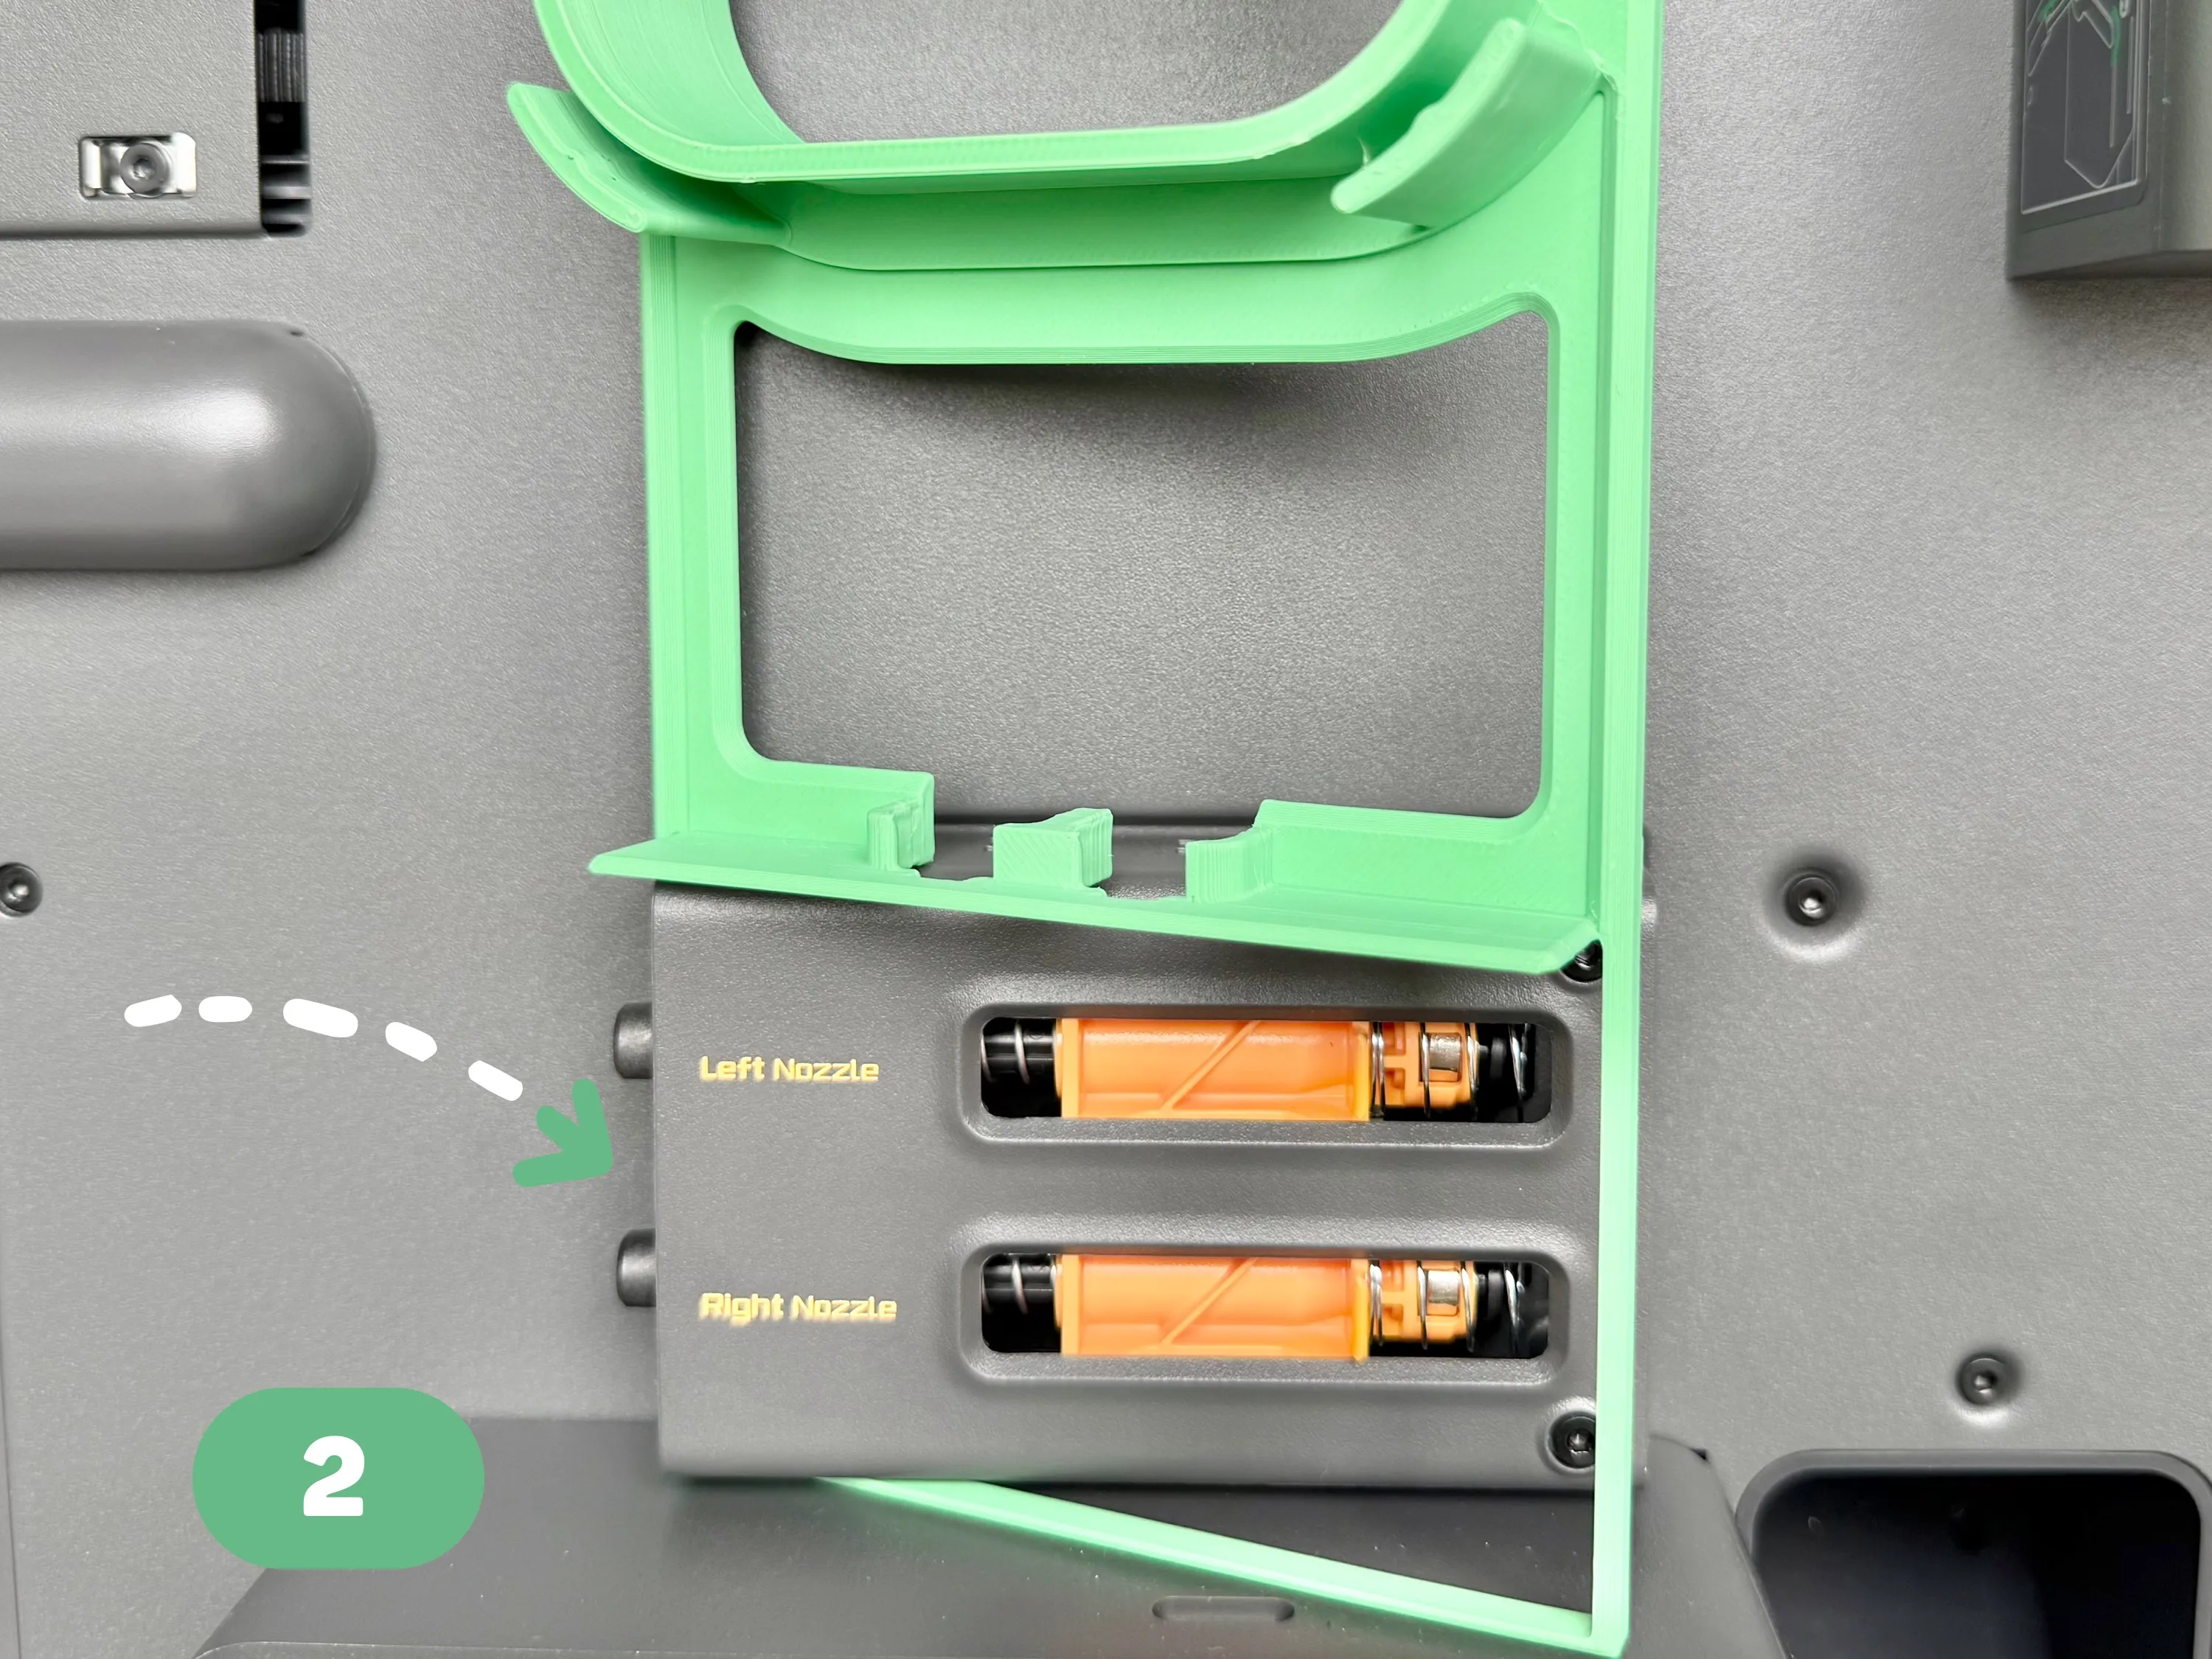
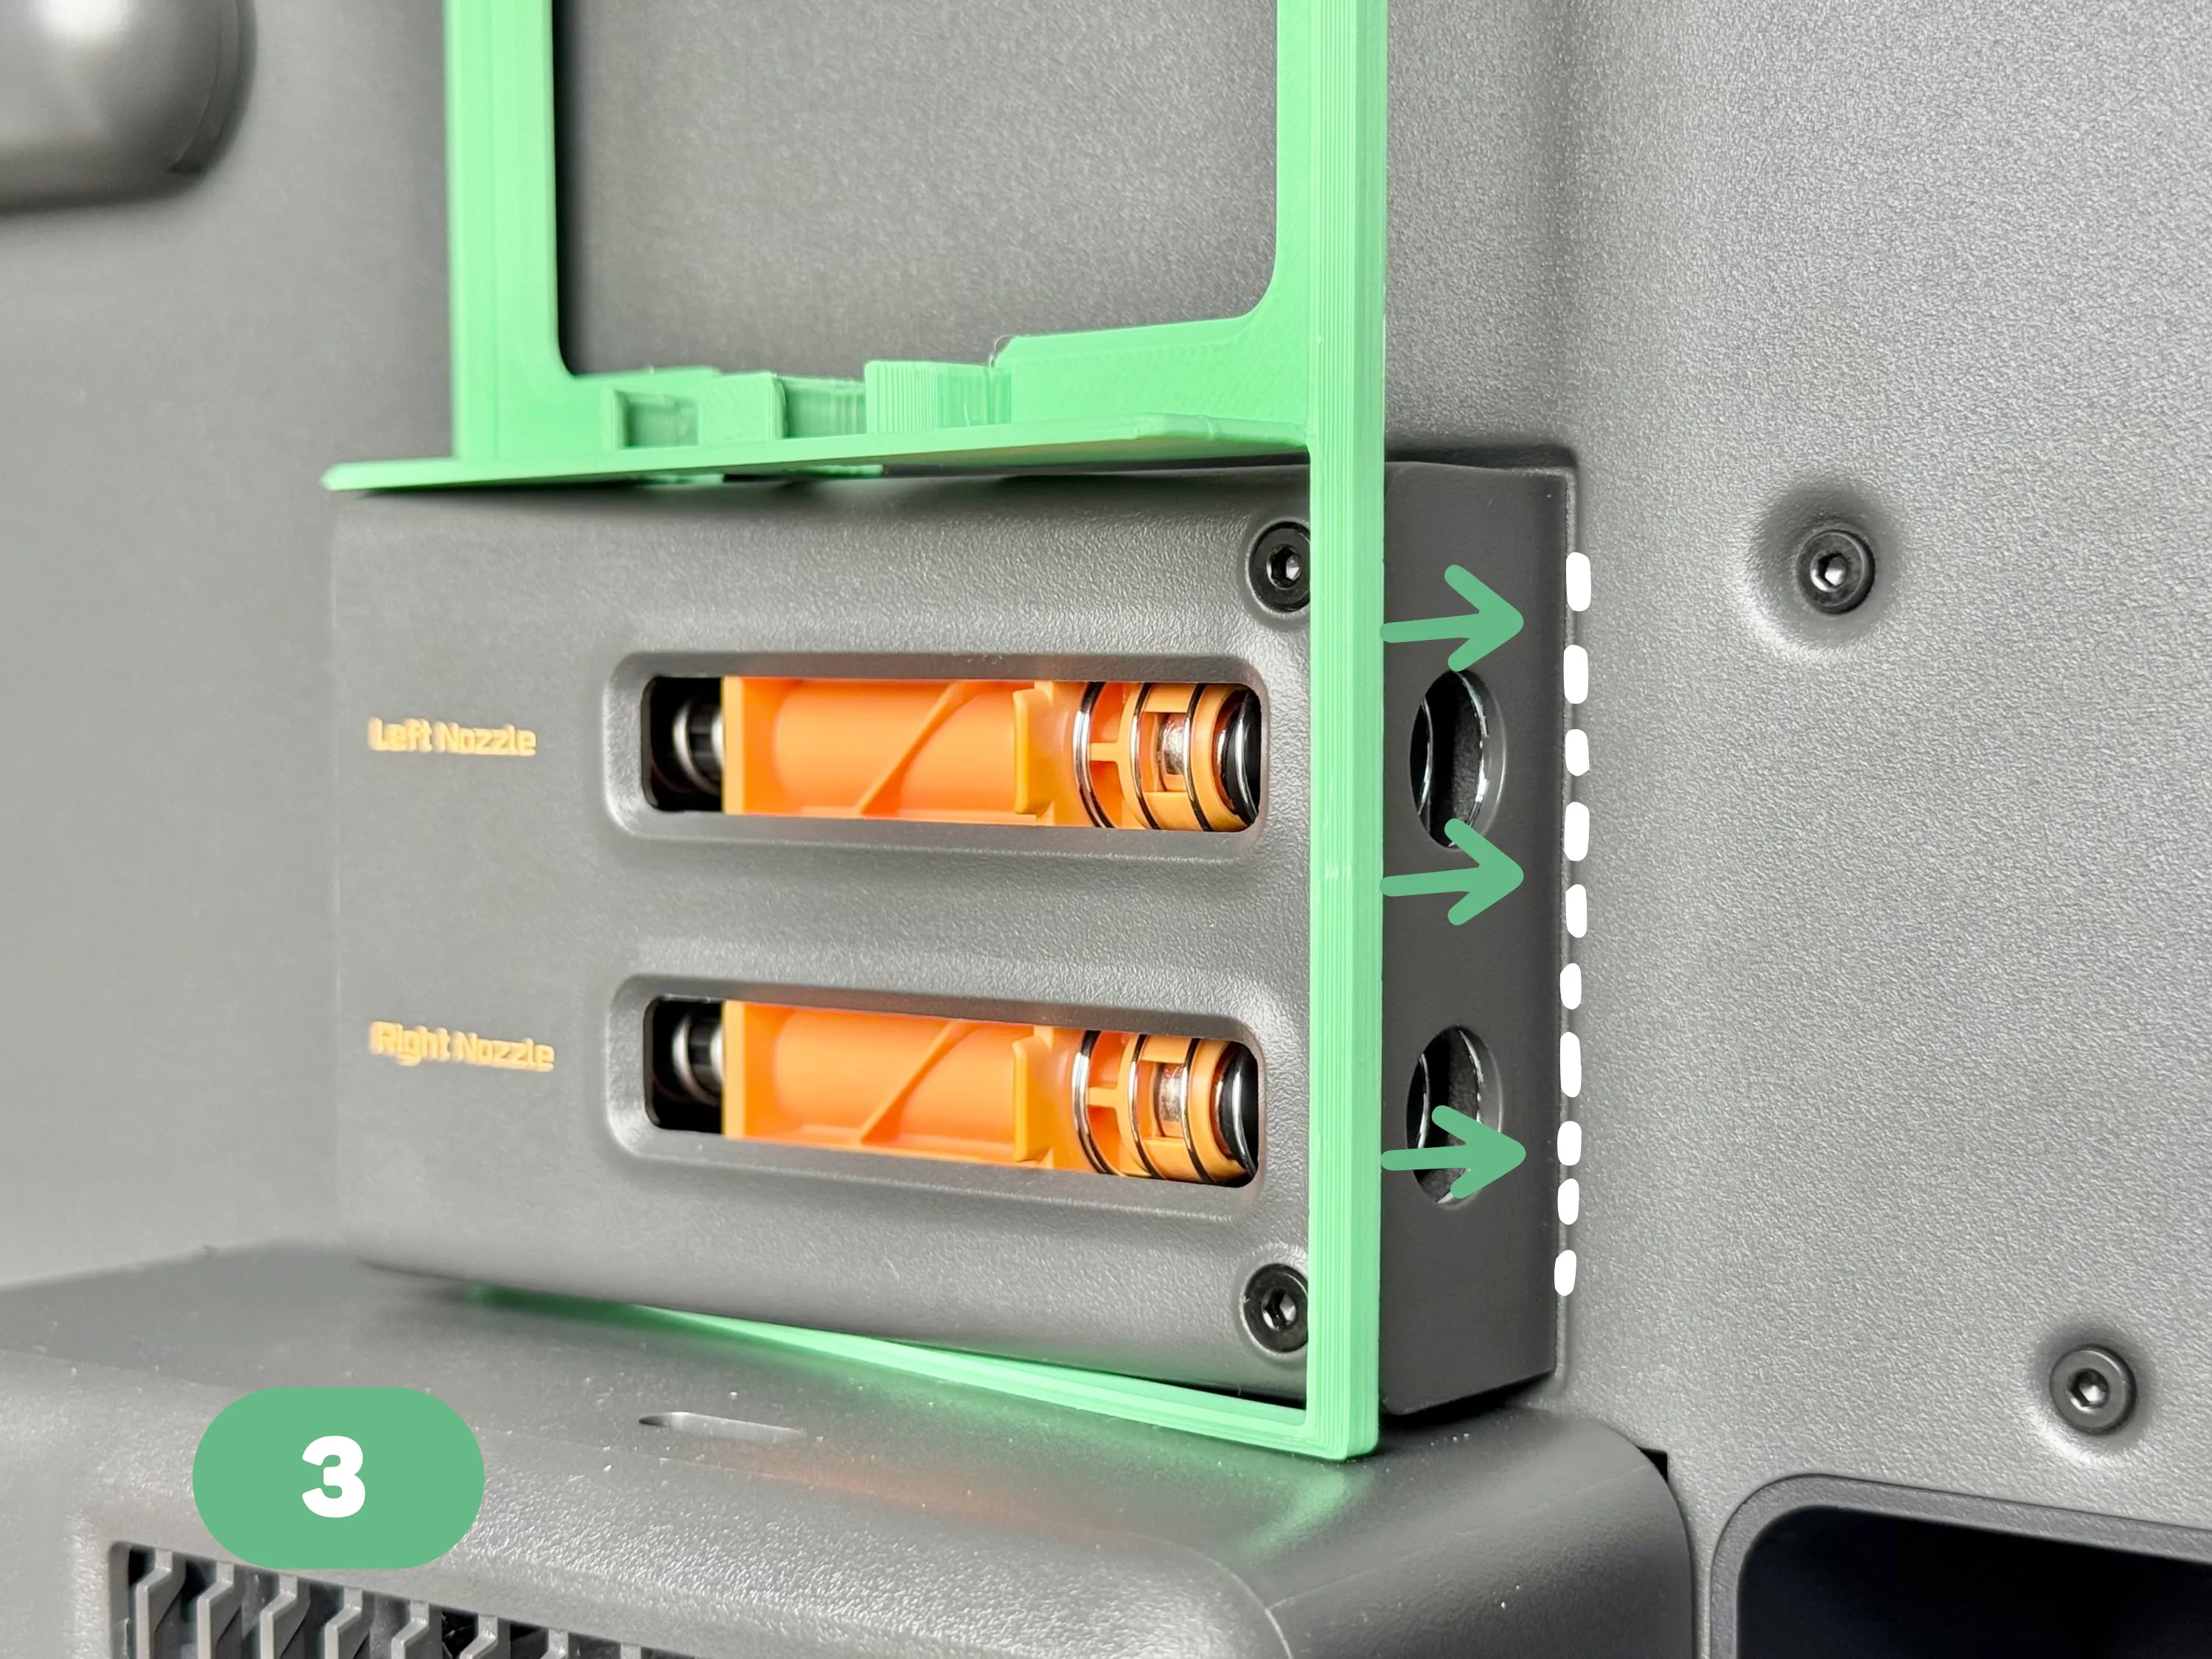
3. Snap the right side of the model into the right side of the AMS buffer.
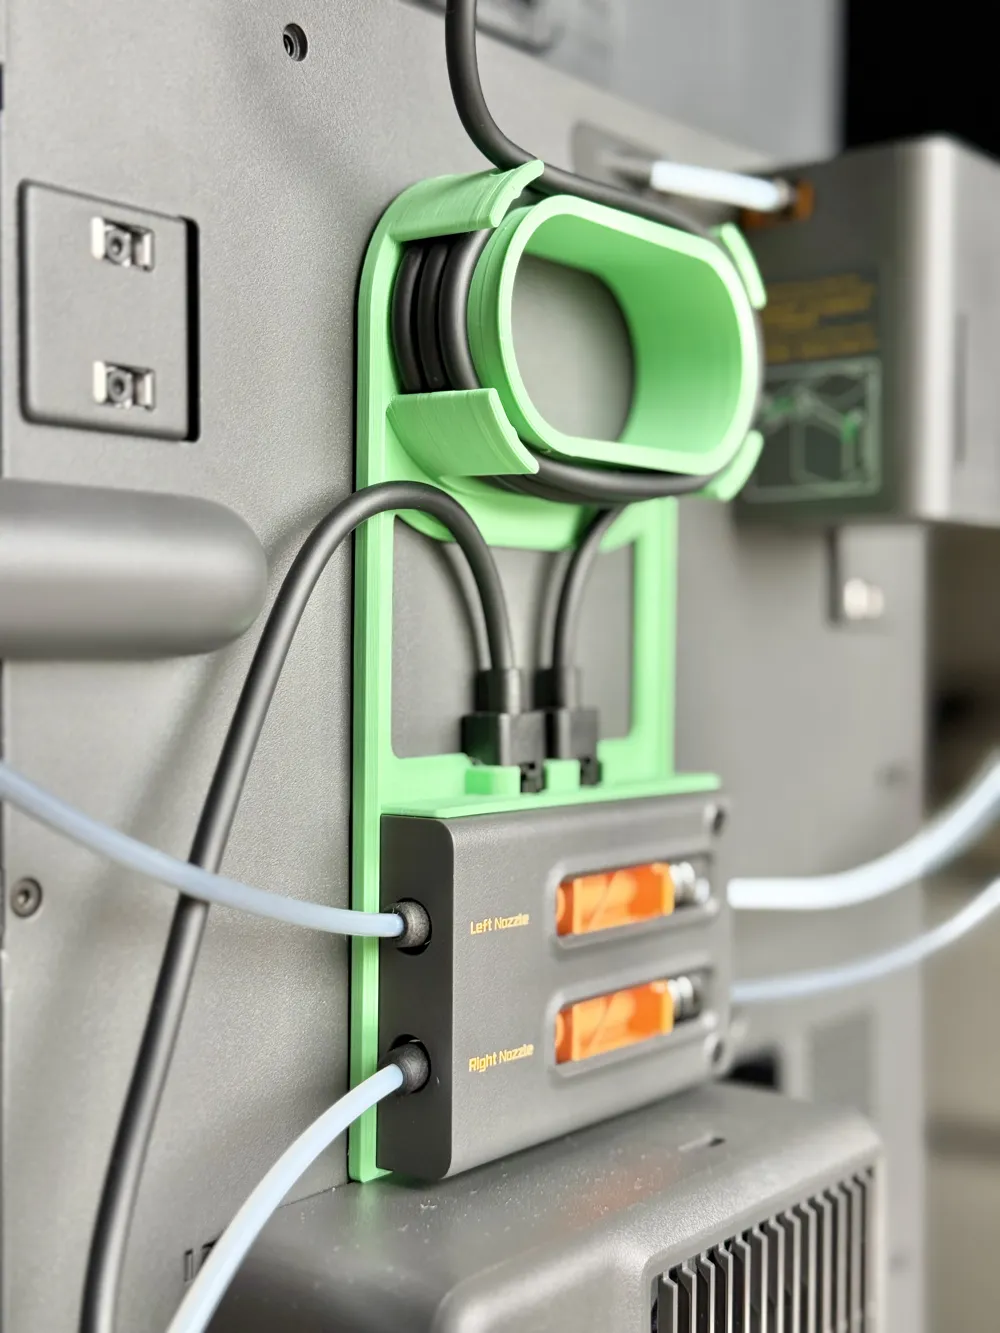
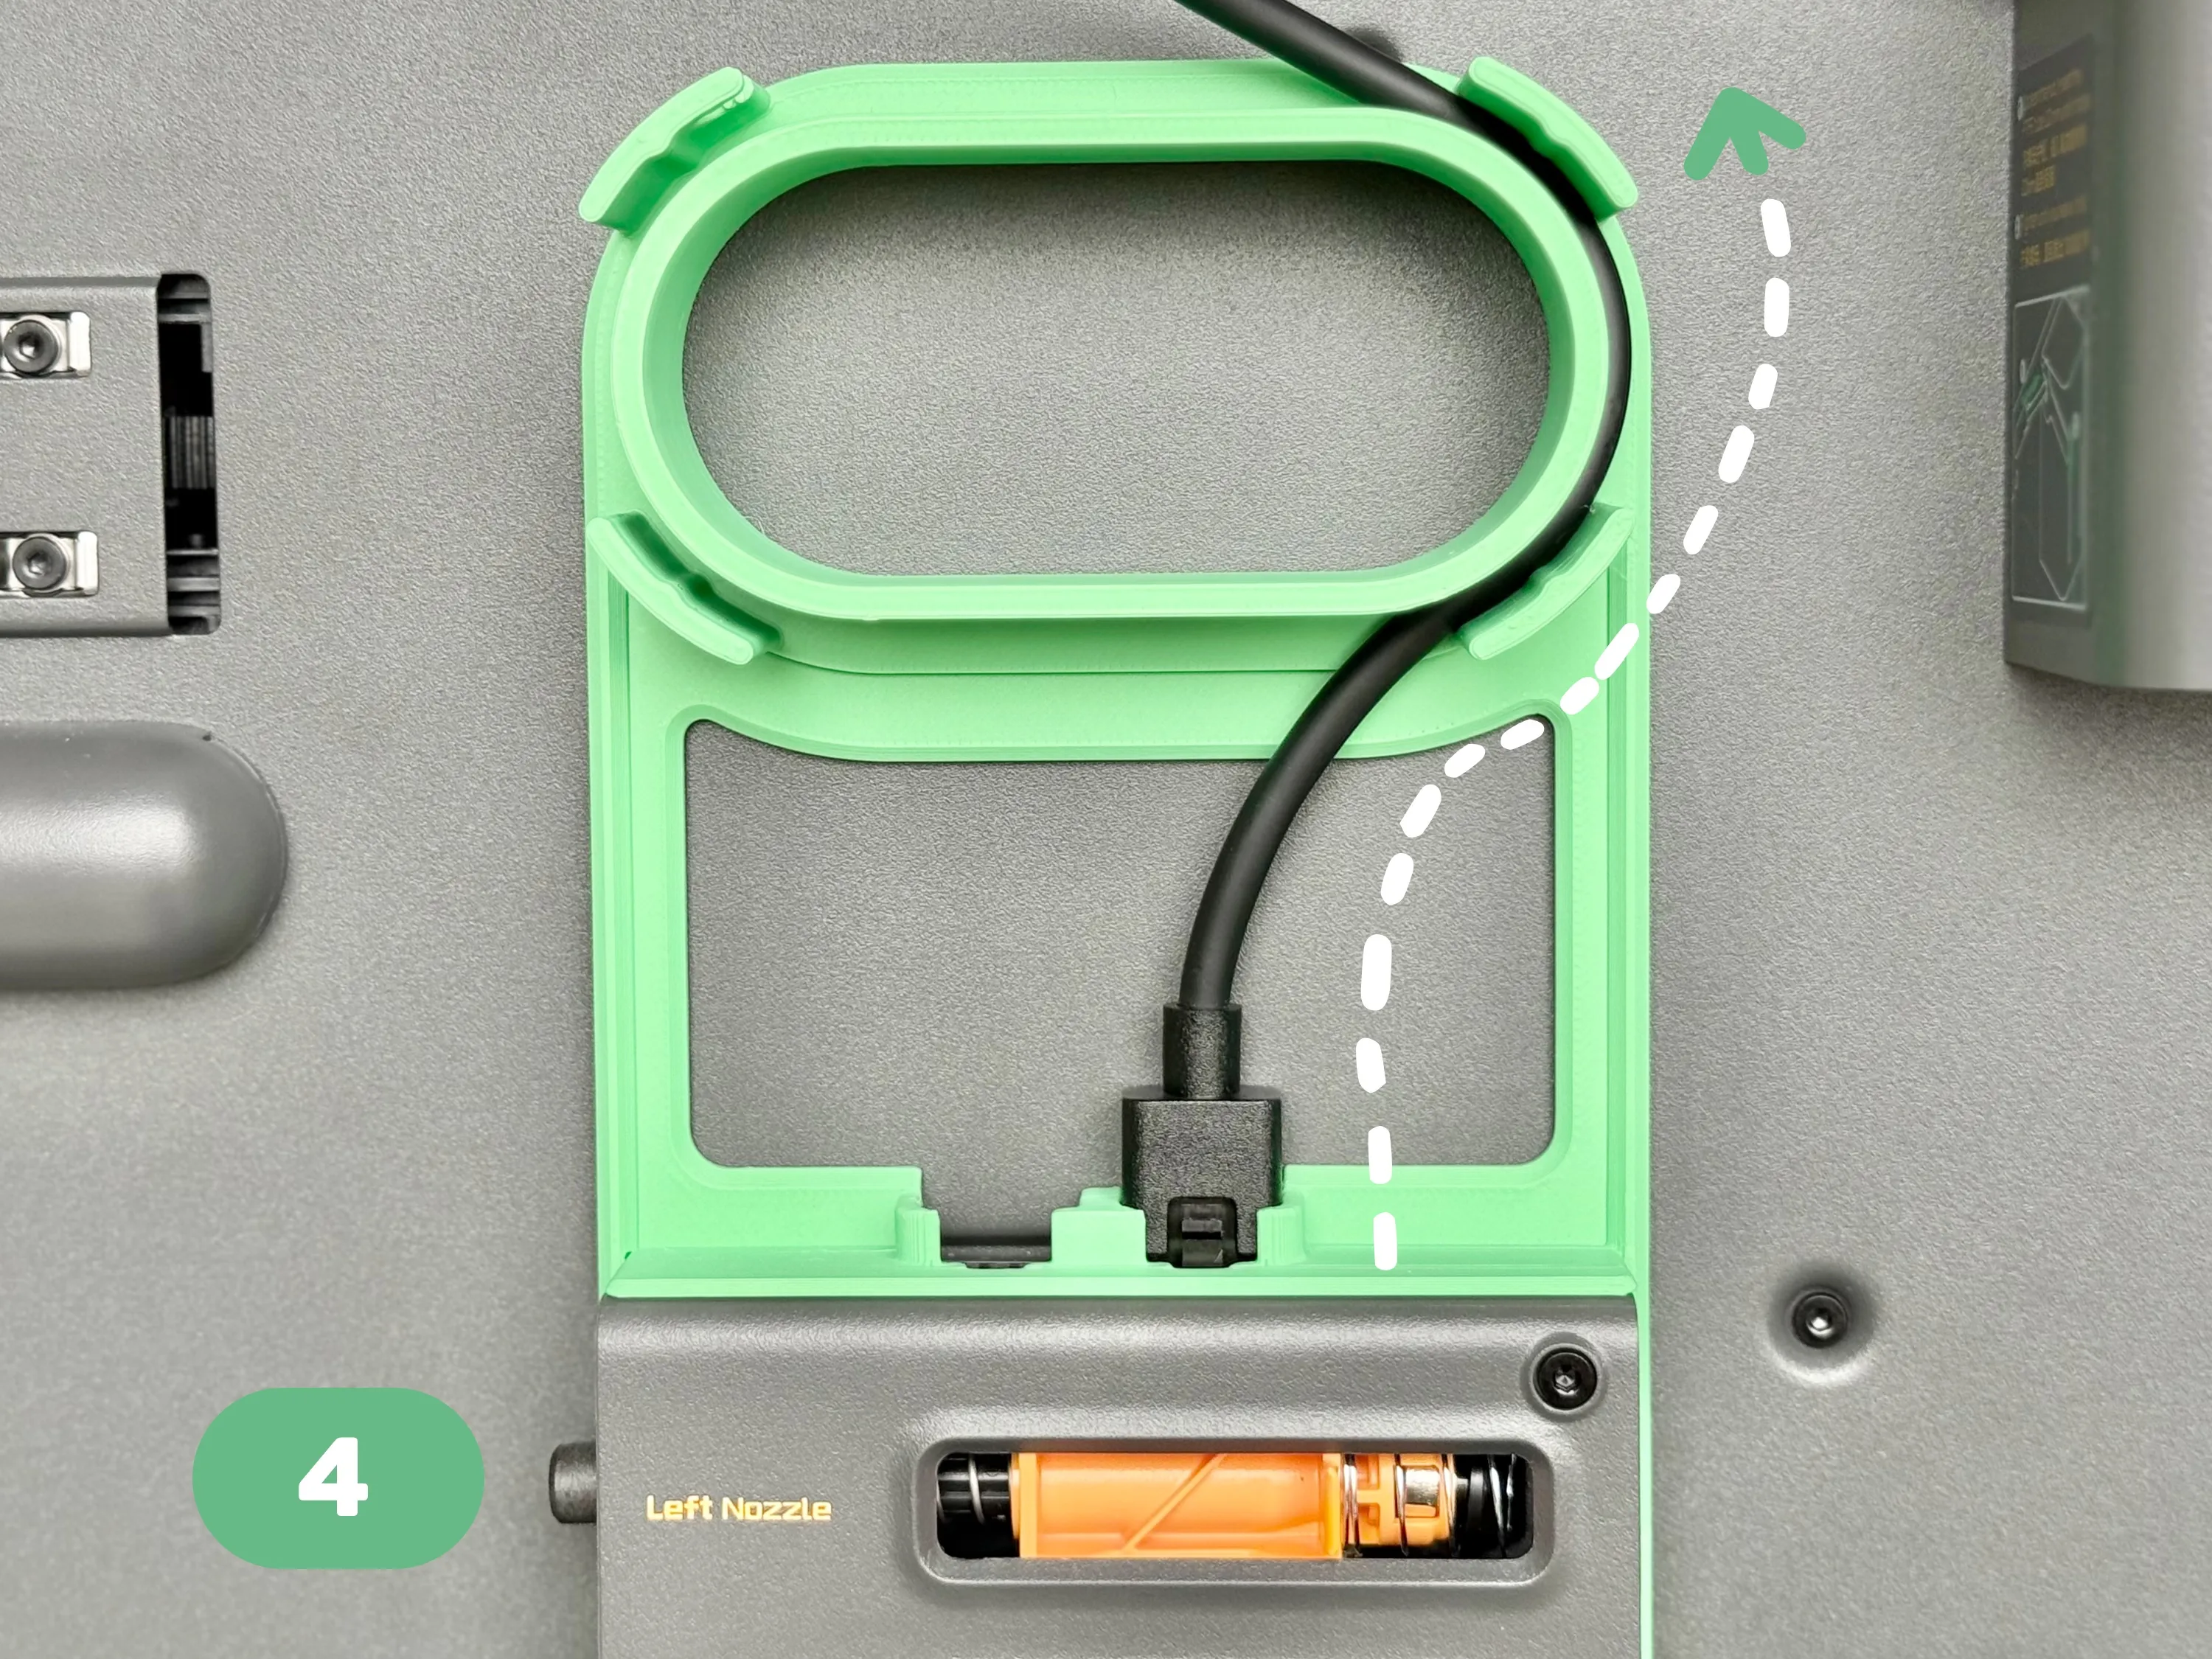
4. As shown in the image, insert the cables into the cable channel counterclockwise, starting from the right side.
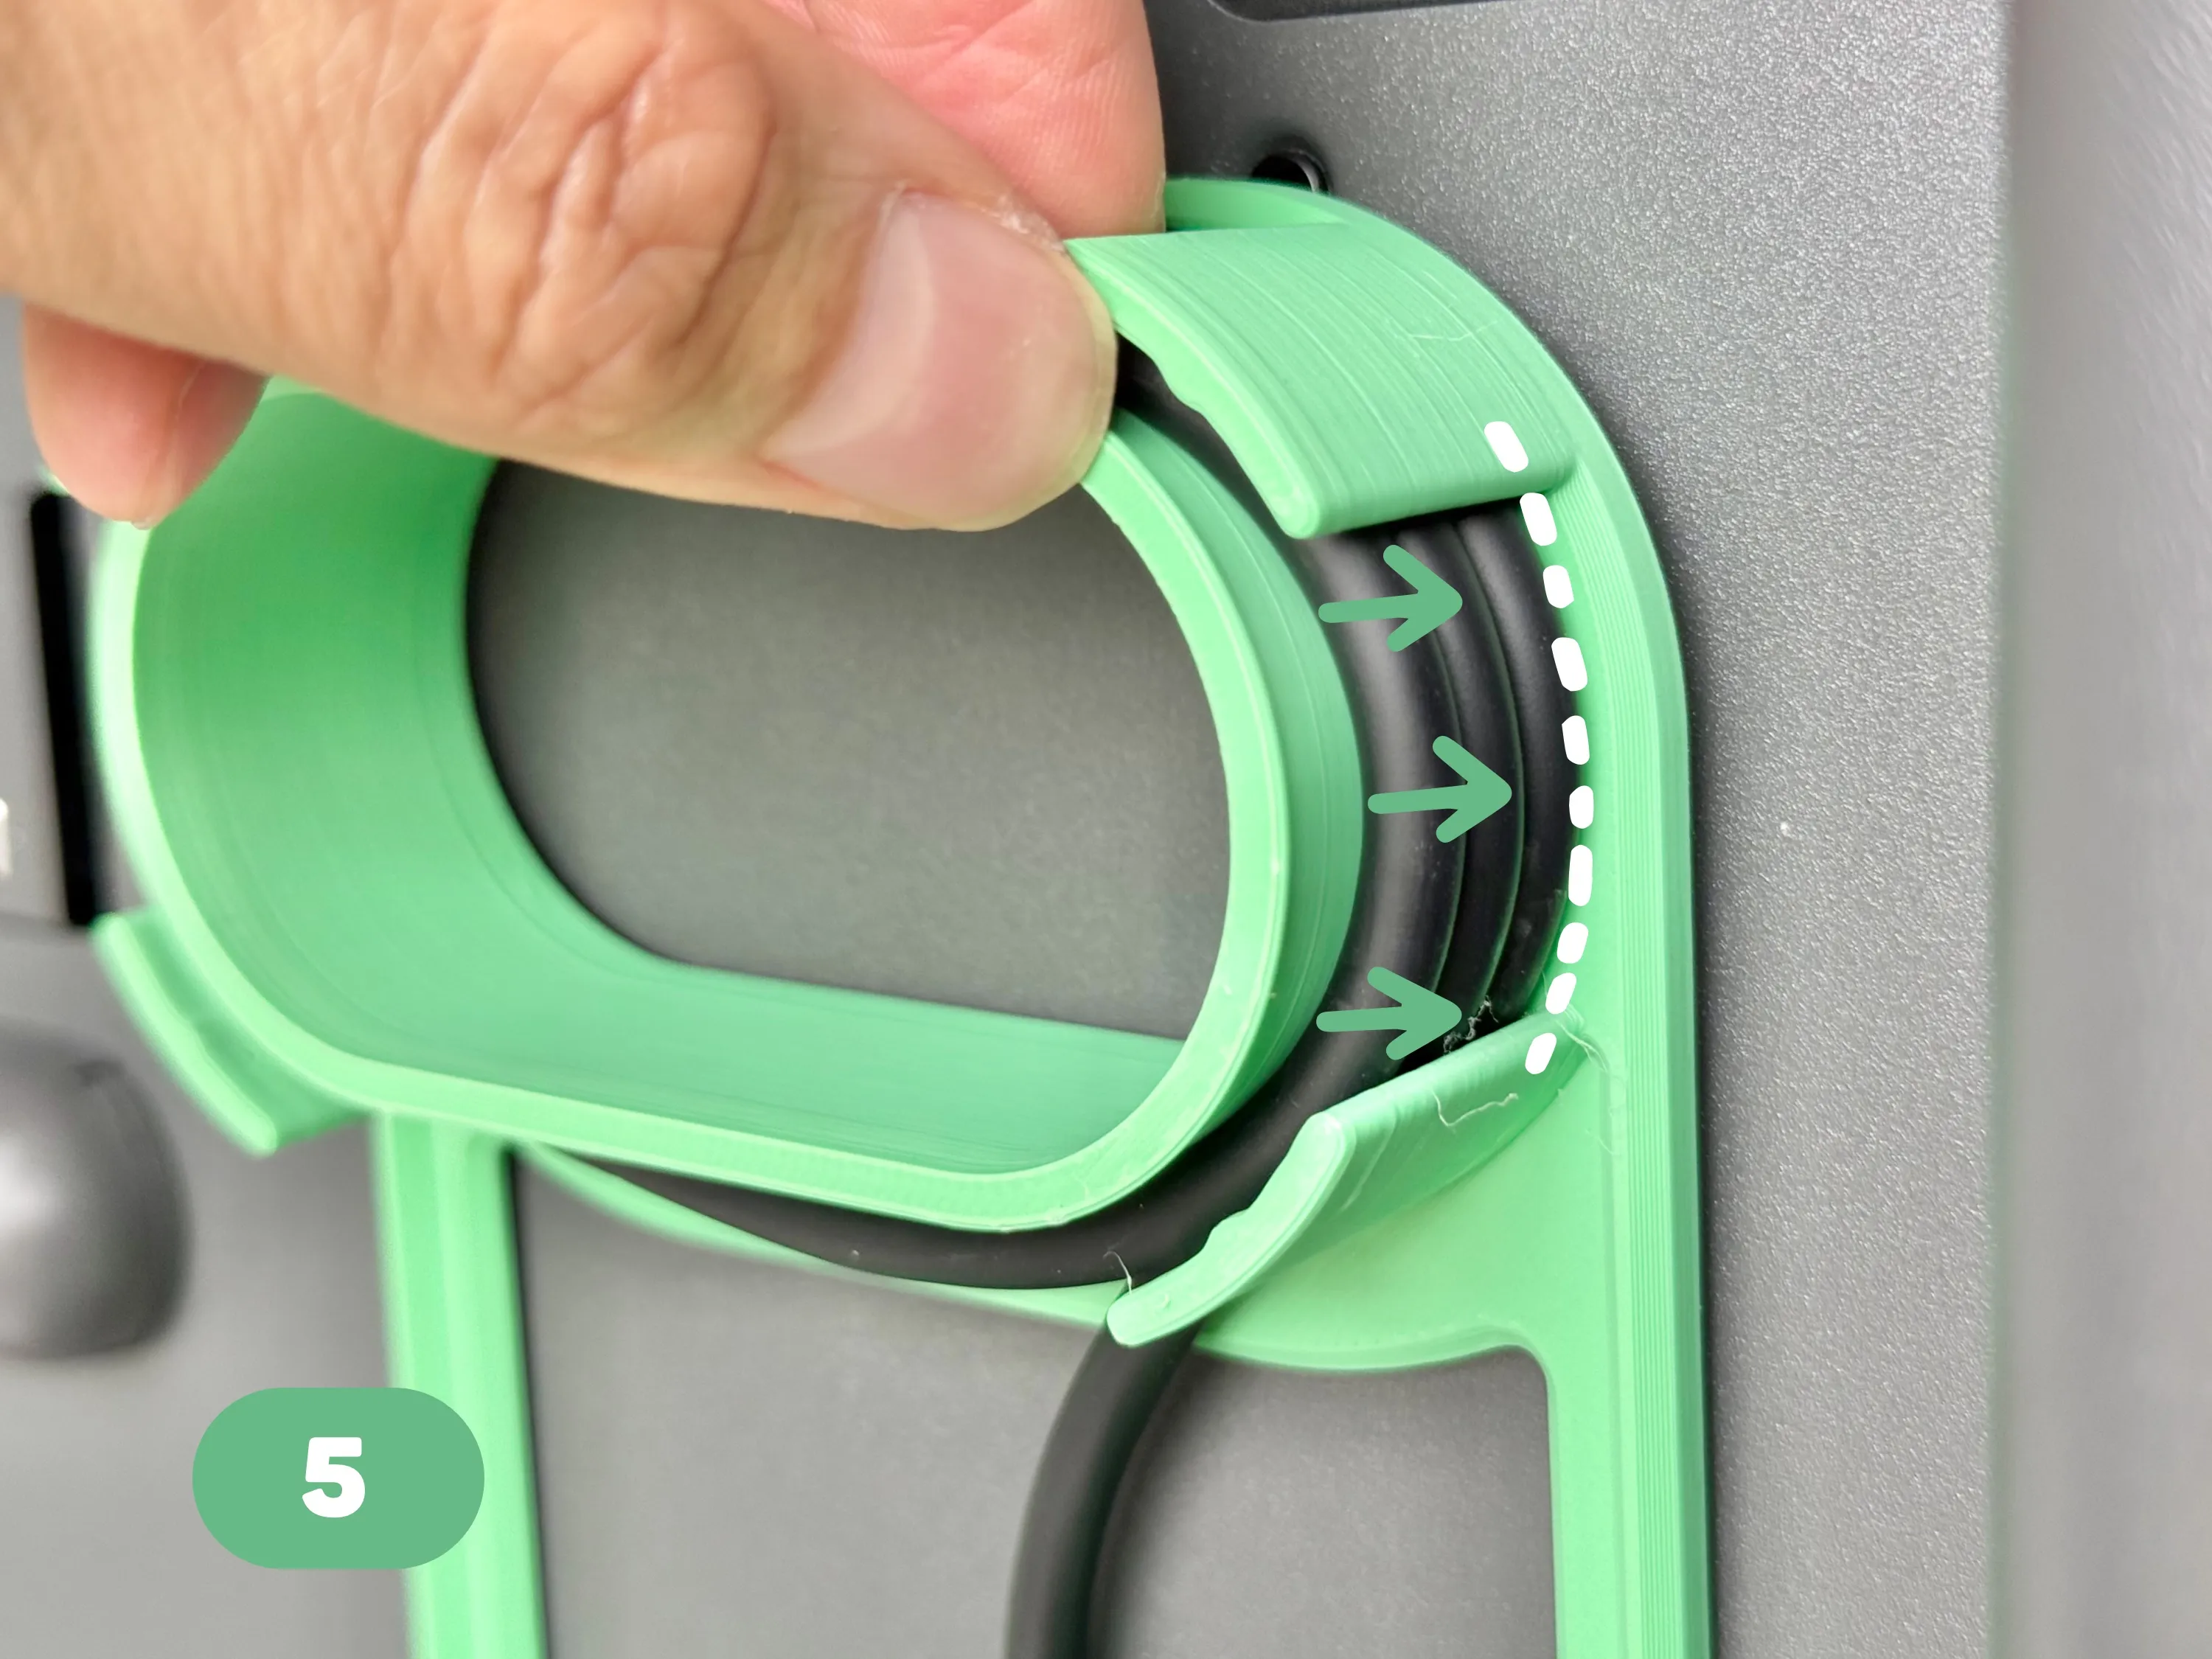
5. Push each loop of cable to the bottom so that the cables are tightly packed together.
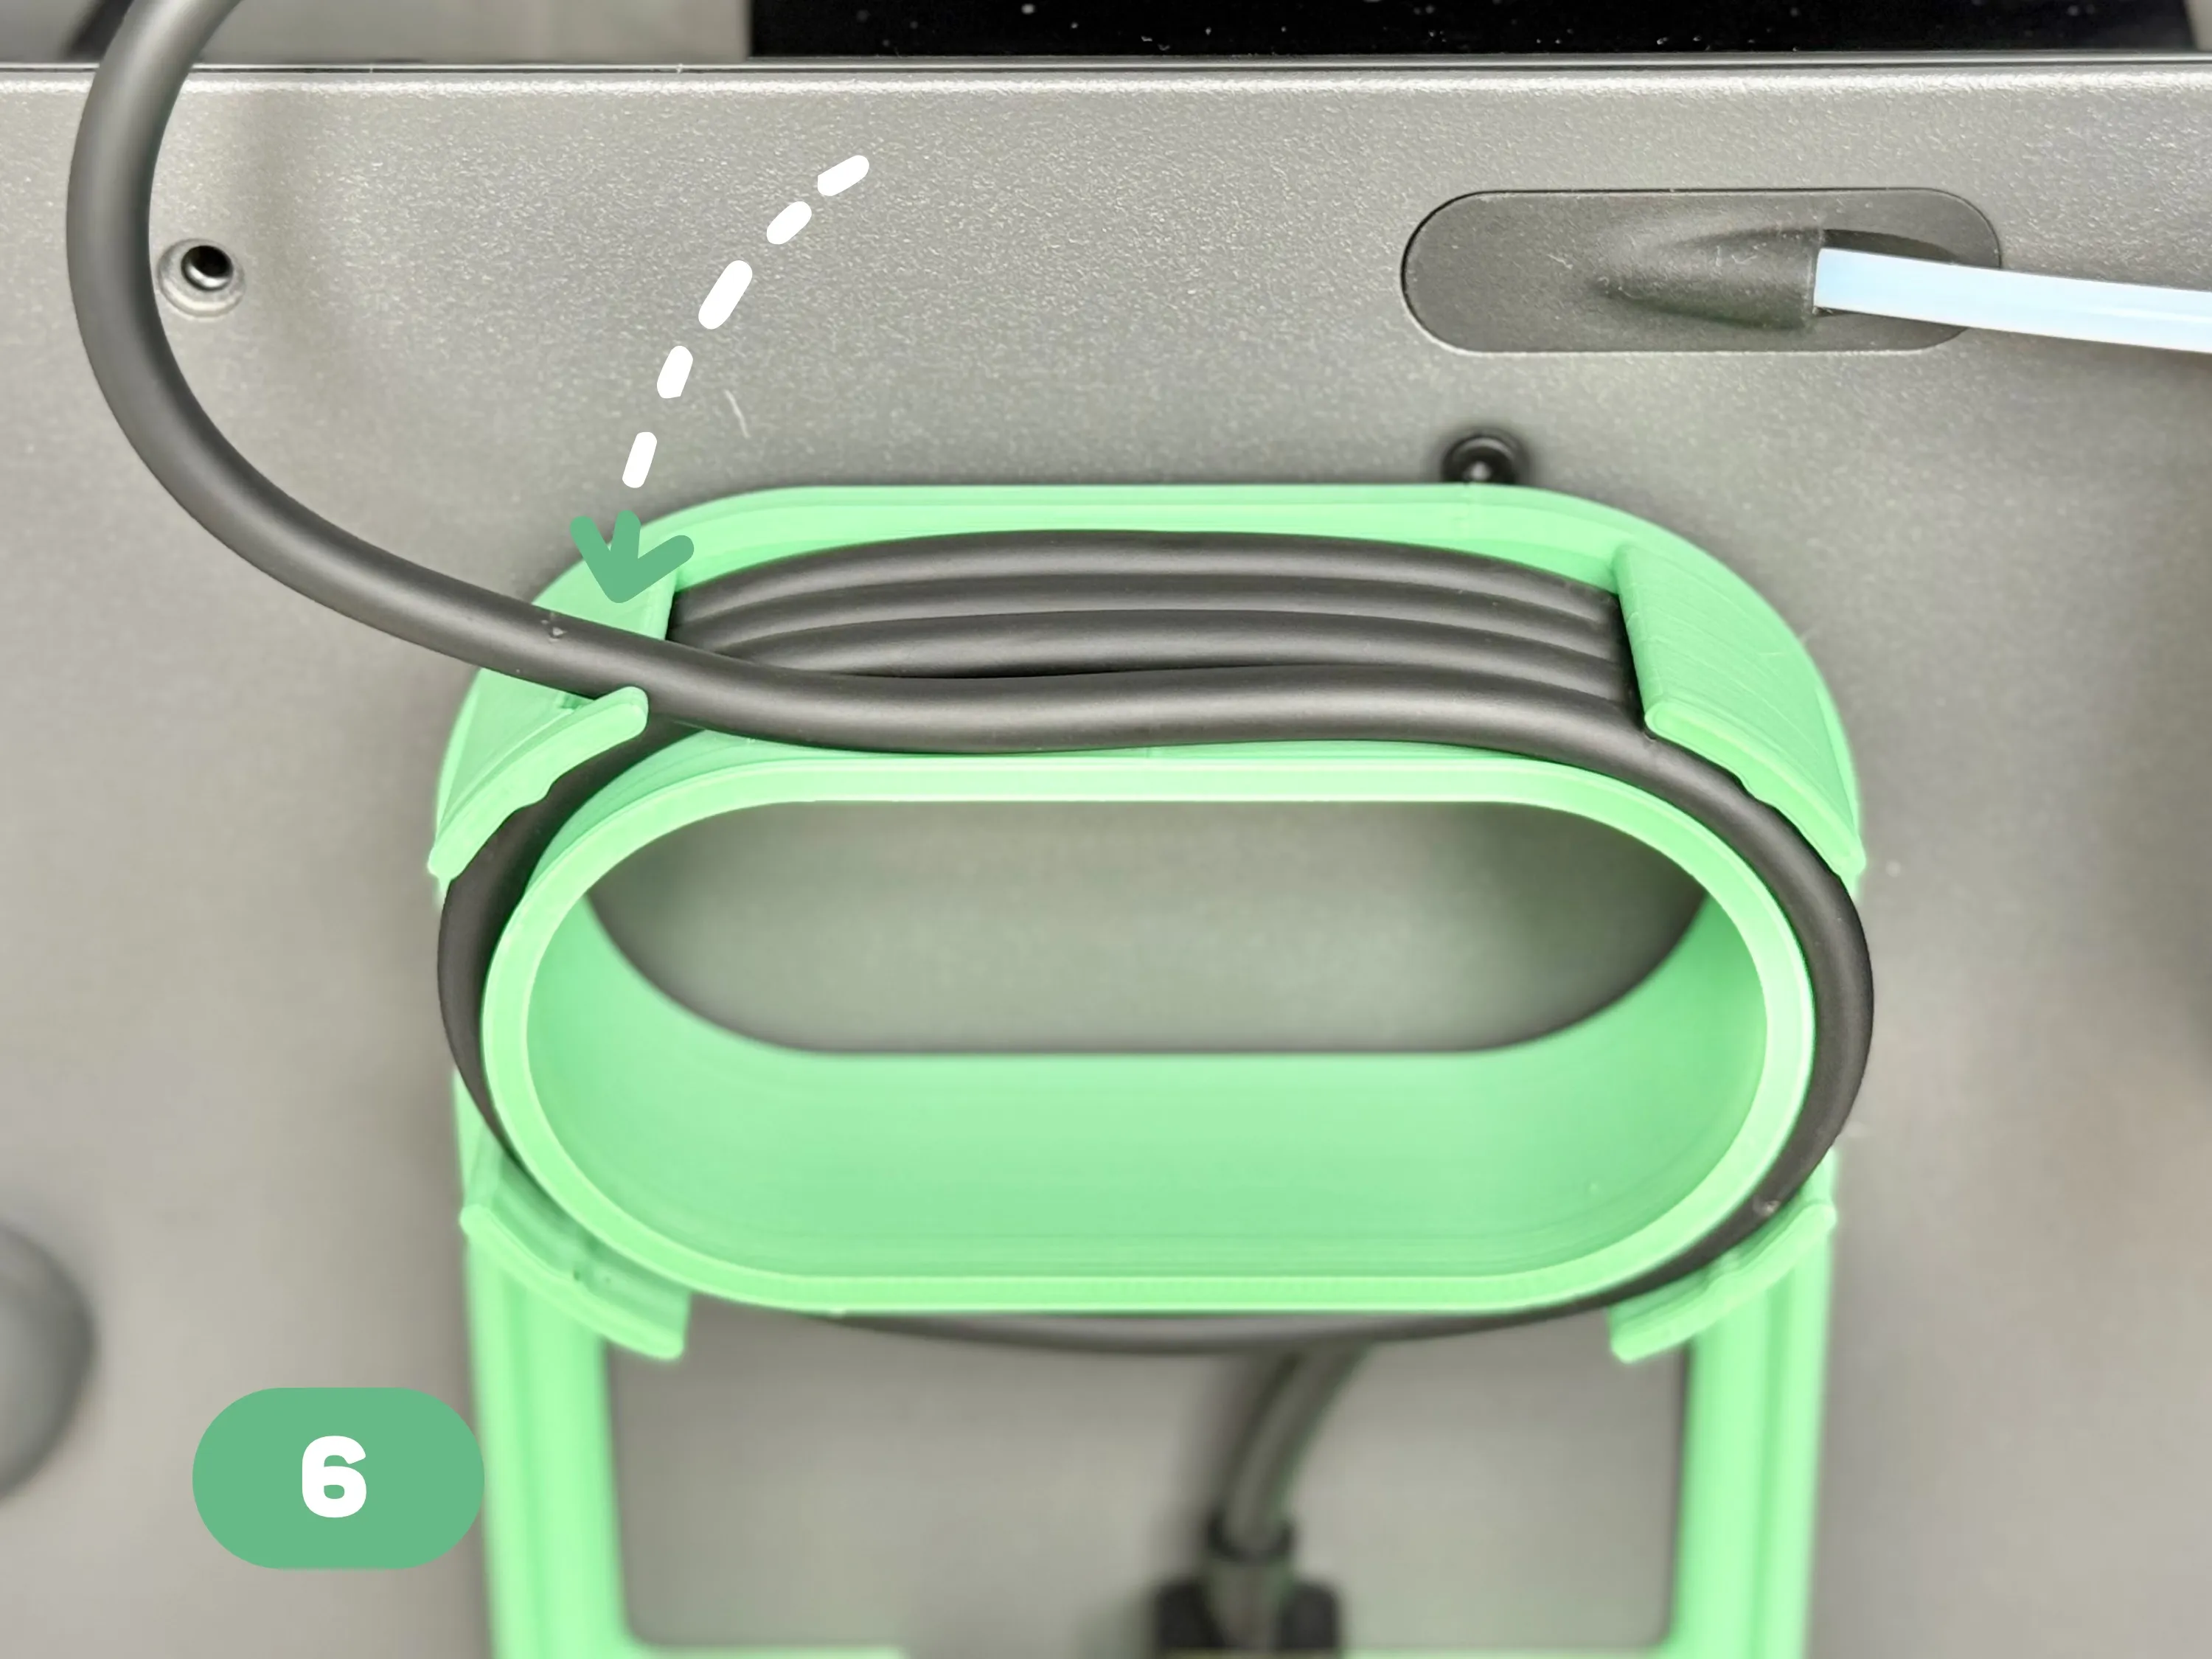
6. Finally, press the remaining cables into the slots on the top of the model to secure them.
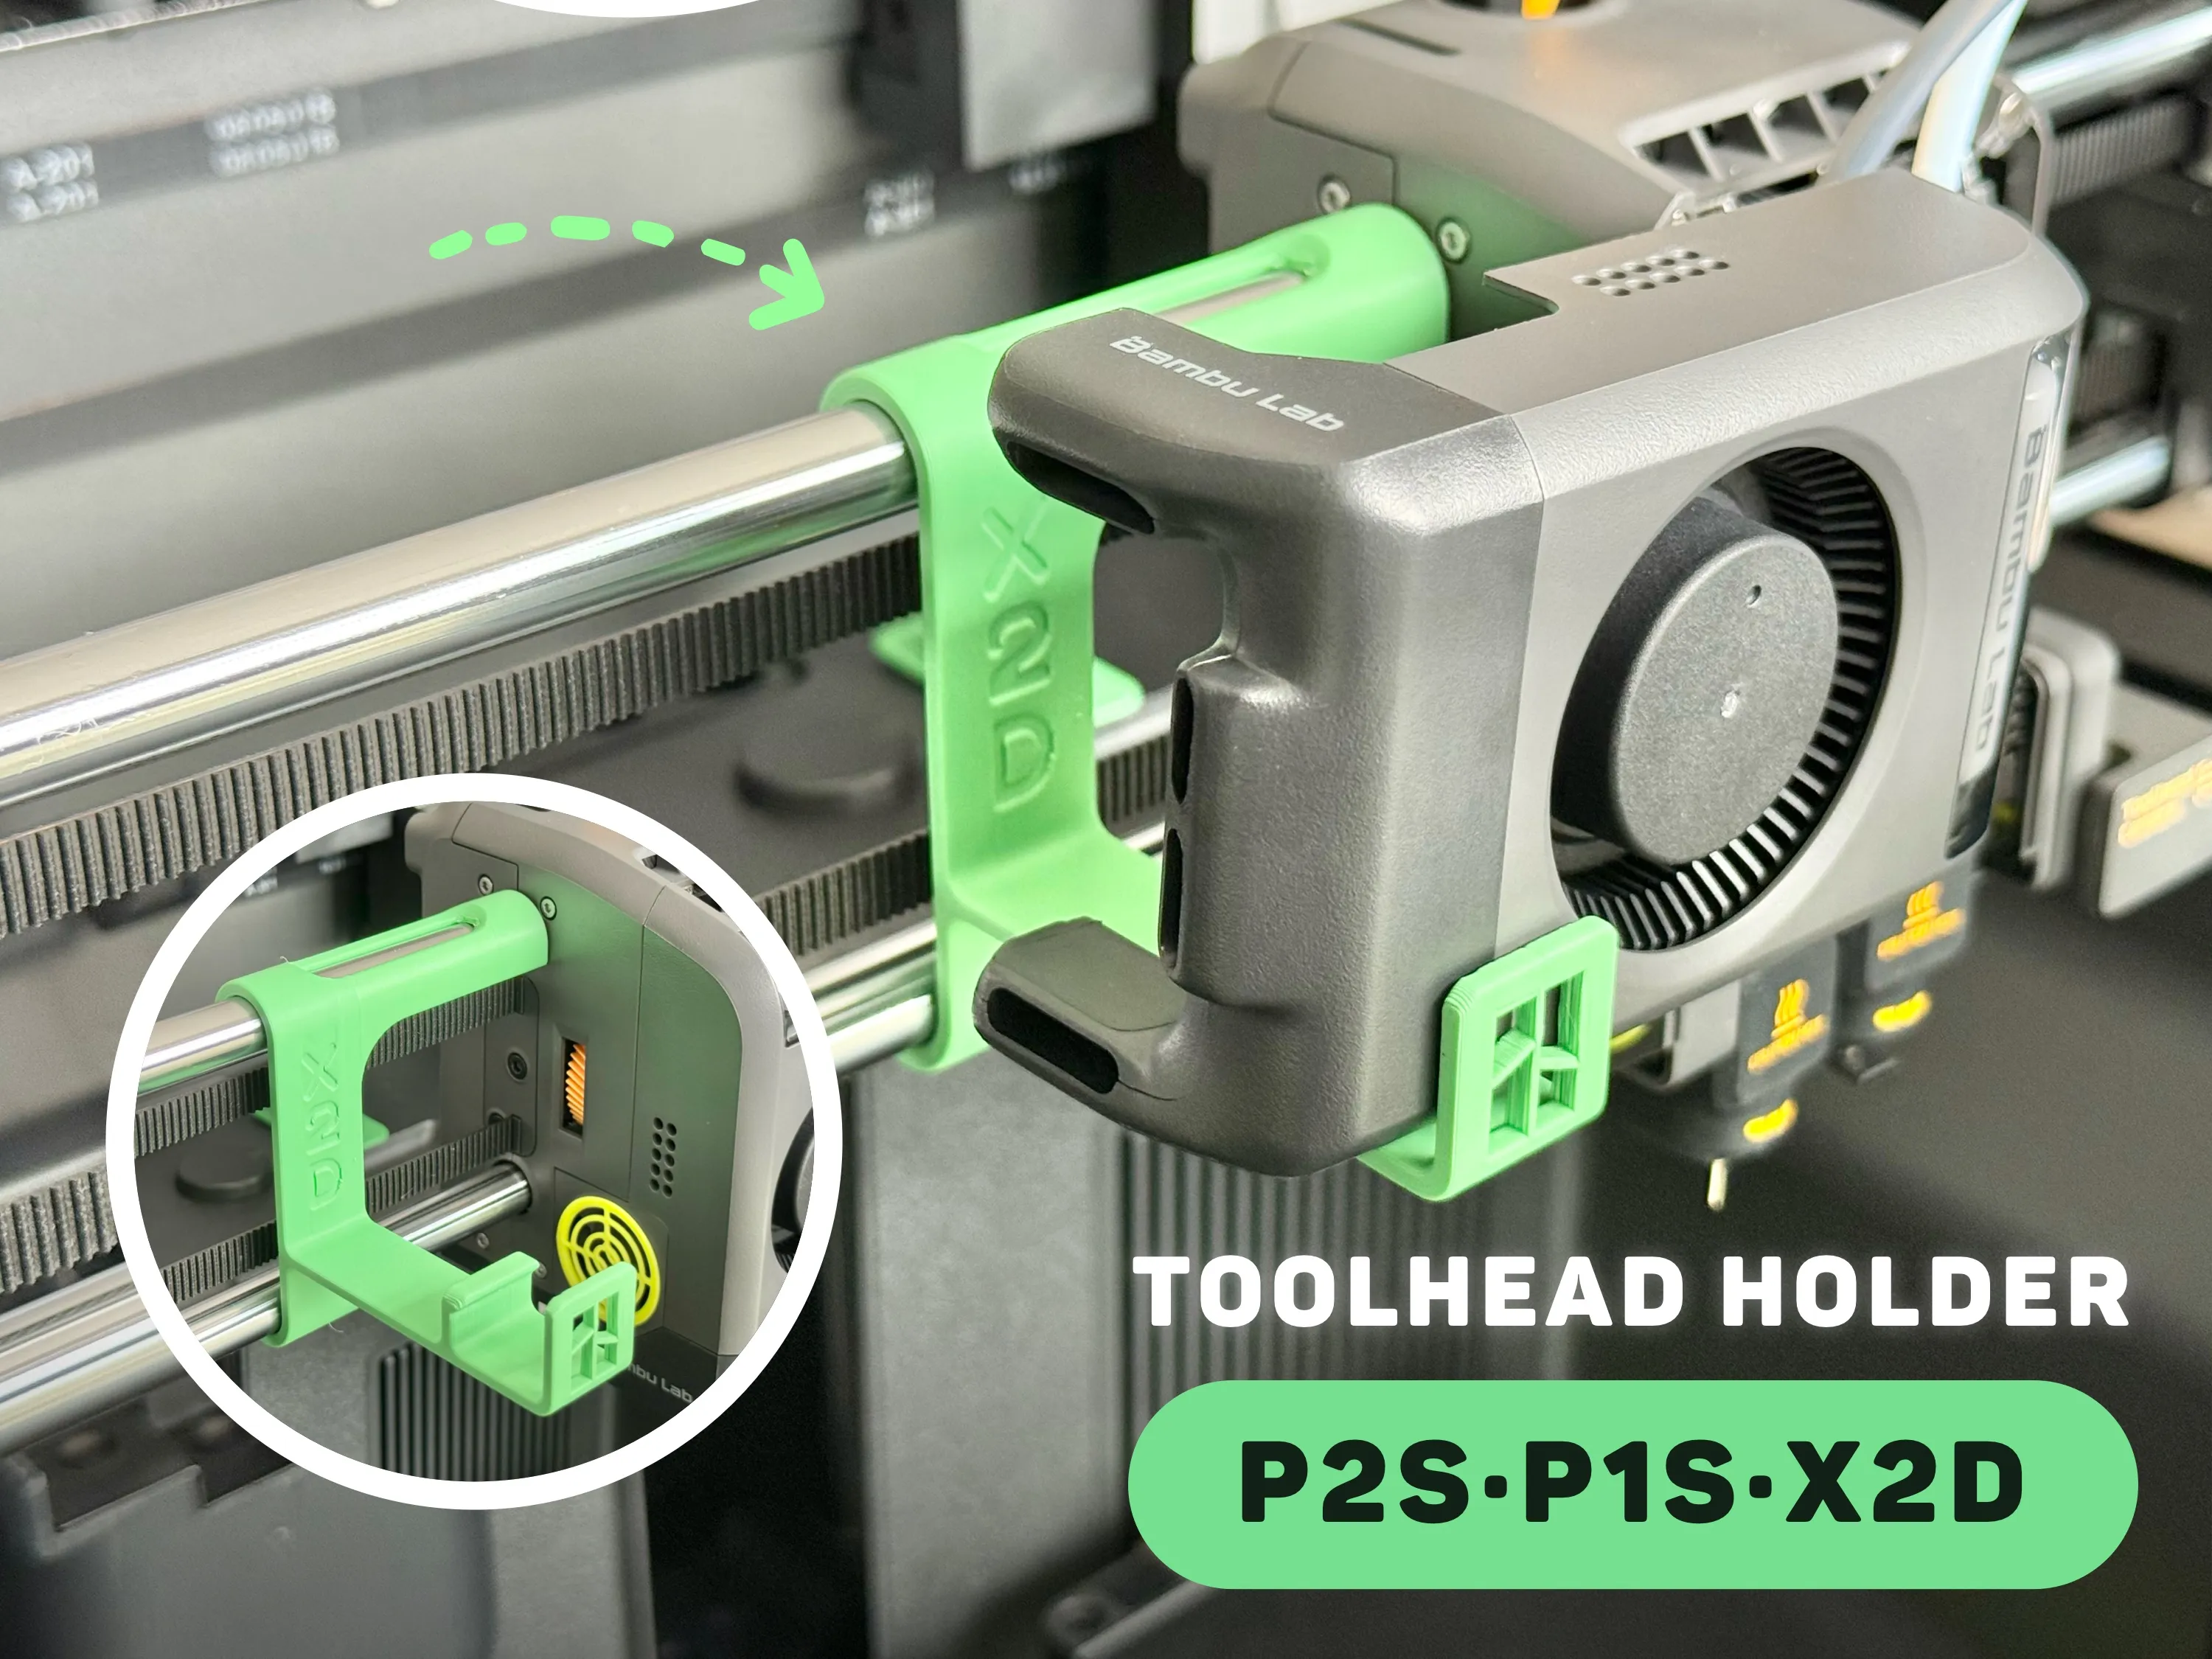
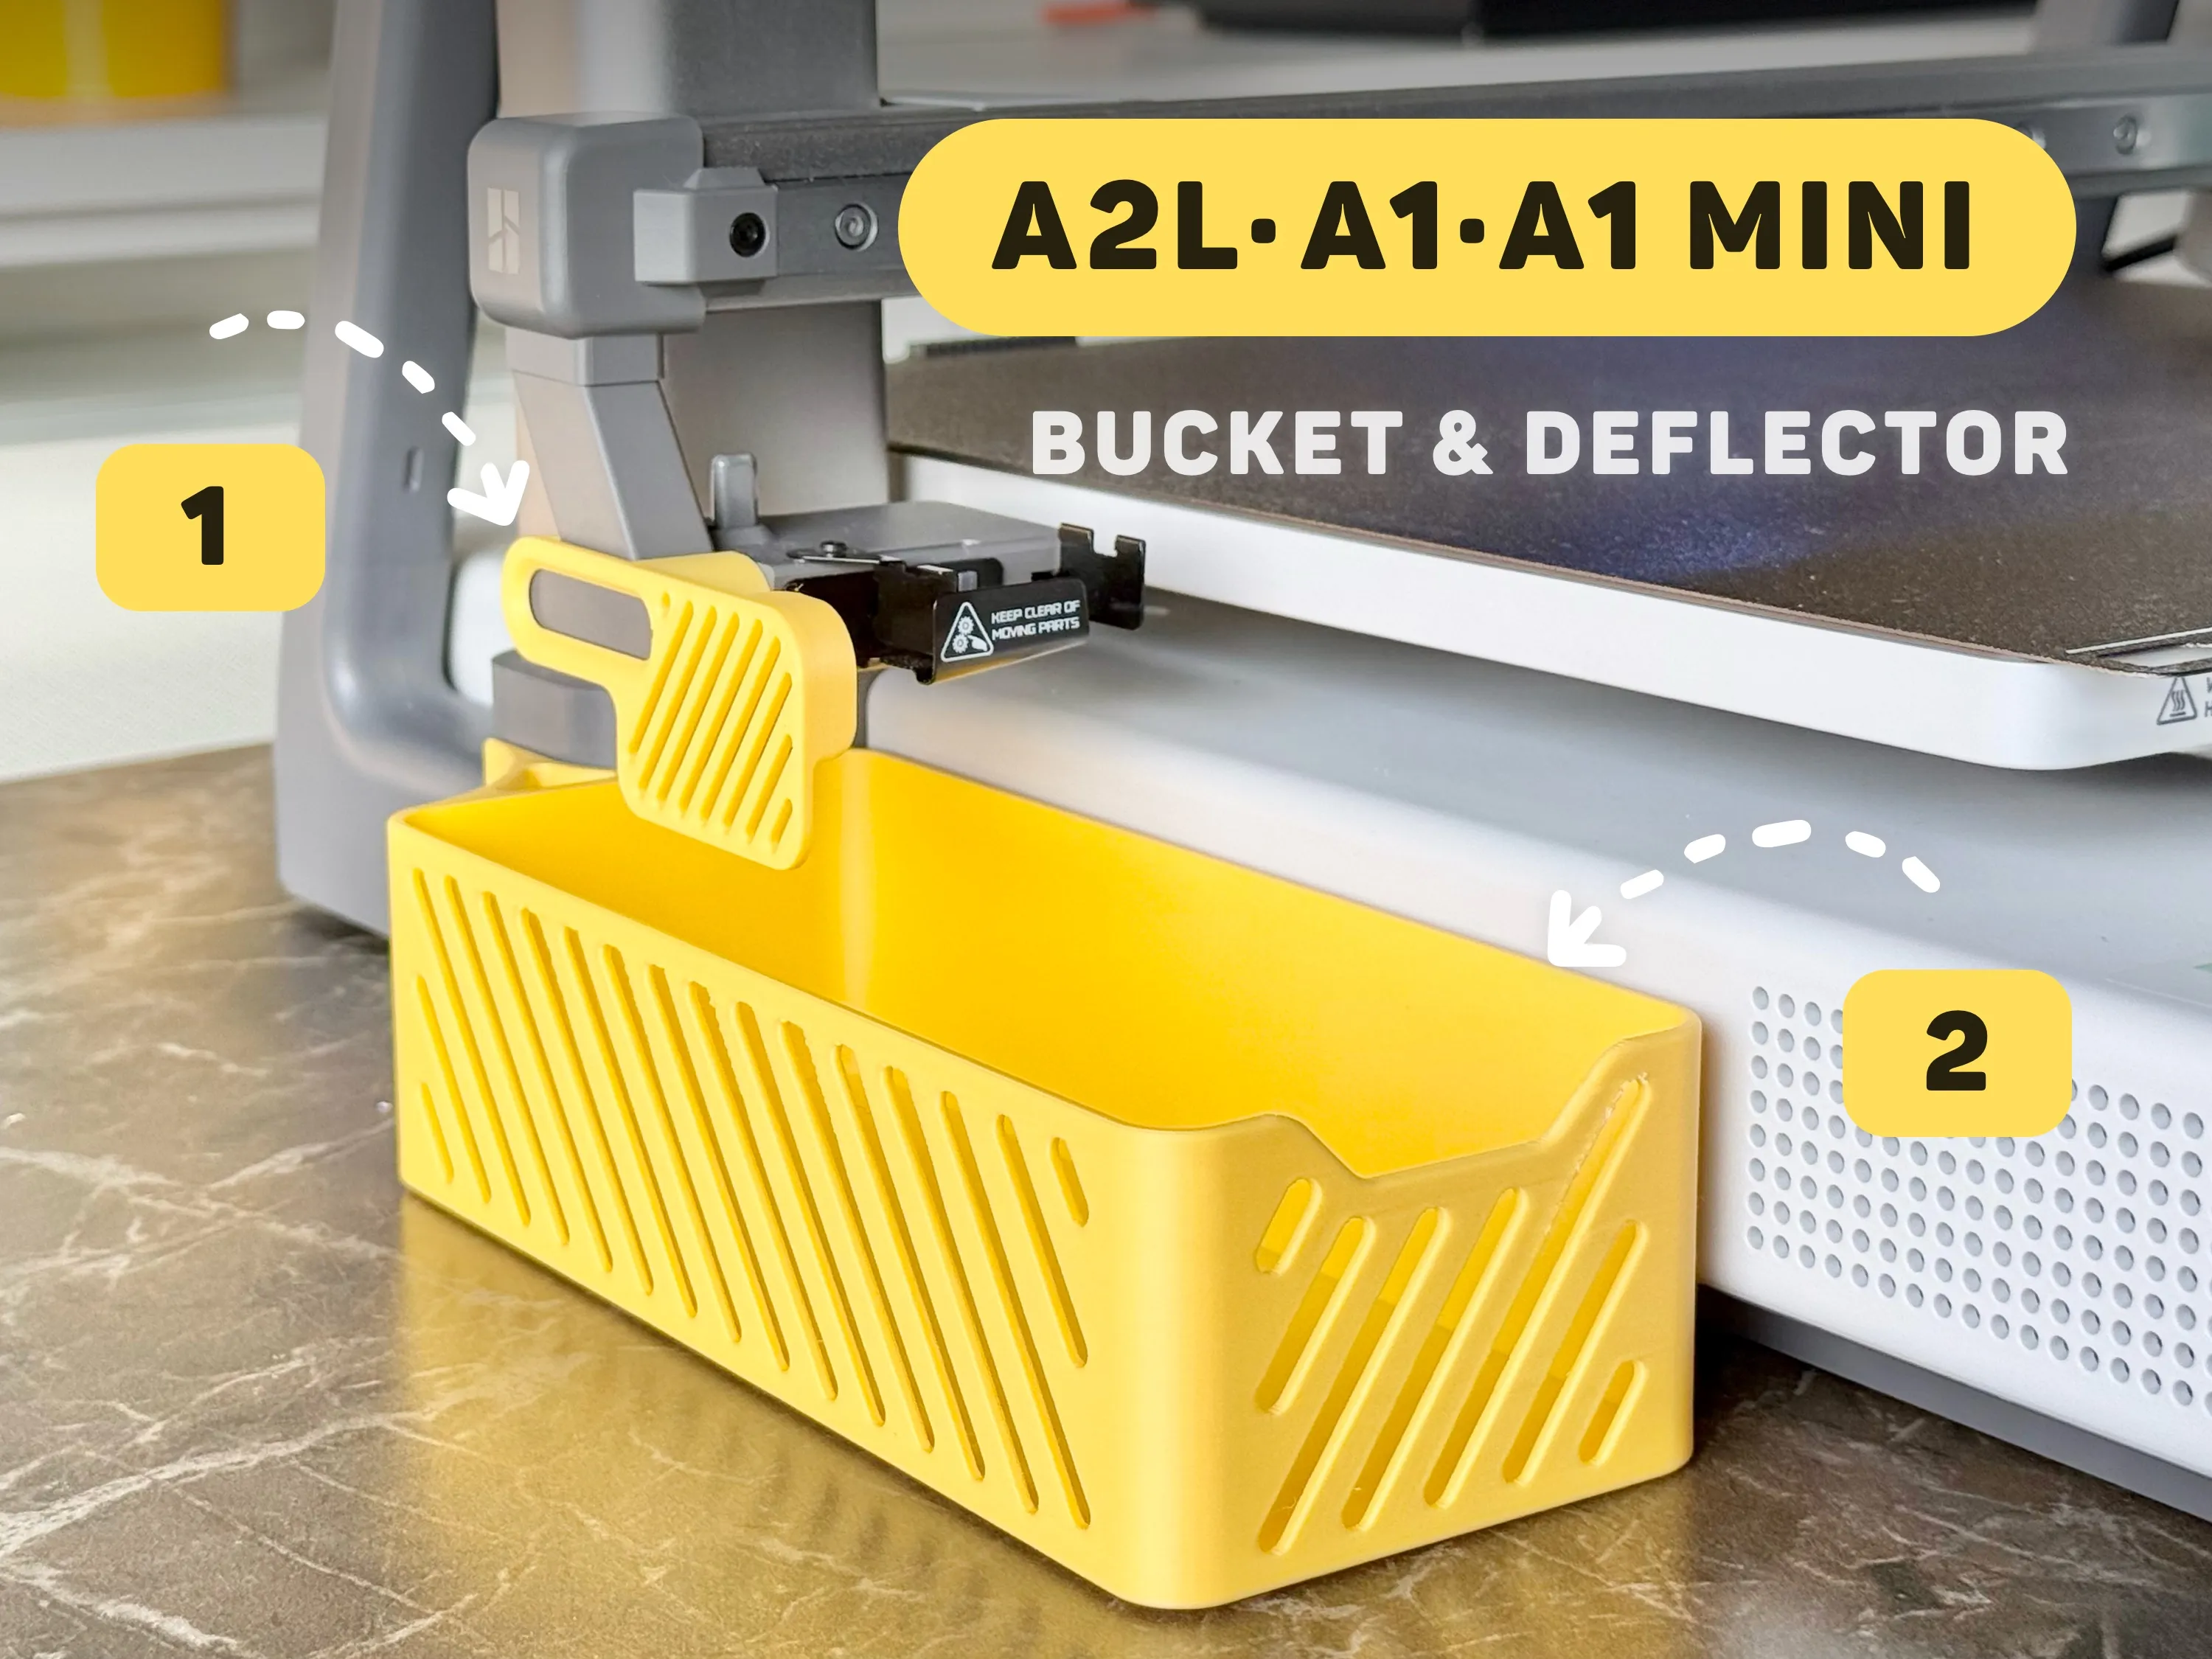
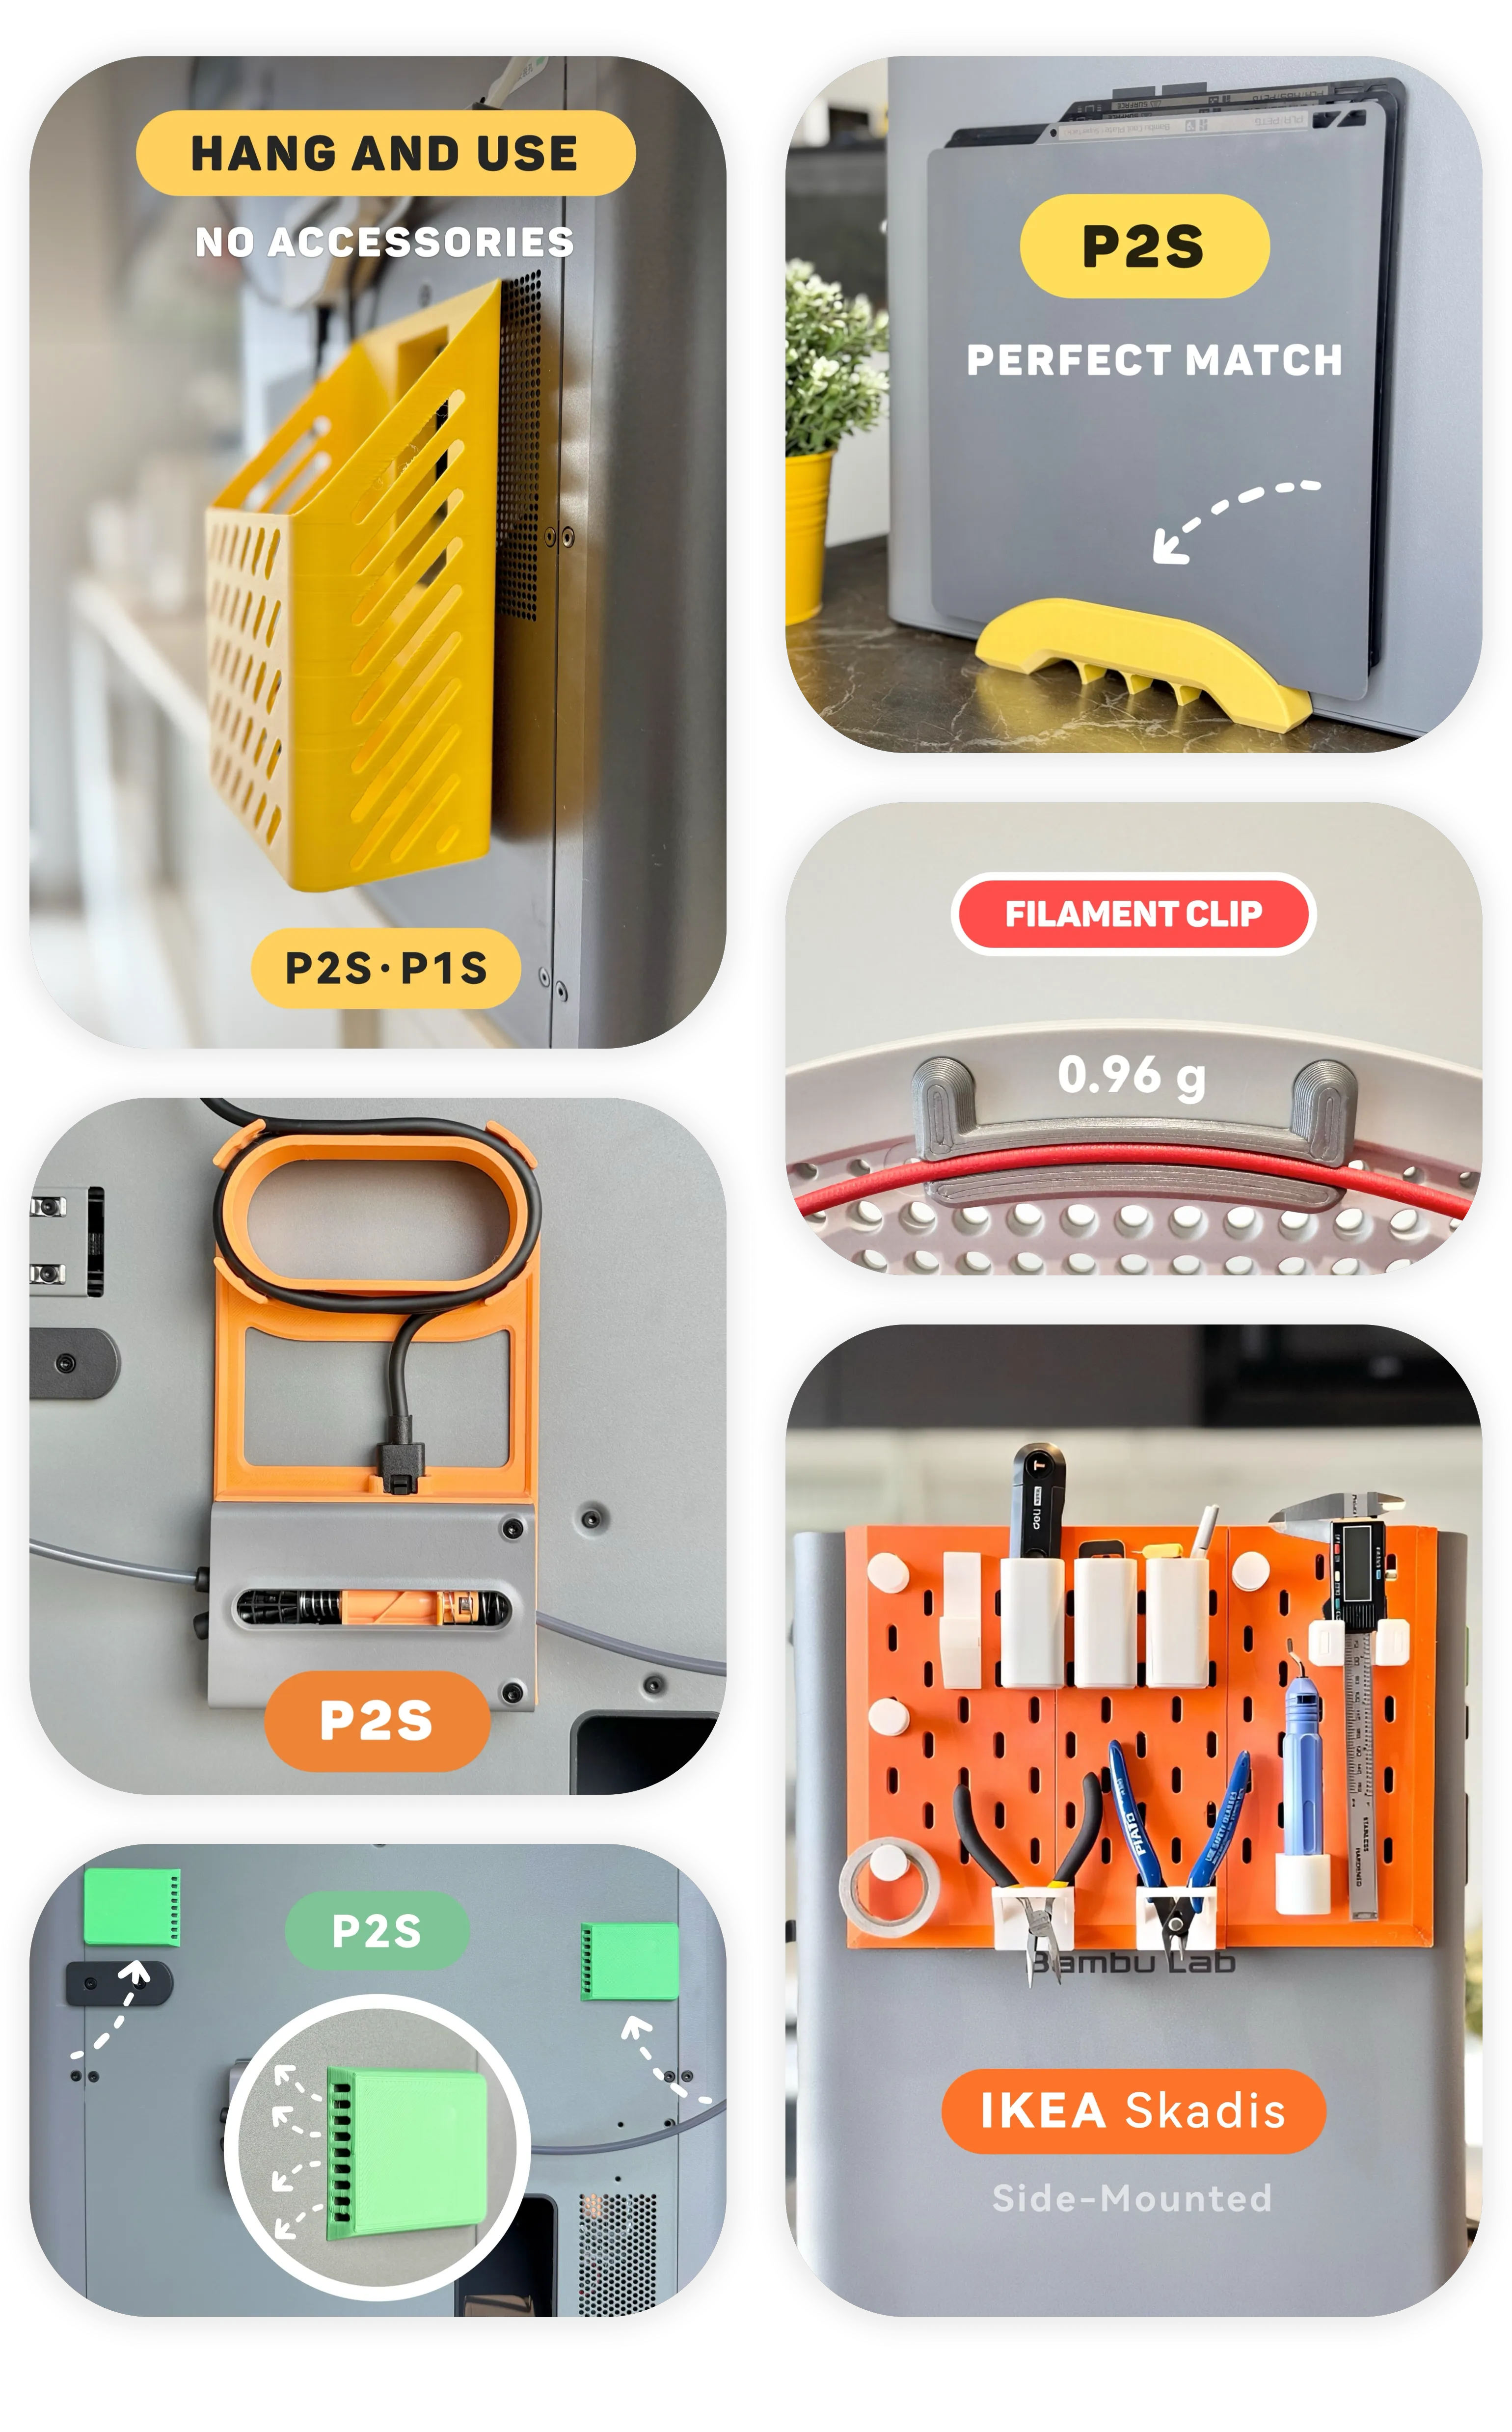
- - - New models - - - | |
 |  |

Boost Me (for free)
𝗬𝗼𝘂𝗿 𝗳𝗿𝗲𝗲 𝗕𝗼𝗼𝘀𝘁 = My design supply pack 📦 Click "𝗙𝗼𝗹𝗹𝗼𝘄" to get more useful models! 👀
License

You shall not share, sub-license, sell, rent, host, transfer, or distribute in any way the digital or 3D printed versions of this object, nor any other derivative work of this object in its digital or physical format (including - but not limited to - remixes of this object, and hosting on other digital platforms). The objects may not be used without permission in any way whatsoever in which you charge money, or collect fees.


Comment & Rating (53)