
switch
Print Profile(1)
Description
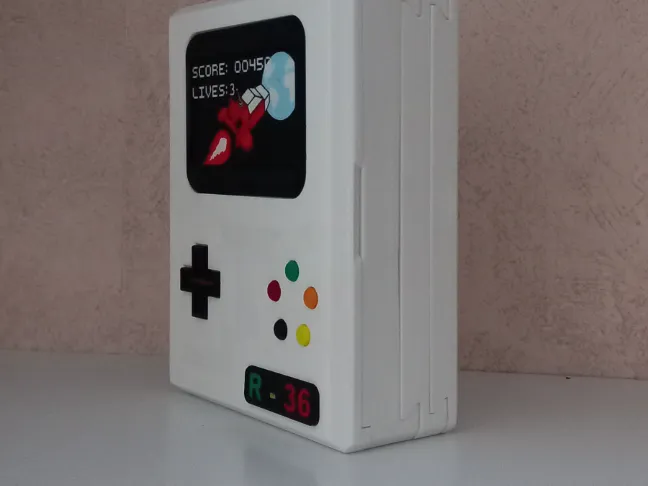
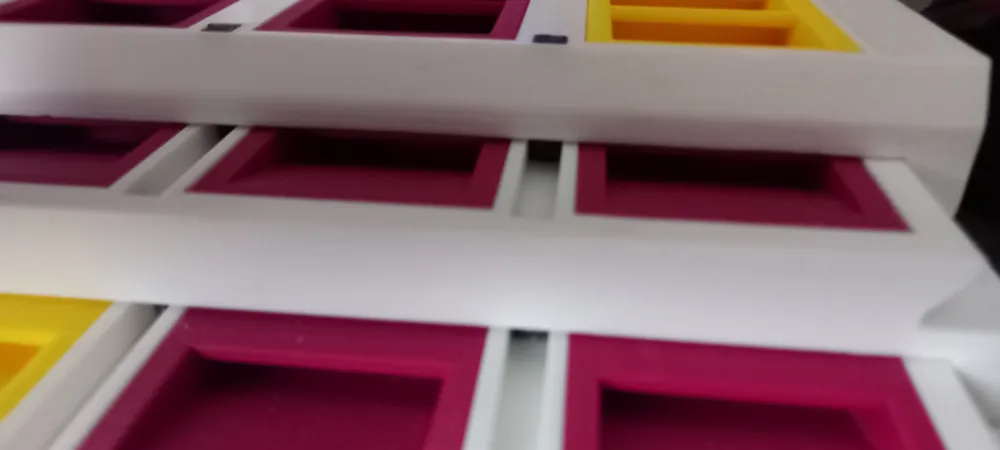
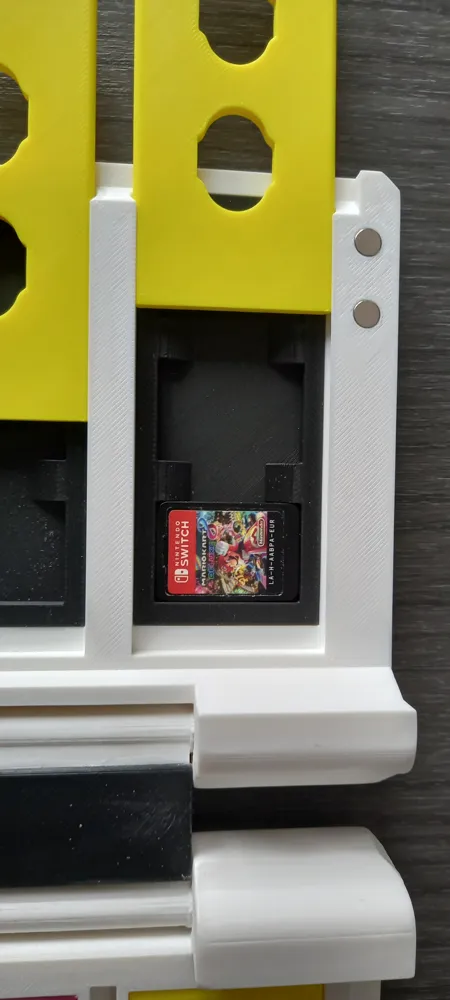
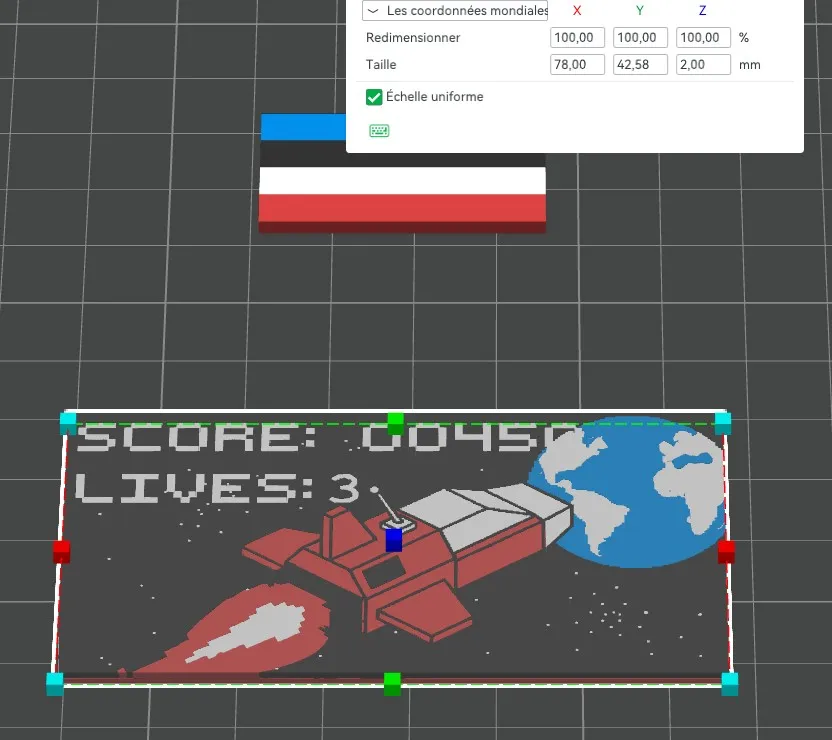
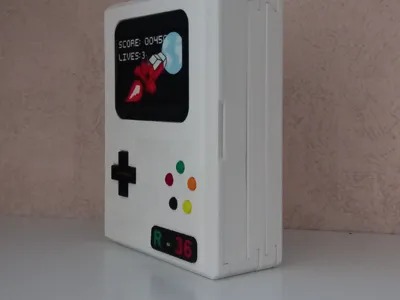
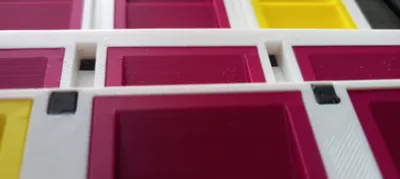
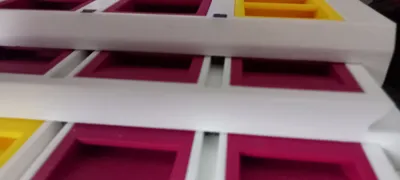
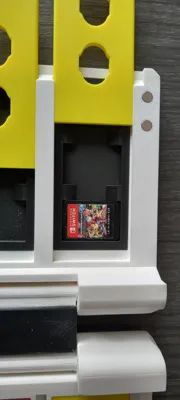
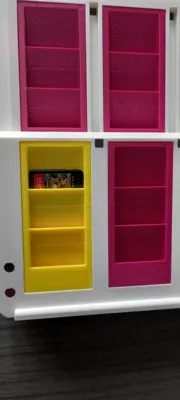
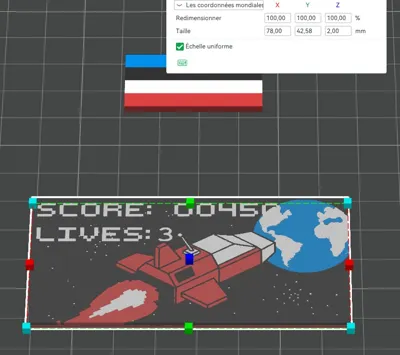
36-game Switch storage case, fully customizable. The screen is separate from the frame, allowing you to add something else to your style, so the image measures exactly 78 millimeters by 42.58 millimeters with a thickness of 2 millimeters, as shown in the photo. The complete case measures 12.74 centimeters by 16.94 centimeters with a thickness of 61 millimeters. All decorations, buttons, the R 36 logo, and the storage plate need to be glued. In the file, I provide the bare plate, which allows you to add whatever you want directly in the slicer, including colors.
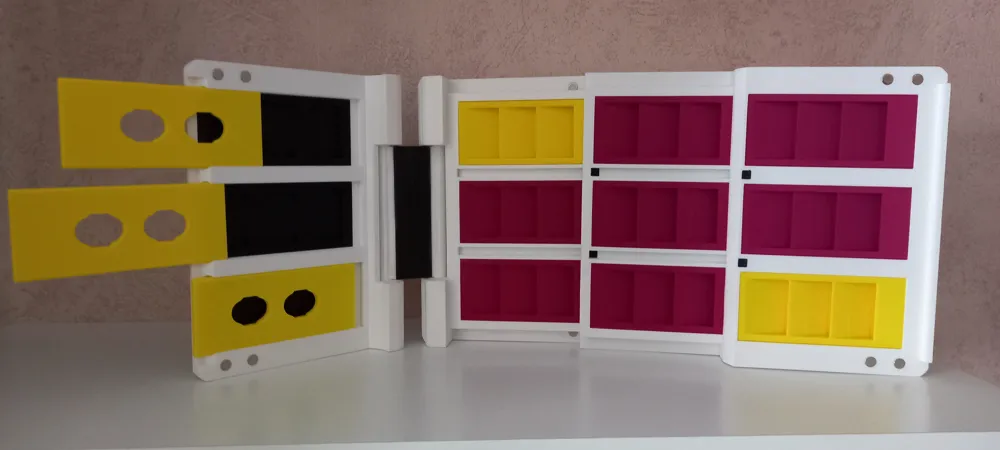
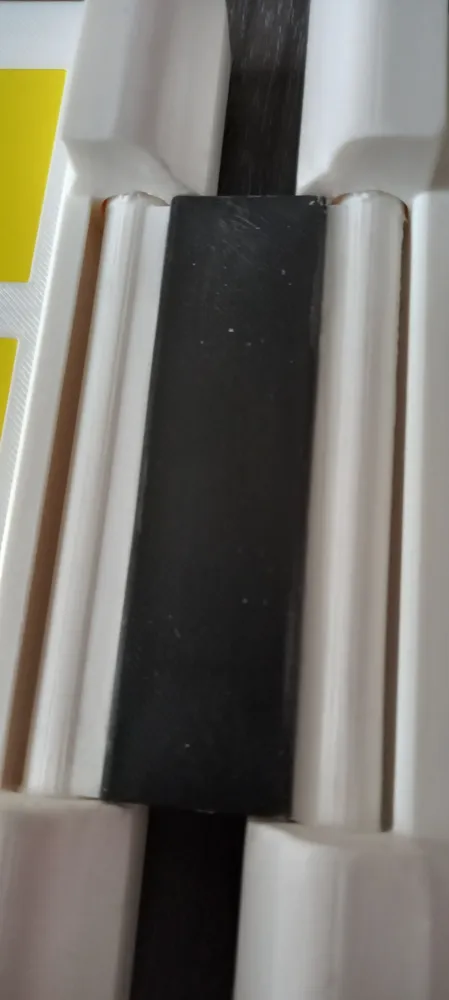
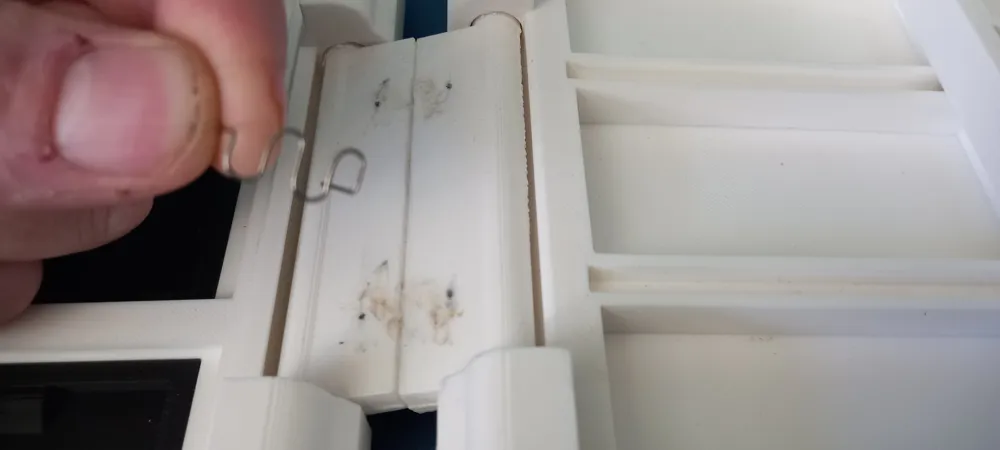
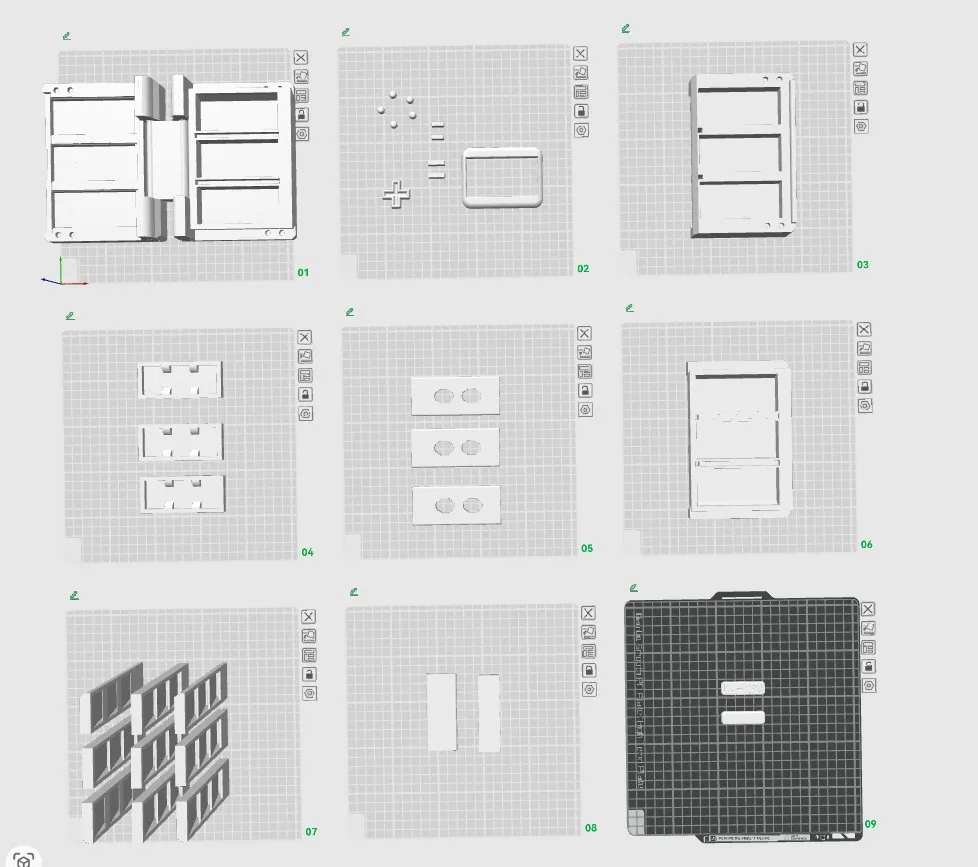
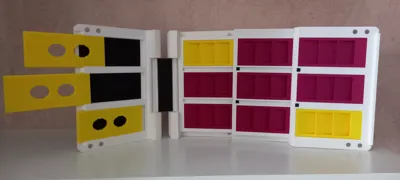
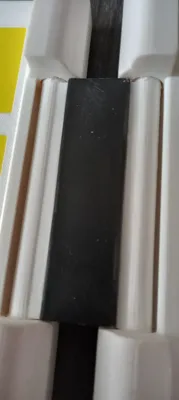
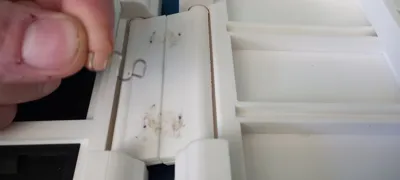
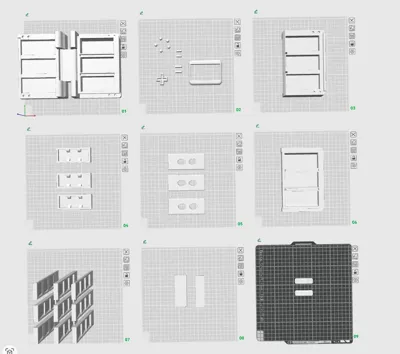
For assembly in the slicer, I wasn't sure how to explain it there, so I'll detail it here. The case does not fit in my P1S, so you need to cut the piece in the center and add pins at the cut point for reinforcement. I added claws as shown in the photo, it's not mandatory. A black plate is essential, as shown in the photo, to hide the cut defect and add a decorative style. Those with a larger printer do not need this step.
I printed the case in ABS so it could be sanded and smoothed with acetone. The rest of the parts are in PLA.
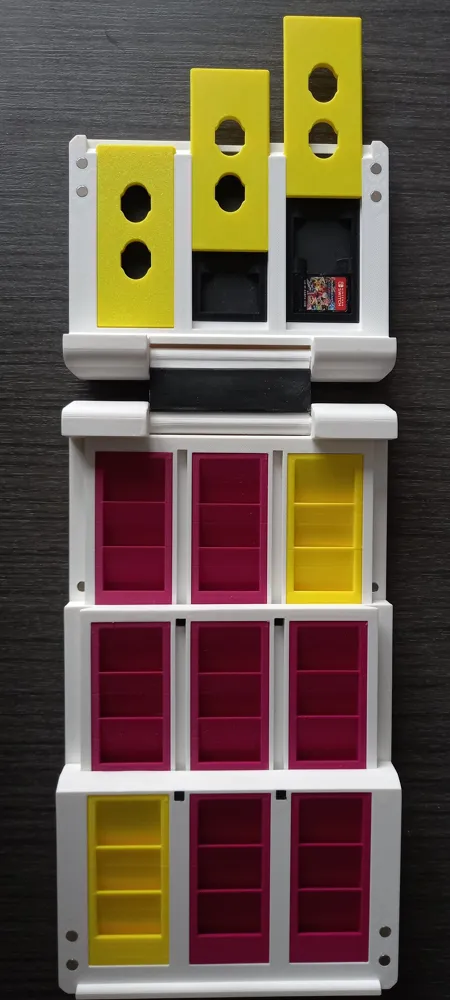
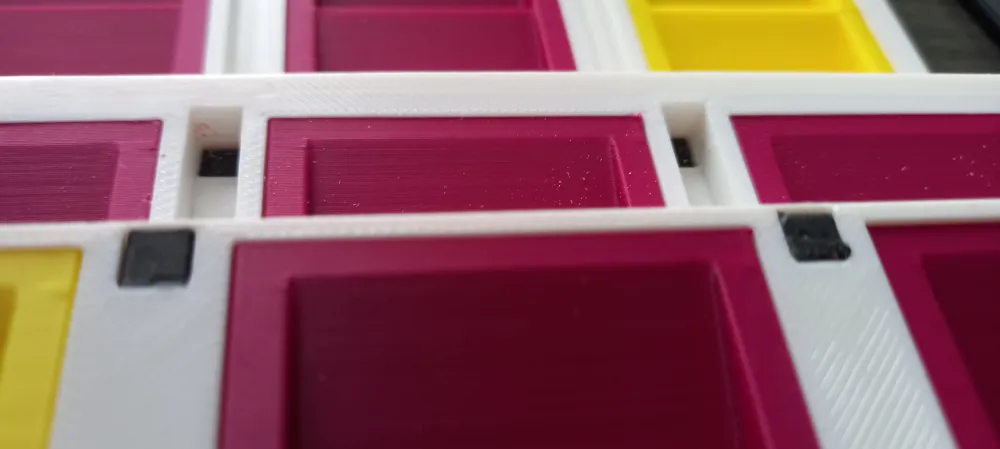
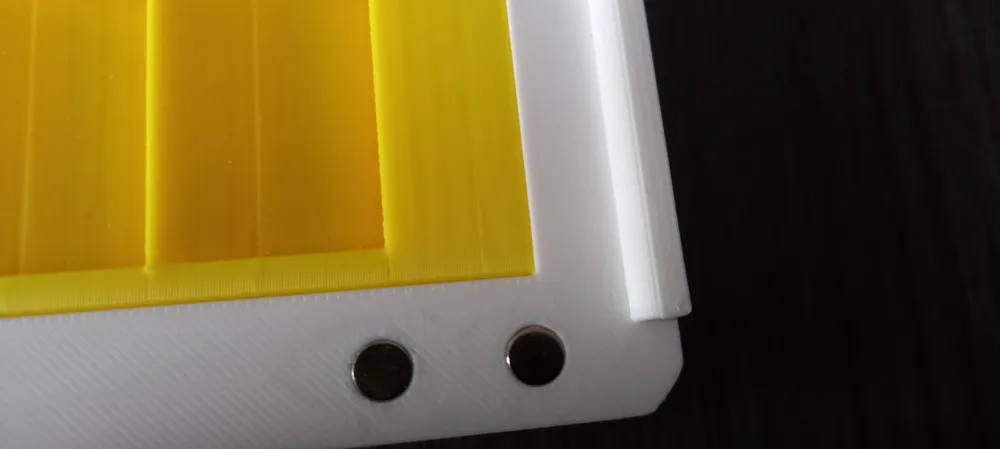
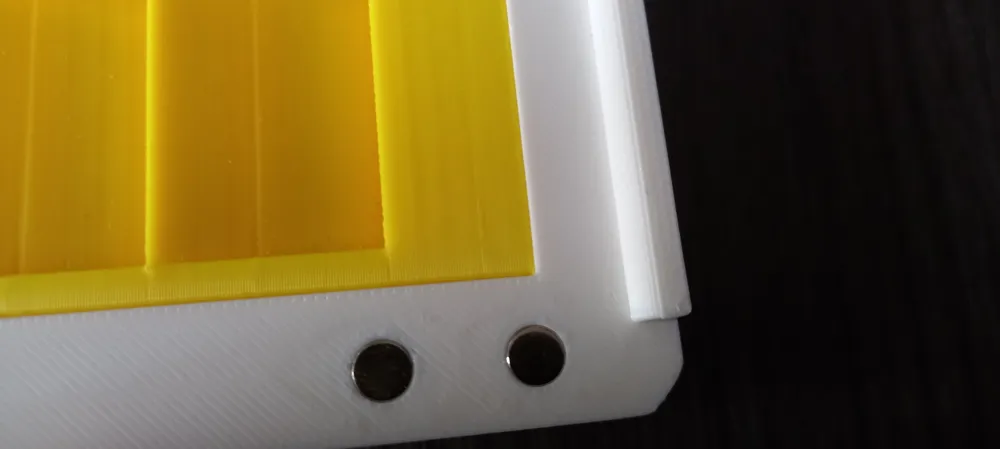
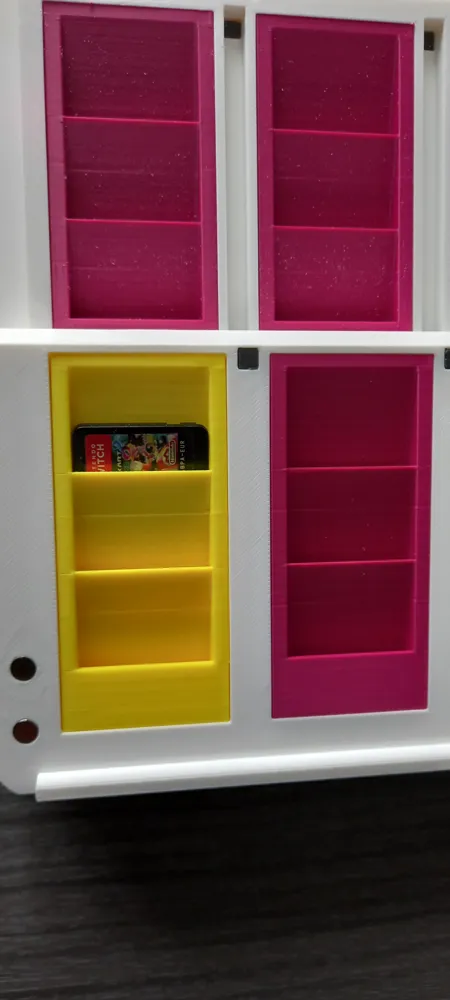
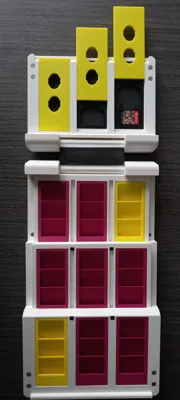
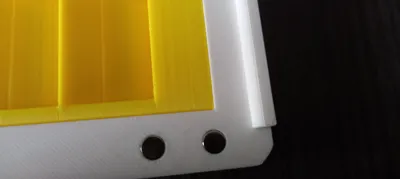
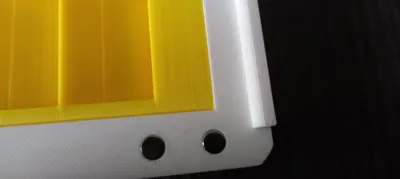
For assembly, the first mandatory step is to install the magnets, which are 3 millimeters thick and 6 millimeters in diameter. Fourteen are needed. I used a small drop of glue, but normally they hold tightly, you just need a small hammer to tap them in. Next, place all the front decorations and the storage boxes. Be careful, the storage boxes may or may not have rounded edges, so pay close attention: there are left boxes, right boxes, and full boxes without rounded edges that go in the middle. Note that the colored ones must be placed before the drawers. Then slide in the two white drawers from the top and install the black pins as shown in the photo with a small drop of glue. The pins come in pairs and are not identical, so pay attention to the orientation to prevent the drawers from sliding out of the case.
The whole thing weighs about nine hundred grams. It's a bit heavy, but it makes a truly decorative and functional item that you can even take on vacation. 3D print settings
The settings are at zero, it depends on your habits, so do as you feel. I printed with a 0.20 nozzle, sometimes with 0.20 or 0.12 layer height for the buttons and the R 18. The case is in ABS, easy to sand and smooth with acetone. For the rest, you can use whatever you want. For speed, I kept the default. Only the layer height and supports need to be adjusted according to your preference. Be aware that ABS can warp, so feel free to place supports very close to the case. That's why I chose ABS, to be able to smooth with acetone. The placement on the build plate is already in the correct orientation, so don't change anything, it works very well. And of course, the case can be printed in another material, in which case properly adjust your slicer. It's up to you
License

You shall not share, sub-license, sell, rent, host, transfer, or distribute in any way the digital or 3D printed versions of this object, nor any other derivative work of this object in its digital or physical format (including - but not limited to - remixes of this object, and hosting on other digital platforms). The objects may not be used without permission in any way whatsoever in which you charge money, or collect fees.


Comment & Rating (3)