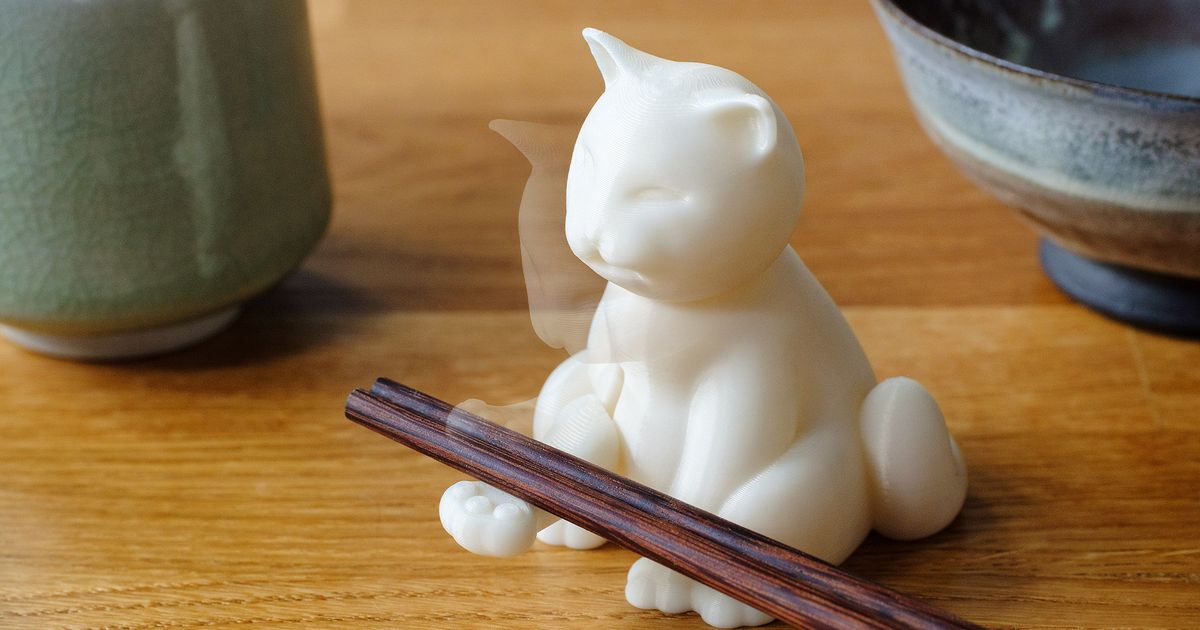
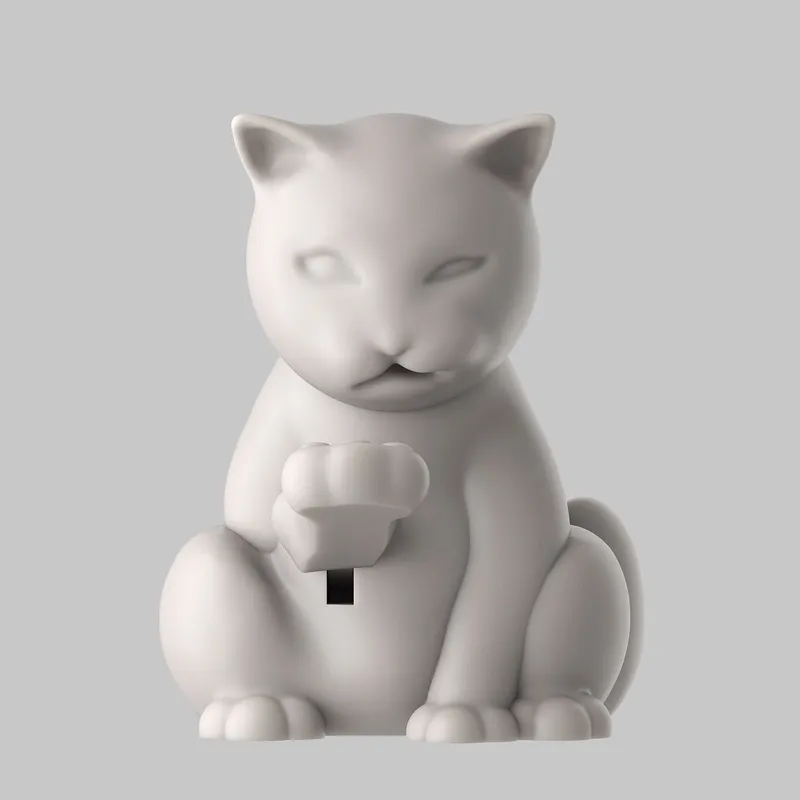
Chopstick Kitty


Print Profile(1)

Description
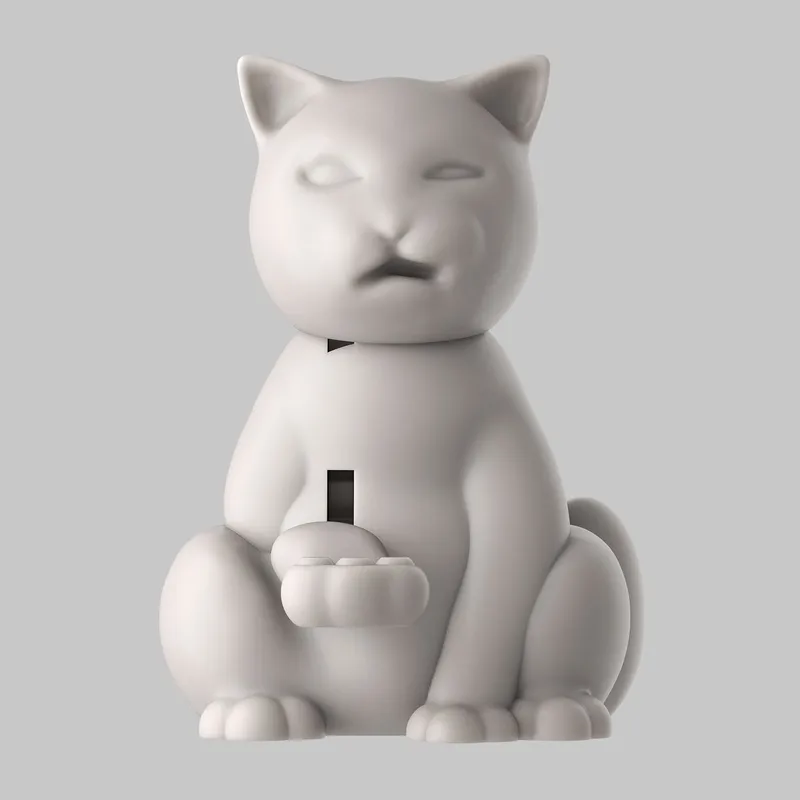
Got this idea when I saw the contest theme and wanted to see if it works. It sure did and I'm quite happy with the result. This kitty will hold your chopsticks but it won't be stoked about it. It also works nicely as a pure deco or fidget piece as well.
Print Settings:
You can print everything without supports. Just for the head part I integrated the needed support into the model. If you want to set supports for this part yourself I also included a model without the built-in support.
Make sure your first layers are decent without a heavy elephant foot.
The weight ratio is optimized/tested for these print settings:
0.2mm layer height
2 wall perimeters
5 bottom/top shells
15% Gyroid Infill
Just for the body you can increase the infill percentage to 20-30% so it's heavier/sturdier.
You can leave the part orientation as imported and set the seam position to “Rear” (just a suggestion). Make sure “Detect Bridging Perimeters” remains off, otherwise Prusa Slicer tends to add weird outer shell bits in the mouth area.
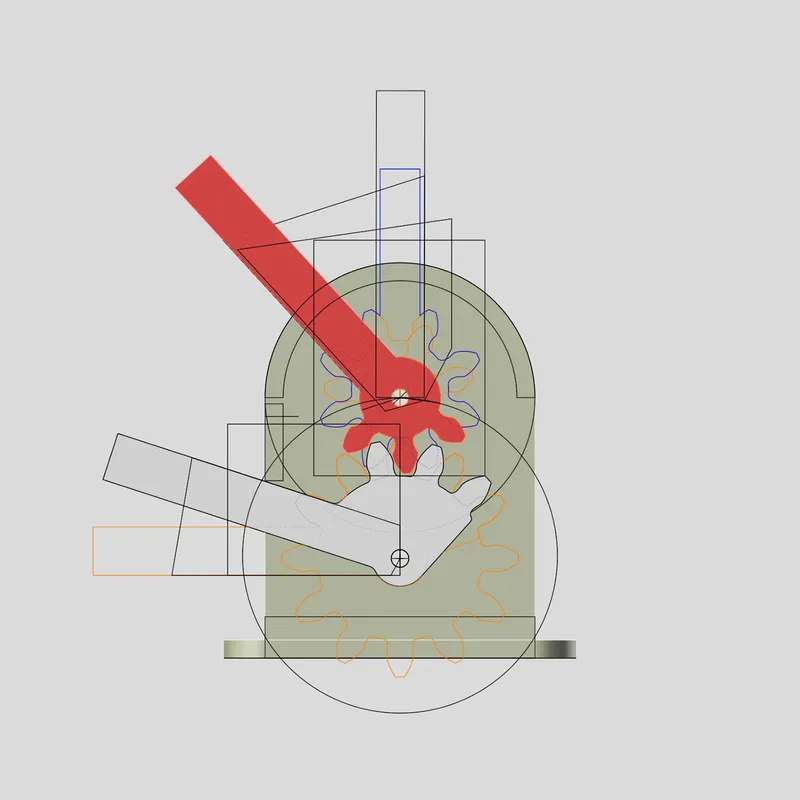
Once you print one of the gears, stick a strand of filament through the center hole and test if it's moving/spinning freely. If it doesn't you might want to consider lowering the extrusion multiplier (or use a drill bit to widen the gear center hole).
Assembly:
 | 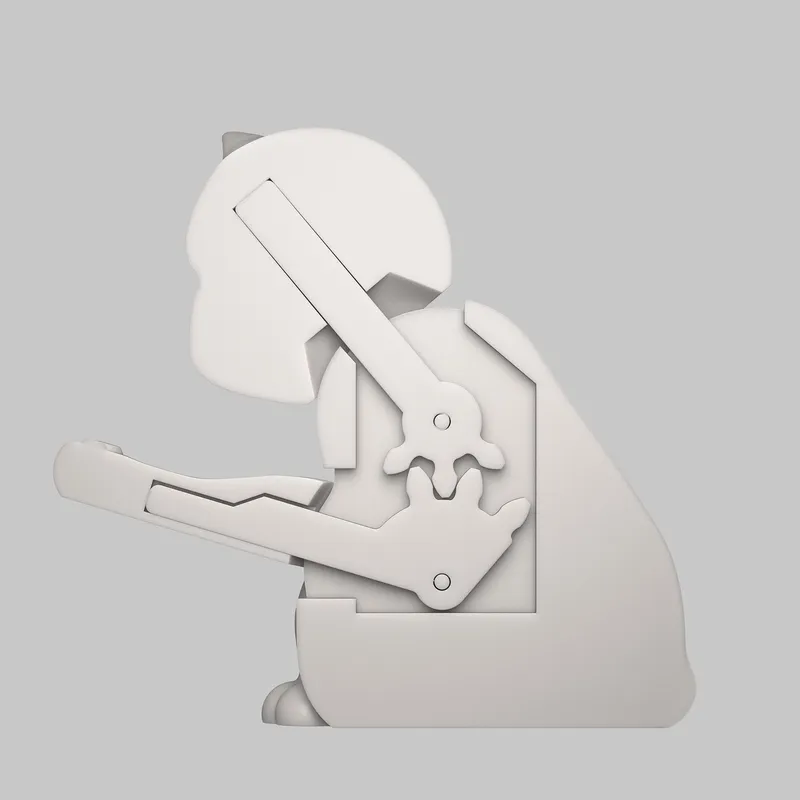 | ||
| Stick the arm and head onto their gears parts according to the orientation shown above. Insert the arm with the gear inside the body first. The chamfered edges of the gear should face towards the body side with the open holes. | |||
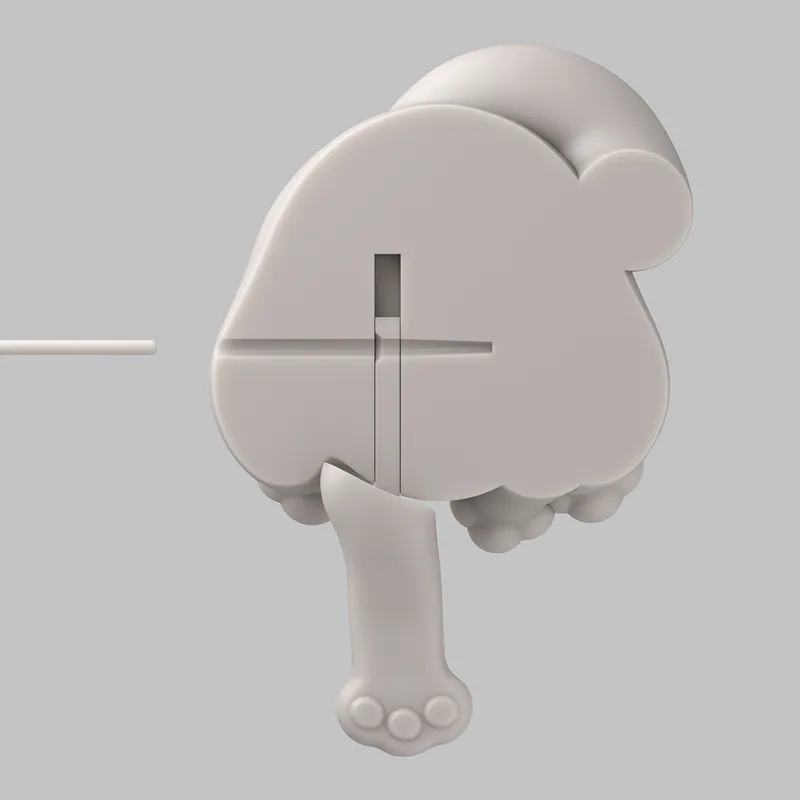 | 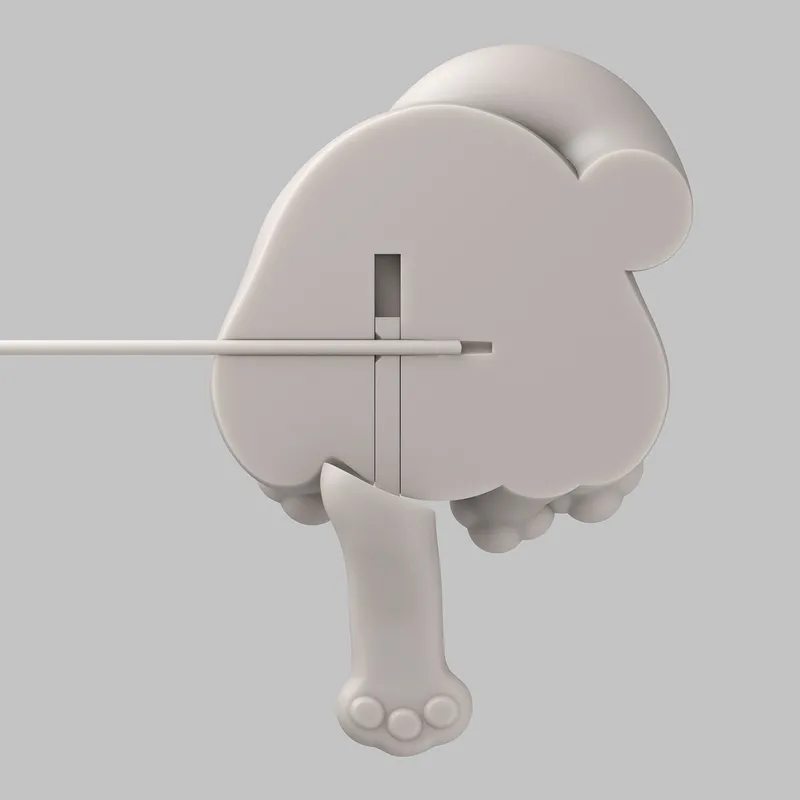 | 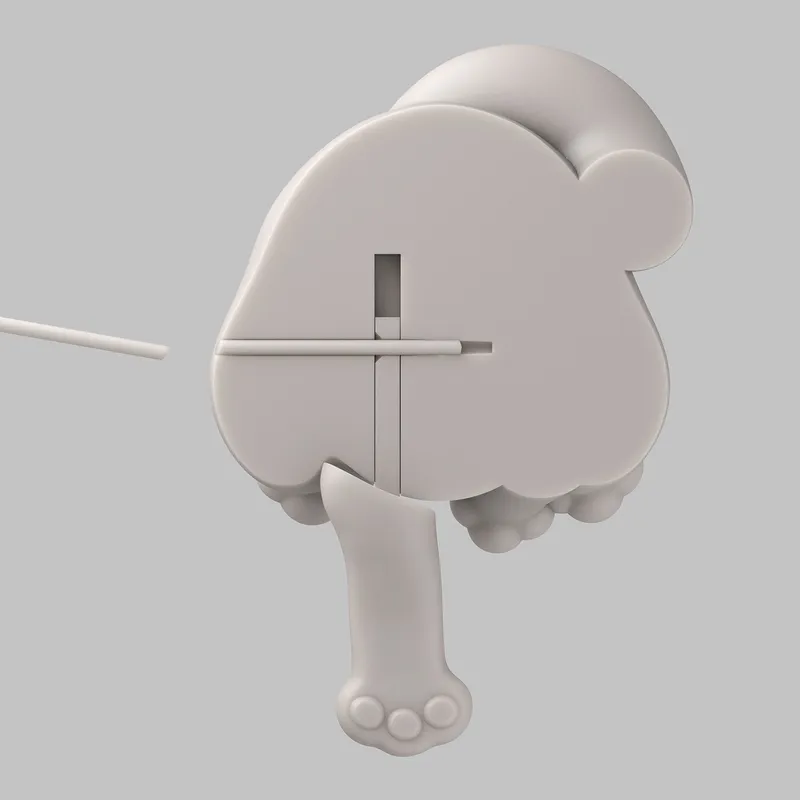 | 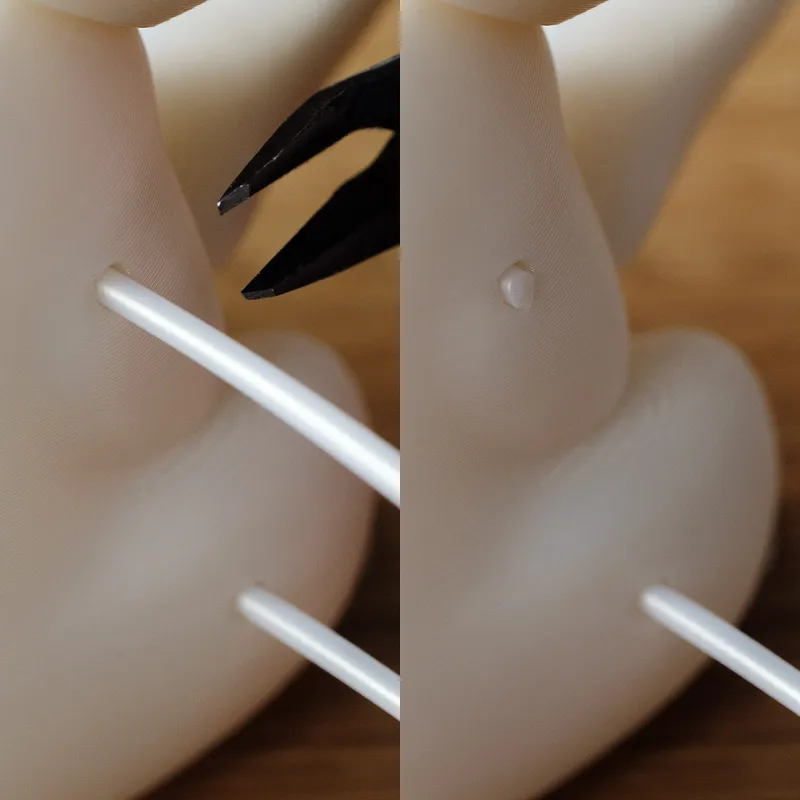 |
| Take a strand of filament and stick it through the lower side hole on the body (not too strongly). Do the same with the head part while paying attention to the angle and checking that the mechanic is working nicely. Once you are happy with how everything moves, push the filament strands further in. The conical shape on the other end will provide a good friction fit. Take your flush cutters and trim the strands flush to the body. You are done! :) | |||
Demo Video:
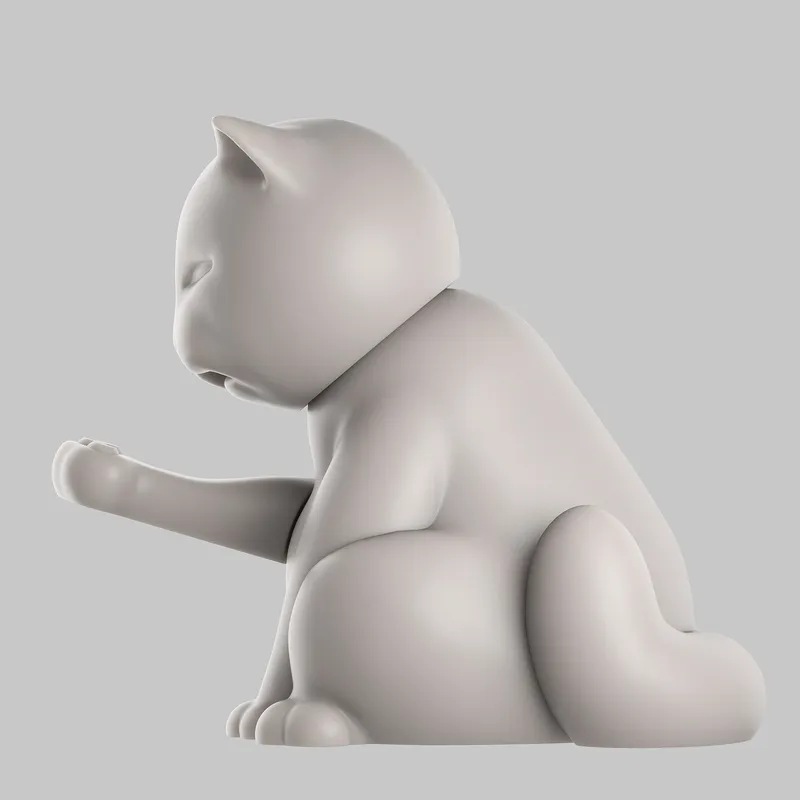
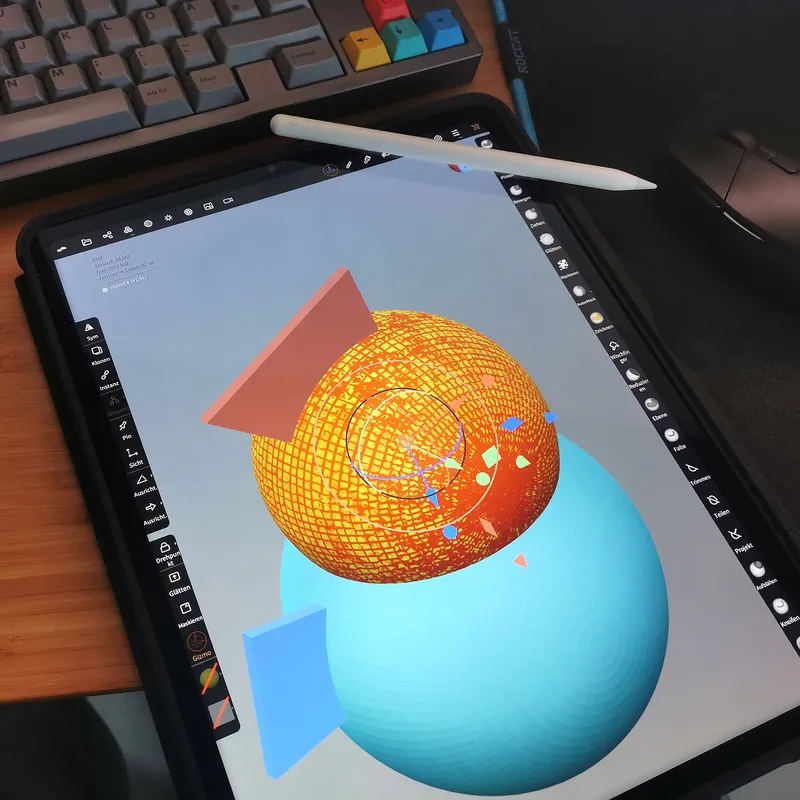
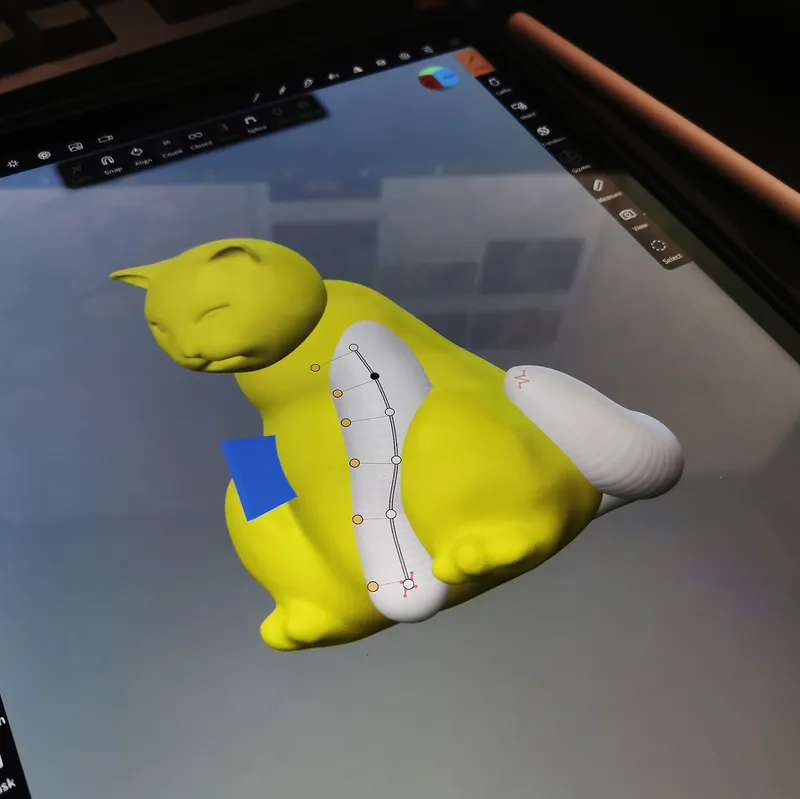
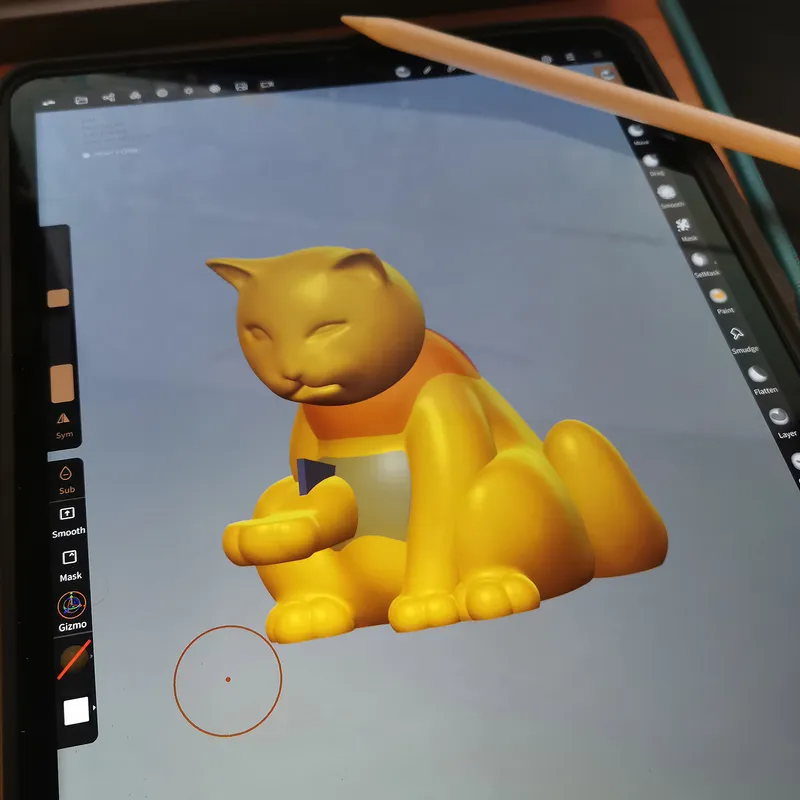
Additional renders and making of images:
  | 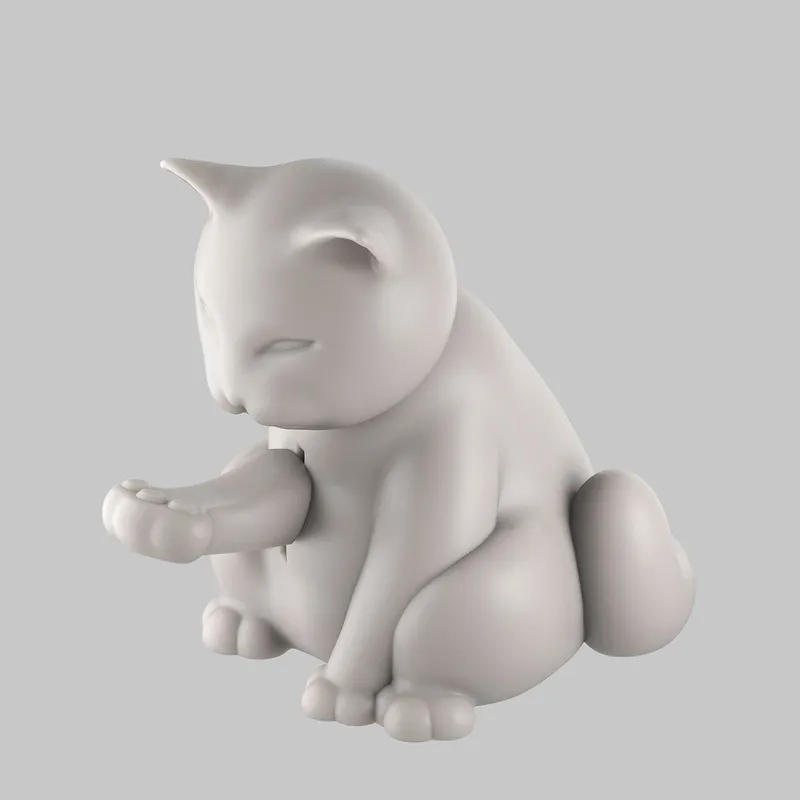 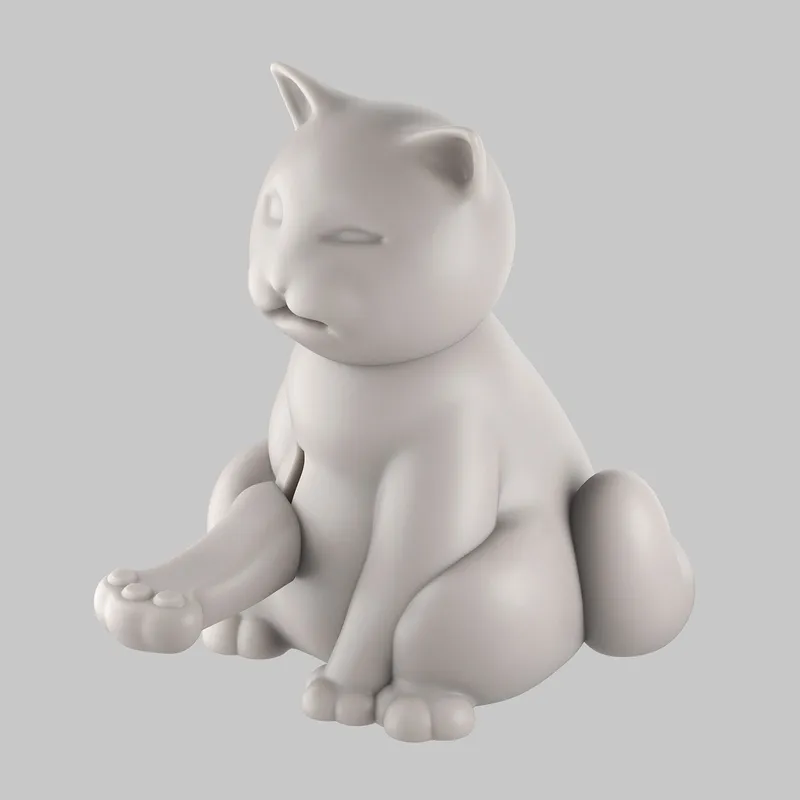 |   |   |
These were printed in Prusament Vanilla White PLA, Prusament Viva La Bronze PLA and Das Filament Matte Black PLA: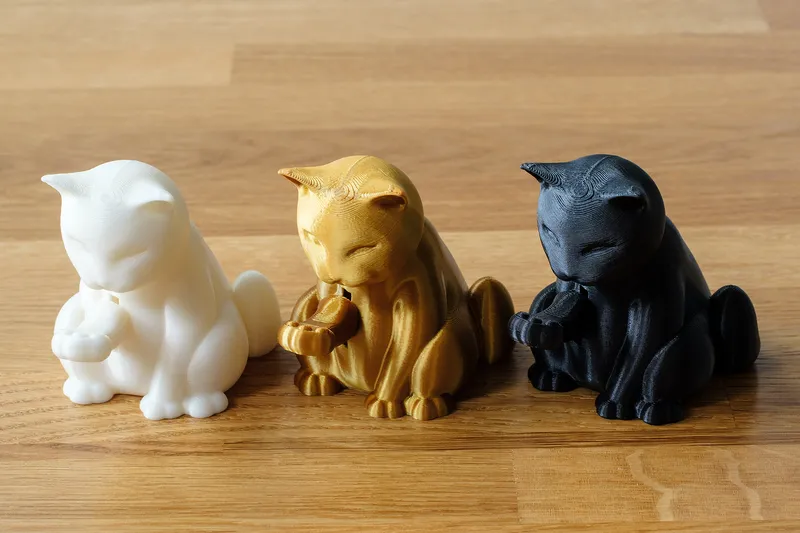
Happy Printing and please share your makes. I always love seeing my designs printed by others!