
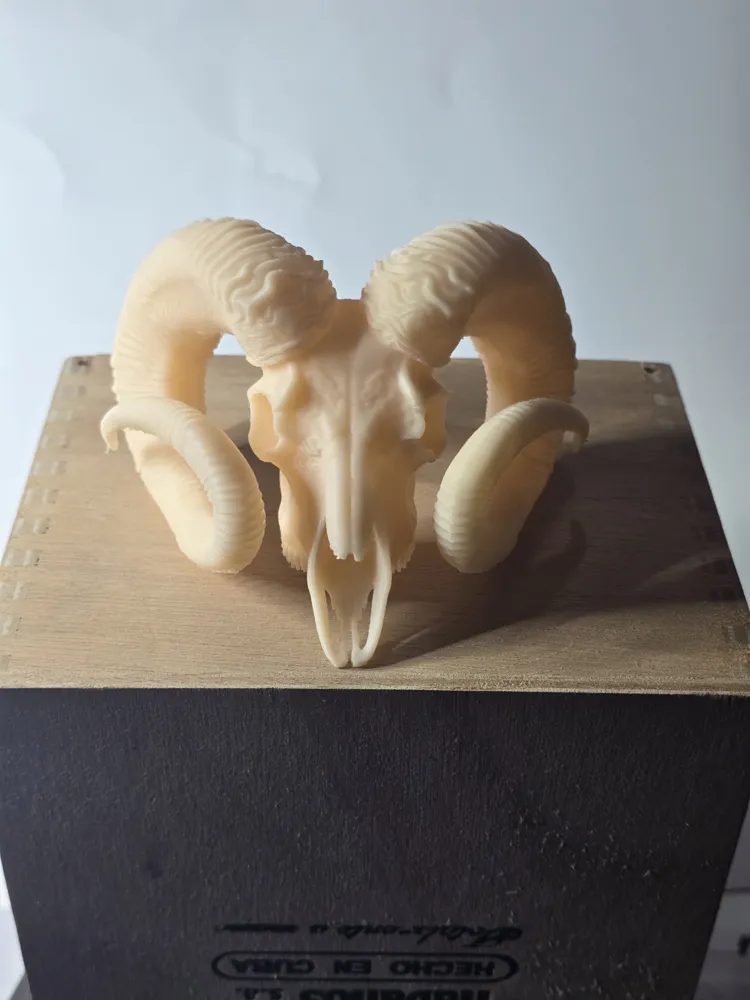
Ram skull


Print Profile(1)

Description
Boost Me (for free)
If you wish to support my projects I would be grateful. Thank you
ATTENTION: IF YOU WANT TO ENLARGE THE MODEL PLEASE READ THE INSTRUCTIONS BELOW CAREFULLY
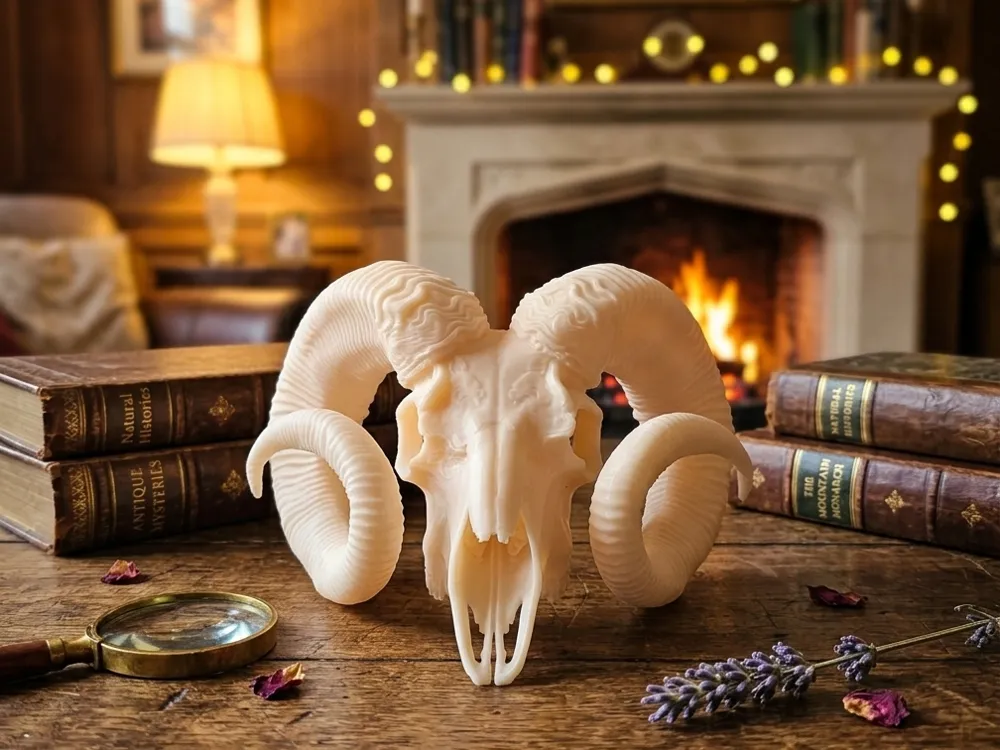
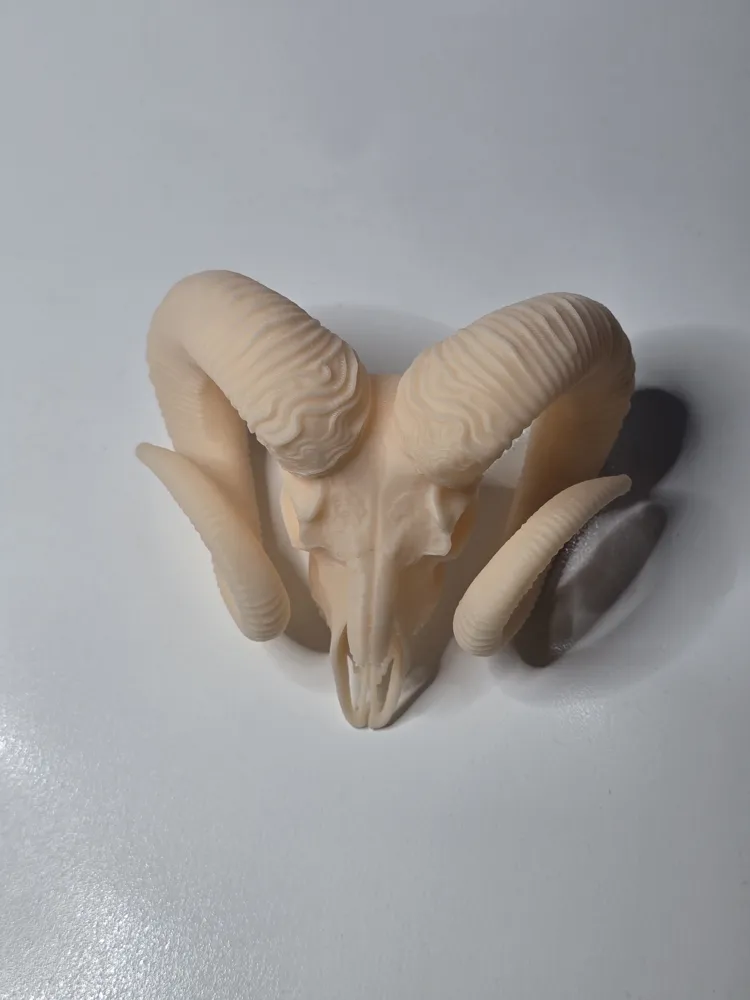
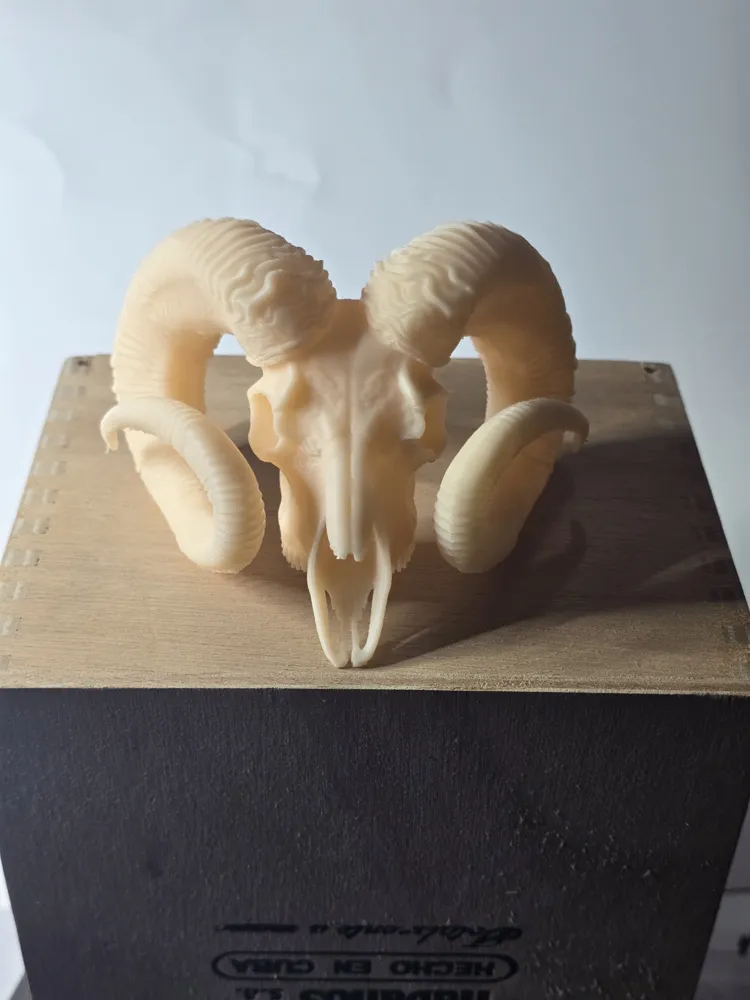
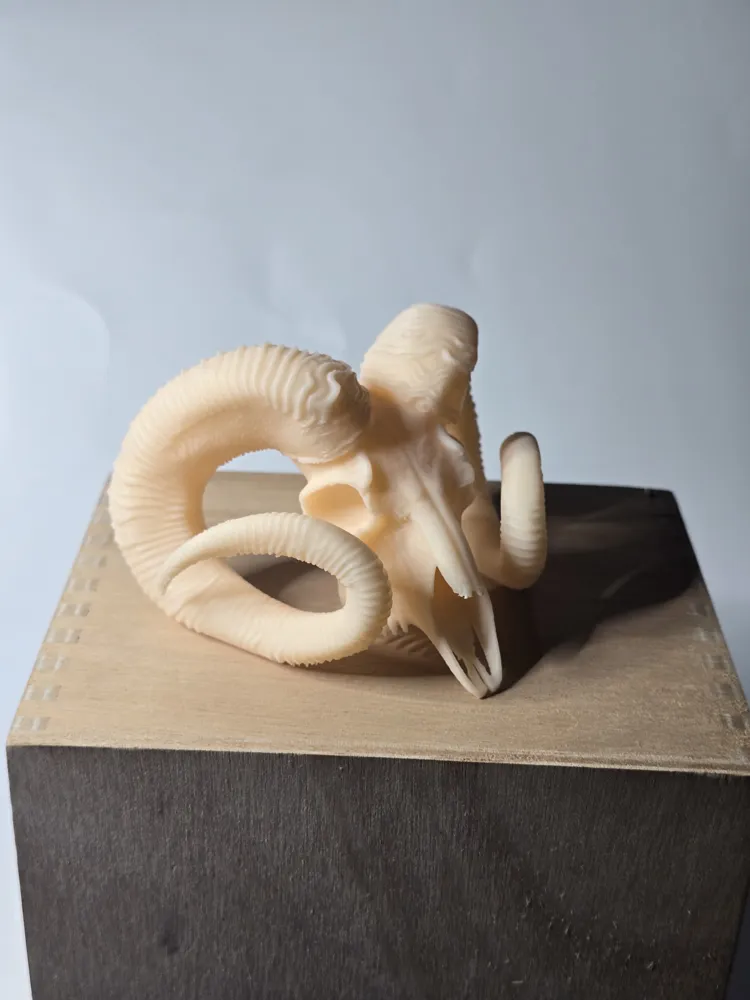
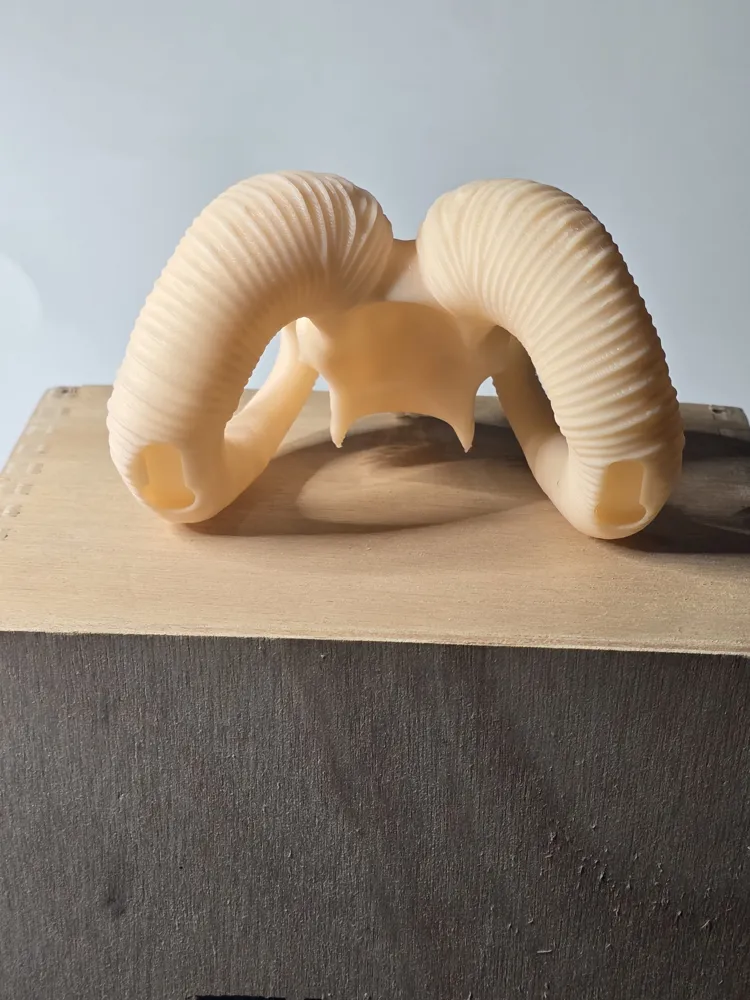
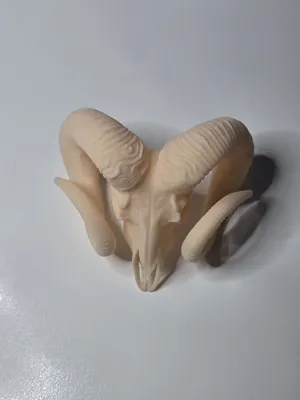
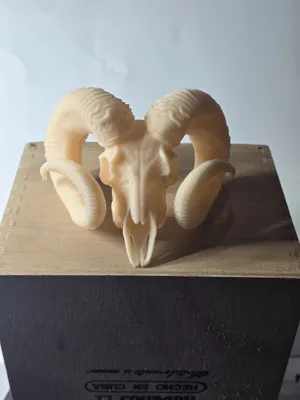
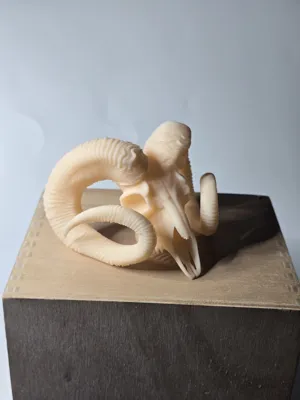
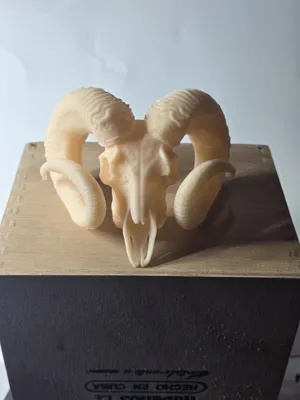
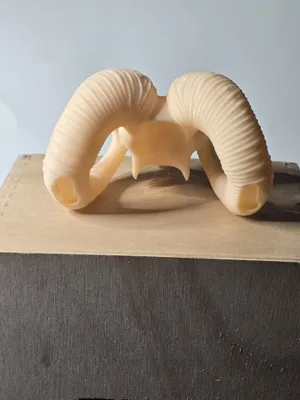
I propose a highly detailed ram (or mountain goat) skull
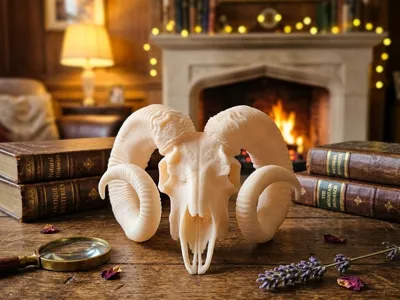
It can be used as a decorative element for terrariums or shelves
Colors can be changed from the slicer at the time of printing. I used a beige Sunlu filament (total consumption 42 grams). If you use other filaments set the dynamic flow calibration and flow rate for that specific filament
I have created two rear holes to hang the model on the wall, named Keyhole 1 and Keyhole 2
If you enlarge the model, you must then go to objects and resize the two holes accordingly (see photo) with the following dimensions
X 9.50 - Y 21.86 - Z 3 mm (see photo below)
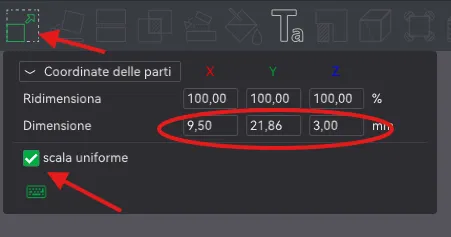
Select Keyhole 1, press the “resize” button, keep uniform scale and just set only the values as indicated above
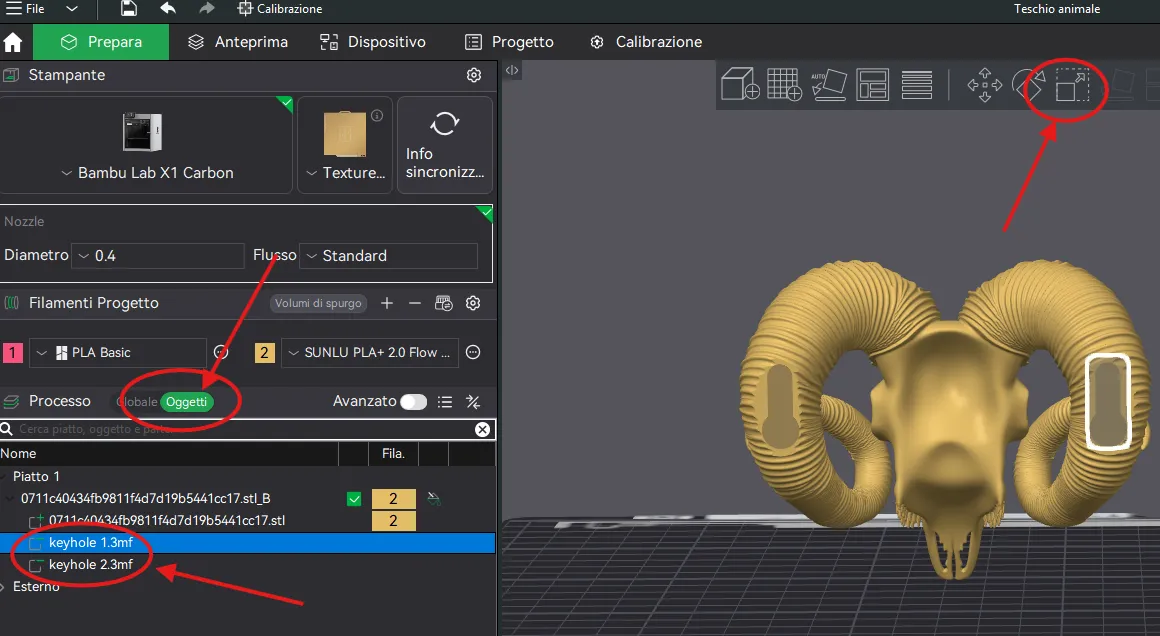
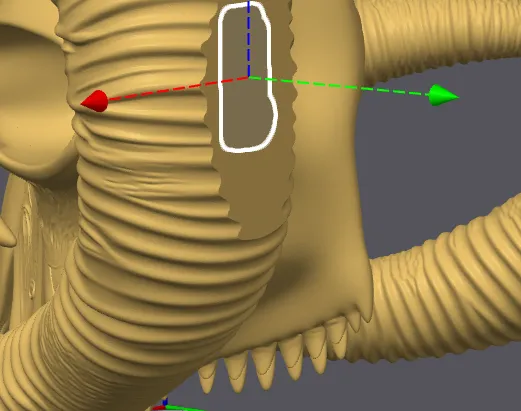
Then by pressing the move button, you must move the object “Keyhole 1” ONLY along the Y-axis (green arrow) so that it punctures the lower surface of the model and is flush with it changing color (see images below: before and after)
BEFORE: KEYHOLE OBJECT NOT FLUSH
AFTER: KEYHOLE OBJECT FLUSH (CHANGES COLOR)
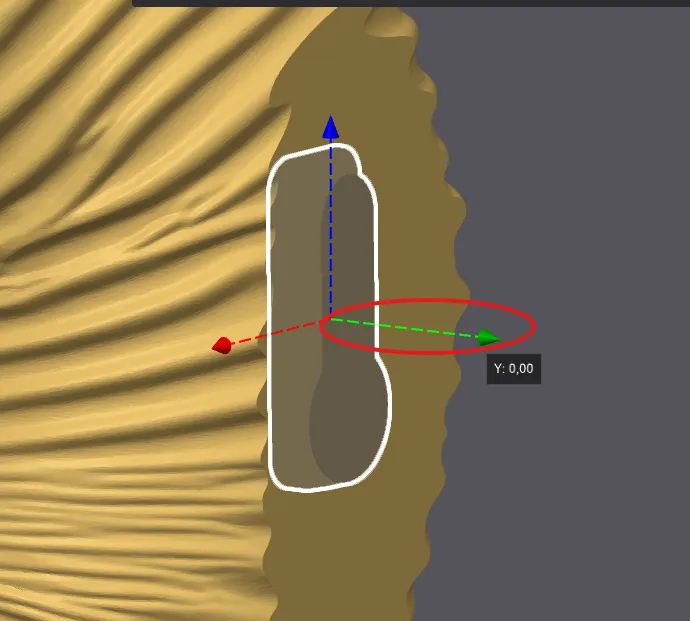
Repeat the procedure for Keyhole 2
A tip I always give is to first clean the print bed with dish soap and a sponge rinsing with hot water, then dry it with compressed air avoiding touching the surface with your hands. I also recommend performing the dynamic flow and flow rate calibrations provided in Bambu Studio. Personally, before printing, I dry the PLA with AMS 2 PRO for about 1 hour. It is these small adjustments, along with many others, that determine the success of a good print
Before leaving negative reviews, please adjust these parameters. If you have difficulties or continue to encounter problems do not hesitate to contact me, we will look for solutions together in a perfect collaborative atmosphere. I have made several prints of this object and they all came out perfect as in the photos: if you have incorrect parameters, dirty or clogged nozzles, poorly calibrated machines, wet or poor quality filaments do not blame me
Happy printing everyone
PRINTING INSTRUCTIONS:
Layer height 0.2 mm
Initial layer height 0.2 mm
Wall loops 2
Top shell layers 5
Bottom shell layers 3
Infill 12%
Pattern Grid
Supports Yes
Outer wall speed 200 mm/s
Inner wall speed 300 mm/s
Normal print acceleration 8000 mm/s
Outer wall acceleration 8000 mm/s
License

You may create derivative works based on this object, provided that all such derivative works are published exclusively on the MakerWorld platform and include proper attribution to the original creator. You may not share, upload, host, distribute, or publish this object—or any derivative work of this object—on any other digital platform, marketplace, or distribution channel. Commercial use of this object and any derivative works is strictly prohibited. This includes, but is not limited to, selling, renting, sublicensing, or using the object in any context in which you receive monetary compensation or other financial benefits.


Comment & Rating (0)