
Socket Gridfinity Universal Organizer
Print Profile(1)
Description
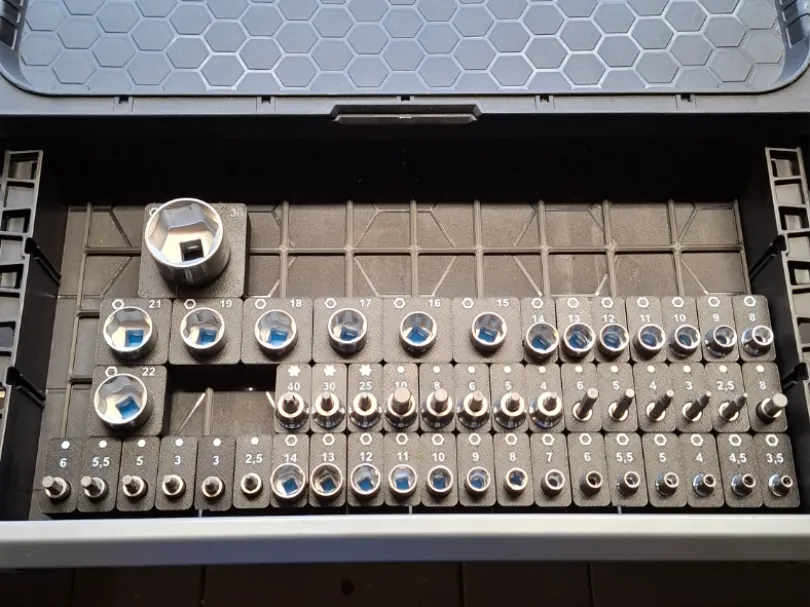
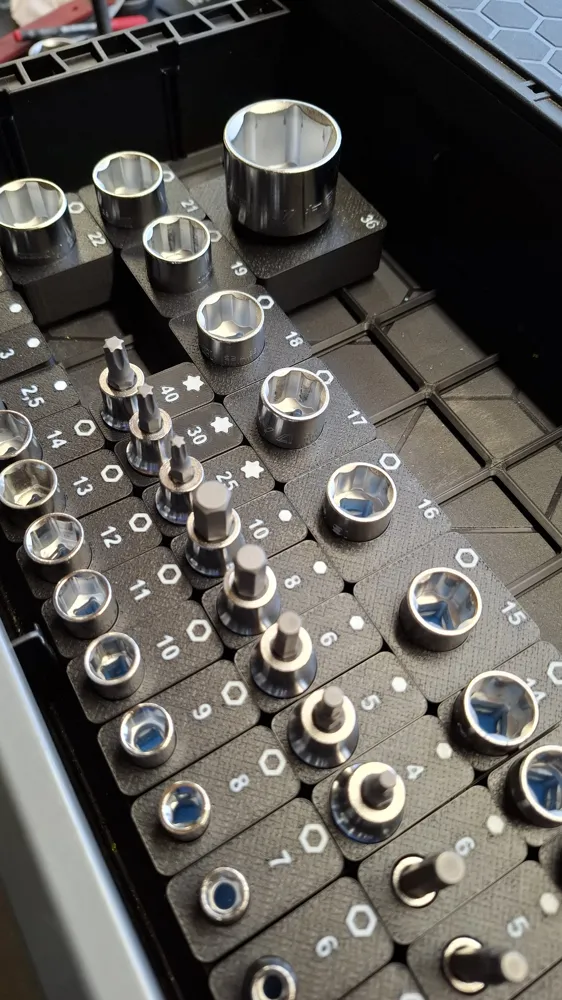
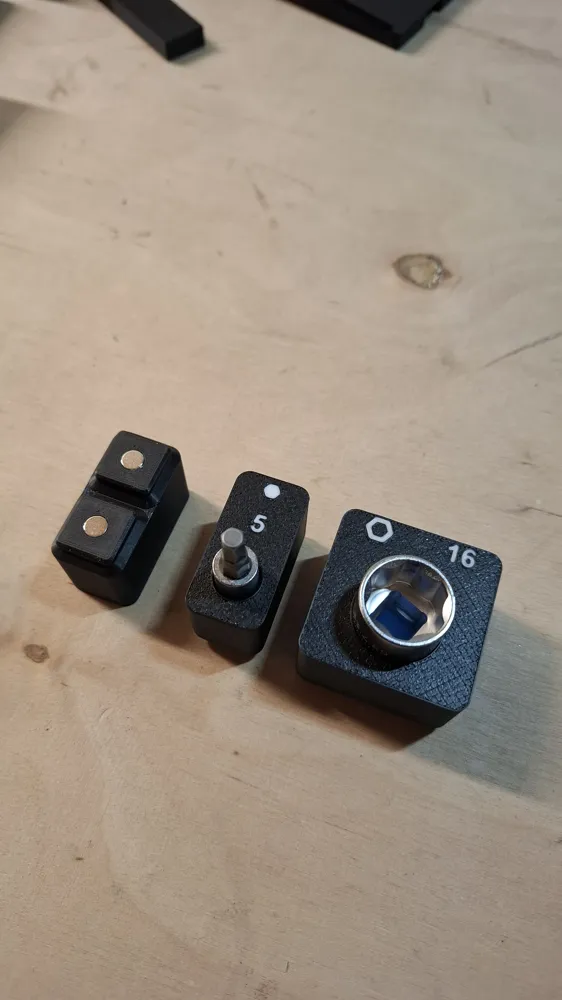
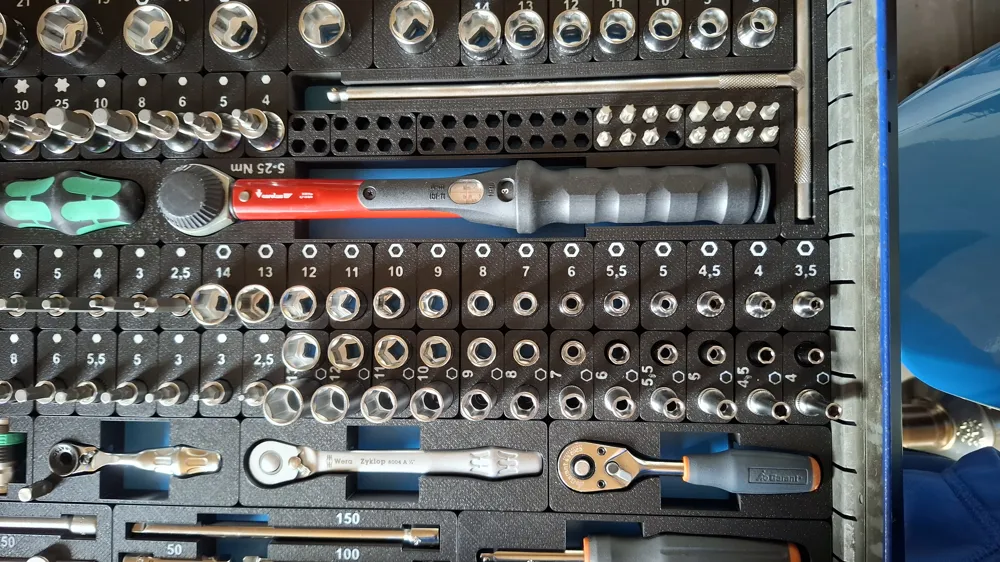
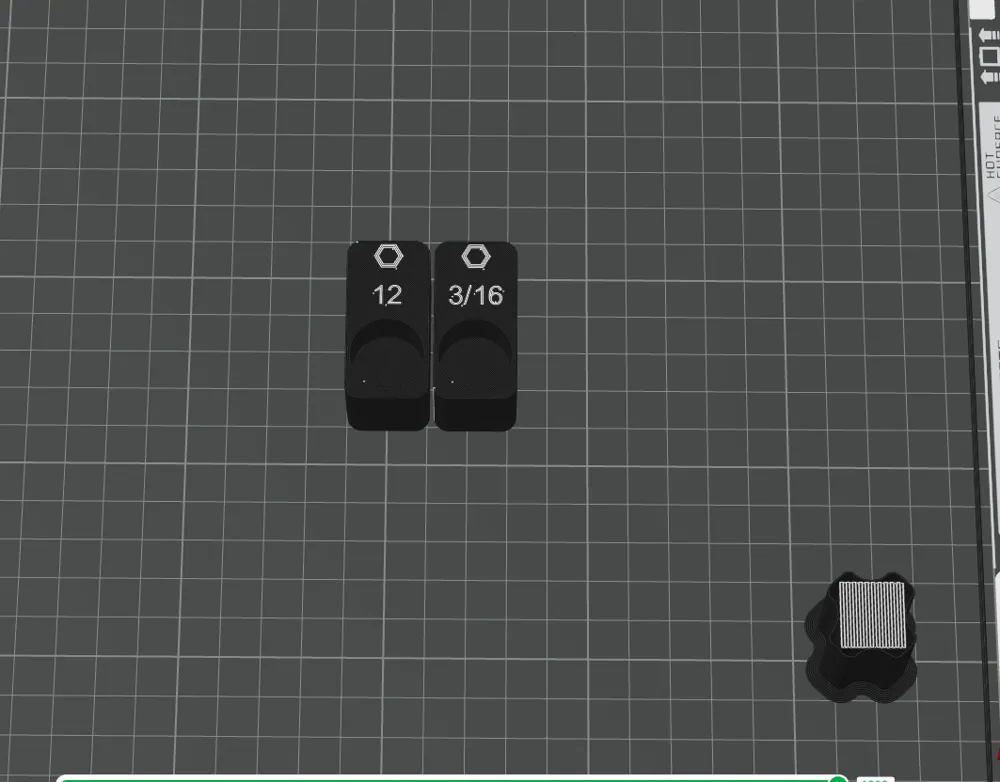
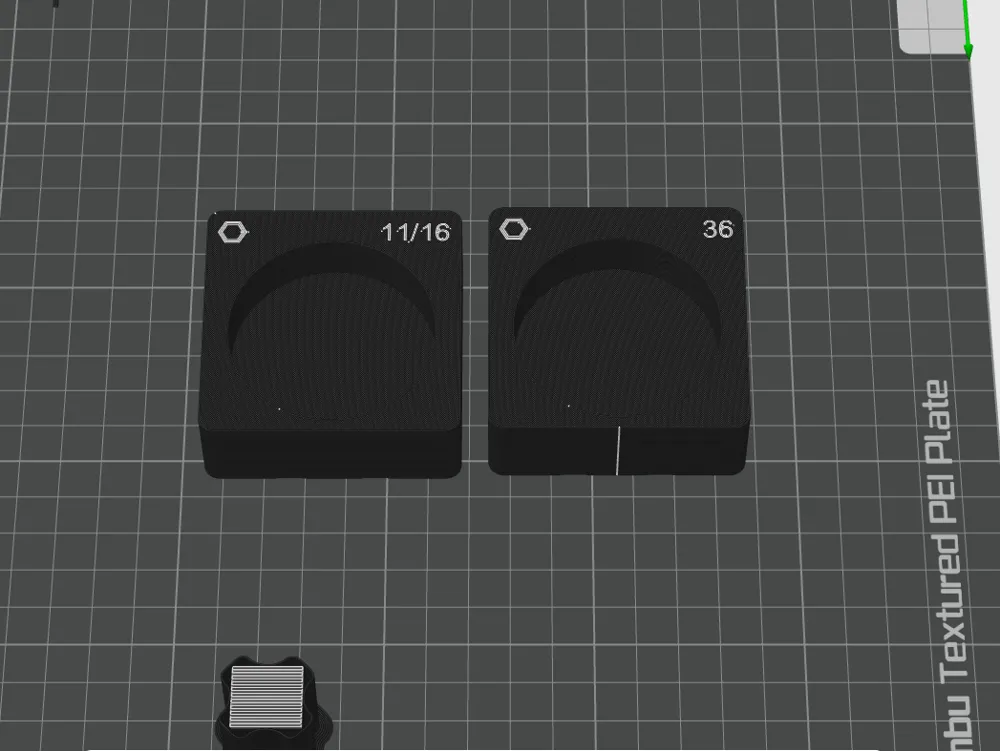
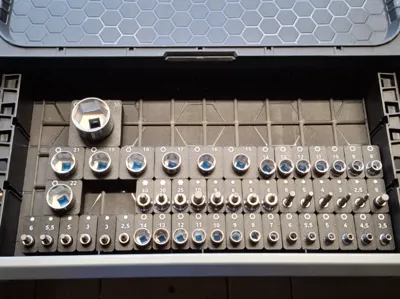
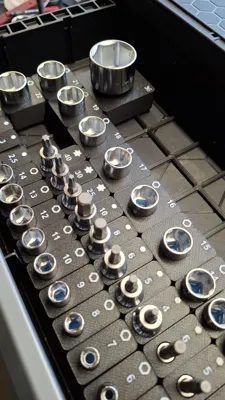
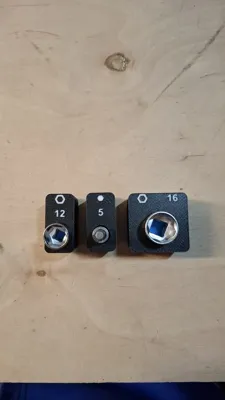
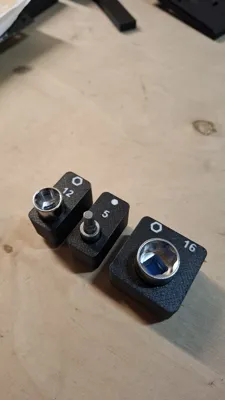
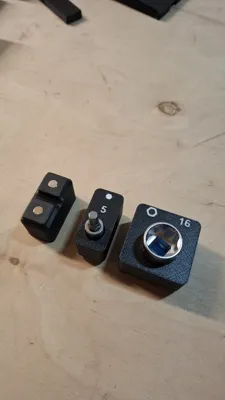
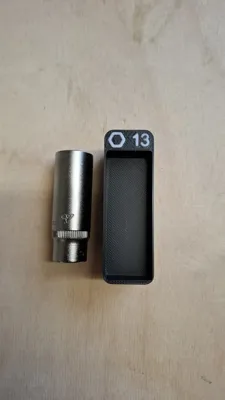
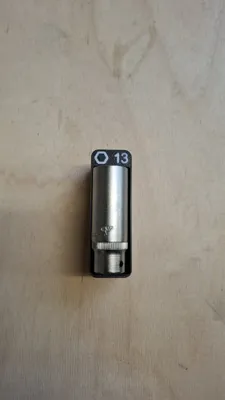
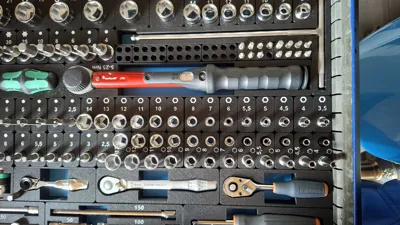
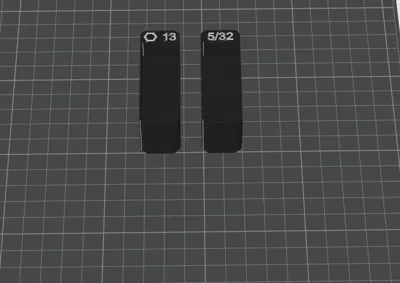
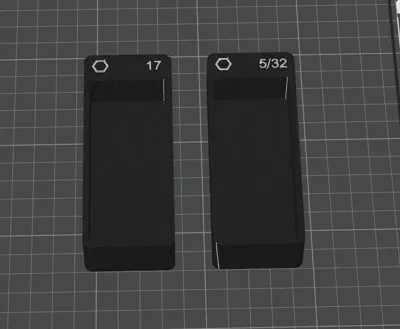
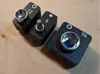
These are Gridfinity containers that can hold all common ¼'' to ½'' sockets. The sizes for the holes and the labels are customizable in the slicer. This means you can precisely adapt the containers to your respective tools
For this, each tool must of course be measured. Please add approximately 0.5mm to the measured value as an offset. The diameters used in the print profile are for illustration purposes only and do not match the labeled values
The following containers are currently available:
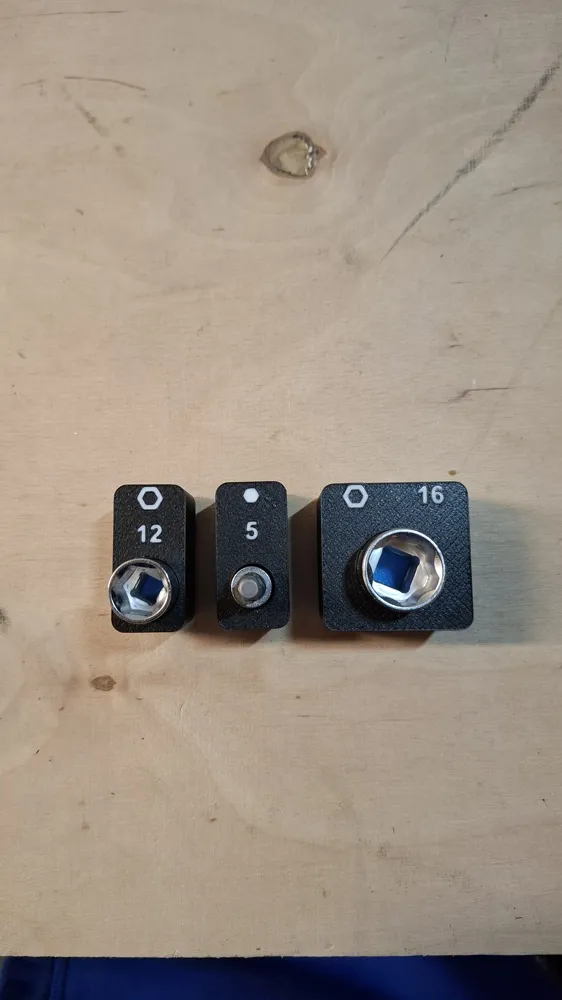
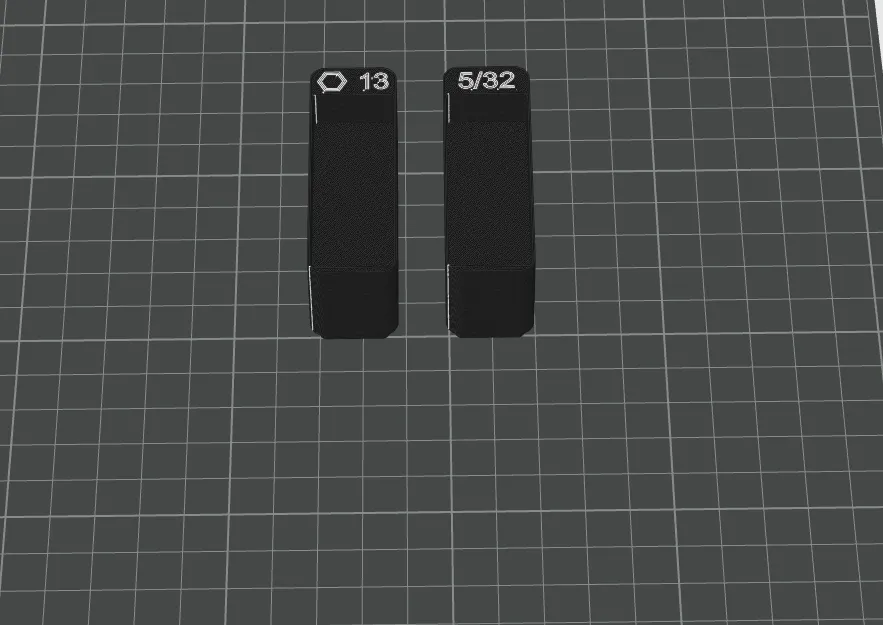
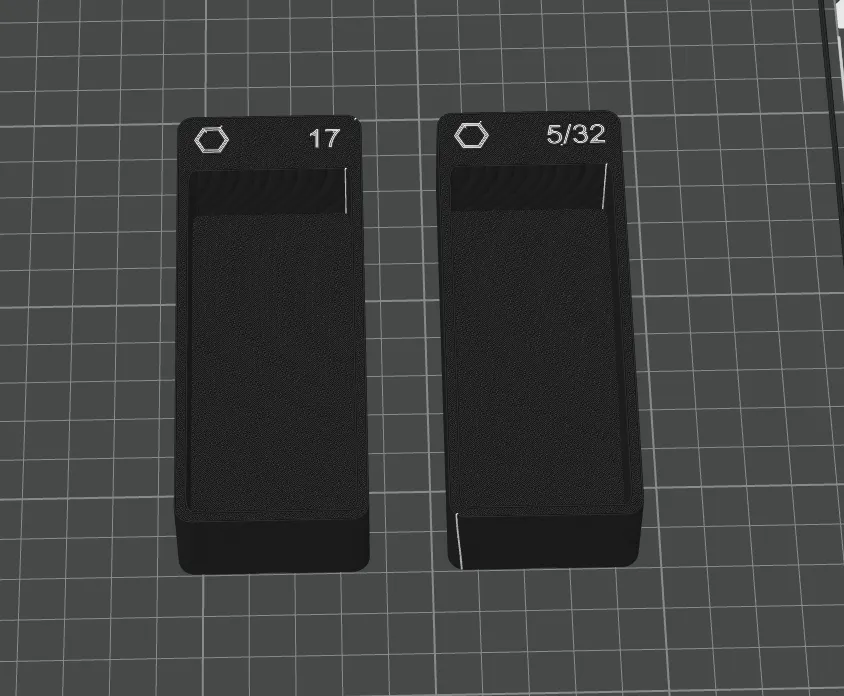
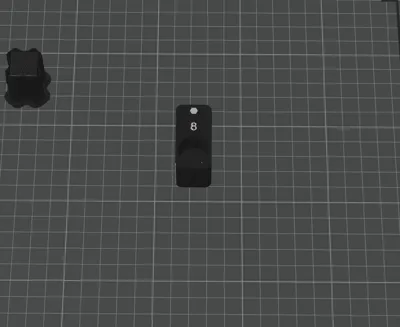
- 2x1 with hex symbol – suitable for ¼'' and 3/8'' up to about 14mm (also available with imperial unit labels)
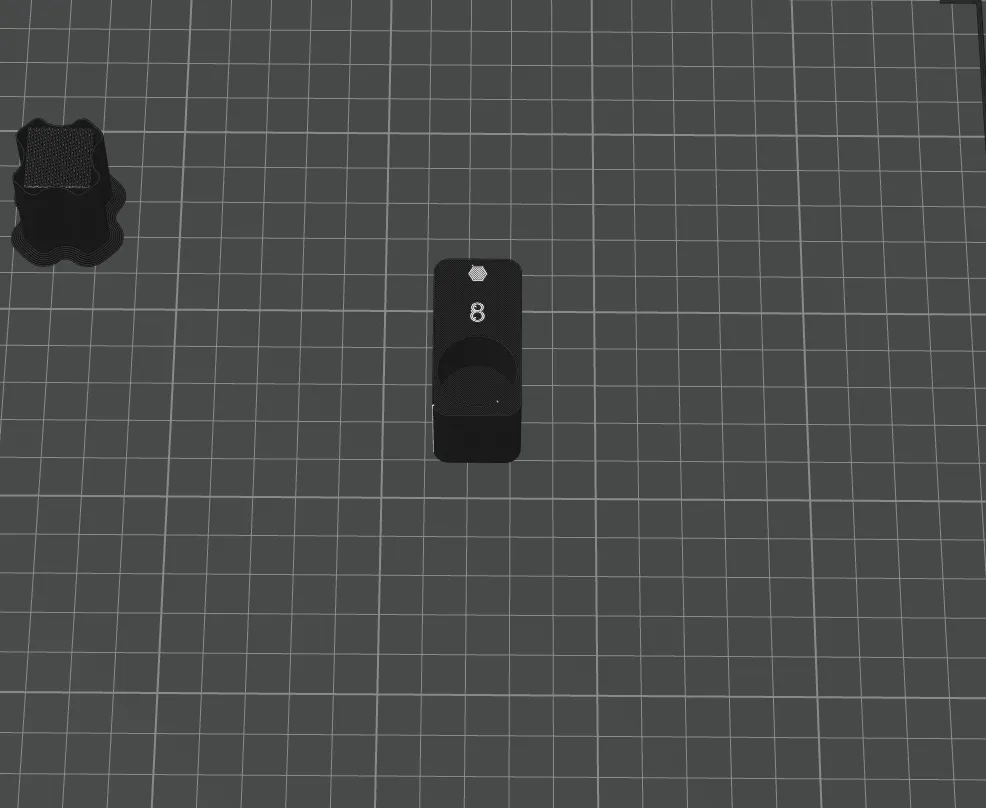
- 2x1 with Allen key symbol are suitable for ¼'' and 3/8''
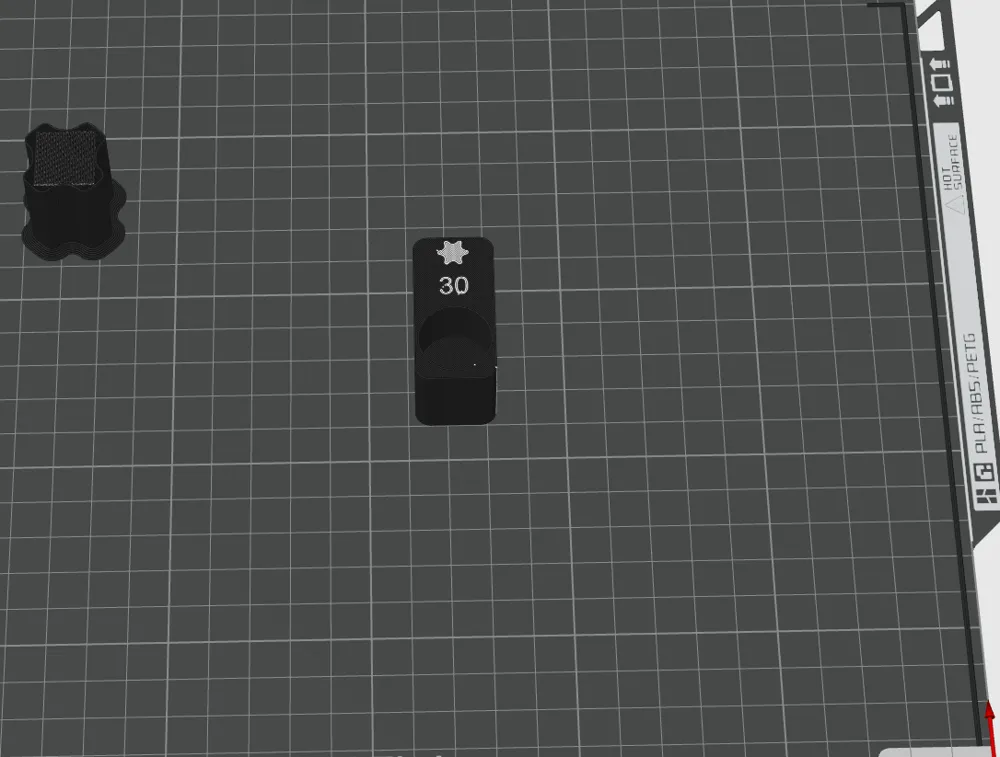
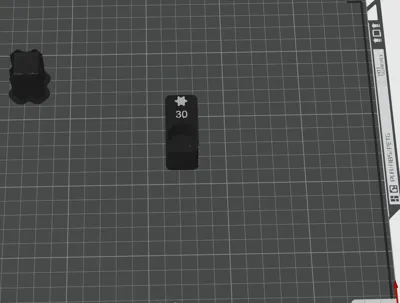
- 2x1 with Torx symbol are suitable for ¼'' and 3/8''
- 3x1 with hex symbol for metric, not possible for imperial
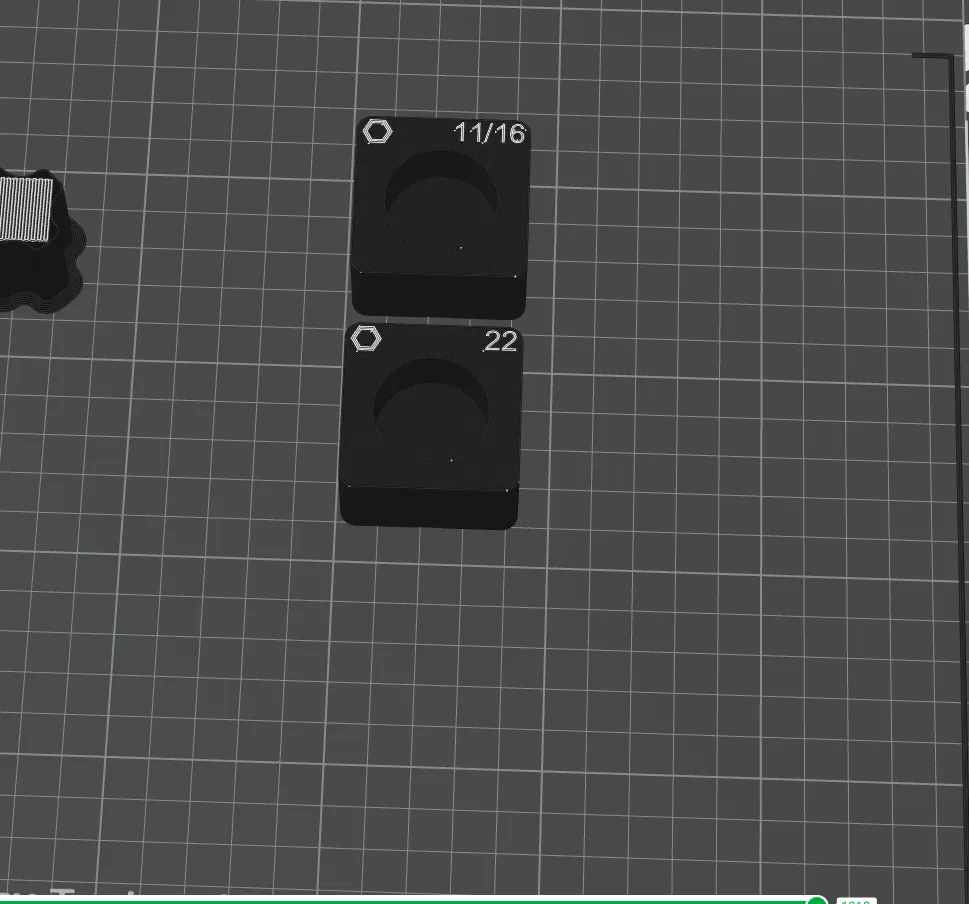
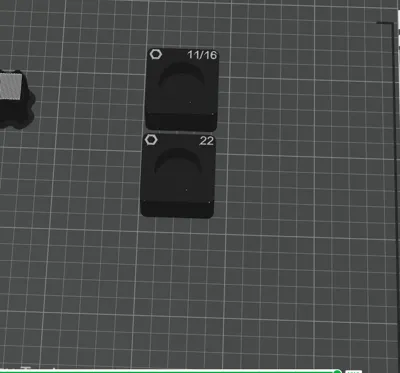
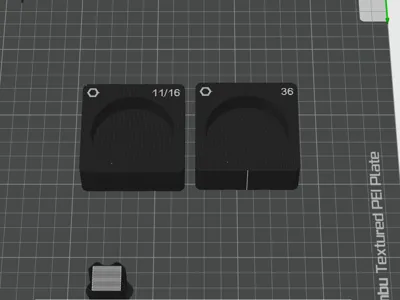
- 2x2 with hex symbol are suitable for 3/8'' and 1/2'' (also available with imperial unit labels)
- 2x2 with Allen key symbol are suitable for 3/8'' and 1/2'' (also available with imperial unit labels)
- 3x3 with hex symbol are suitable for 1/2'' (also available with imperial unit labels) for very large sizes
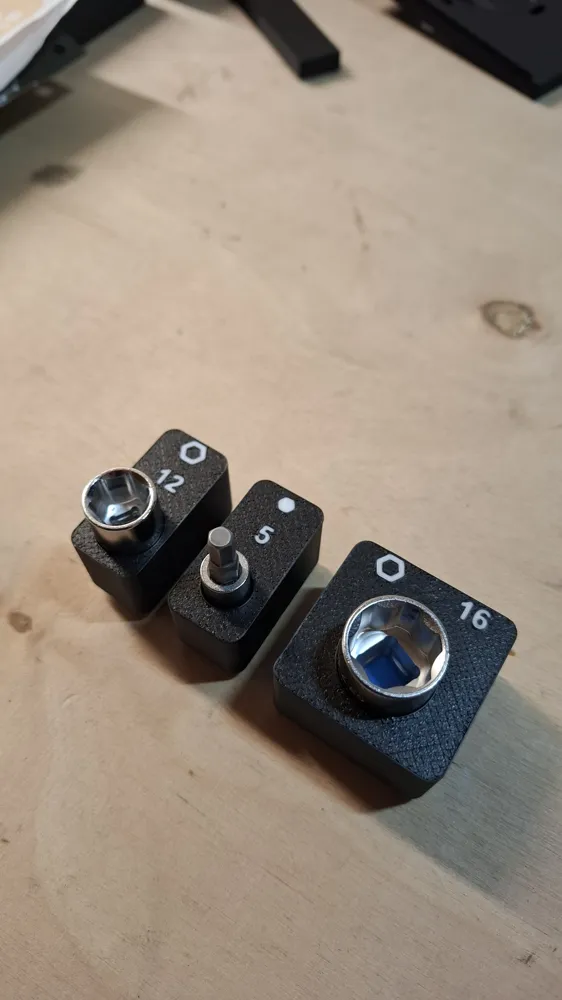
Currently, the print profile is configured so that the labeling and the symbol are recessed. However, this can of course be changed according to taste
A container is composed as follows:
- Container (Gridfinity) itself - here, only change the color if desired
- Symbol - Hex, Allen, or Torx - color and height adjustable
- Text - Size of the respective socket
Hole - Hole for the socket
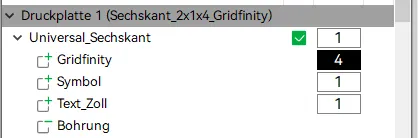
To adjust the labeling and diameter, please proceed as follows:
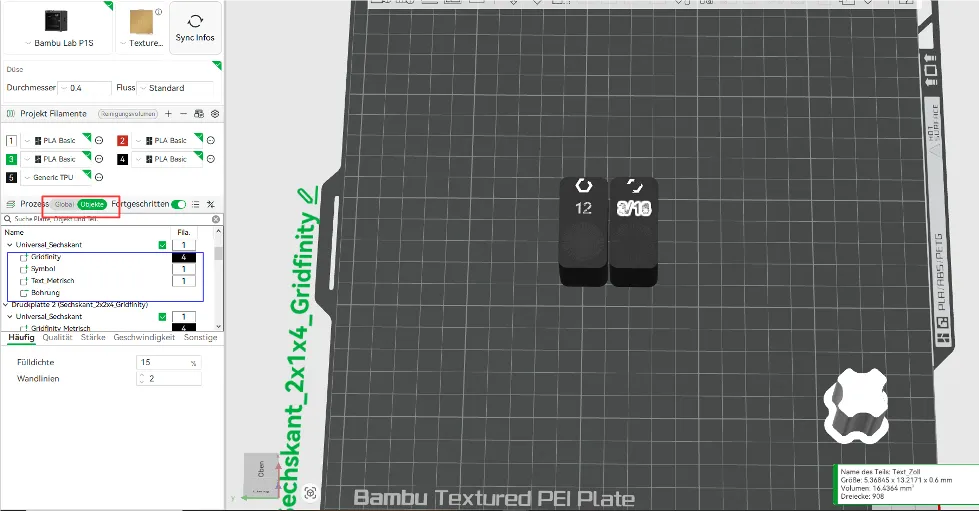
In the slicer settings, first switch to "Objects" (red marking in the screenshot) under the "Process" tab. There you will find the respective containers (blue marking).
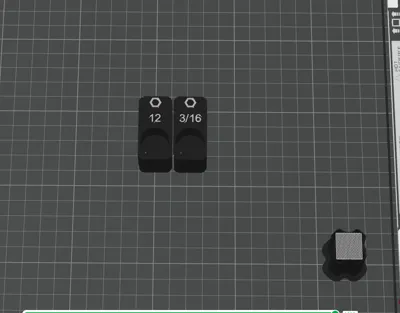
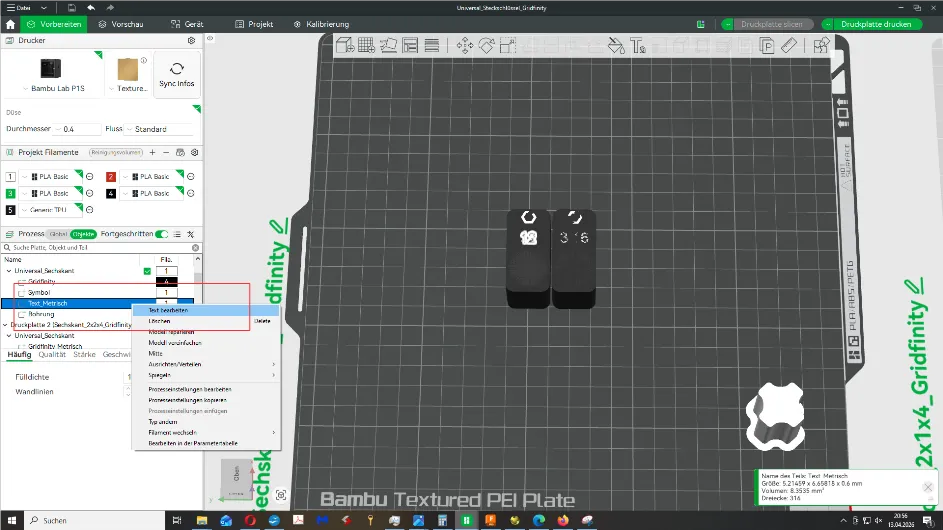
To change the text, right-click on "Text_Metrisch" and then left-click "Edit Text". See the red marking in the screenshot. This works exactly the same for "Text_Zoll", but I will only go through one example in this guide, as everything else works analogously.
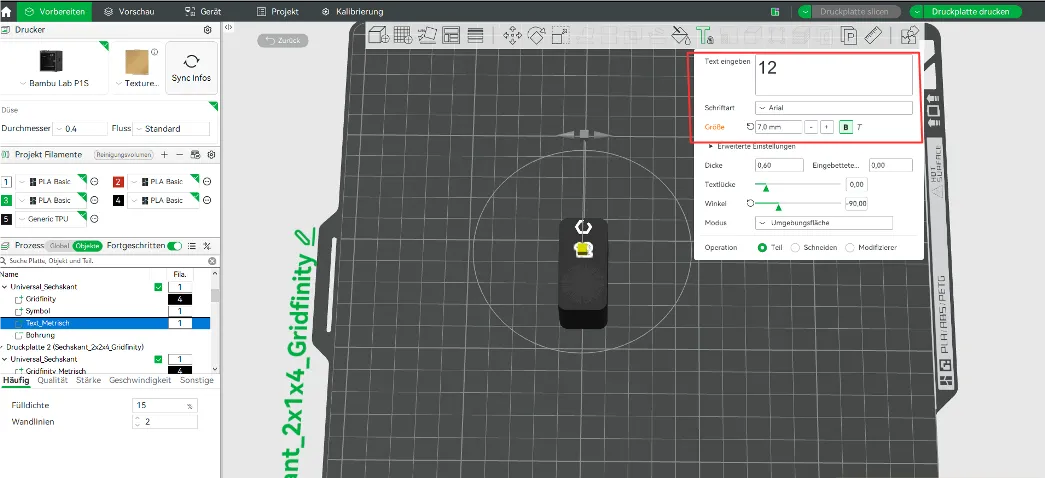
The following menu will then appear. The desired size can be entered in the red marking. I would personally leave the font size as is. However, if you choose a different one, you will have to check if it can still be printed after slicing.
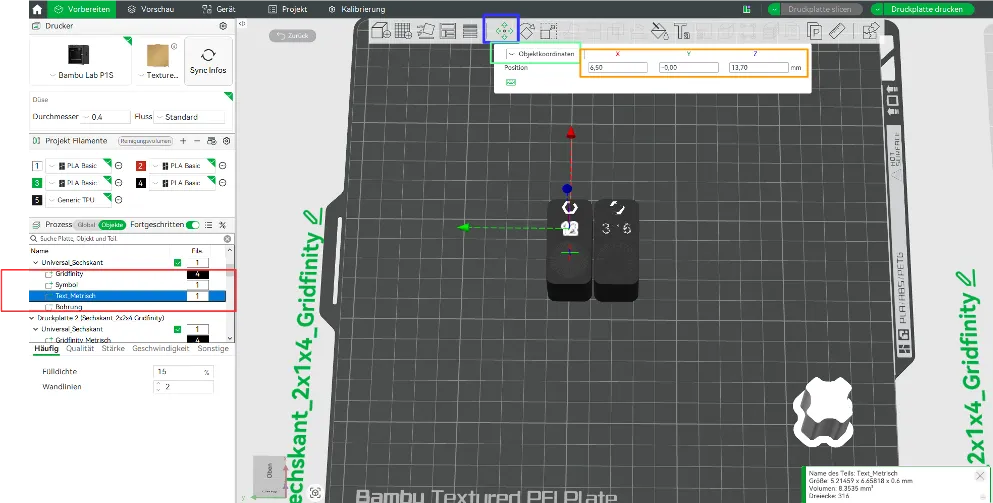
Unfortunately, once the text is changed, it shifts in height, which must be a bug in the slicer. But here's how to adjust it again
If the text on the left is not selected, please select it again and click on the move tool at the top (blue marking). Then check if "Object Coordinates" (green marking) is selected and enter the following values for the respective axes:
For better clarity in table form:
| Text | x-axis | y-axis | z-axis |
| 2x1 - Metric/Imperial/Allen/Torx | 6.5 | 0 | 13.7 - recessed / 14.2 raised |
| 2x2 - Metric / Allen | 17 | -15 | 13.7 - recessed / 14.2 raised |
| 2x2 - Imperial / Allen | 17 | -11 | 13.7 - recessed / 14.2 raised |
| 3x1 - Metric | 5 | 27 | 13.7 - recessed / 14.2 raised |
| 3x1 - Imperial - No symbol possible | 0 | 17 | 13.7 - recessed / 14.2 raised |
| 3x3 - Metric | -25 | -25 | 13.7 - recessed / 14.2 raised |
| 3x3 - Imperial | -20 | -25 | 13.7 - recessed / 14.2 raised |
| 2x5 - Metric | 12.5 | 46 | 13.7 - recessed / 14.2 raised |
| 2x5 - Imperial | 10.5 | 46 | 13.7 - recessed / 14.2 raised |
The symbol can be adjusted similarly. However, this is not necessary unless it is to be raised. In that case, the following values should be used:
| Symbol | x-axis | y-axis | z-axis |
| 2x1 - Metric/Imperial/Allen/Torx | 16.75 | 0 | 13.5 - recessed / 14.3 raised |
| 2x2 - Metric/Imperial | 16.75 | 15.75 | 13.5 - recessed / 14.3 raised |
| 3x1 - Metric | -5 | 27 | 13.7 - recessed / 14.3 raised |
| 3x3 - Metric/Imperial | 25 | -25 | 13.5 - recessed / 14.3 raised |
| 2x5 - Metric/Imperial | -13 | 46 | 13.7 - recessed / 14.3 raised |
If no symbol is desired, simply right-click on it in the object tree on the left and delete it
To adjust the size of the bore, the following settings must be made. Select the bore in the object tree on the left and click on the "Scaling Tool" (red marking) at the top. Then, the diameter (measured value of the tool + 0.5mm) can be adjusted under the x- and y-axes. The X and Y axes must have the same value, otherwise, it will not be a circle. The Z-axis determines the depth of the bore. If this is changed, please consider that the slicer extends the bore equally from the center. If you want to increase the bore from 12mm to 13mm in this case, the Z-axis must be set to 14mm. Or, in this case, the Z-axis is also adjusted in the move tool. You can play around with this a bit. However, I would not change the position of the bore on the X and Y axes
If a bore no longer fits into a container, simply use the next larger variant
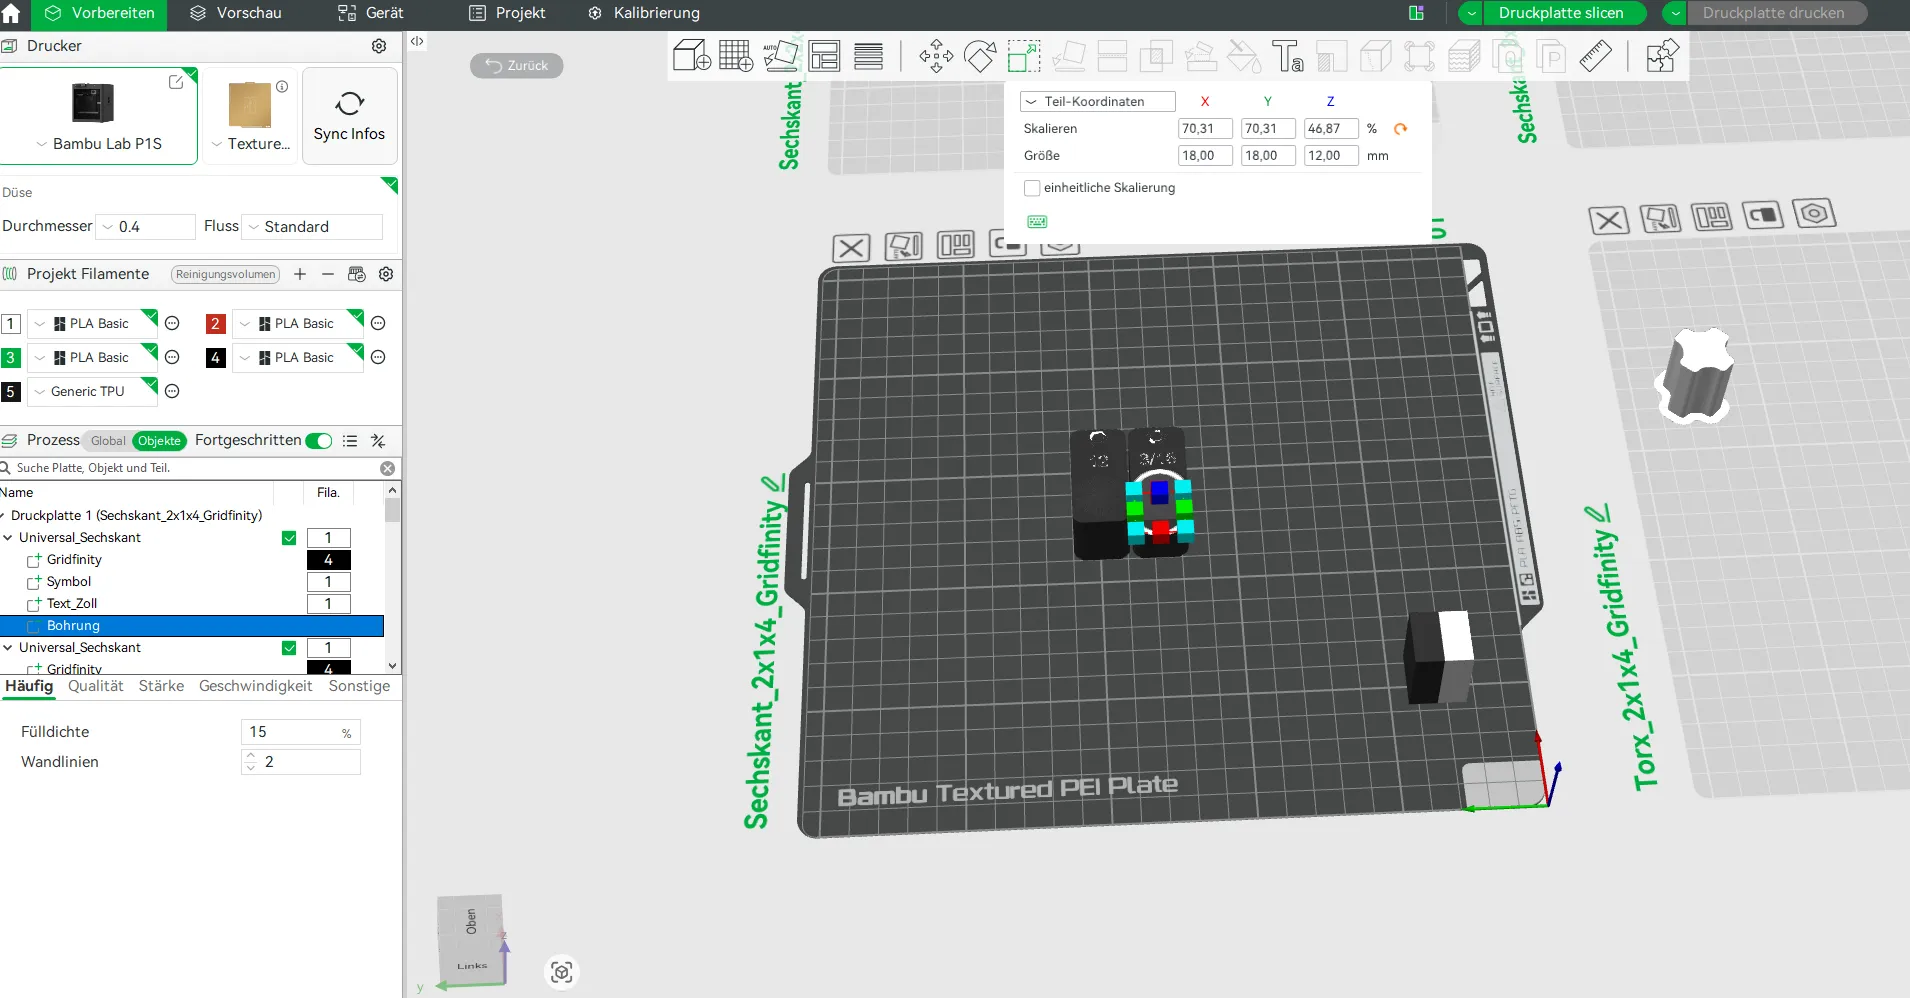
To create multiple containers, simply right-click on one and duplicate it. Then adjust the diameter and labeling as described above
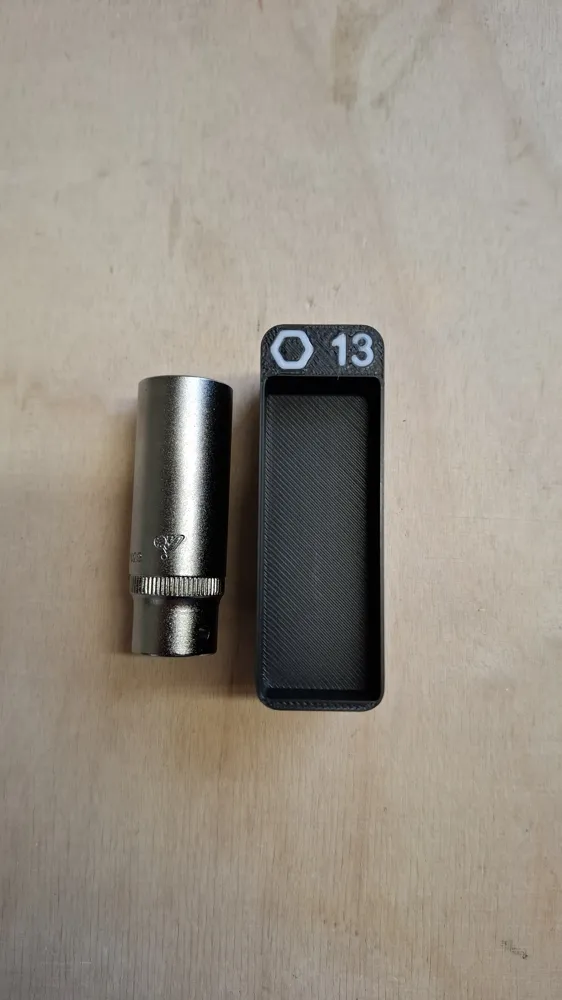
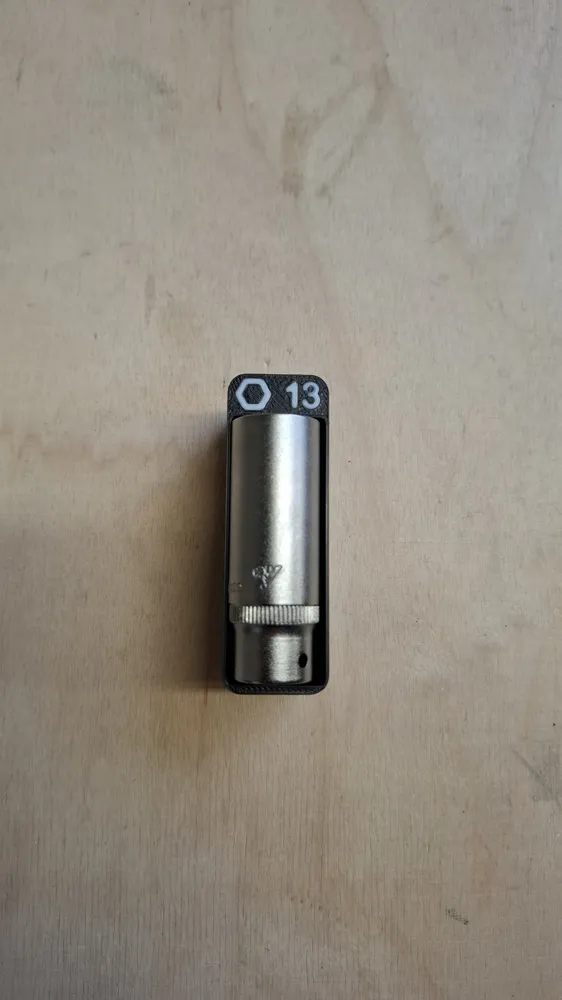
For the 3x1 variant, I have provided a rectangle as a cutout for, e.g., deep sockets. The procedure here is analogous to changing the bore. Please note that when you change the rectangle, the slicer always makes the change equally from the center. This will be important later for positioning. You can play around with the dimensions a bit. I have included the variant with the largest cutout in the print profile. Attention: No symbol is possible for the imperial variant
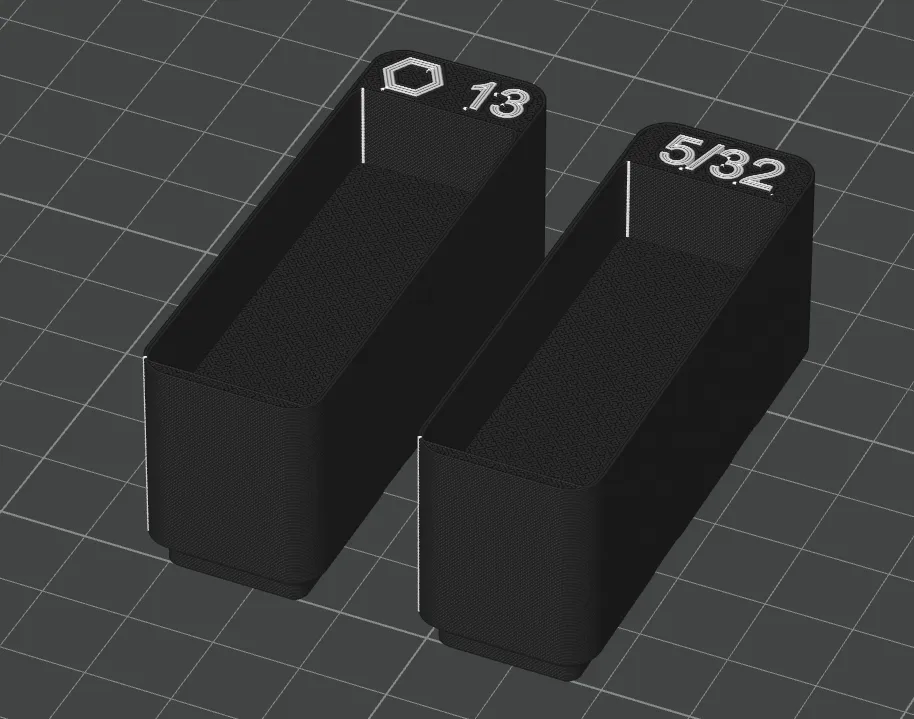
I have added another variant for large deep sockets, analogous to the small ones. Here too, it's analogous to the containers for small deep sockets
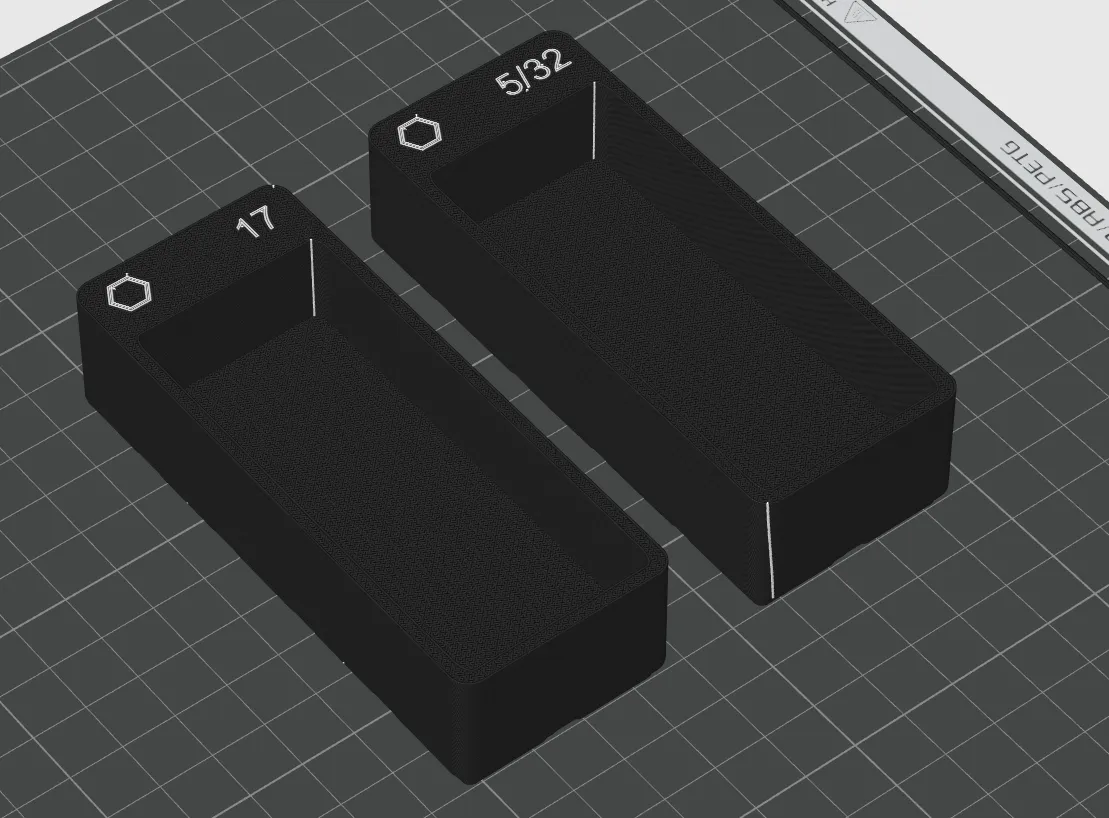
As a tip…If you prefer raised labeling and symbols instead of recessed ones. First, finish one container and then duplicate it. This will at least save you from repeatedly adjusting the symbol
If needed, I can certainly create more templates for you. Just let me know via comment or chat
If you like my work, please leave a like, a comment, and a boost. Even if something doesn't fit, just contact me, because there is a solution for everything. Do you have ideas for a printed part, but cannot operate a CAD program yourself, let me know and I will check the feasibility.
Boost Me (for free)
License

You shall not share, sub-license, sell, rent, host, transfer, or distribute in any way the digital or 3D printed versions of this object, nor any other derivative work of this object in its digital or physical format (including - but not limited to - remixes of this object, and hosting on other digital platforms). The objects may not be used without permission in any way whatsoever in which you charge money, or collect fees.


Comment & Rating (2)