Alien-Embryo (Fetus) 02 "New Area 51-Specimen"


Print Profile(4)


Description
Hello space gadget and creature lovers! I encourage you to print my other models from this series.
Illuminated Stand for your Alien embryo
Unlock the Secrets of Area 51 with Your Own Alien Fetus Specimen!
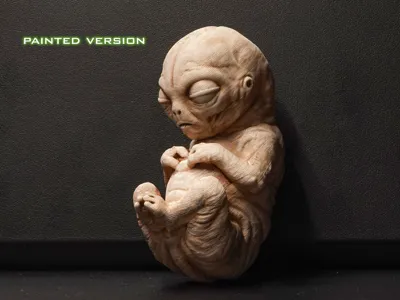
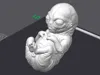
Bring a piece of classic sci-fi lore to life with this detailed 3D printable model of an Extraterrestrial Grey Fetus. This is the second model in the series and is easier to print, making it a great choice even if your printer sometimes has a personality of its own. The print is designed to look unsettlingly real, perfect for creating your own "Department of Curiosities" display or a movie prop.
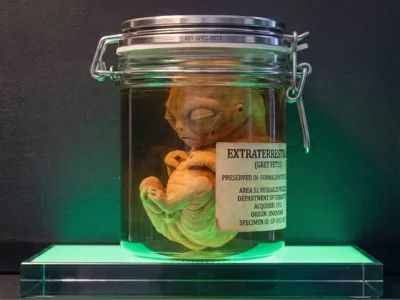
Create the Ultimate Specimen Jar Display:
To achieve the hauntingly realistic look of a preserved specimen (as seen in the reference photos), follow these simple maker steps:
- Size Matters: Scale the alien figure so that it fits perfectly inside your chosen clear glass storage jar.
- Paint Like a Pro: For a more organic and aged effect, paint the model with brown paint and then gently wipe it off. This technique leaves the paint mainly in the recesses, enhancing details and giving the model a more realistic, weathered appearance.
- Preserve It (Visually): Secure the figure inside the jar using glue. For the classic "formaldehyde" look with that perfect atmospheric tint, fill the jar with water and add a few drops of light brown liquid food coloring. Stir carefully until the desired faint, vintage yellow-amber hue is achieved. Be careful not to make it too dark.
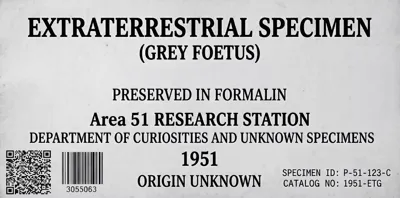
Add a custom vintage-style label (like the one shown) to your jar, perhaps with a green LED light from beneath (It will be available on my website soon), and you will have a truly unique and uncanny conversation-starter.
Recommended Print Settings:
- Material: PLA, ASA or PETG
- Resolution: 0.08mm - 0.12mm (for capturing fine anatomical details)
- Supports: Minimal supports recommended depending on print orientation
- Scale: Adjust to your container
Happy printing… and if it starts moving, that’s on you 😉
License
You shall not share, sub-license, sell, rent, host, transfer, or distribute in any way the digital or 3D printed versions of this object, nor any other derivative work of this object in its digital or physical format (including - but not limited to - remixes of this object, and hosting on other digital platforms). The objects may not be used without permission in any way whatsoever in which you charge money, or collect fees.
Comment & Rating (139)