
SnapSpooler U1
Print Profile(1)



Description
 Please see my Profile for my other available prints and consider Boosting and Following me!
Boost Me (for free)
Please press the Boost button, it's free to you and helps me with filament supplies and perhaps someday owning an H2C!
I suggest that you download and print only the profiles that have the Designer label on them. This way you ensure that you are getting a truly tested and confirmed good print profile settings that will give you the best results.
SnapSpooler U1


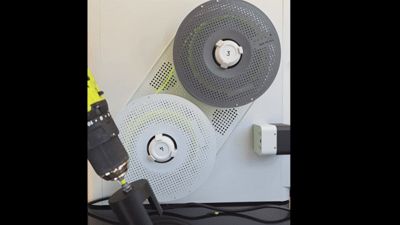

Be sure to use it slower than the speed appears to be in this video!
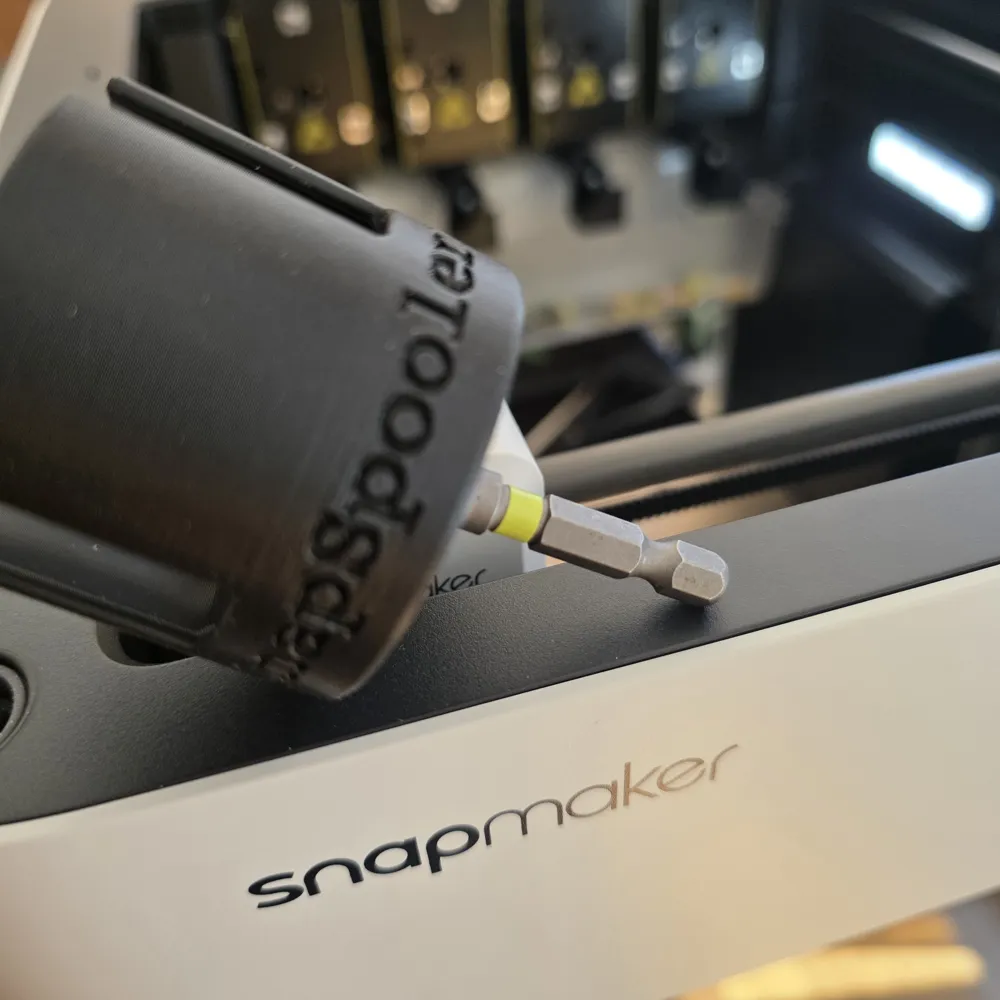
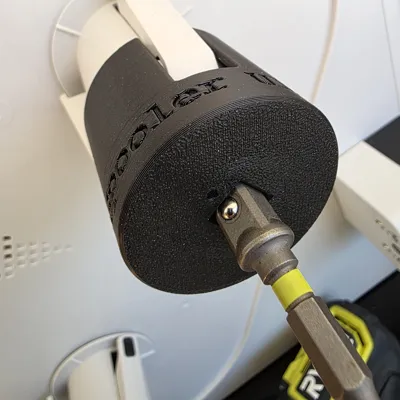
This is the SnapSpooler U1, an easy to use Filament re-spooler tool designed for use with the Snapmaker U1!
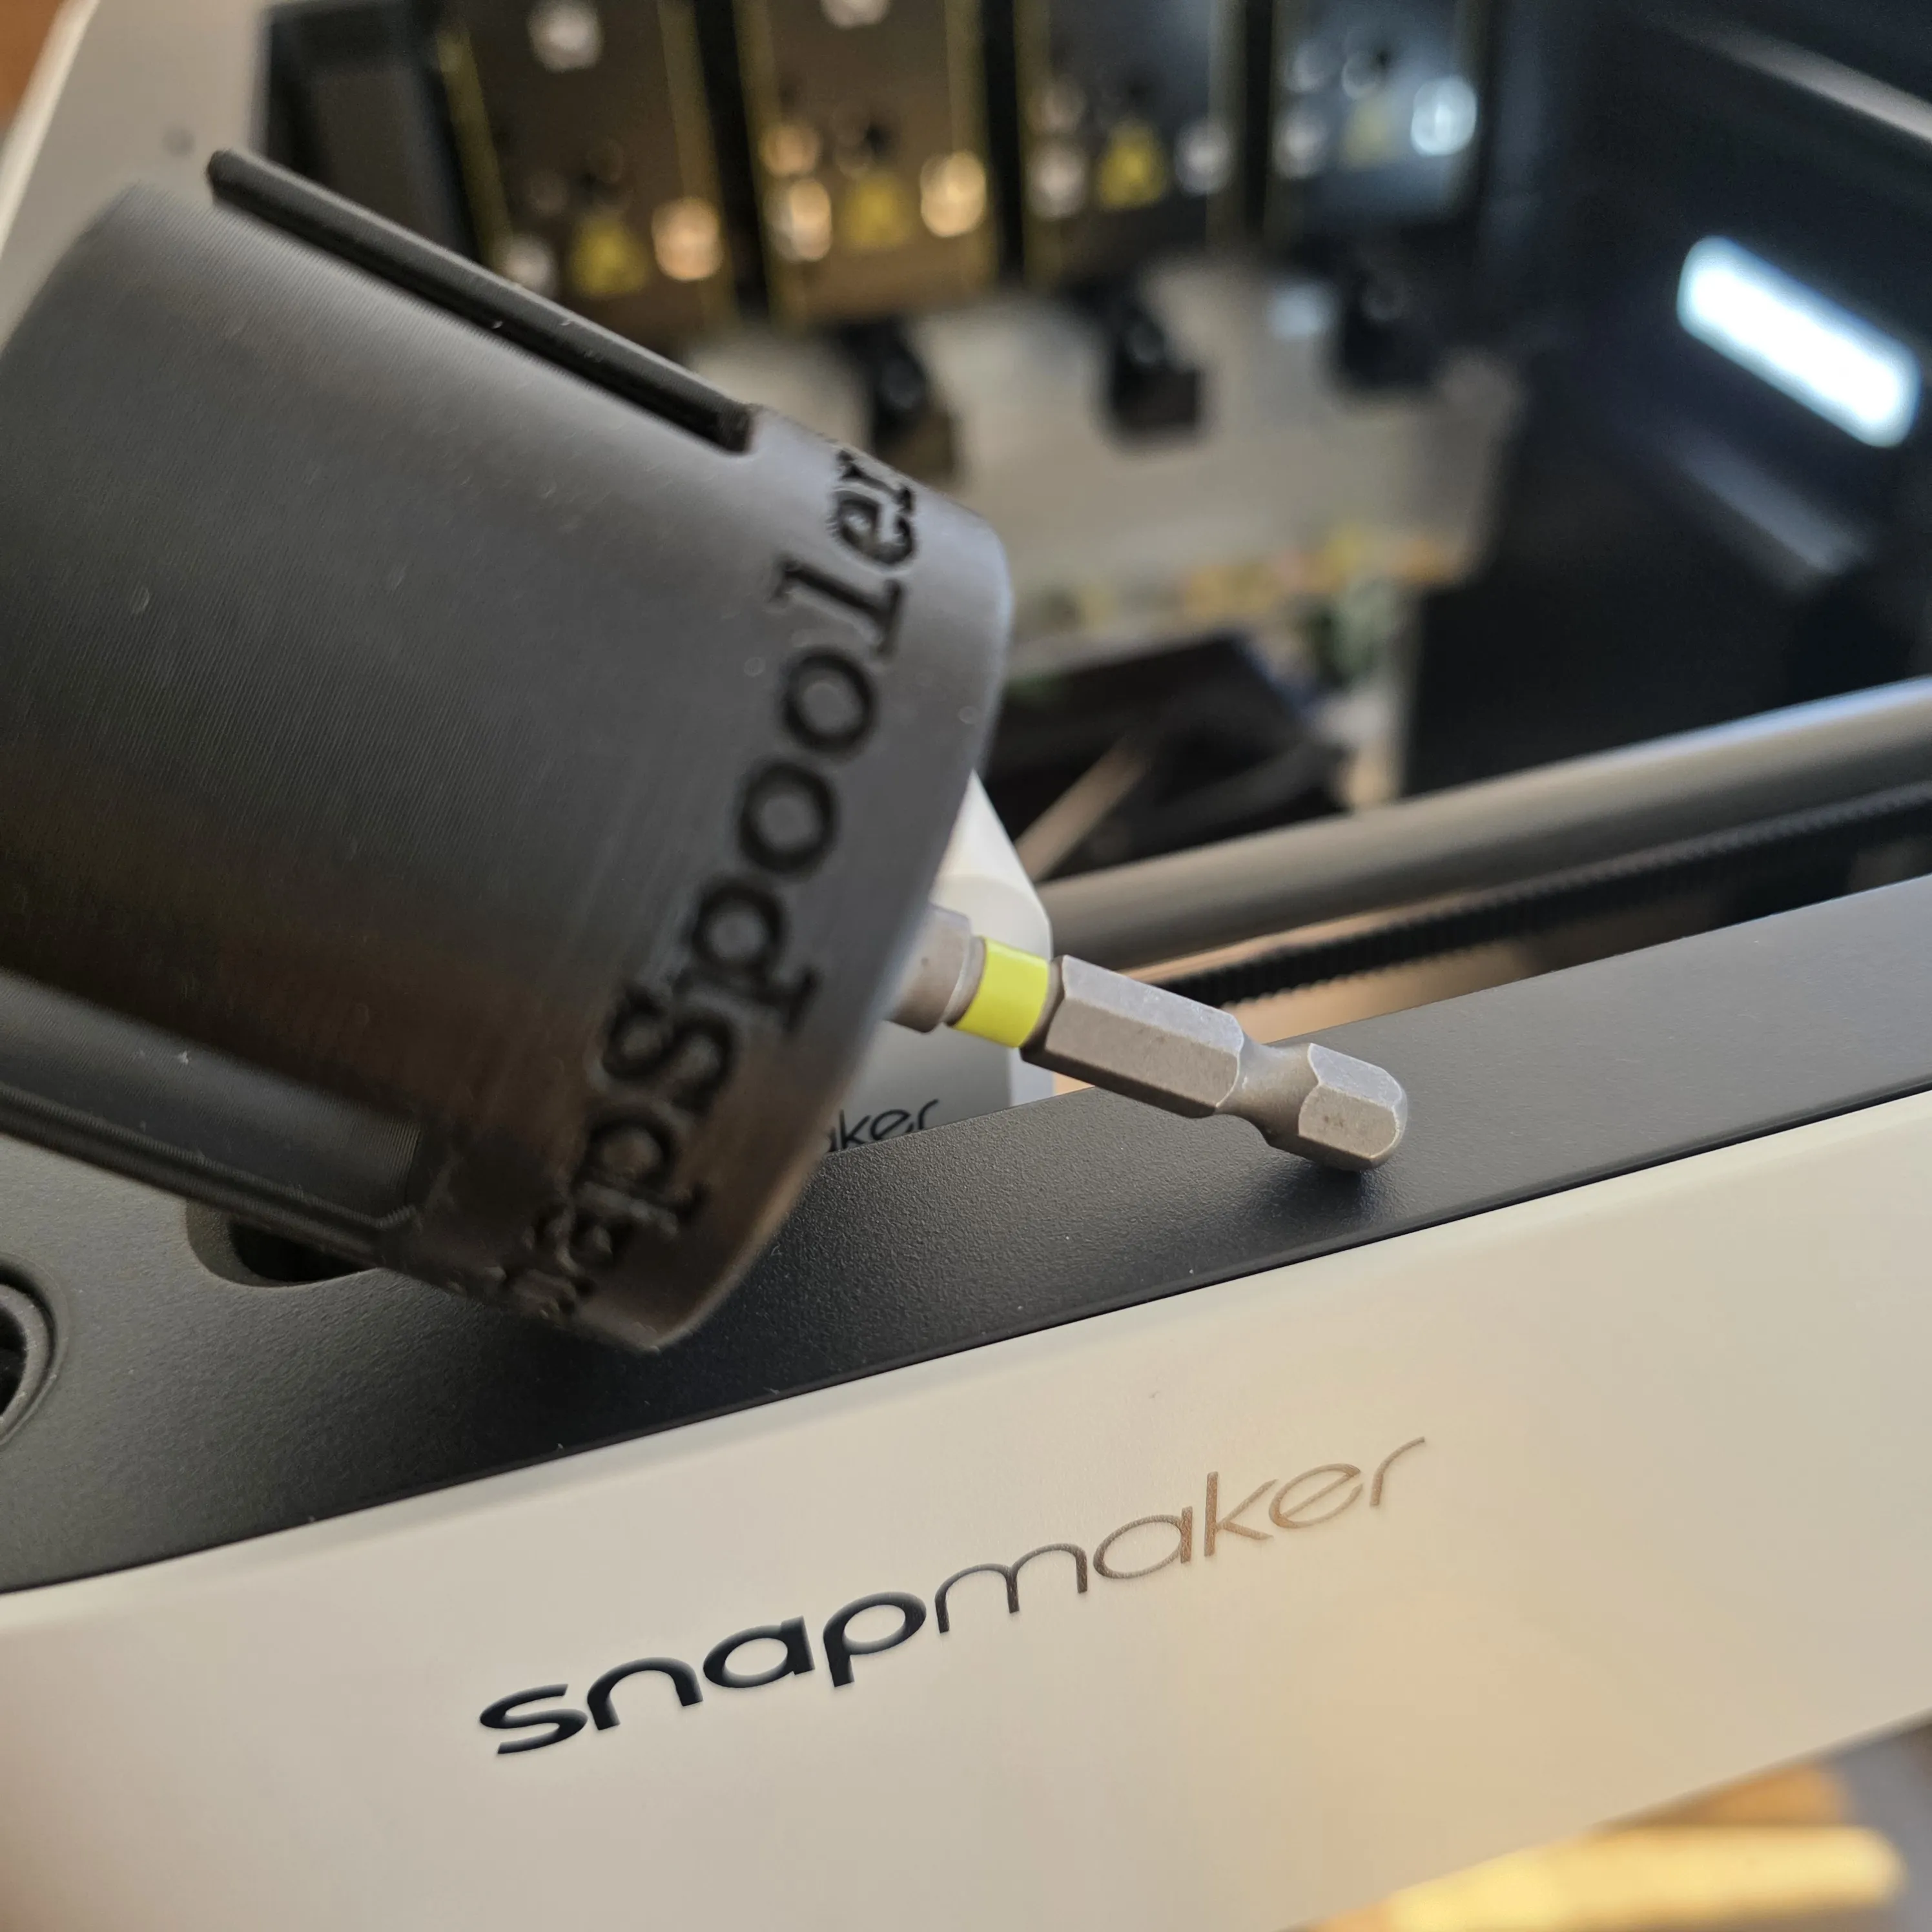
I had an urgent need to respool a roll of filament, the spool was dropped and of course it made a mess of the filament!
Looking on MakerWorld, most of the filament re-spoolers available would take many hours of printing and would require assembly and possibly ordering other parts.
I saw other drill adapters and thought about using one, but they look cumbersome to use, and some would still require a spool holder (or two)!
Looking at the Snapmaker U1 spool holders, I had the idea! Use the Snapmaker U1 to hold both of the spools!
I designed this SnapSpooler U1 and it worked perfectly the first time!
Printing
I used standard Bambu Basic PLA. It's strong enough. You could also use PETG, but the provided profile is for PLA.
This is about a 52 minute print on my Bambu X1C. There is one minor support to remove from the bottom.
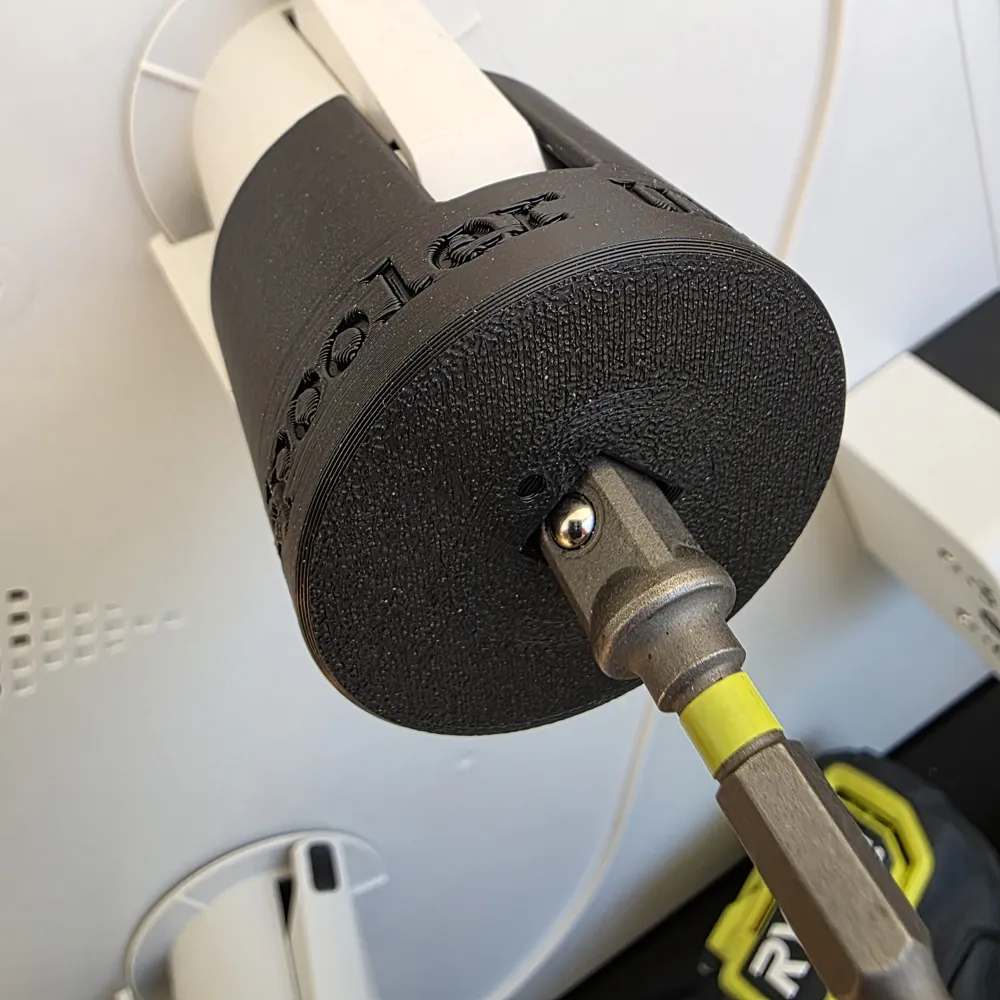
Note: I purposely left the fit of the 3/8 socket adapter as well as the fitment of the SnapSpooler U1 onto the spool holders to be loose fitting and with some wiggle room. This was to help with minor misalignment during use, so you won't need to keep the drill perfectly aligned. This seems to work perfectly!
Usage Instructions
Parts needed:
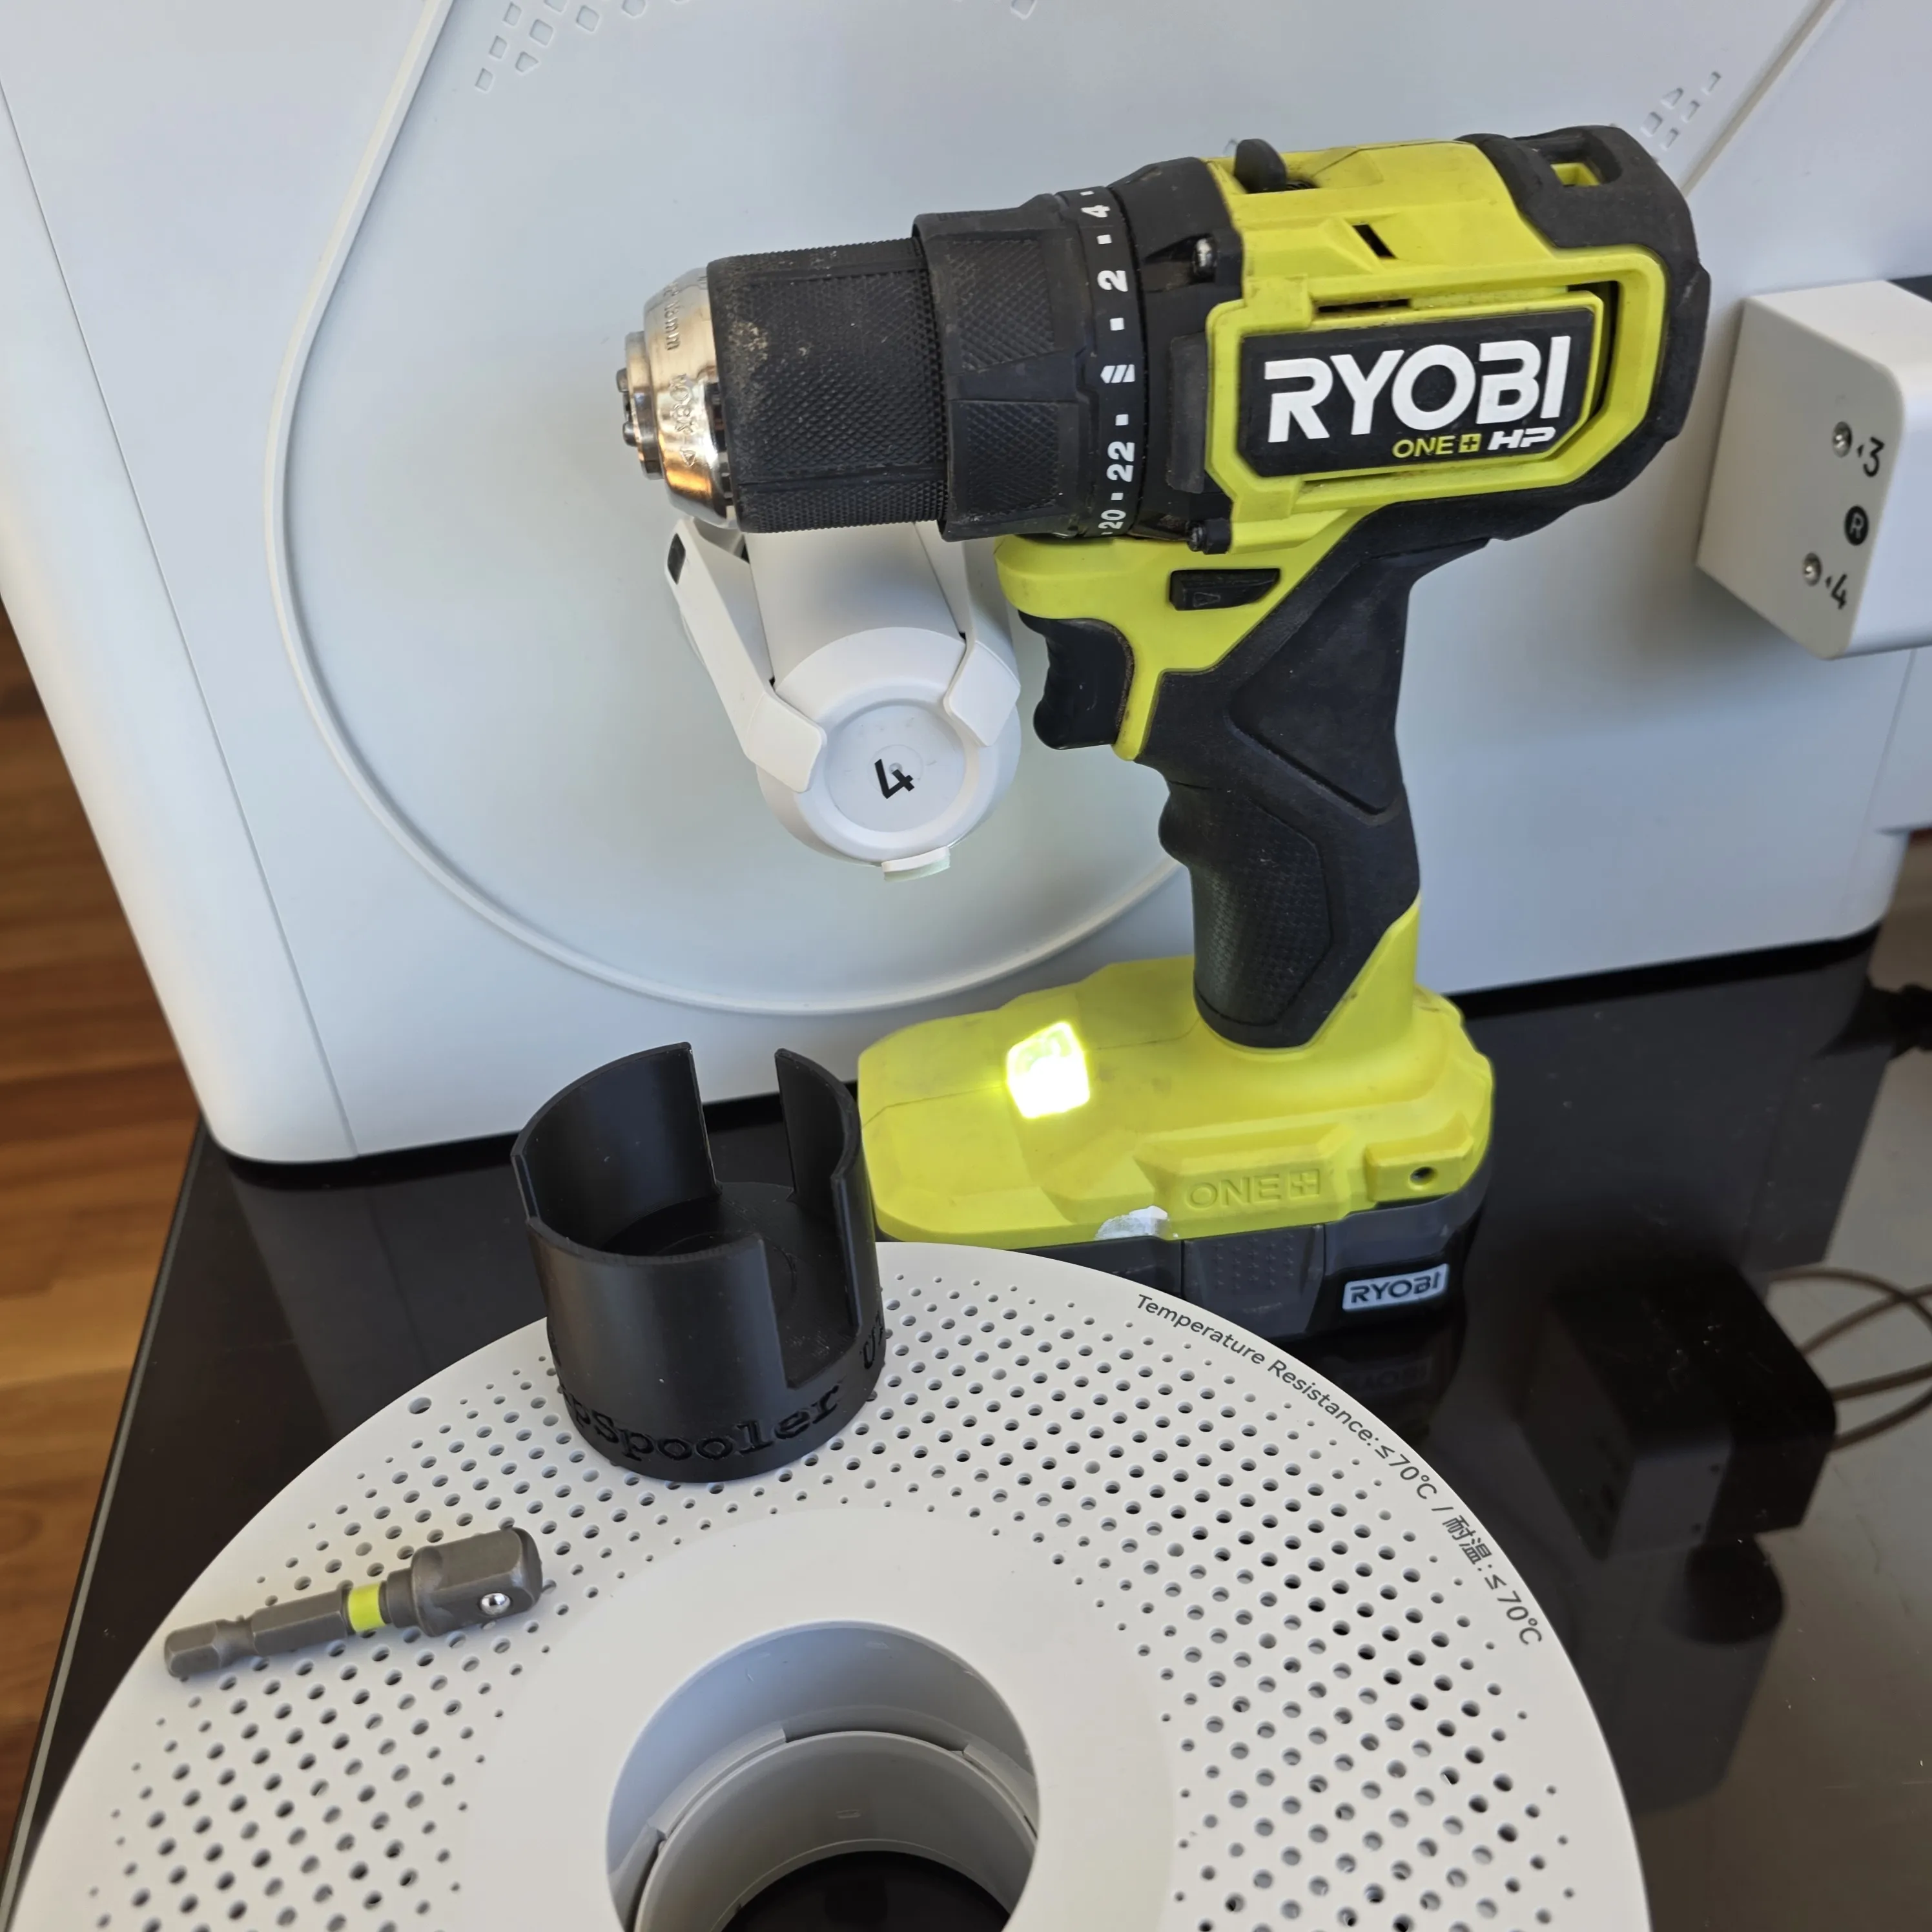
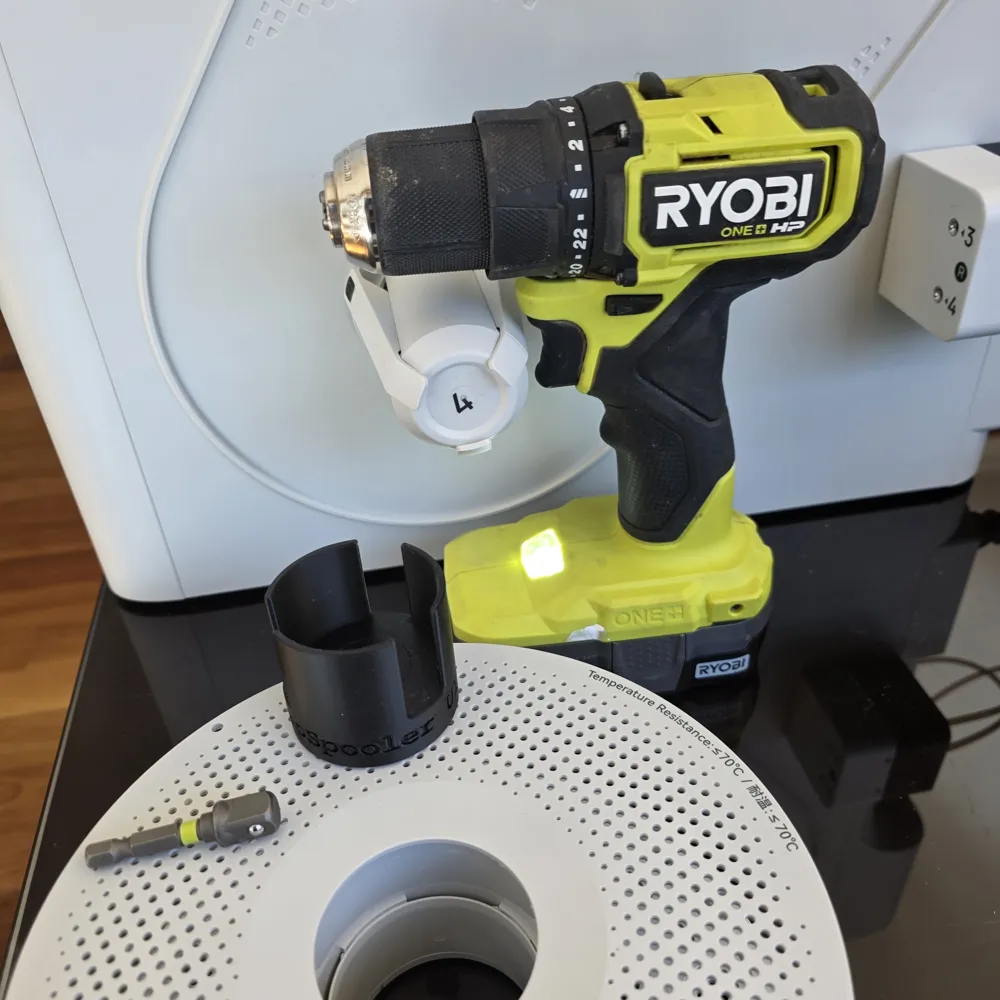
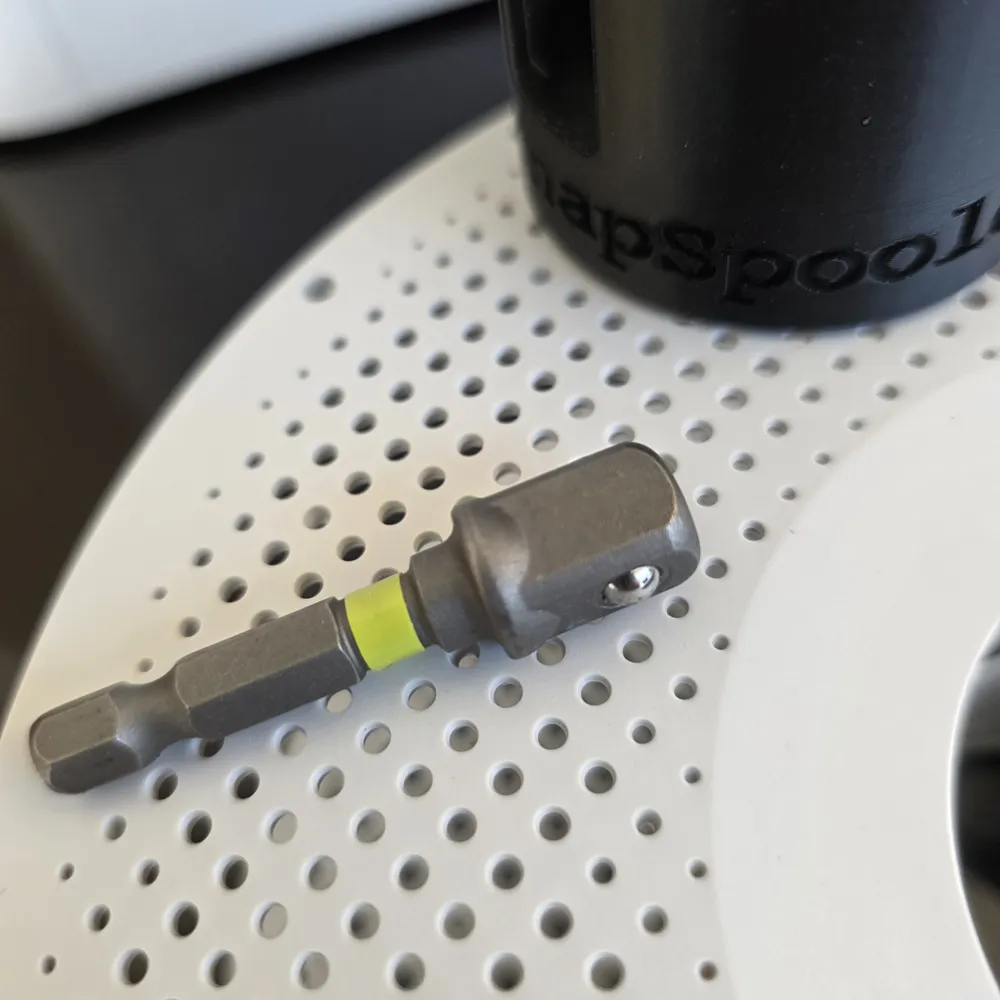
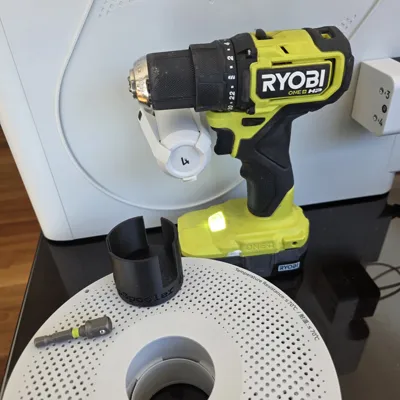
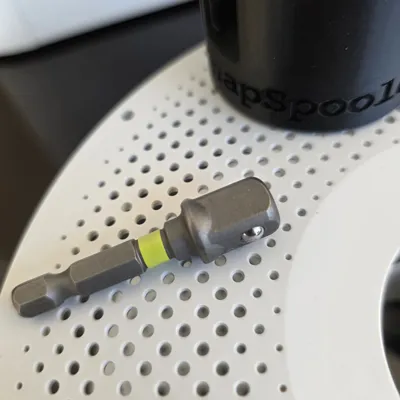
- You need a 3/8 inch socket adapter for your drill.
I use one from this kit:
https://www.amazon.com/RYOBI-AR2034-Impact-Adaptor-3-Piece/dp/B089273JPN/
- Drill:
I used a Ryobi drill. Almost any drill that has a two-speed gear (High/Low) will work. You can use a single speed drill, but it's harder to control the speed.
- An empty receiving spool to collect the filament from the donor spool.
SnapSpooler U1 - print this now before you need it!
- PLA or most any other filament to print the SnapSpooler U1
NEVER USE AN IMPACT DRIVER: Only use a drill or electric screw driver that you can control the speed to run slowly!
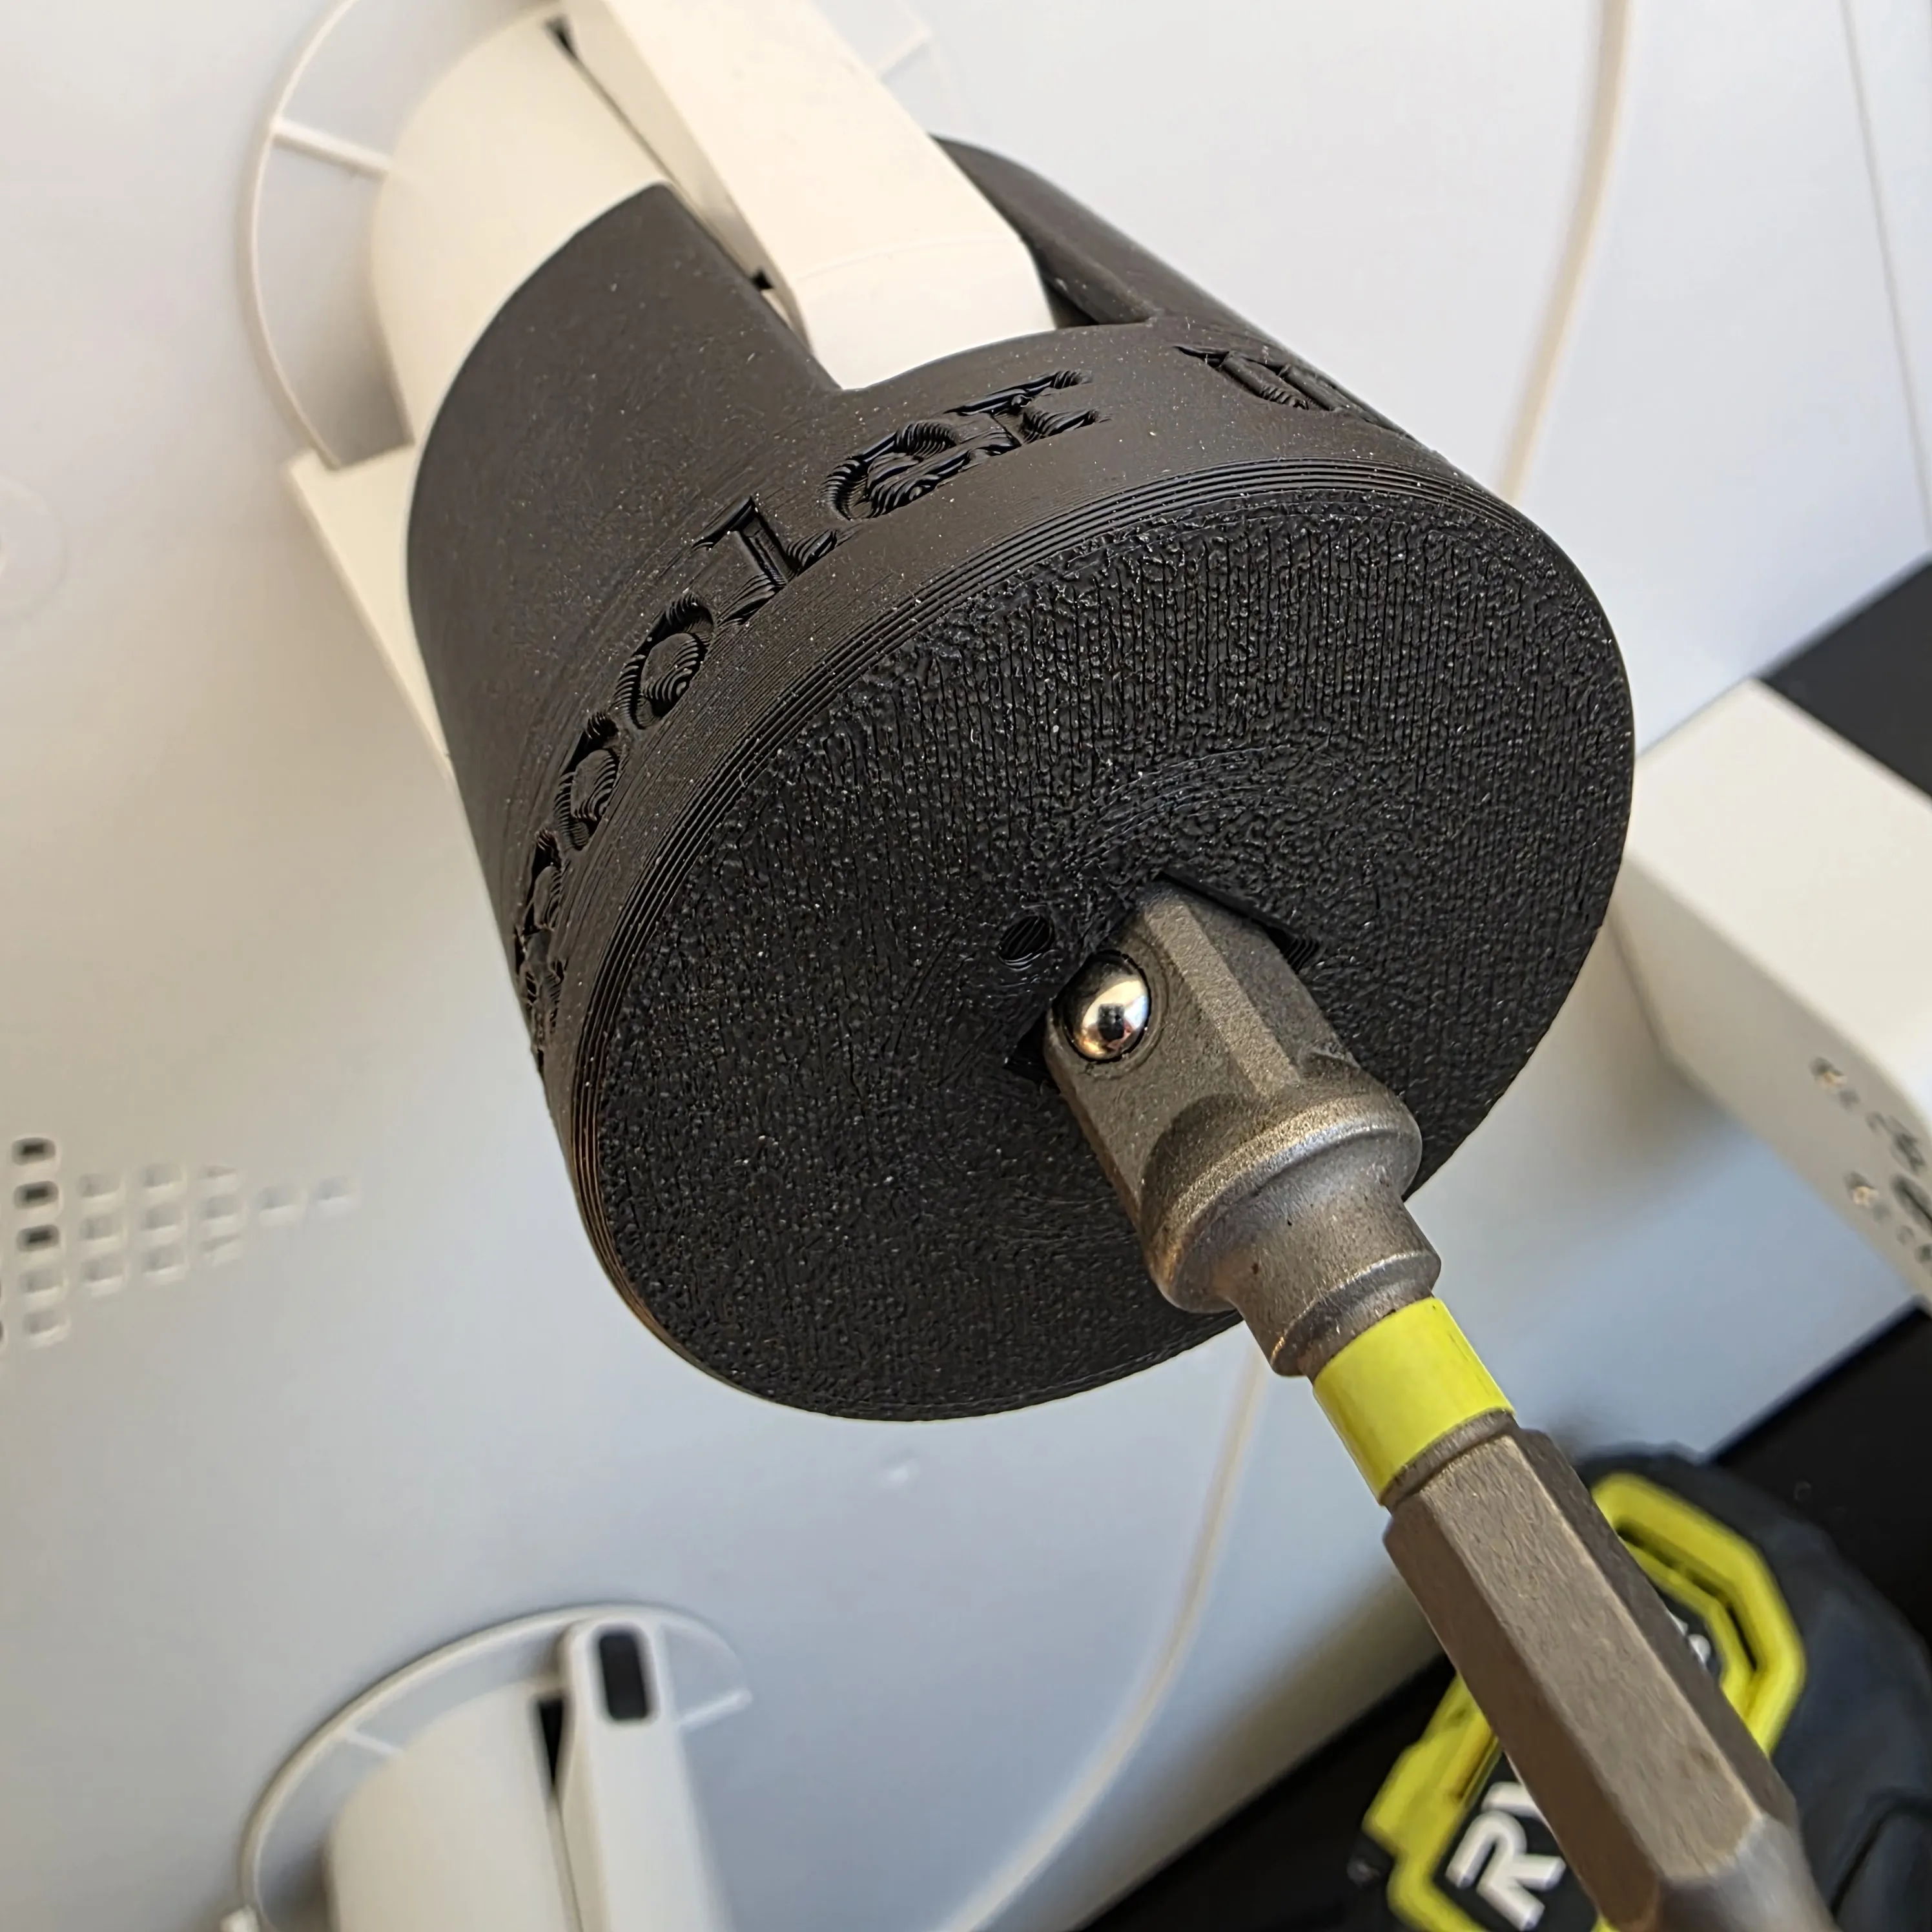
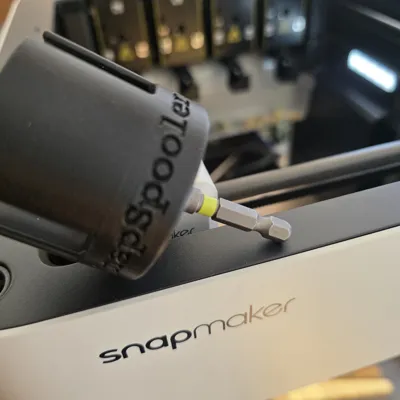
To attach the 3/8 inch socket adapter to the SnapSpooler U1, notice the small dimple on the bottom next to the 3/8 square hole. This dimple shows you where to locate the spring-loaded ball to help hold the socket adapter into the SnapSpooler U1 so it doesn't pop out under use.
Set your drill torque limiter to 4 to 6. Most modern drills have an adjustment on the bit holder. Having it a bit loose will help you to control the speed.
Set your drill gear speed to 1! You want to turn the spools slowly, not too fast! Use setting #1 or whatever setting for your drill turns the chuck slower and gives you more torque (rather than speed). You can decide on the amount of speed that you want to use, however read the next warning!
Be sure to limit your speed! The Snapmaker U1 spool holders were not designed to rotate quickly! Going too fast may damage them! Go SLOW!
I won't be responsible for damage to your Snapmaker spool holders! Take it easy!
I placed the donor spool on the top spool holder, and the receiving spool on the bottom holder. This allows you to have the base of the drill resting against the tabletop to help you to keep it steady!
Take the free end of the filament from the donor spool and attach it to the hub of the receiving spool in about the same lateral (side-to-side) position as the donor spool. Some people tape the free end of the filament to the hub, but it is safer to try to leave it free and wind some winds around the hub to hold it in place. Manually (by hand) as many starting winds of filament on the receiving spool hub as needed to hold the filament in place. Slightly overlapping the first wind is ok!
As you wind the filament onto the receiving spool using the drill, the filament will naturally traverse laterally on the hub, following the donor spool. If needed, you can gently guide it with your finger.
When slowing down to stop, gently place your finger with very light pressure on the donor spool to help it to slow down and not overrun causing a bird-nest!
Copyright © and design controlled! All rights reserved! Do not sell or modify my print or steal my idea! ;)
Note! I considered also including a handle to manually crank the spools, however I thought it may be too cumbersome to use. Let me know in the comments if you think you want a manual handle for the SnapSpooler U1. I think you would be much happier with a drill or “electric screwdriver” than a manual crank handle.
I can also add a printable 3/8 socket adapter by request. But you may be able to find them already here on MakerWorld such as this one (I have not tried this one myself).
If you want to suggest any changes, or need an alternate print profile, leave a comment or send me a PM. I'm happy to help!
Please Like, Rate, Comment and Boost this model and include a Photo in your rating or comments please!
Boost Me (for free)
Please Boost me to help support my designs! Press the Boost button now! This truly helps me to pay for filament, or perhaps someday I may be able to purchase an H2C printer! It's easy and is FREE to you! There is no cost involved at all to you, and you get satisfaction knowing you are helping someone! Please don't let your Boosts expire or go unused! Thank you very much!
Please don't forget to Click on my Profile and then click to Follow me!
Thank you for considering this model!
License

You shall not share, sub-license, sell, rent, host, transfer, or distribute in any way the digital or 3D printed versions of this object, nor any other derivative work of this object in its digital or physical format (including - but not limited to - remixes of this object, and hosting on other digital platforms). The objects may not be used without permission in any way whatsoever in which you charge money, or collect fees.


Comment & Rating (16)