Stained glass hand foiler tool


Print Profile(4)
Description
This tool helps you position copper foil around the edges of your pieces of glass when preparing stained glass objects.

Do not glue it, so you can replace it later if it becomes worn down.


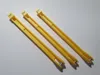
The tool is available in three widths to match the width of your foil. Choose the appropriate print profile for the width you need, or select the one with the set to get all of them.
The model consists of two parts:
- The handle
- The pin
Operation

Separate out the foil from the backing paper for the first inch or so, and insert it in the end of the handle where the text is, foil upwards towards the text.
Ensure the backing paper goes down the separator slot underneath the text.
Gently pull the foil down the shaft of the handle. Note the handle has a couple of ‘rails’ to minimise the opportunity for the foil to stick to the handle.
Pull the foil under the pin.
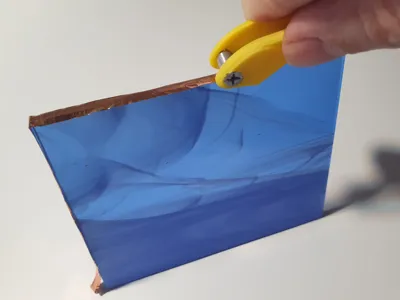
Push the foil against the edge of your piece of glass and while maintaining pressure on the glass pull along the edge, taking care to stay in the middle of the glass.
- When you have gone all around the piece, leave a slight overlap and cut the foil with scissors.
Note: if you find the backing paper is not readily separating from the foil, the is a sign the foil is old or degraded, and you may need to use a fresh roll. The old roll may still be usable ‘by hand’, just not in devices like this.
Maintenance
Eventually the pin may wear down a bit, at which point you can reprint the pin and replace it.
Printing
This is an easy print: no need for supports.
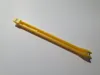
For the illustrations here I have printed the handle in Yellow PLA (with the size text in Black PLA) and the pin in silver PLA Silk, but you can use whatever you have to hand.
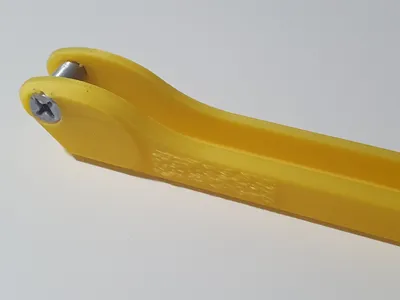
Assembly
Use a small screwdriver to fix the pin in the end of the handle. If you are printing multiple sizes at the same time be sure to use the correct pin for your handle as they are all slightly different to match the respective handle widths.
There's more…
If you need a jig to hold pieces together while tack soldering them, try this corner jig:

And to hold assemblies up so you can seam solder corners, try this:

License
You shall not share, sub-license, sell, rent, host, transfer, or distribute in any way the digital or 3D printed versions of this object, nor any other derivative work of this object in its digital or physical format (including - but not limited to - remixes of this object, and hosting on other digital platforms). The objects may not be used without permission in any way whatsoever in which you charge money, or collect fees.
Comment & Rating (4)