
Alpaca
Print Profile(1)
Bill of Materials







Description
Boost Me (for free)
If you like the design and find it useful, I’d really appreciate a boost — thank you! 🚀
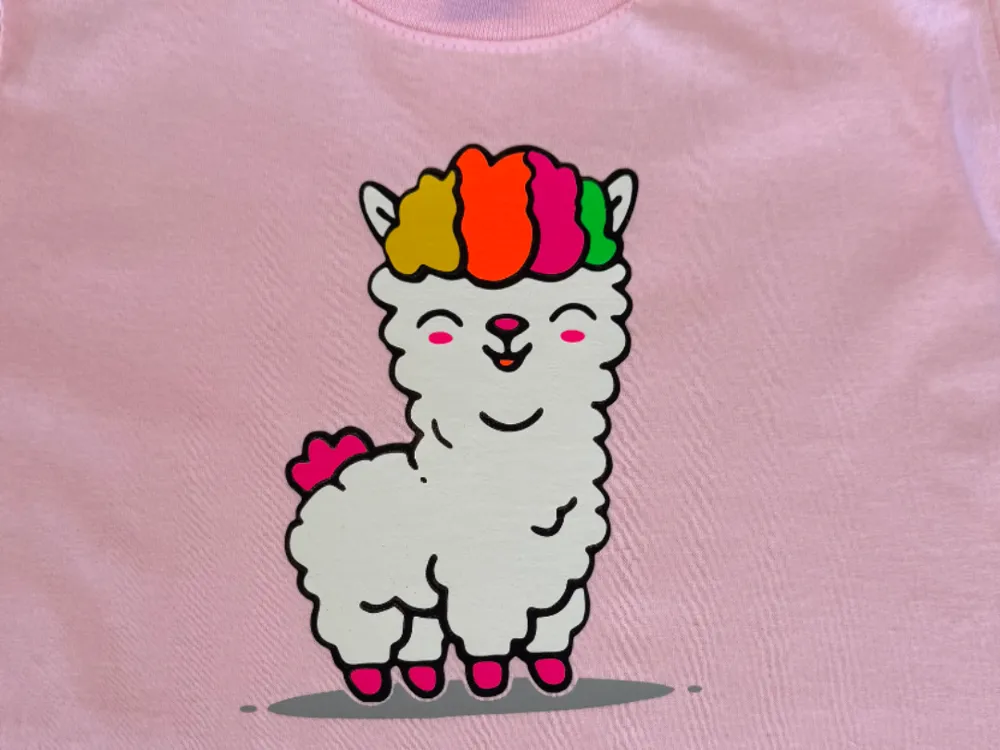
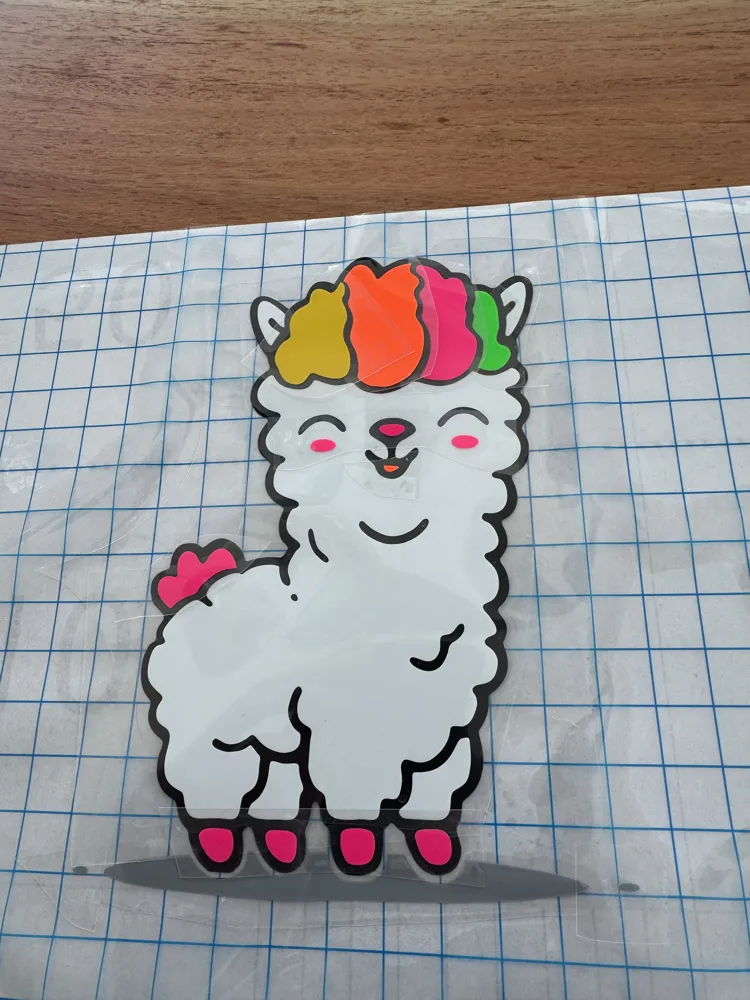
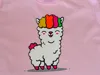
This Colorful Alpaca Cutting Design features a cute alpaca with bright, multicolored hair, perfect for adding a fun and cheerful touch to your next project. The design includes clean, maker-friendly lines ideal for vinyl cutting, heat-transfer projects, sublimation, or layering techniques. Great for T-shirts, bags, stickers, and other creative builds. A playful animal graphic that works well for both kids and adults, and brings an extra splash of color to any custom creation.
change size of the design as needed
Position each color of heat-transfer vinyl shiny side down on the mat. Load the mat into your machine.
Send the layers to cut one color at a time.
Carefully remove the excess vinyl from each layer using a weeding tool, leaving only the alpaca shapes.
Set your heat press or iron to the correct temperature for your HTV. Before pressing, use a lint roller to remove dust, fibers, and loose threads—this helps the vinyl stick cleanly and prevents bumps. After lint-rolling, lightly press the shirt or fabric for a few seconds to remove moisture and wrinkles.
Start with the bottom/main layer (if not changed, the black color). Position it on the garment.
Apply it for around 10 seconds, so it sticks but doesn’t fully cure ( as it gets additional layer on top )
Place the next color layer on top, cover with a heat resistent paper, and give another short press.
Repeat for each layer of the alpaca’s colorful hair and details.
When all layers are in place, apply a full press (usually 5–15 seconds) to ensure everything bonds securely.
Your colorful alpaca heat-transfer design is ready to wear or gift!
License

You shall not share, sub-license, sell, rent, host, transfer, or distribute in any way the digital or 3D printed versions of this object, nor any other derivative work of this object in its digital or physical format (including - but not limited to - remixes of this object, and hosting on other digital platforms). The objects may not be used without permission in any way whatsoever in which you charge money, or collect fees.


Comment & Rating (0)