PiDeck - 7 Inch Cyberdeck with Raspberry Pi 5


Print Profile(1)

Description
Introduction
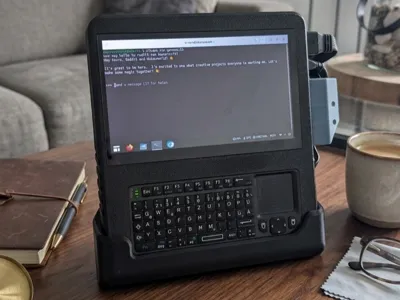
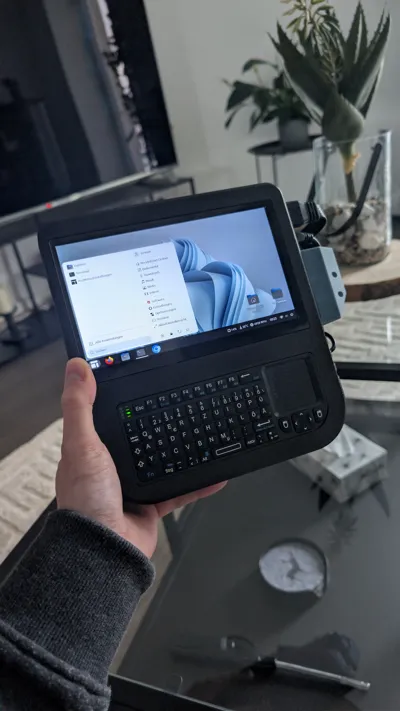
This is my personal take on a CyberDeck, powered by a Raspberry Pi 5.
This project isn't perfect, and it’s definitely not ergonomic. If you are looking for a sleek, professional handheld, this might not be it—but if you want a rugged, functional, and "hacky" looking device made from common parts, this may fit you!
Disclaimer: This project is not for beginners. It was designed specifically around parts I already had on hand, so the tolerances and mounting points are very specific. You will likely need to tweak the design to fit your exact components. To make this easier, I have provided the CAD files (.step) so you can modify the housing to your needs.
Main Features
- Pi 5 Integration: Specifically designed to house a Raspberry Pi 5 with a Waveshare IO Board and NVME HAT.
- Fully Bolted Design : The entire assembly is held together using M2.5 countersunk screws and heatset inserts. Everything is serviceable and solid.
- Integrated Power: Features a dedicated compartment for a power bank (designed for the Anker Powercore III 10K).
- External Power Button: Side access for a little micro push button (Power on/off) - wired to the Pi5 J2 header.
- Keyboard: Dedicated housing for the famous Rii X1 Mini Keyboard with side access for USB loading.
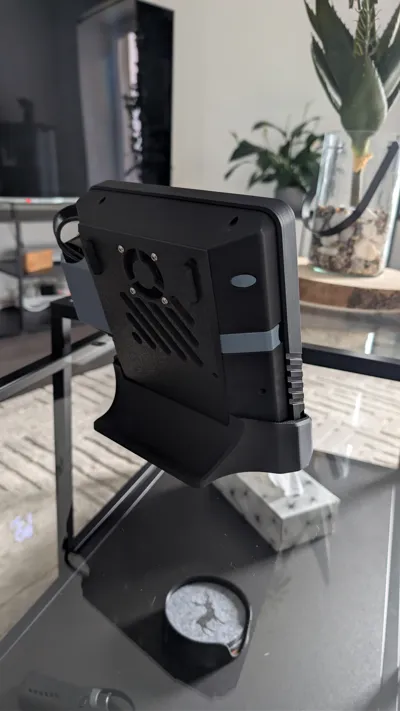
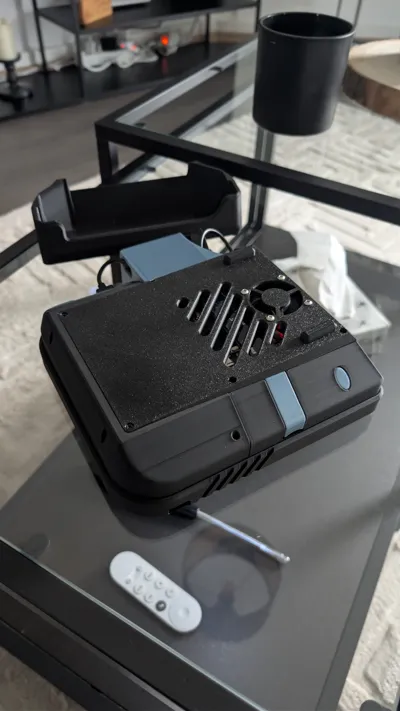
- Cooling : The back panel includes a vent. There is also an optional backplate with mounting space for a small 4010 fan + riser feet to keep the Pi 5 from throttling.
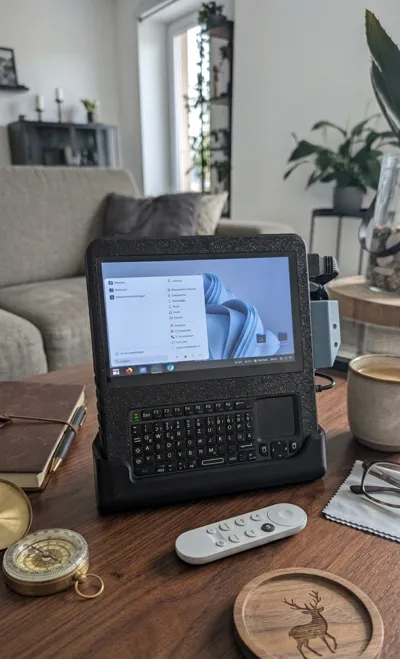
- Accessibility : The SD card slot and PowerBank slot are easily accessable with magnetically attached flaps
- Stand : optional stand to place the PiDeck neatly on your desk

Assembly Instructions
The assembly is straightforward, please refer to the images below for the exact positioning of the M2.5 heatset inserts.
1. Front Assembly & Keyboard
- Inserts: Install all M2.5 heatset inserts into the housing.
- Screen & Keyboard: Screw the touchscreen into place and insert the Rii X1 keyboard into its designated slot.
- Main Plate: Place the spacer on top of the keyboard and secure the assembly by screwing down the main internal plate.
2. Buttons & Magnets
- Magnets: Use some superglue to secure the 5x2mm magnets. Double-check the polarity before the glue sets!
- Power/Function Buttons: Solder the wires to the microswitche. Insert the button extenders into the housing first, then secure the button block with a screw.
3. Core Electronics (Pi 5 & Waveshare IO)
- IO Alignment: Fit the printed IO cover onto the ports of the Raspberry Pi 5 and Waveshare IO board first.
- Installation: Slide the combined Pi and IO board with plate into the housing.
- Storage: Once the main boards are seated, screw the NVME HAT onto the stack.
4. Final Closure
- Cabling: Use some short cables to connect HDMI and USB of the touchscreen to the Pi.
- Side Cover: Secure the cable side cover to protect the connections.
- Backplate: Close the device using the backplate (choose between the fan or no-fan variant).
Hardware & Fitment Note
- Fasteners: The entire build uses M2.5x6mm and M2.5x8mm countersunk screws.
- Power Supply: This casing was designed specifically around the Anker PowerCore III Wireless 10K (149,5 x 68,5 x 19,5 mm). If you are using a different power solution, please use the provided CAD files to modify the battery compartment.

BOM :
- https://de.aliexpress.com/item/1005007432461342.html (IPS Touch LCD Cable)
- https://de.aliexpress.com/item/1005009817065082.html (Waveshare NVME hat)
- https://de.aliexpress.com/item/1005010391360168.html (Waveshare IO Board)
- https://de.aliexpress.com/item/1005007021342718.html (M2.5 countersunk screws - 600pcs)
- https://de.aliexpress.com/item/1005008318533389.html (M2.5 heatset inserts - 3.5x4mm)
- https://de.aliexpress.com/item/1005002550688671.html (6x6x4,3mm micro Push Button + wires)
- 8x Neodym magnets (5x2mm)
- (optional 4010 fan + 4x M3 screws to fasten the fan to the backplate)
- Rii X1 mini wireless keyboard (version with rounded edge)
- Raspberry Pi 5
- Powerbank - max size 149,5 x 68,5 x 19,5 mm (I used Anker Powercore III wireless 10K)
Comment & Rating (18)