
The Mechanical Easter Egg
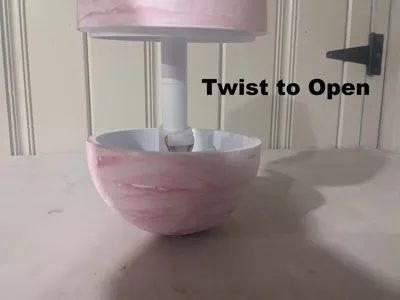
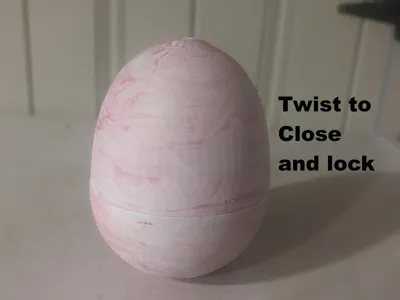
Print Profile(1)

Bill of Materials
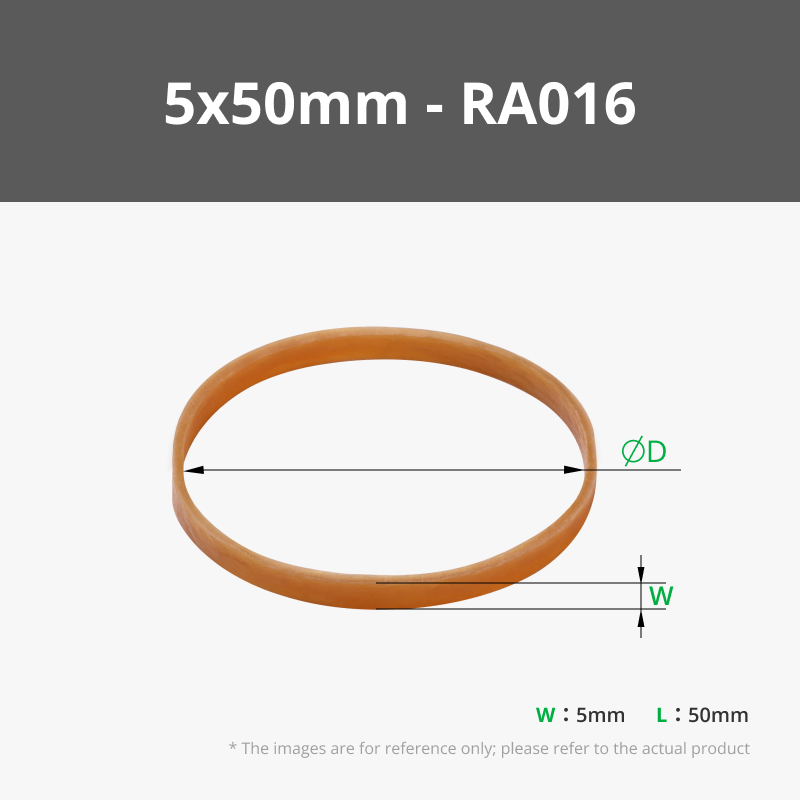
- Filament x 1:
Description
I had fun making this model and I hope you have fun building it to!
Here are the instructions of how to build the model.
Step 1: Put the two rods into the two pipes in the order pictured.
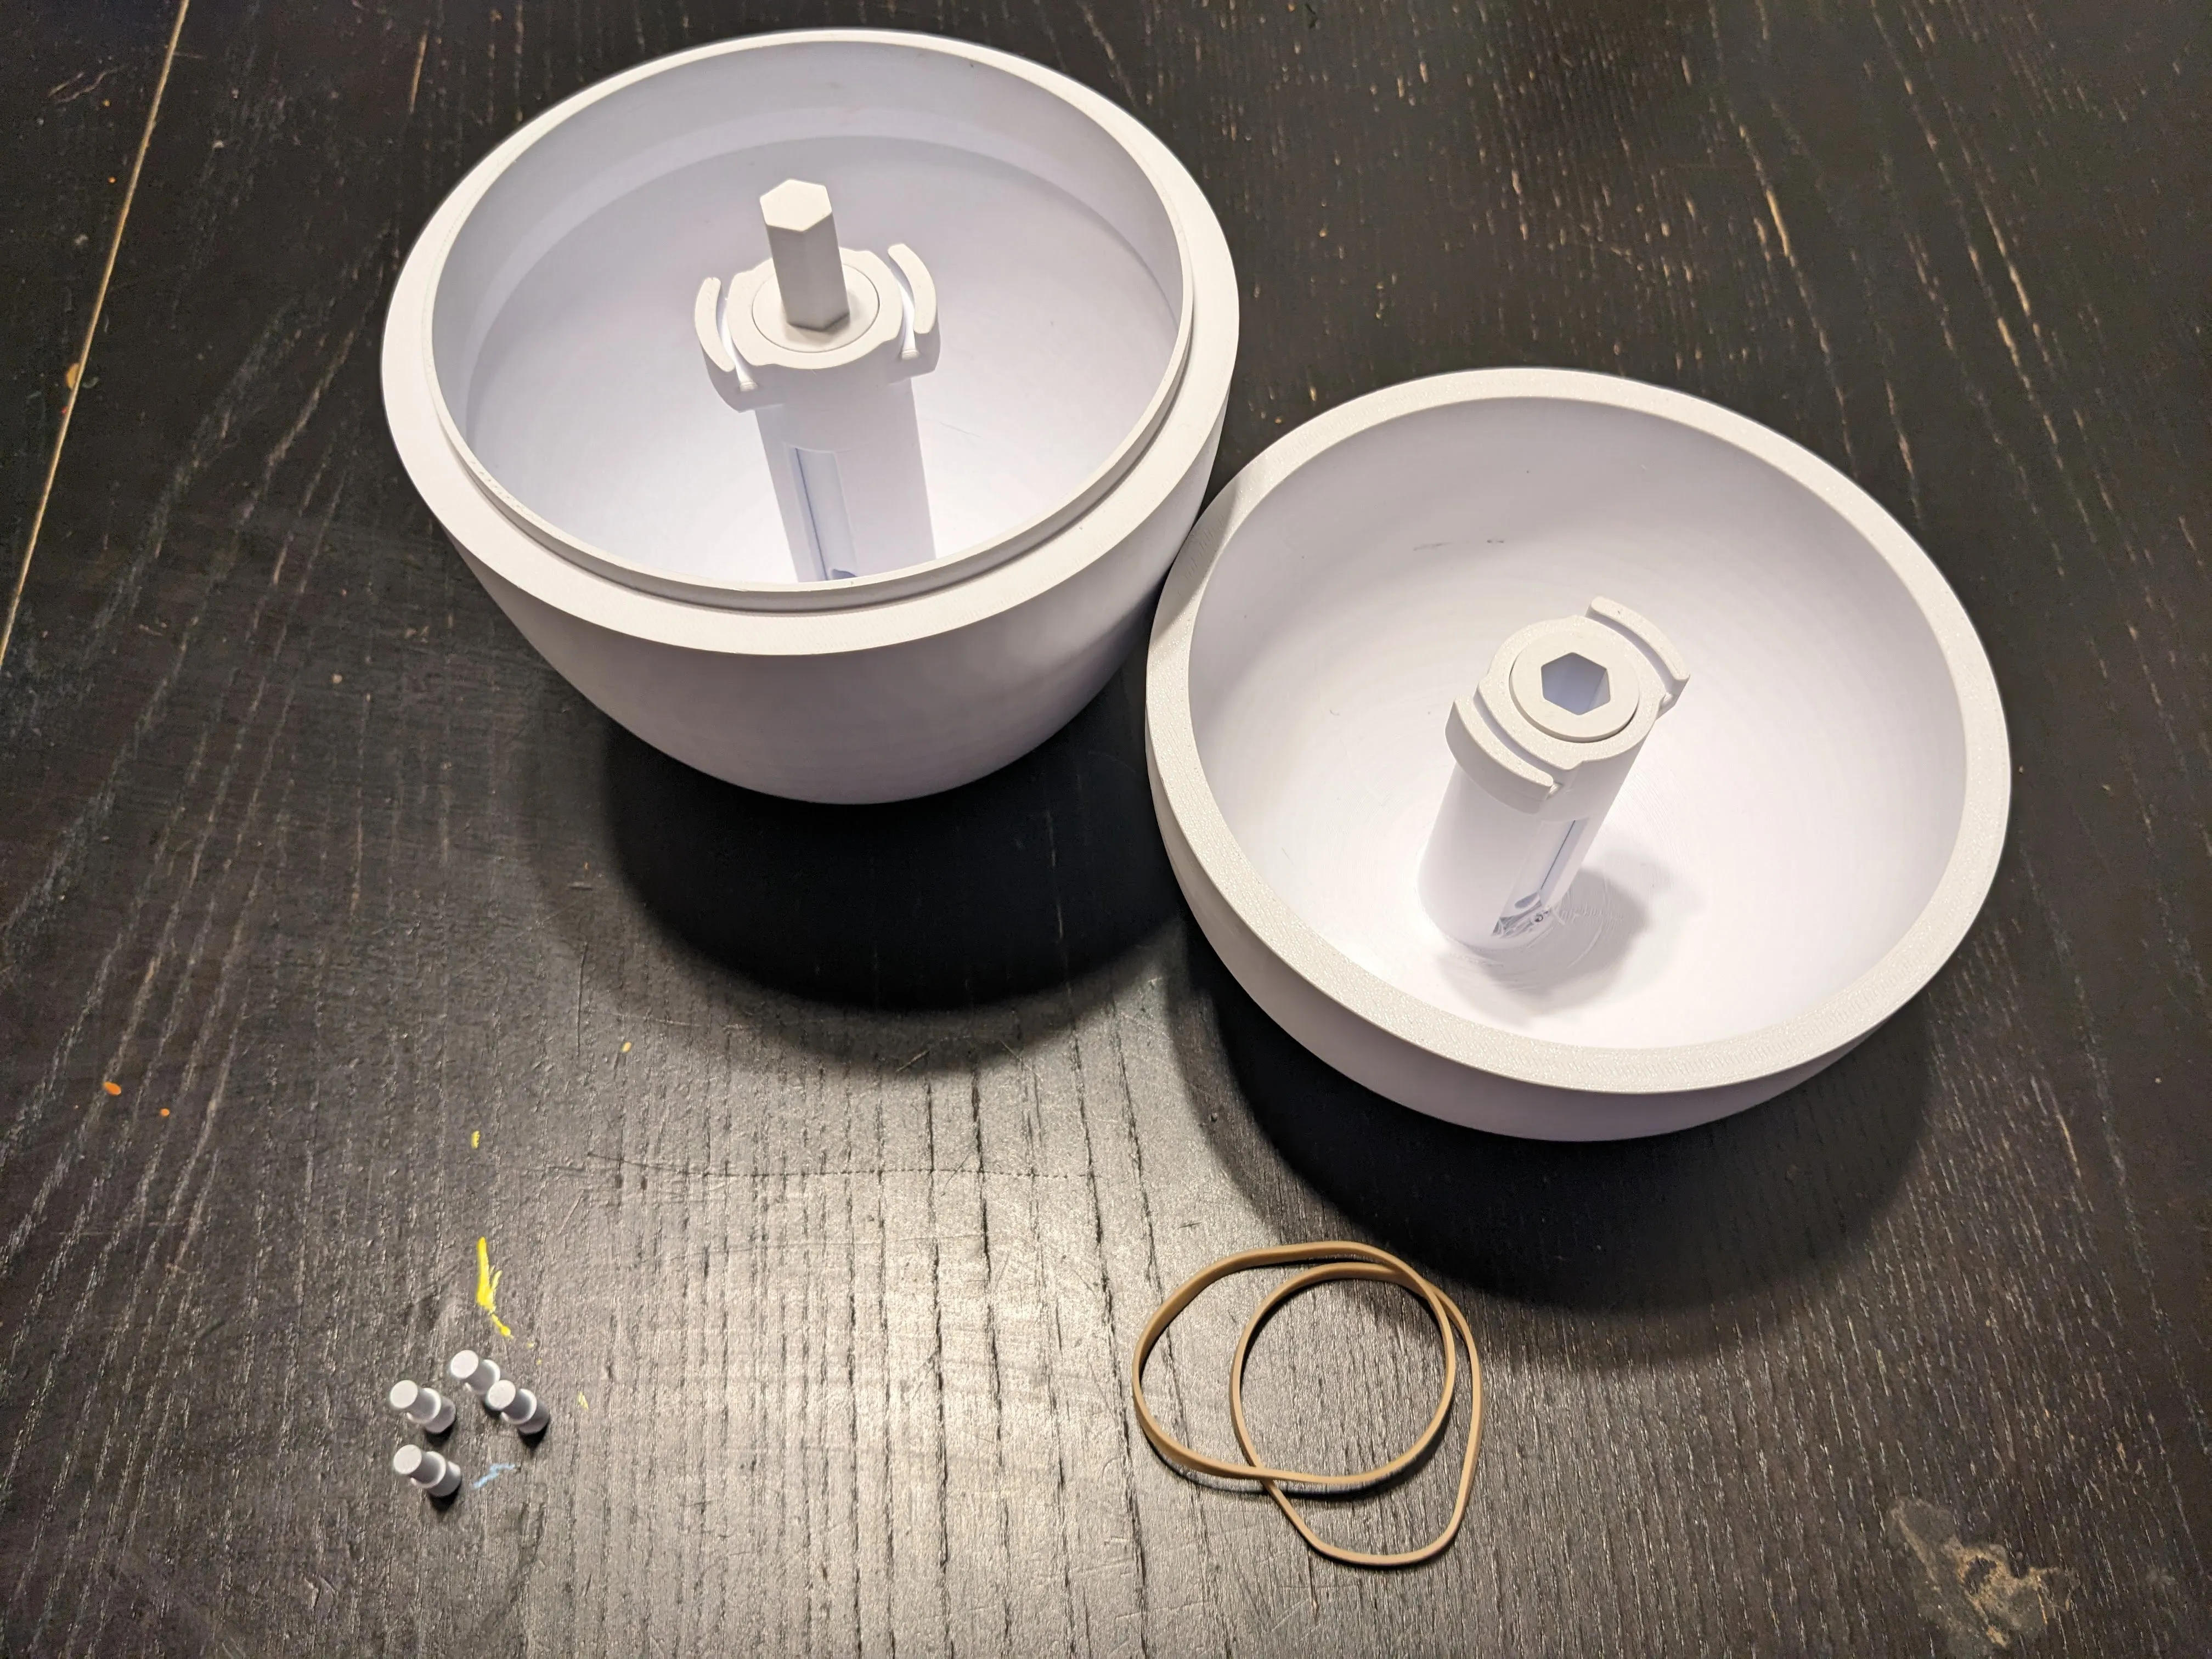
Step 2: Lift up one of the bars just enough so you can see the hole though the slot.
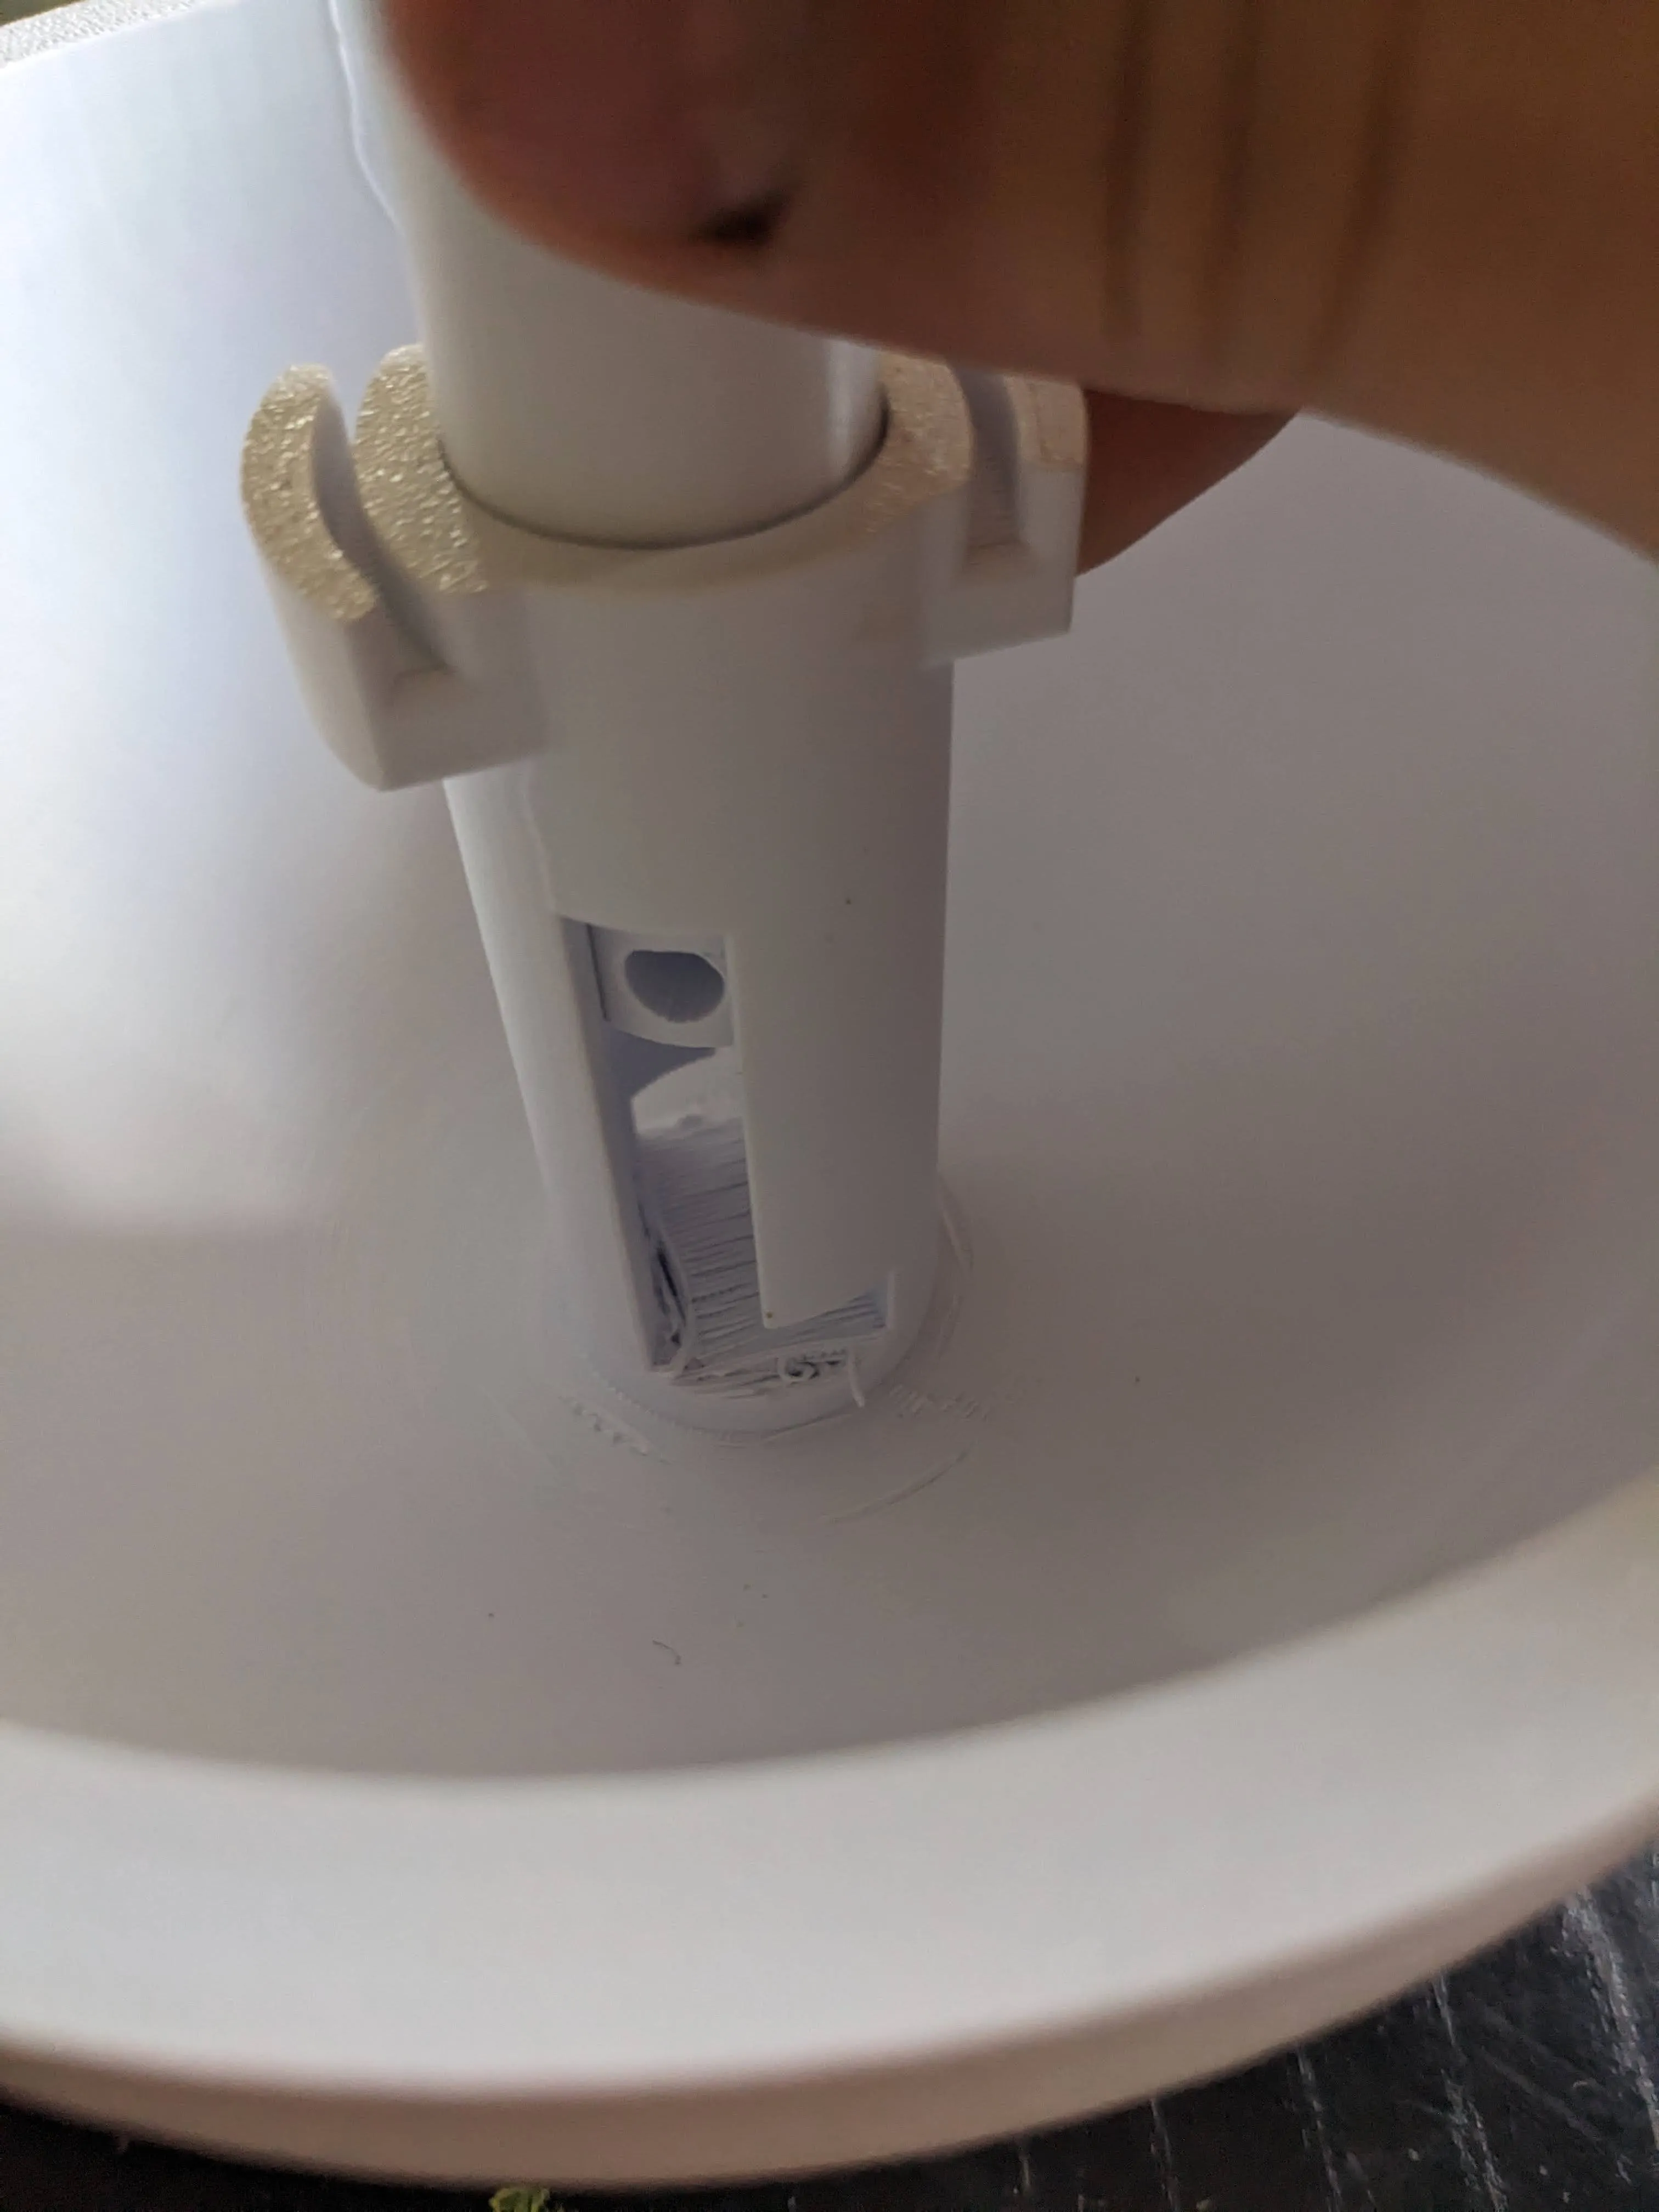
Step 3: Make sure when you glue the pegs that the curve part is facing downward.
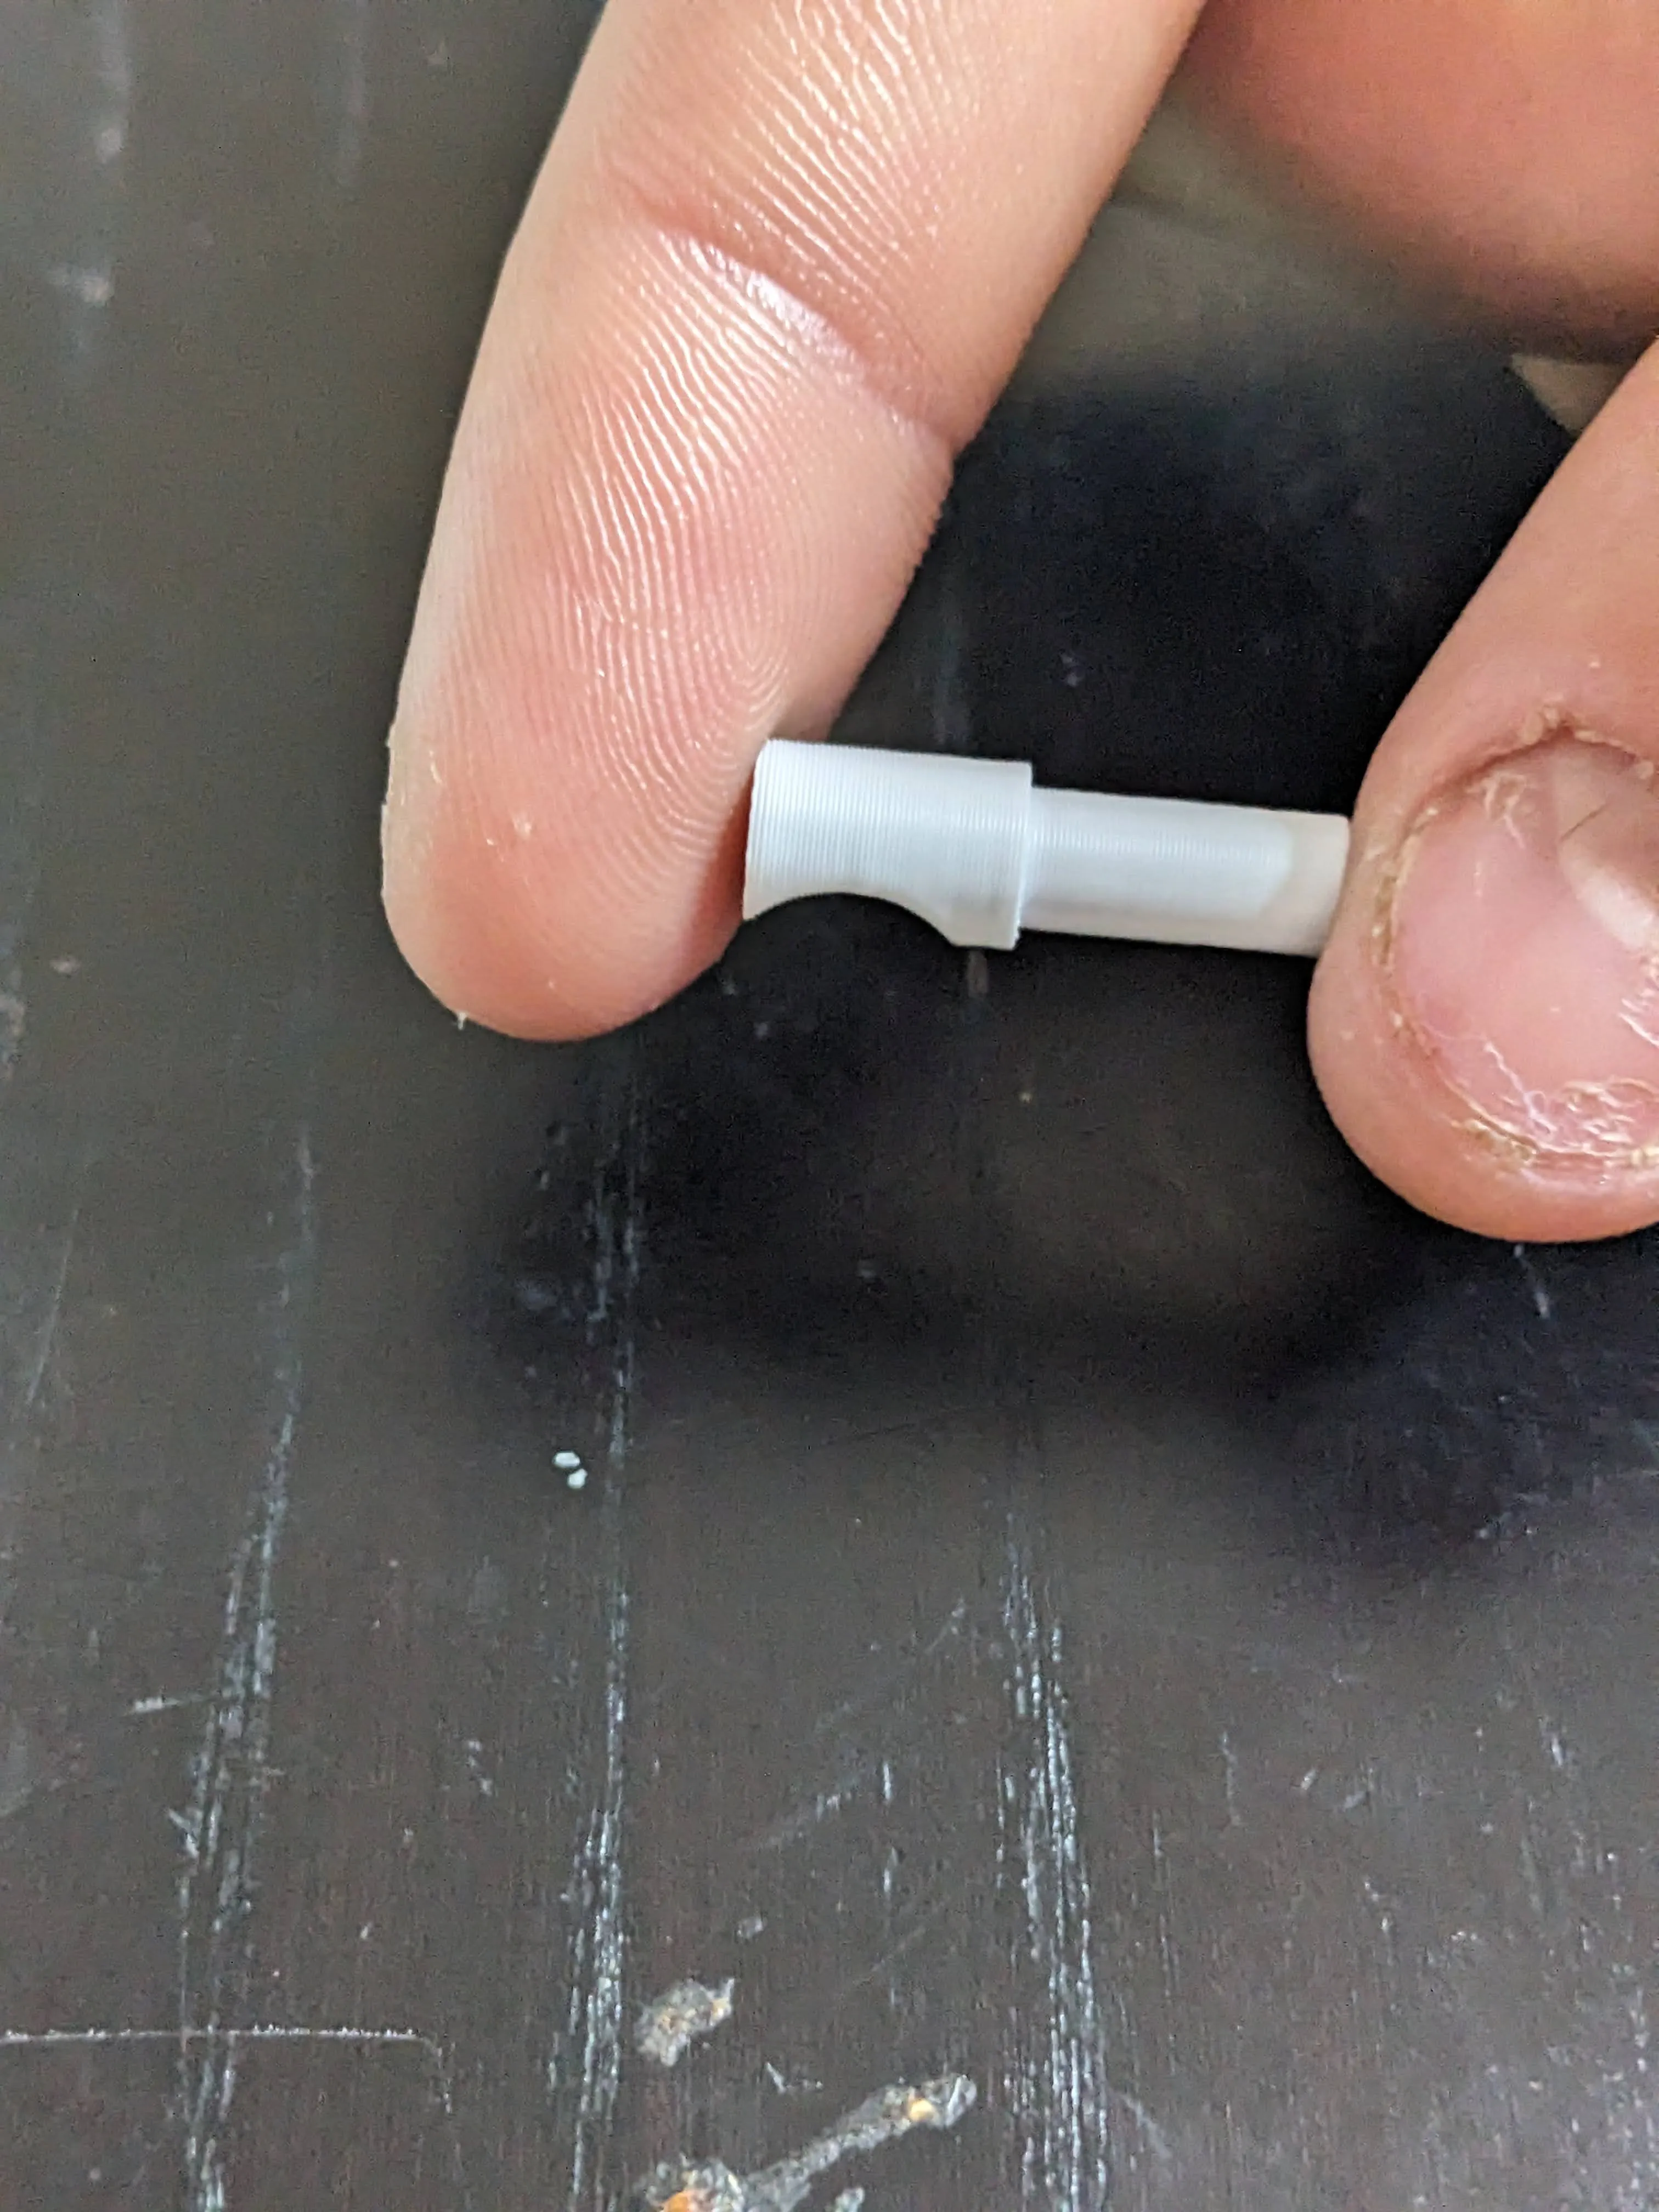
Step 4: Glue the pegs in. Hot glue is best.
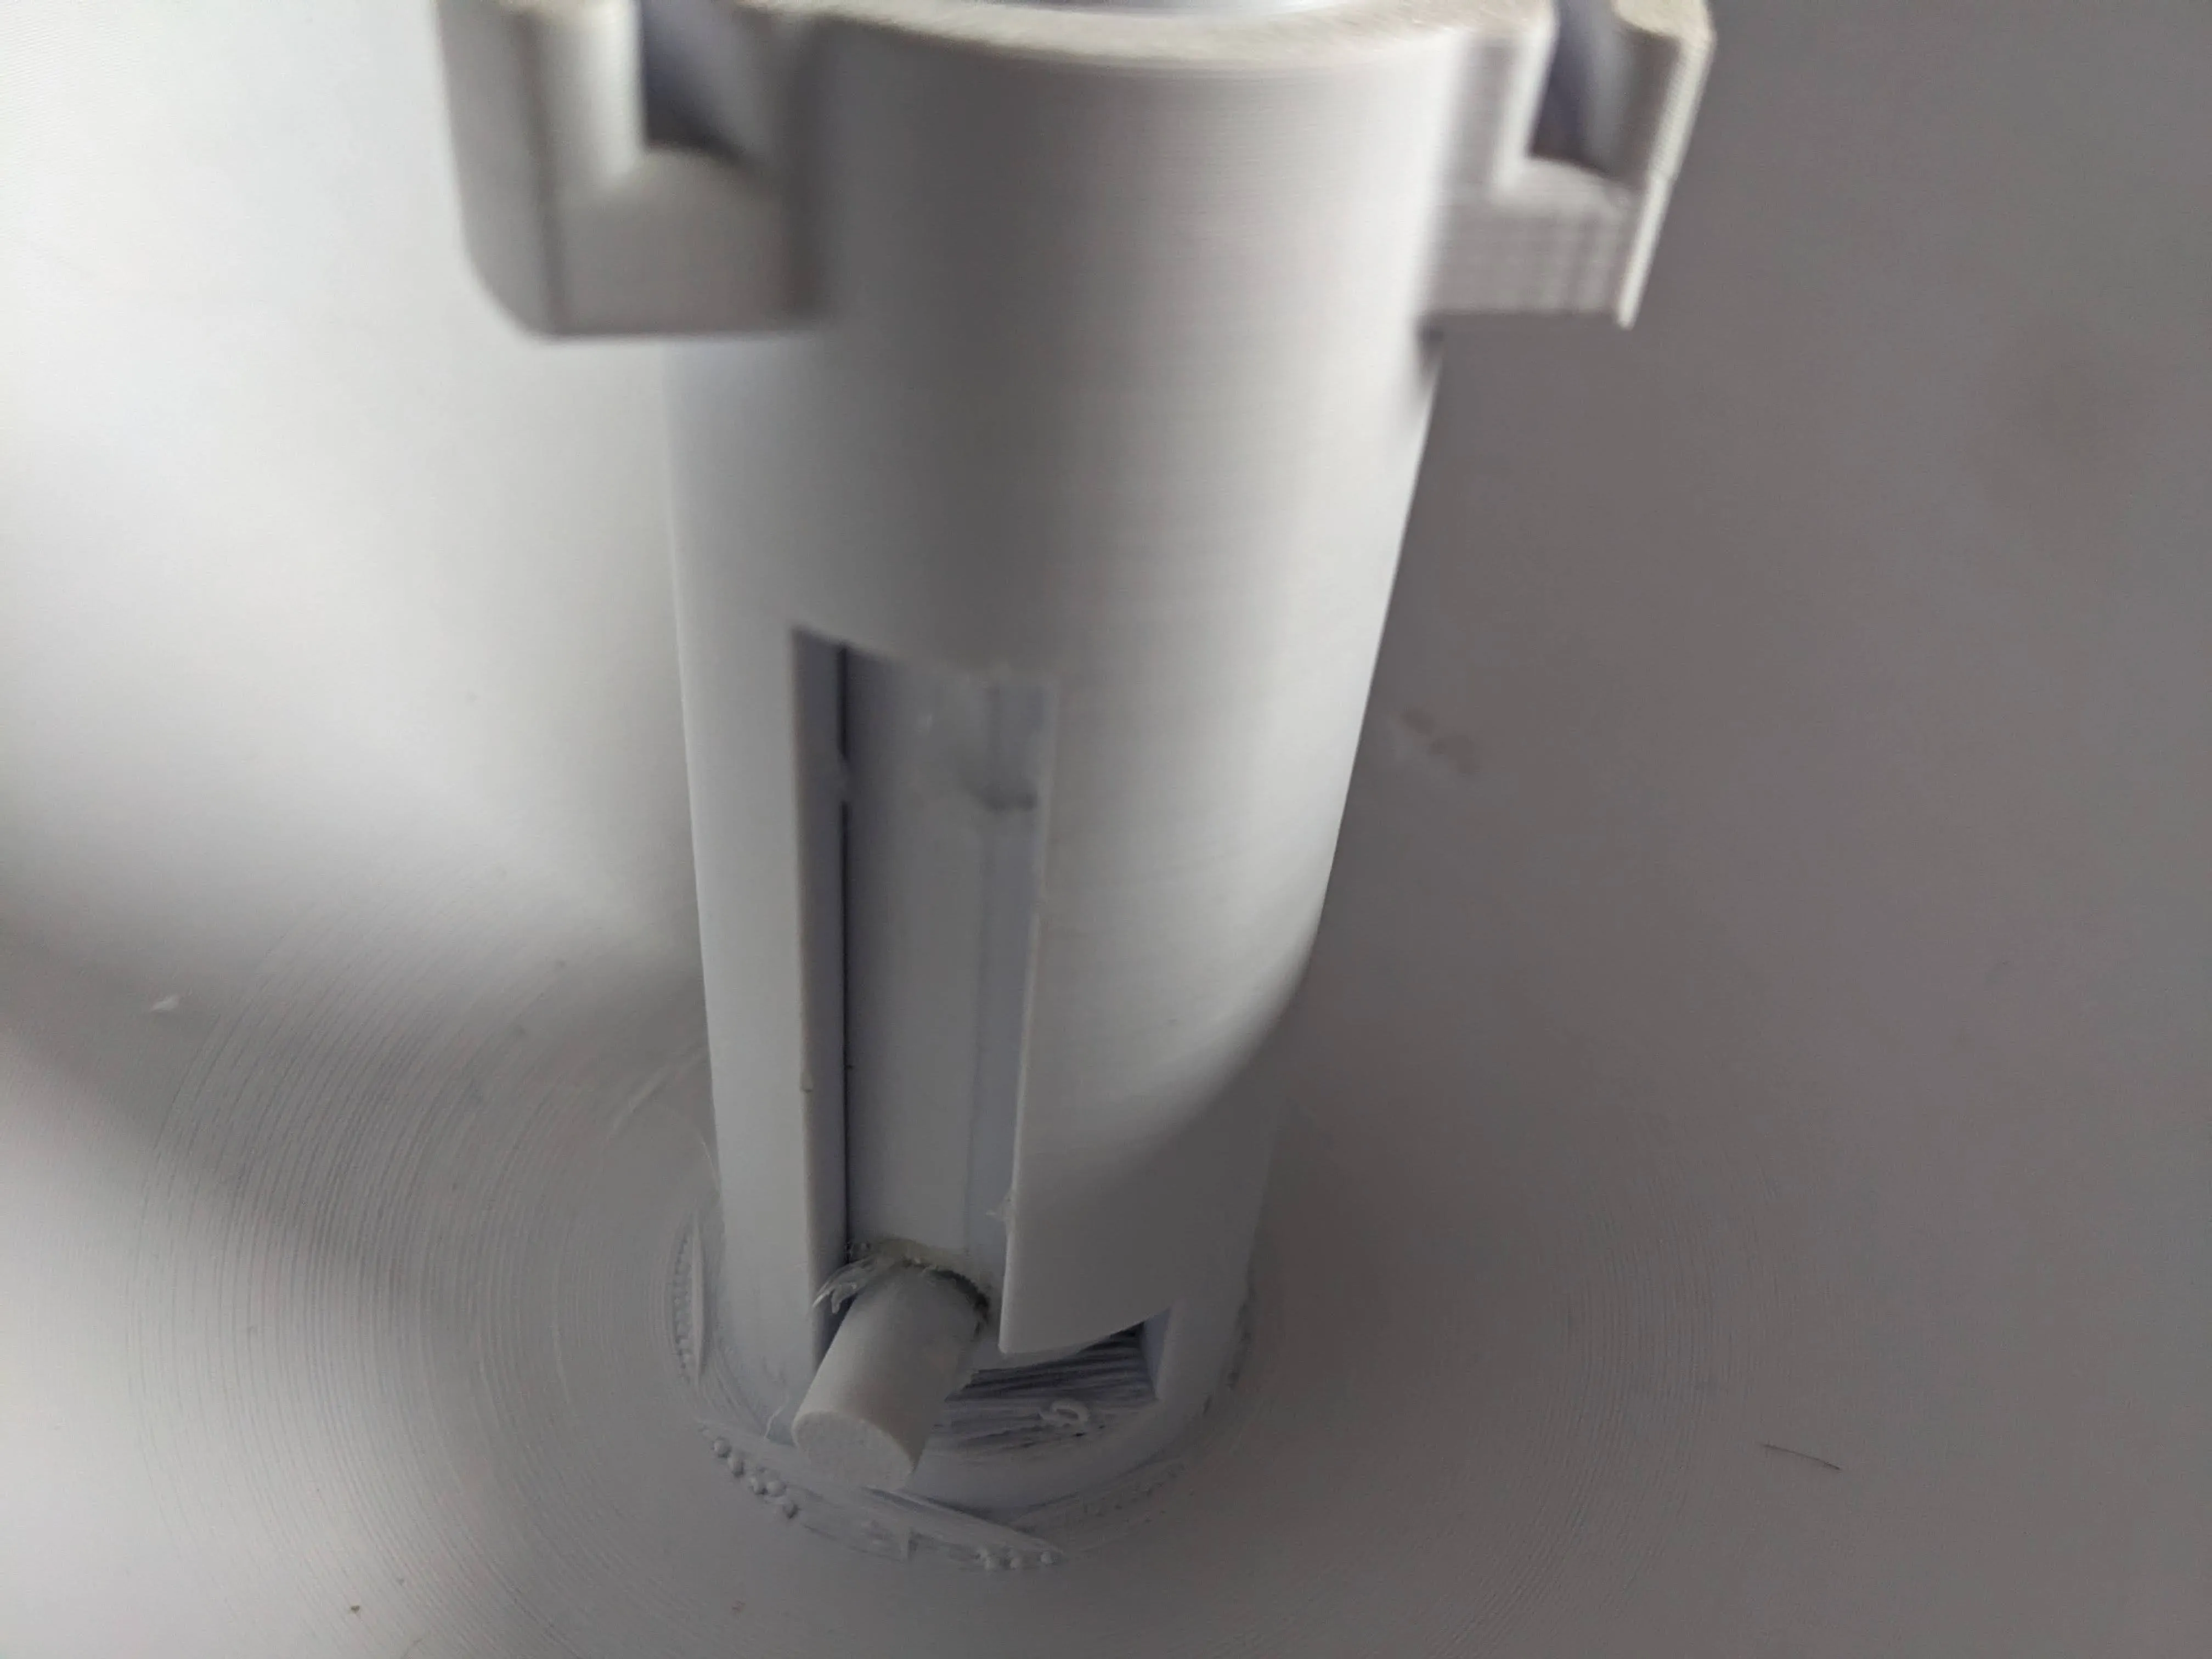
Step 5: Put the rubberband on like in the picture.
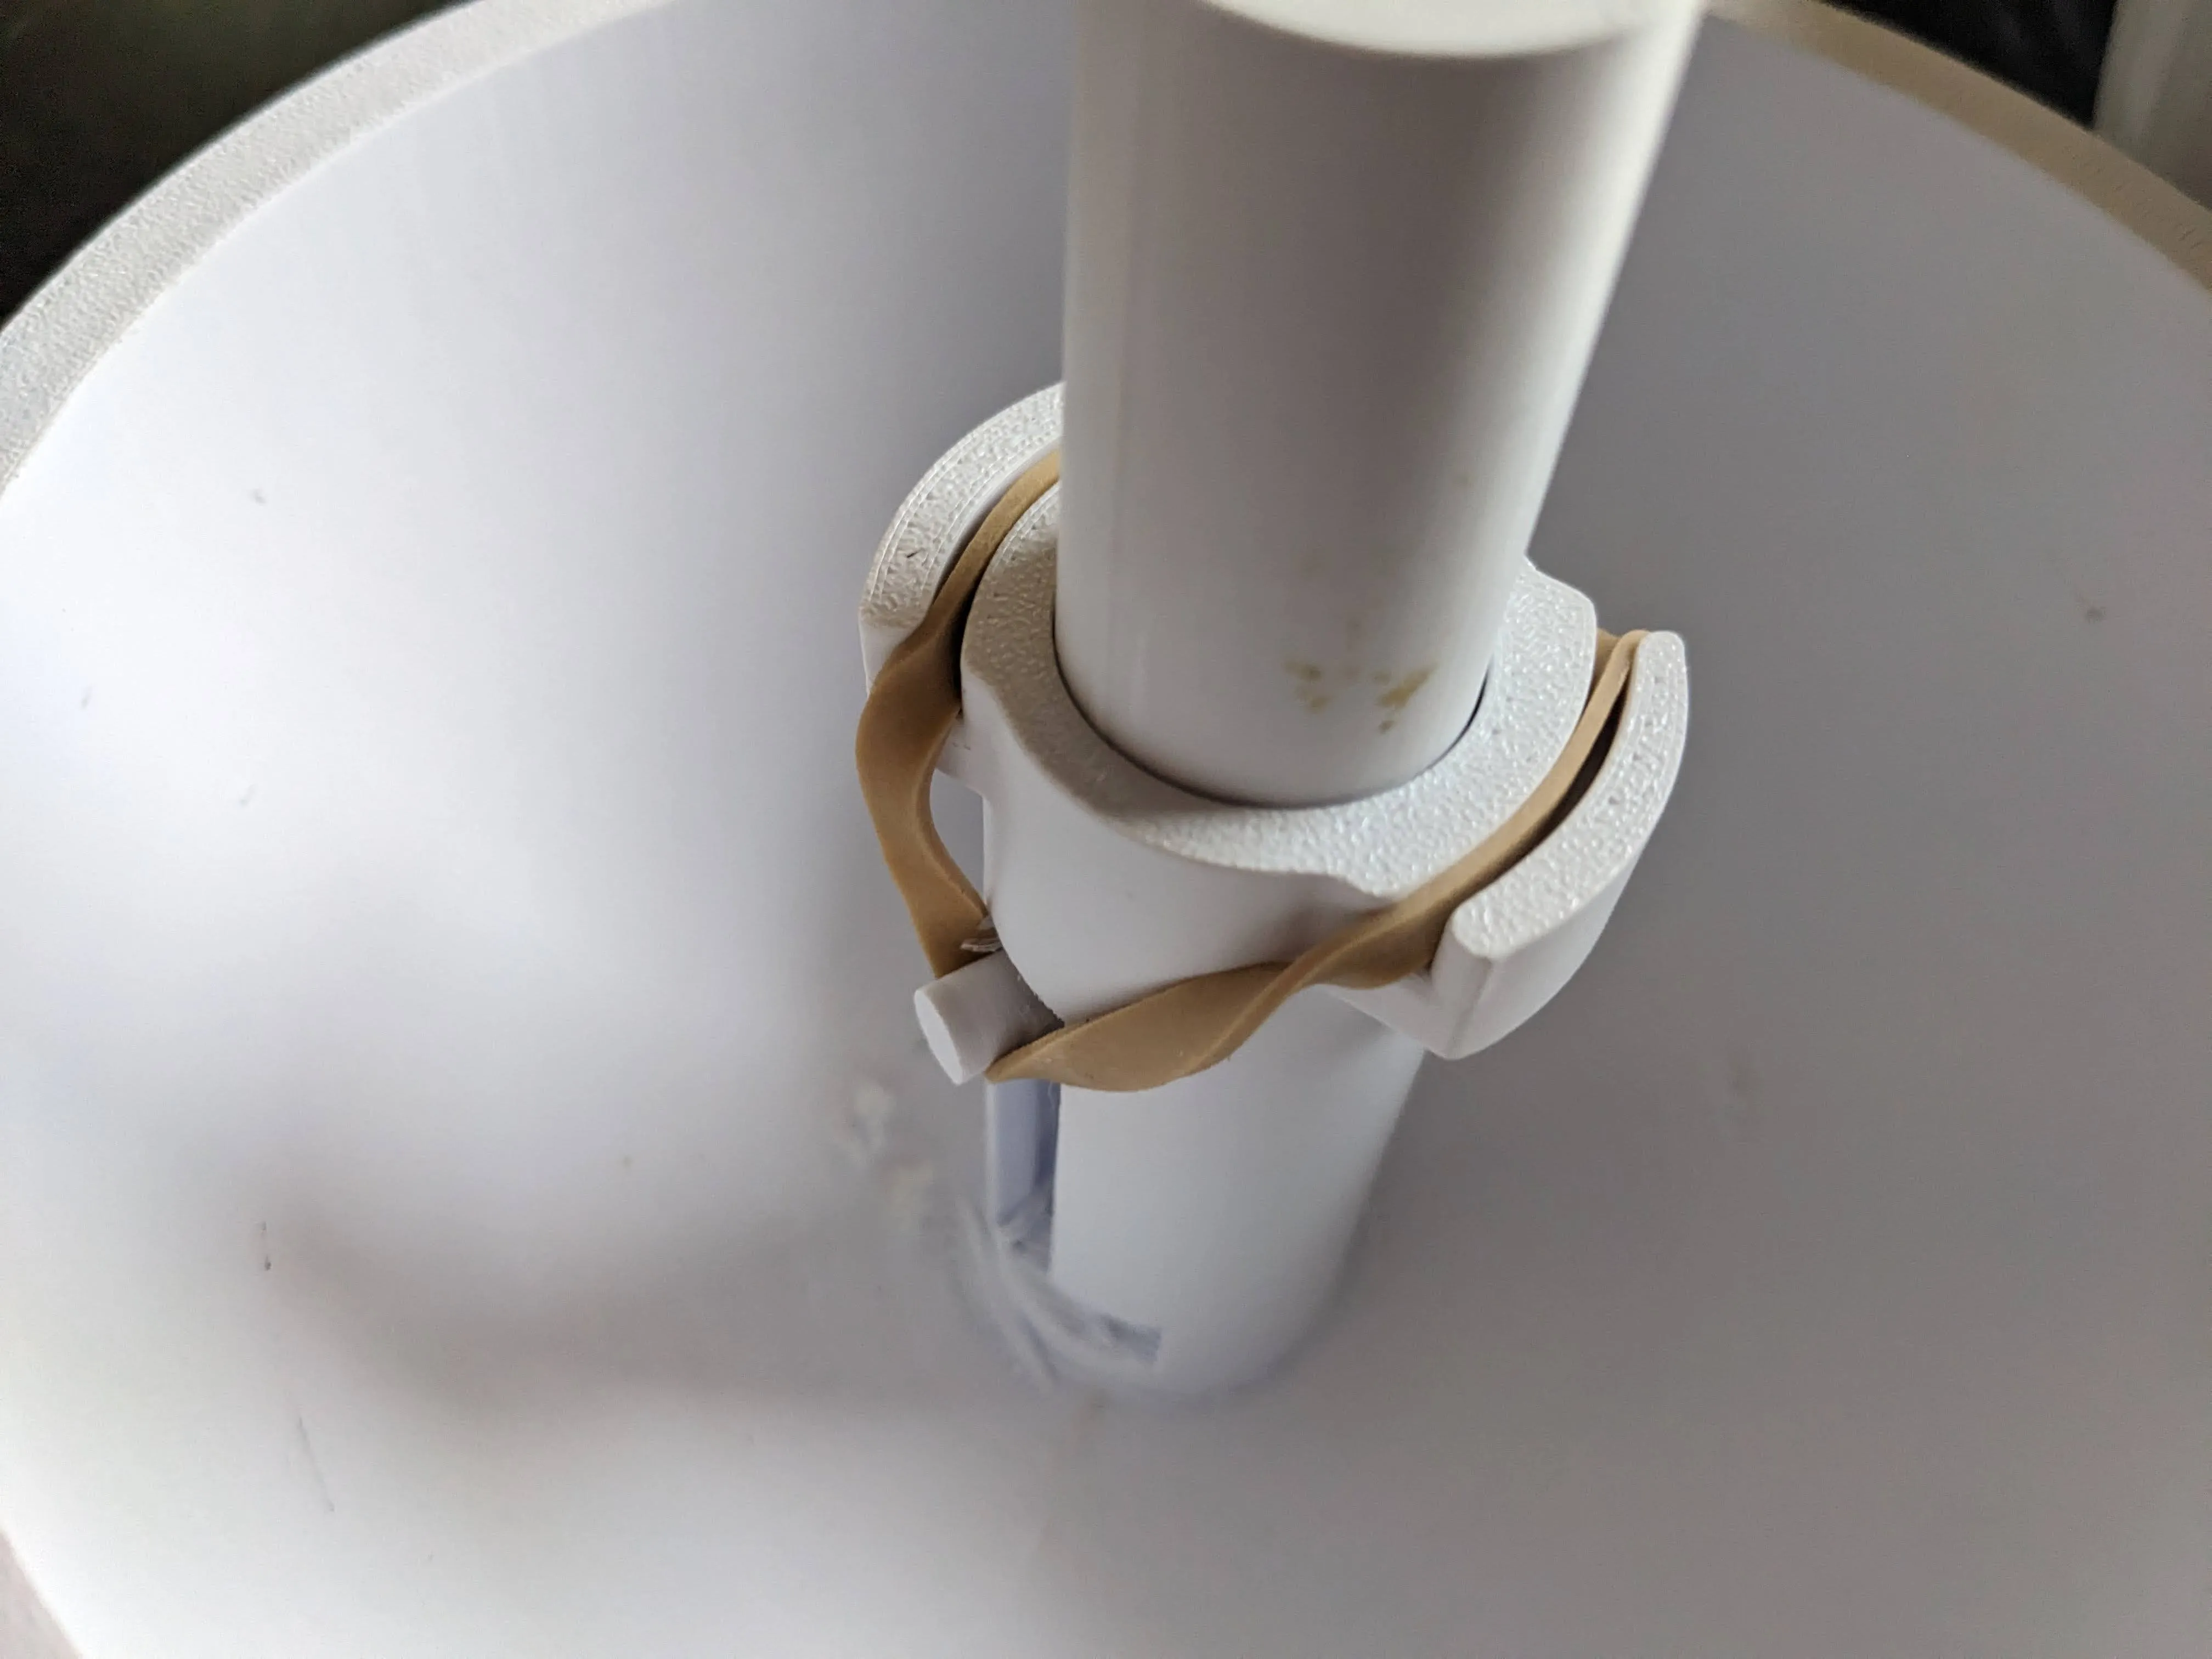
Step 6: Repeat the steps from 2 to 5 on the ather part of the egg.
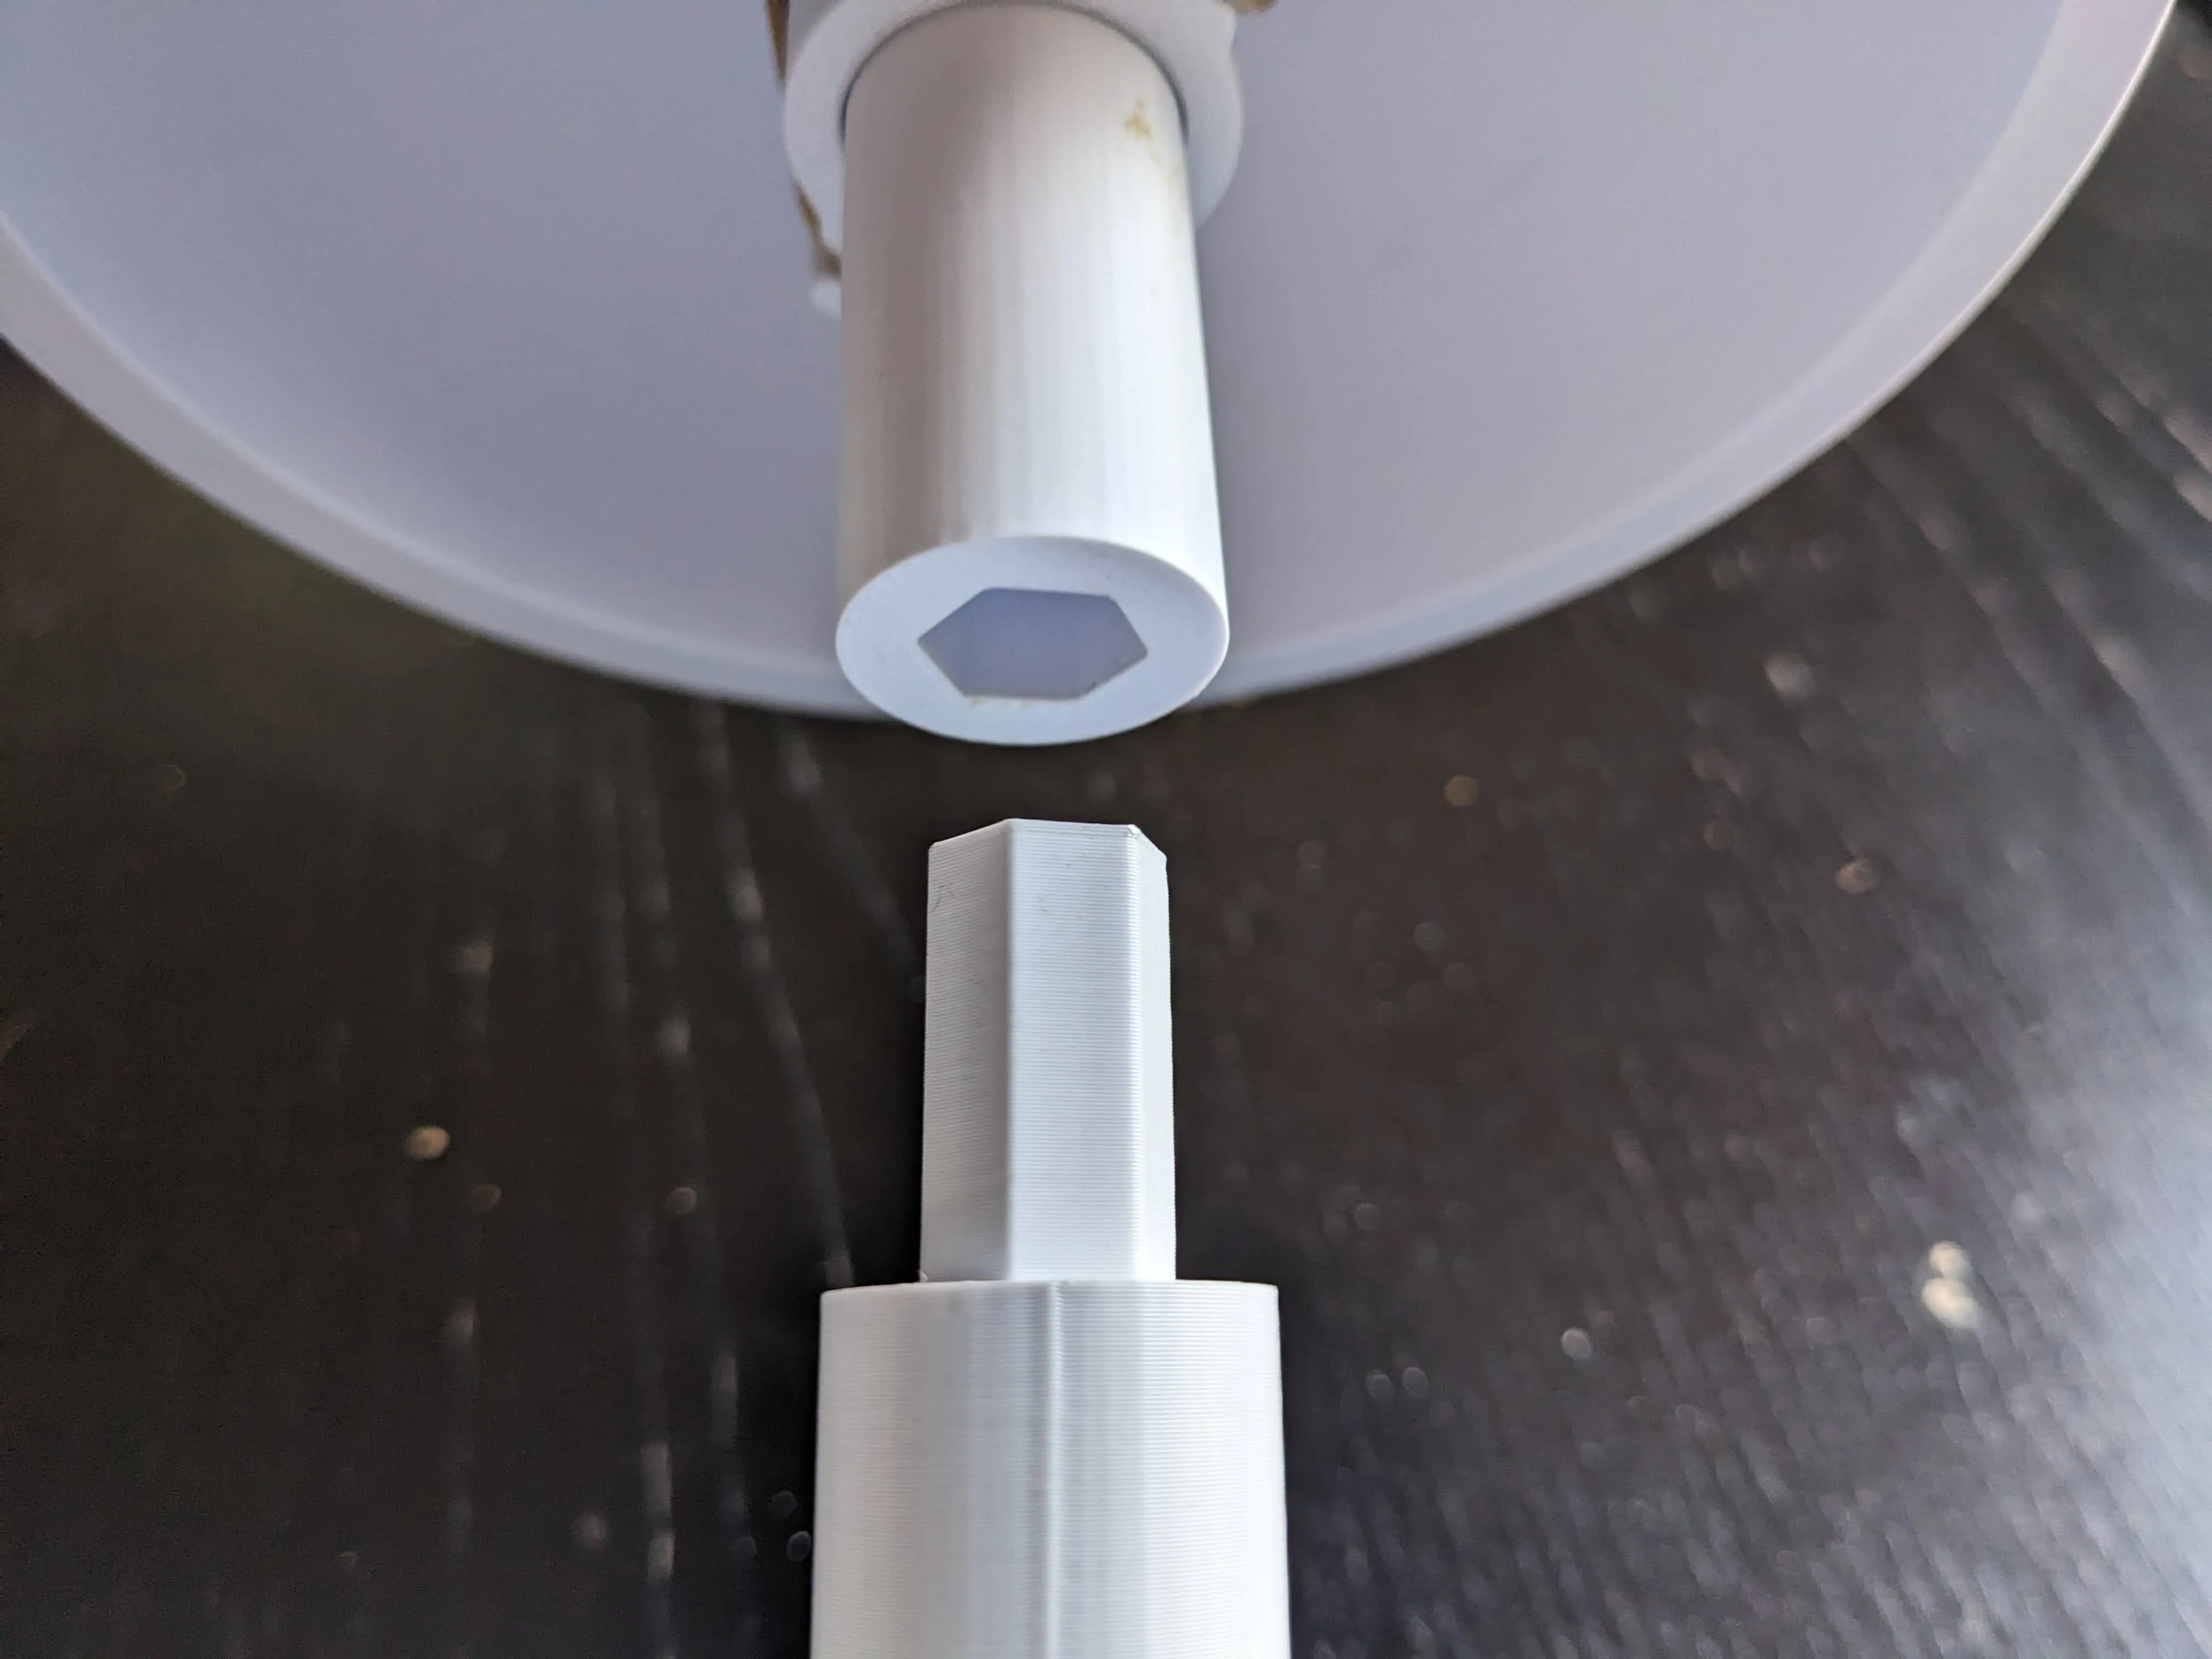
Step 7: Once both sides are finished put glue in the hexagon pocket and then fit them and push them together enought so that you can barely see a crack .

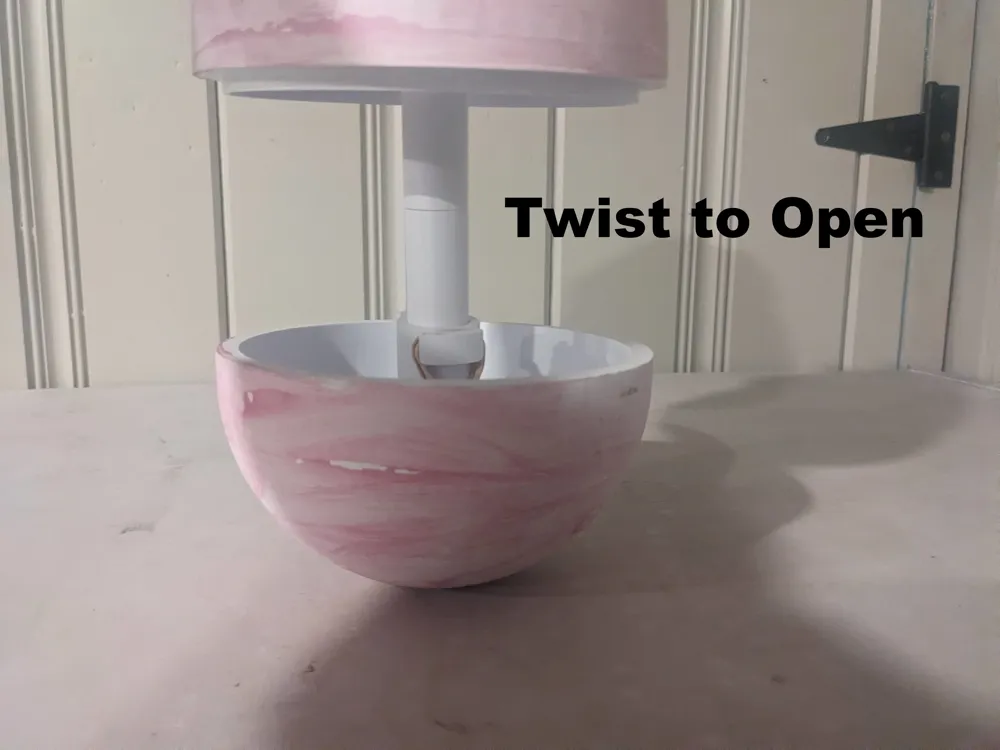
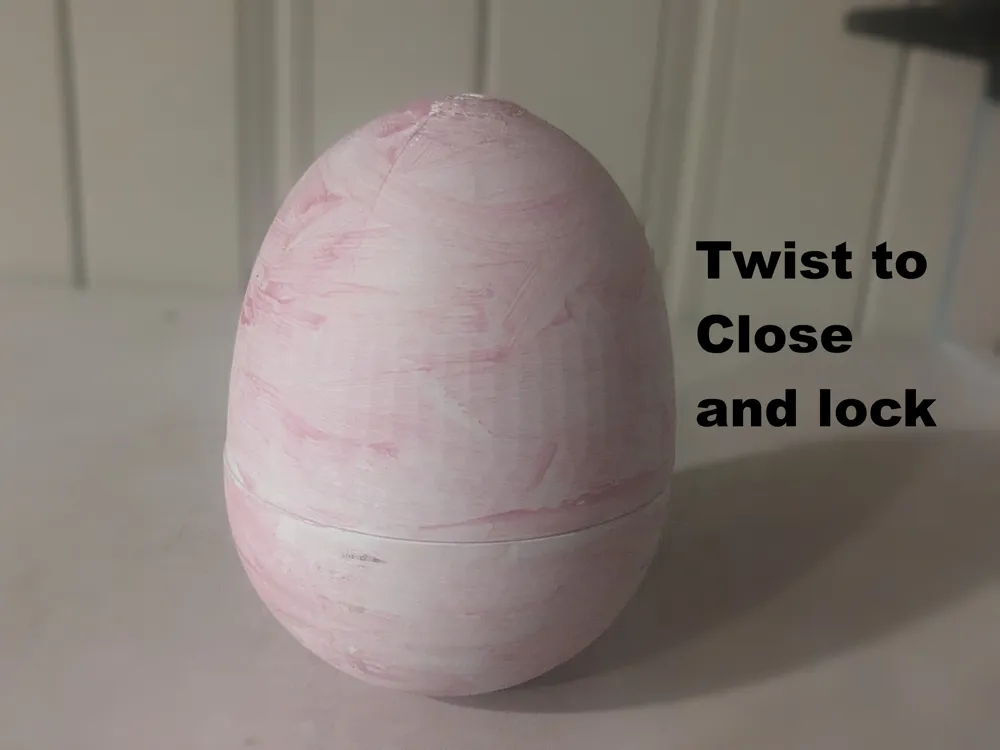
CONGRADULATIONS you have completed the LOCKING EGG !!!!!
congradulations
License

You shall not share, sub-license, sell, rent, host, transfer, or distribute in any way the digital or 3D printed versions of this object, nor any other derivative work of this object in its digital or physical format (including - but not limited to - remixes of this object, and hosting on other digital platforms). The objects may not be used without permission in any way whatsoever in which you charge money, or collect fees.


Comment & Rating (3)