
Drybox / Spoolholder
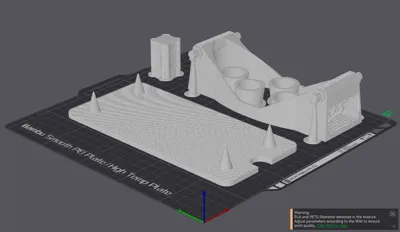
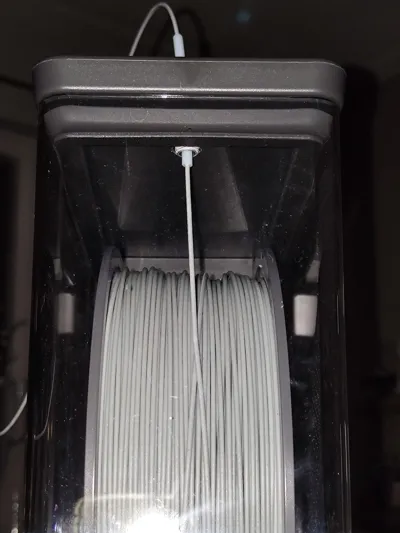
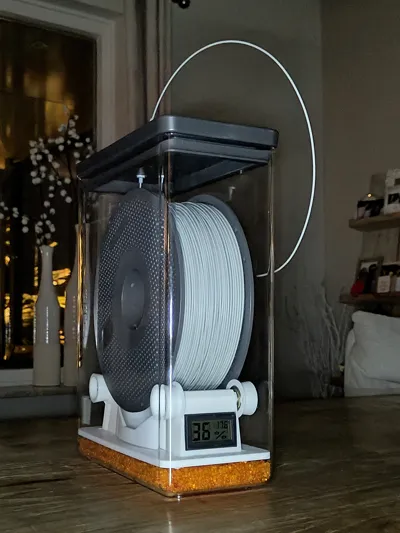
Print Profile(2)
Description
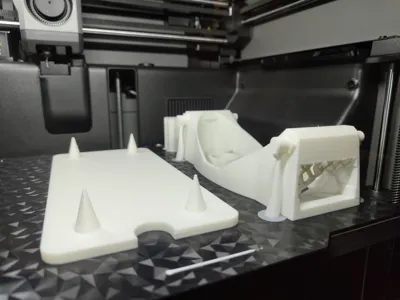
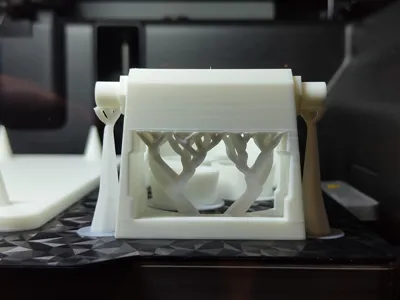
Printed with Bambu Lab PLA Basic @ 0,4mm nozzle.
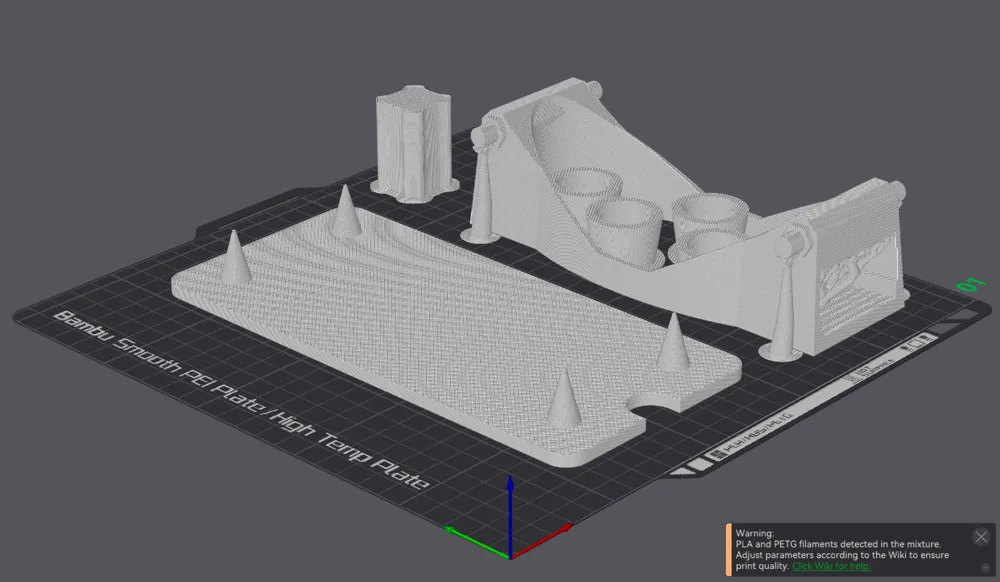
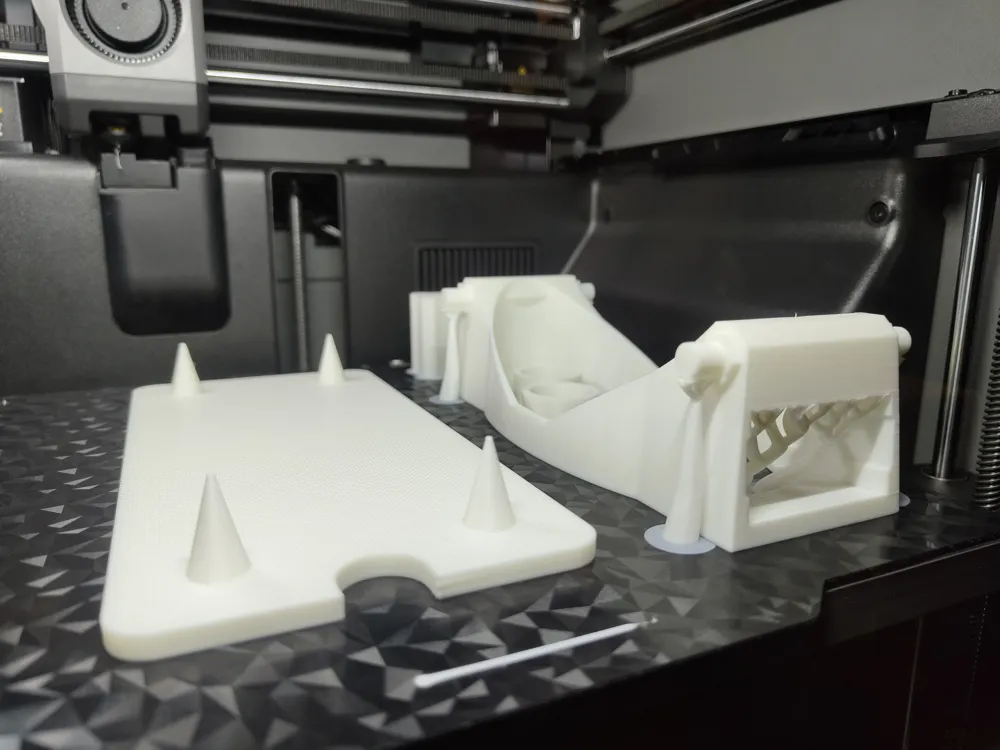
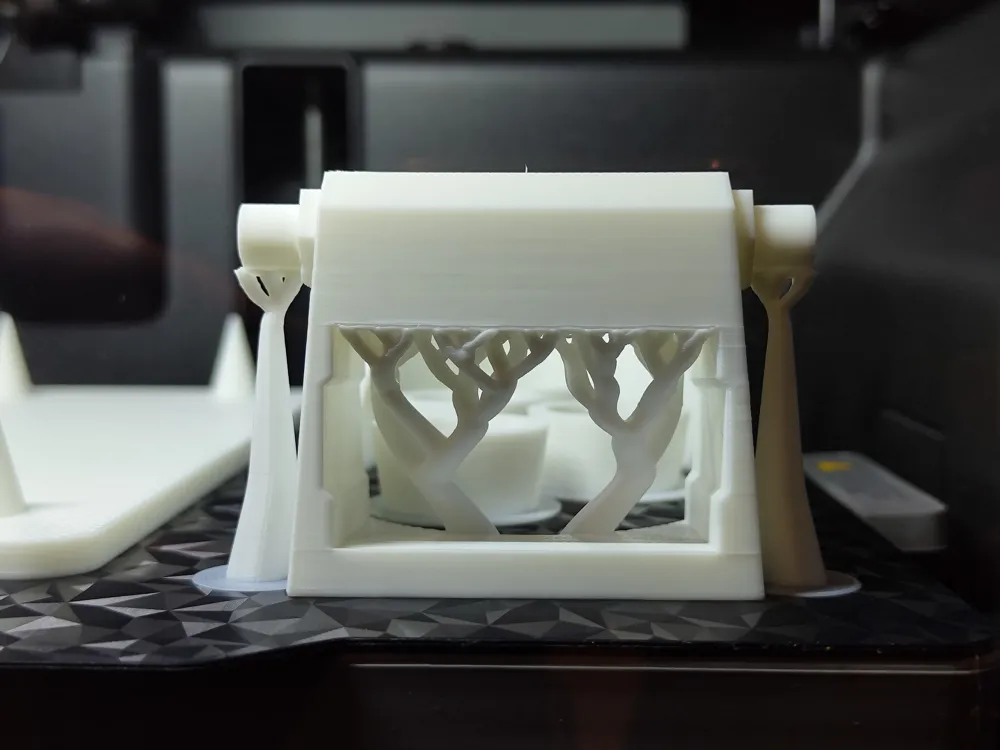
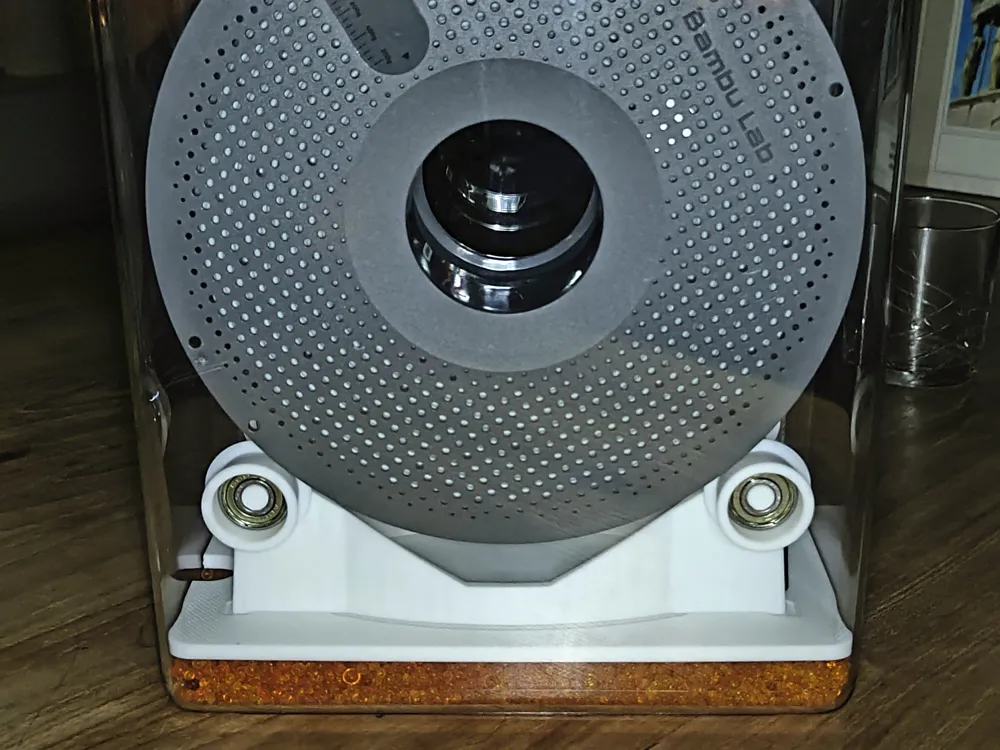
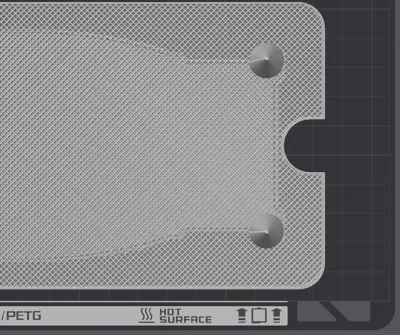
To print this model with the settings I used, you must have PETG inside your AMS to use for support interface. (Clear PETG is recommended)
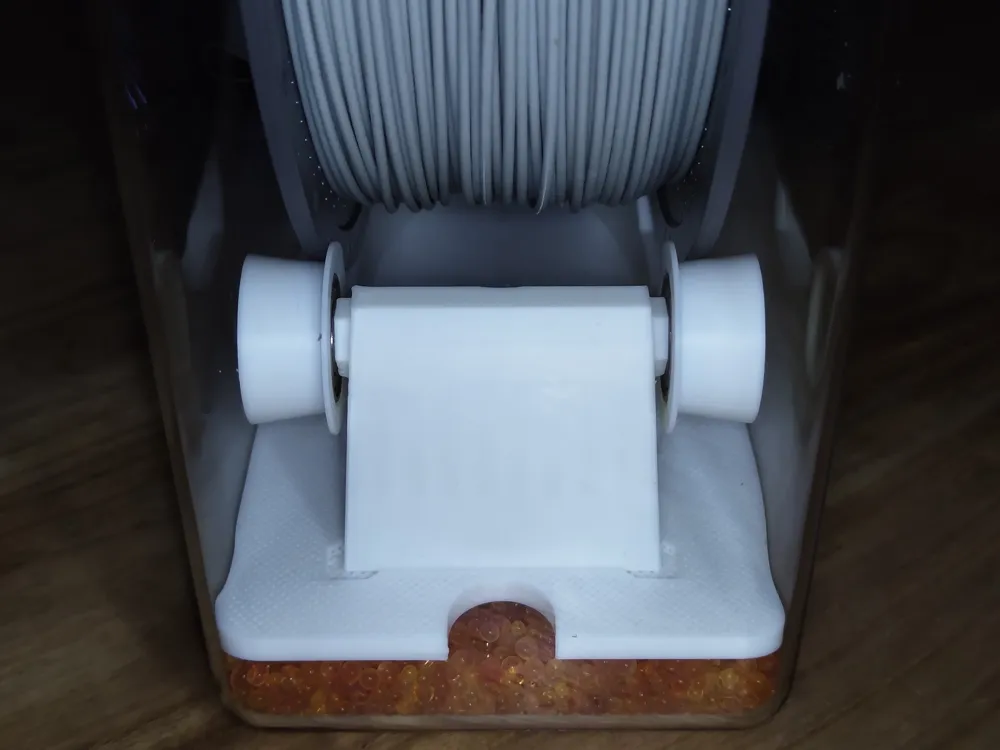
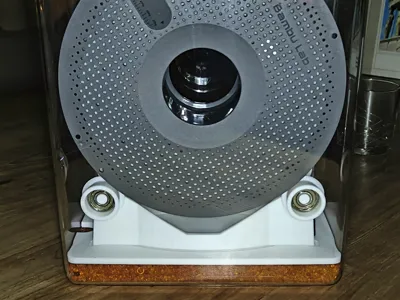
This drybox should fit all AMS-size spools,
Allowed dimensions:
Maximum outer diameter spool: 208mm (to fit inside container)
Minimum internal width between the flanges: 55mm
Maximum outer width: 78mm. (safe) → up to 93mm but with risk of falling off
Parts list:
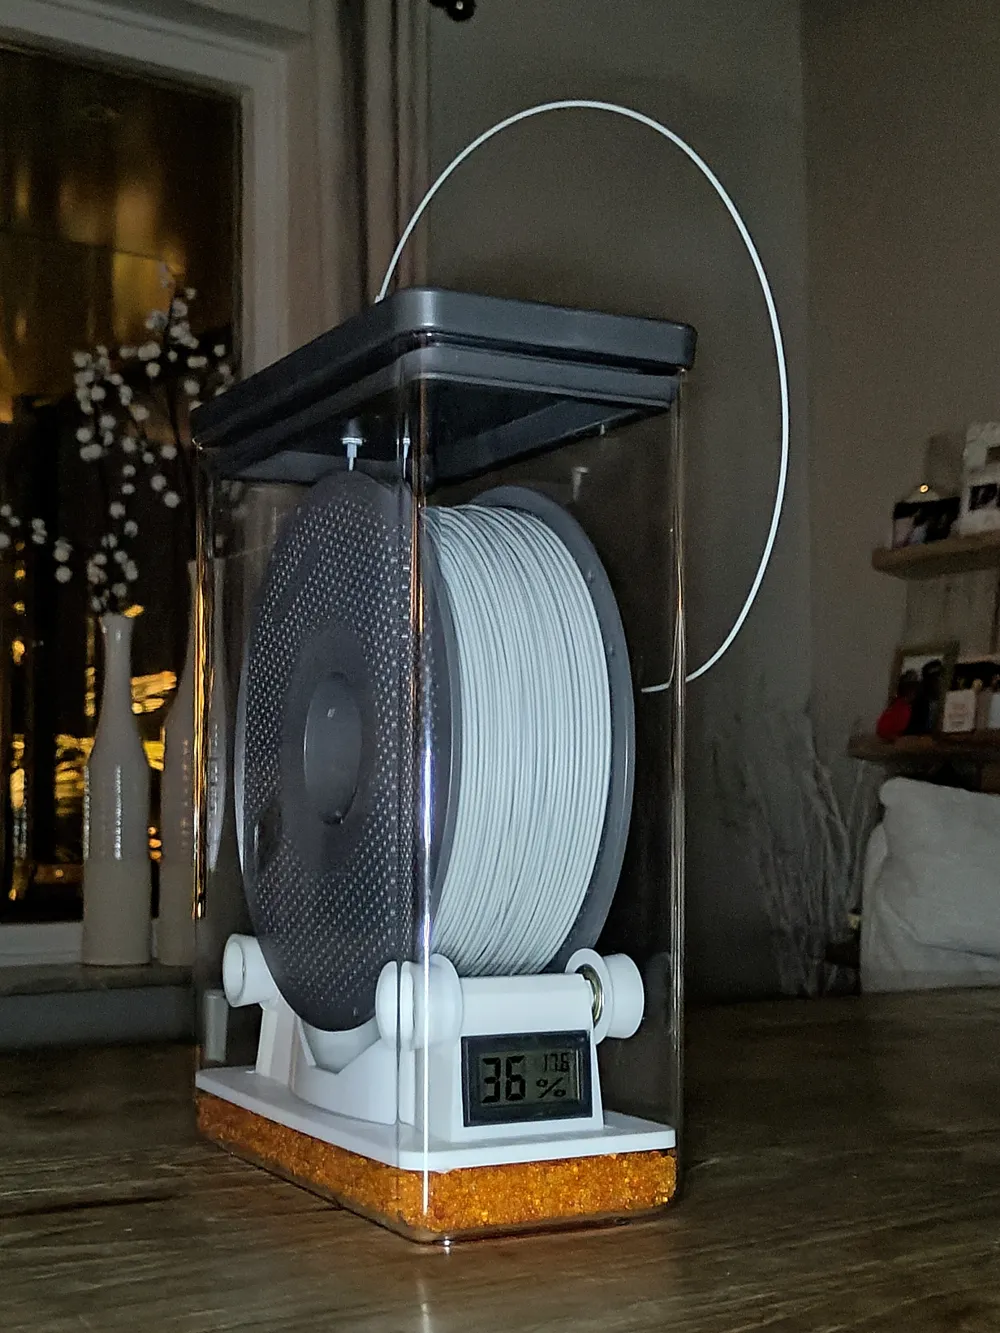
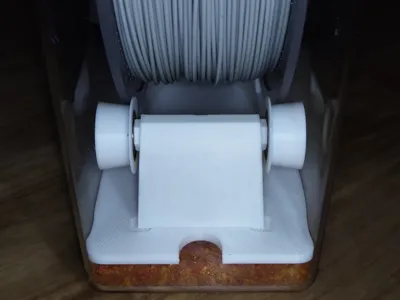
- 1x Brabantia Tasty+ container 5,4L (229985)
- 1x Hygrometer Sprifityy (744915819394)
- 4x Bearing 608ZZ
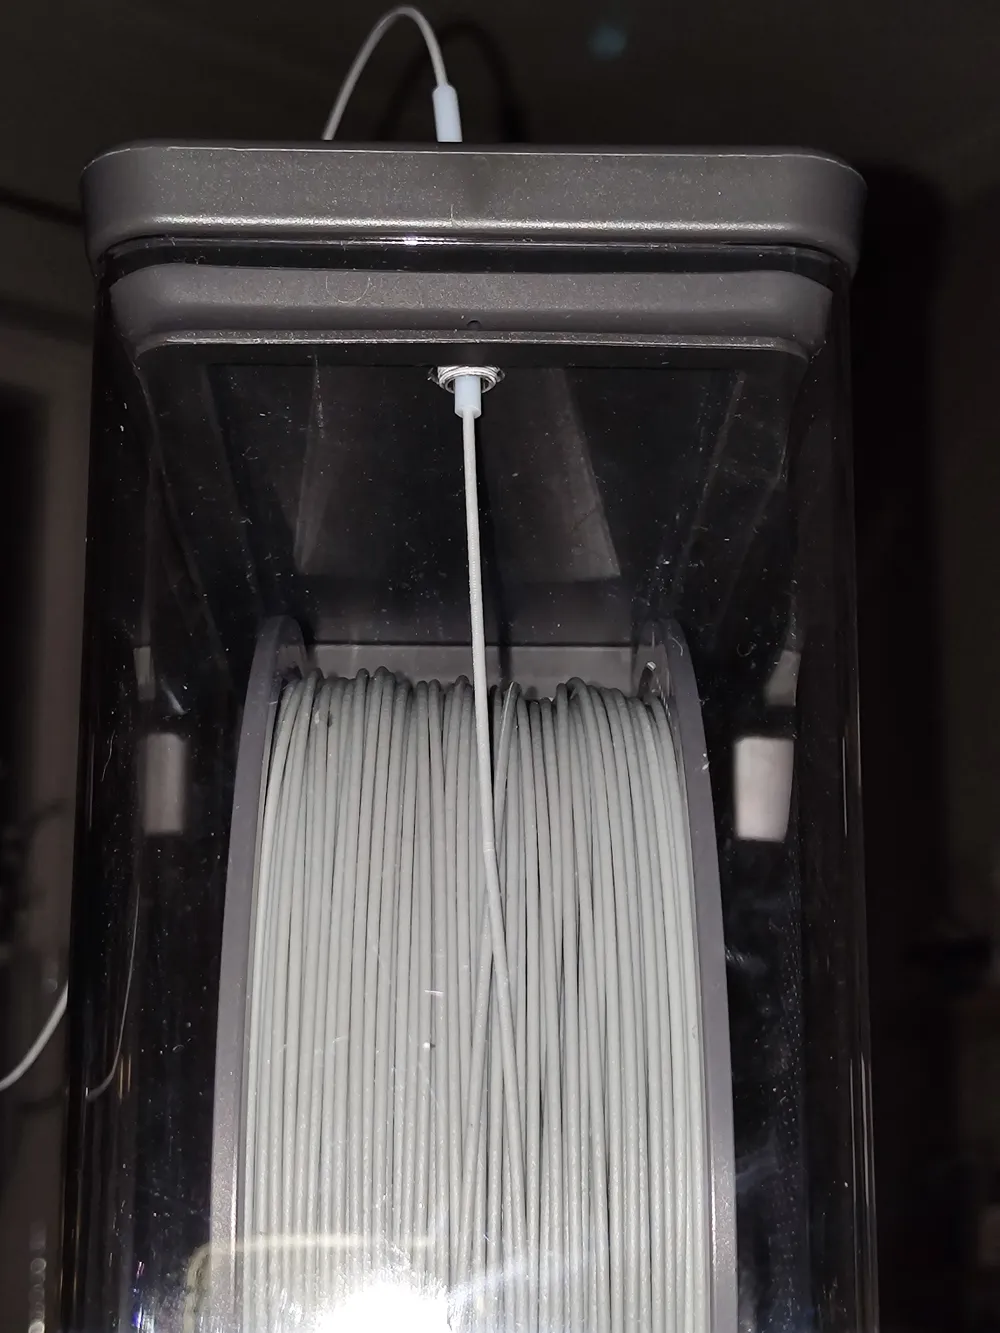
- 1x PC4-M10 Pneumatic connector
- ~300 gr. Silica gel drying beads (20cm height inside container)
- Some PFTE tubing
Additional information
This spool holder can be used standalone without a container, in that case I recommend adding some rubber buttons underneath.
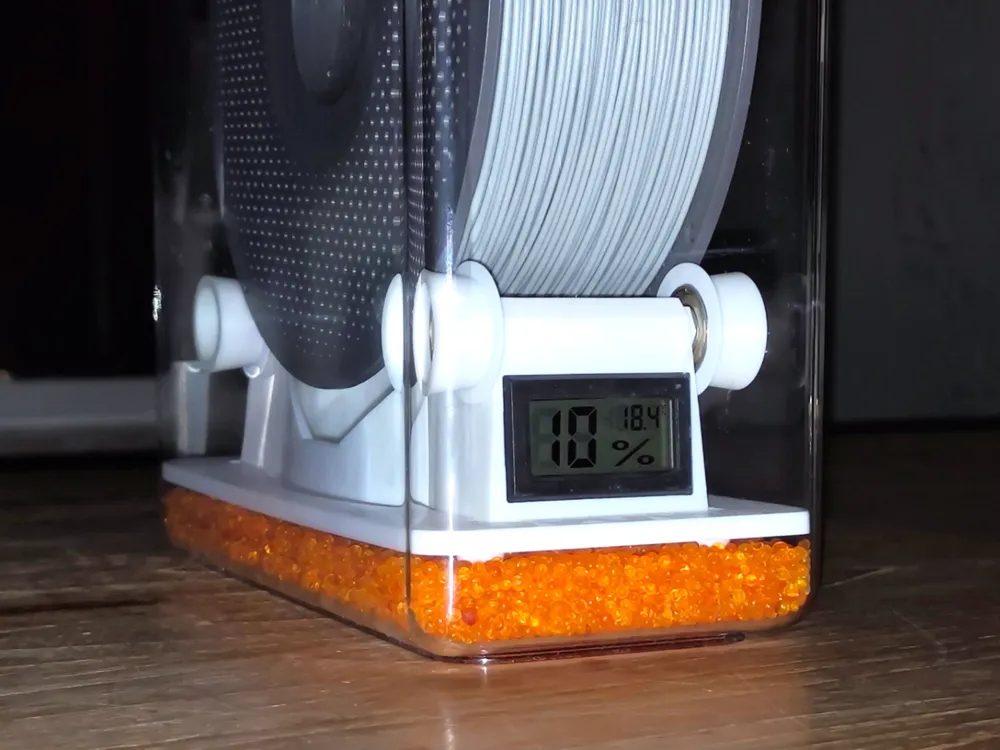
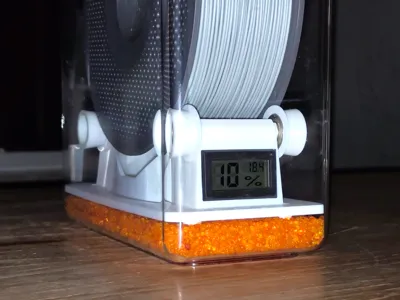
This setup will get the humidity inside the box to 10%, provided the silica gel has enough capacity.
Will probably work with a 0,6mm and 0,8mm nozzle, though I haven't tested it.
I chose the Brabantia container because it is far more clear than some alternatives, this allows for a very pretty filament container.
I tried using two bearings per support but that created too much friction and so the wheel would get stuck on the tiniest bump.
It would actually be better to use a material that offers a little bit more grip for the wheels, but that's an afterthought.
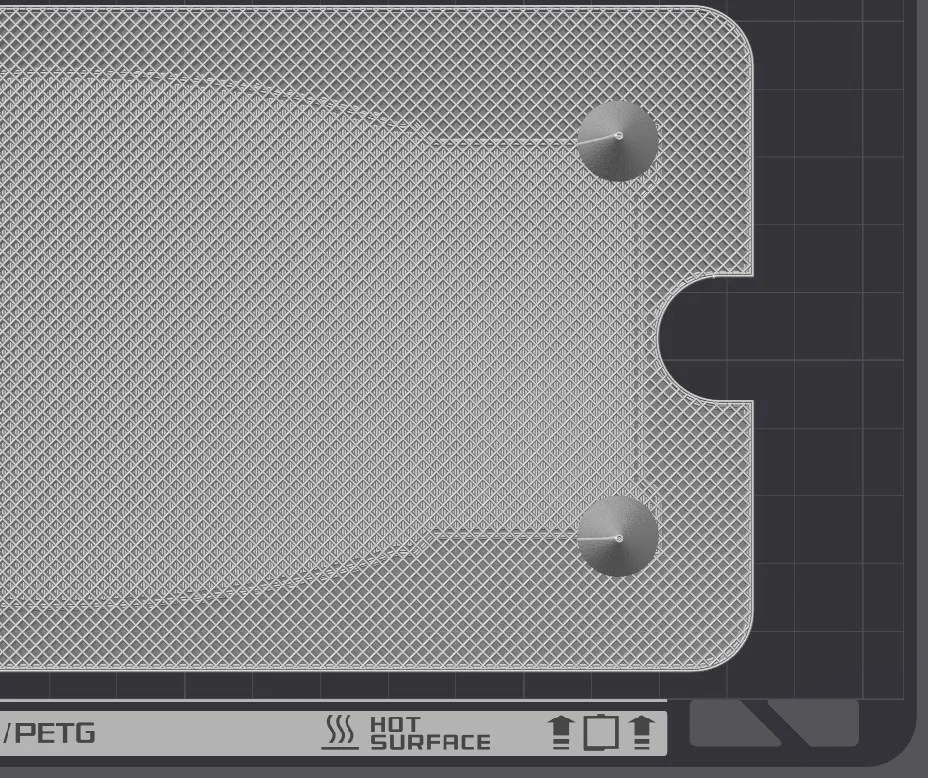
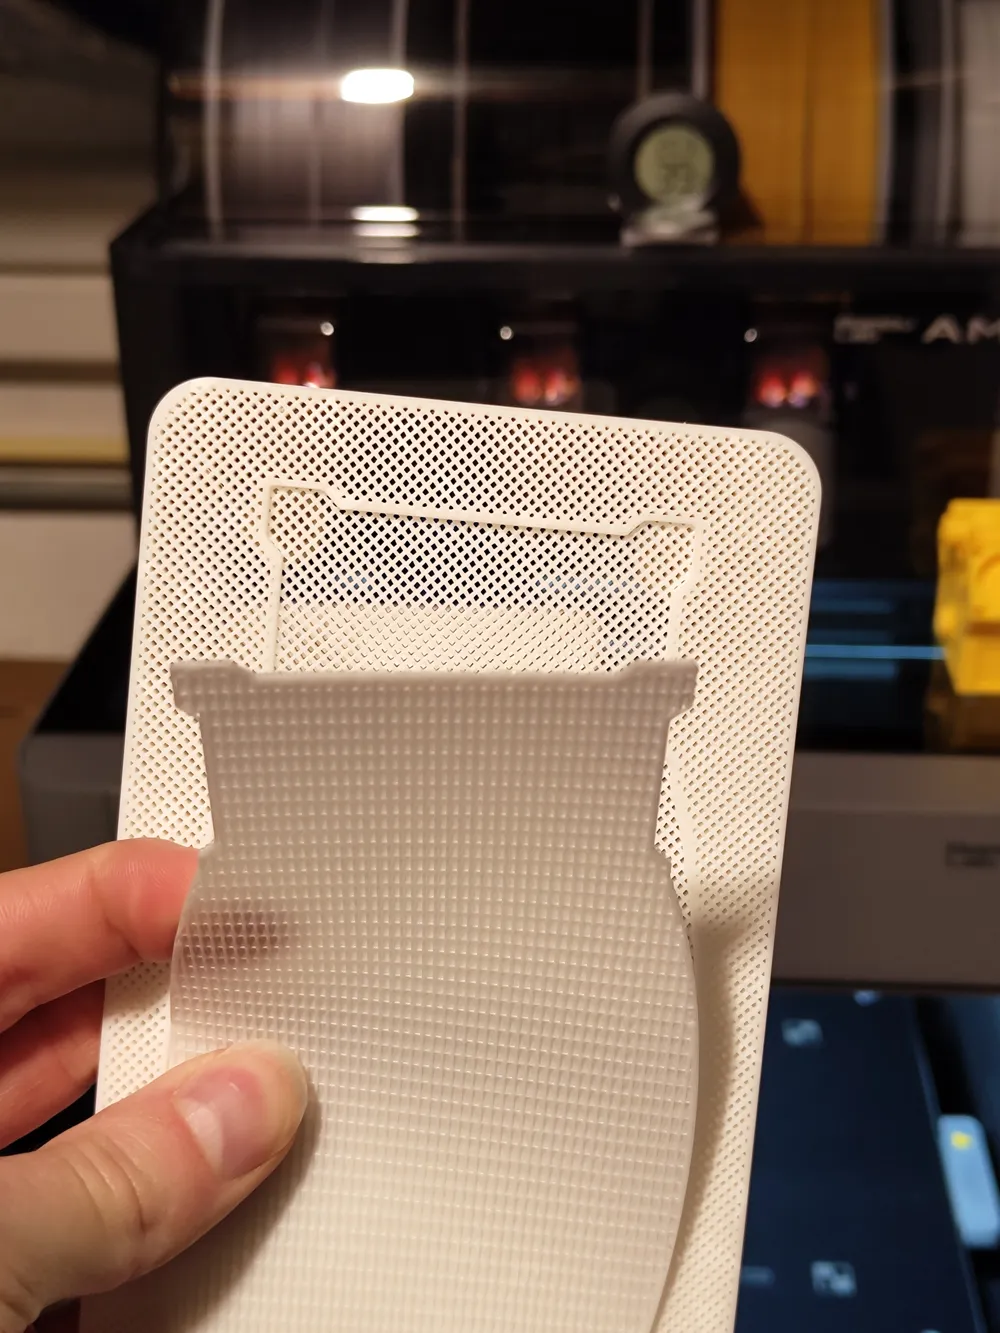
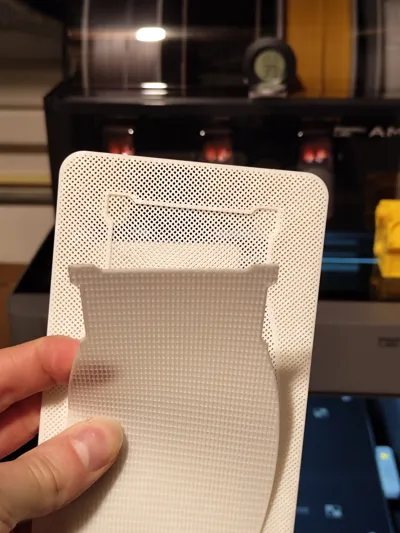
For faster printing: change the layer height of the grid mesh of “bodemroosterv2” to 0,24mm (or maybe even higher?)
I don't recommend changing the layer height of the bearing-shaft to a larger value.
What you still need to do after printing:
- Drill a hole in the lid of the container and fix the pneumatic connector to it. (Air tight!)
- The hole should be off center, At about 5 cm from the edge for minimal friction of the filament during use.
- I used hot glue, but most all-purpose glues should do the trick.
- It might even be possible to tap a thread into the lid (let me know)
- Fill up with silica (20cm), assemble the frame and load it up with a spool and PTFE tube.
- You're all set!
License



Comment & Rating (1)