NAS5070 - Dell Wyse 5070 NAS Low Power 6xHDD 2,5"


Print Profile(1)
Bill of Materials

- SATA Data Adapter Board (4/6/8-port to single connector) x 1: https://pl.aliexpress.com/item/1005008270177974.html
- M.2 A+E Key (Wi-Fi) to M.2 M Key (NVMe) Adapter Cable x 1: https://pl.aliexpress.com/item/1005009719381294.html
- SATA Power Splitter Cable (15-pin, 1 to 5/6 extension) x 1: https://pl.aliexpress.com/item/1005004161040675.html
- DC 5.5x2.5 to SATA Power Cable (Step-down module / Voltage regulator) x 1: https://pl.aliexpress.com/item/1005010671515638.html
- Additional Controller / Adapter Board (M.2 to SATA expansion) x 1: https://pl.aliexpress.com/item/1005011730374334.html
- AC to DC Power Supply Adapter (12V) x 1: https://pl.aliexpress.com/item/1005010218801366.html
- Arctic P8 Silent Fan (80mm) x 1: https://pl.aliexpress.com/item/1005010524299018.html
- M3 Heat-set Inserts (Brass threaded nuts) x 1: https://pl.aliexpress.com/item/1005008666672949.html
- Computer Screws M3 x 1/4in x 1: https://www.ebay.com/itm/204335223019
Description
Membership
Turn these 3D models into profit! By subscribing to this tier, you gain an active commercial license to print and sell physical copies of my designs anywhere you want.
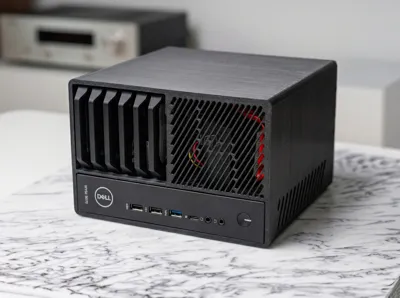
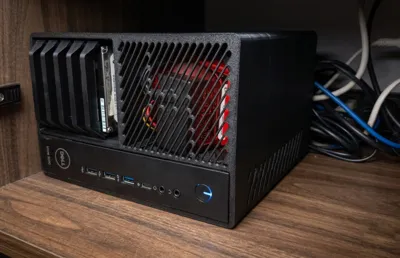
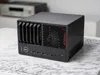
Dell Wyse 5070 Custom DIY NAS Enclosure
About this project
I designed my own custom 3D-printable case to build a home NAS based on the popular and power-efficient Dell Wyse 5070 thin client. This project is my take on a compact NAS, modified to be simpler and tailored for specific, budget-friendly components.
Key Features & Differences from other designs
I built this primarily for my own needs, so I made a few significant changes compared to other popular designs:
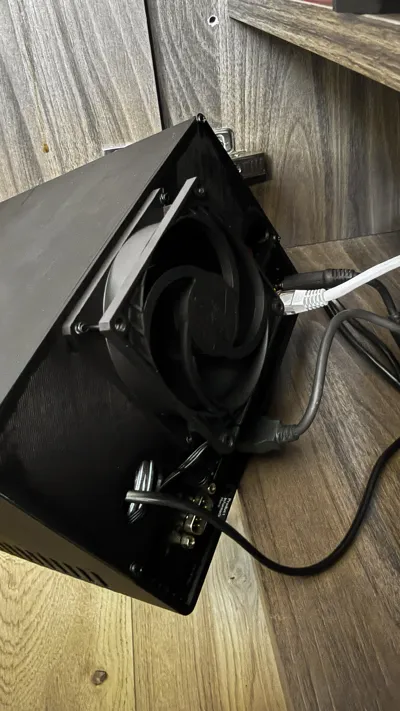
- Fan: Instead of an expensive Noctua, I used an Arctic P8 Silent (80mm) fan. It's super quiet and offers great value for money.
- No Fan Controller: I didn't use the Noctua NA-FC1 or any other external fan controller. Instead, the fan is connected directly to a DC to SATA adapter to get a stable 12V.
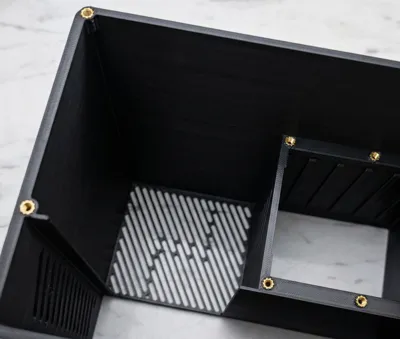
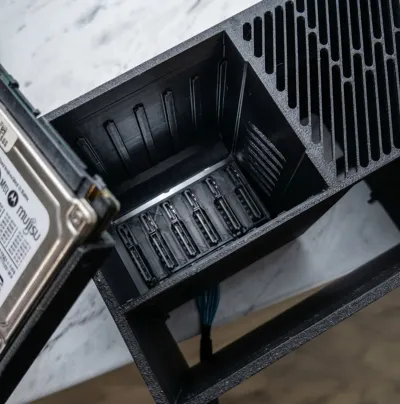
- No HDD Trays / Caddies: There are no sliding drive caddies in this design. The hard drives slide directly into the chassis slots. This makes the design simpler and reduces printing time.
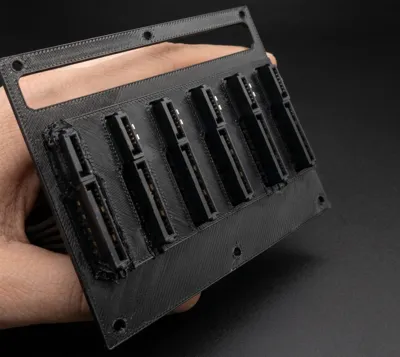
- Makeshift SATA mounting (Work in Progress): Mounting the SATA cables/connectors to the rear "flap" is currently a makeshift hot-glue job. I know it's not the most elegant solution, and I really want to fix this in the V2 version, but honestly, I have no idea how to design a proper mounting mechanism for it yet. Any suggestions or remixes are highly welcome!
Printing Tips
- You will need a soldering iron to install the M3 heat-set inserts.
- I highly recommend printing the front panel face-down on a textured PEI plate – it hides the layer lines perfectly and gives it a premium, matte look.
- PETG is recommended over PLA due to the heat generated by the hard drives, though PLA might survive if the 80mm fan provides enough airflow.
If you have any ideas on how to improve the SATA connector mount in V2 without using hot glue, please let me know in the comments! Happy printing!
Boost Me (for free)
Don't forget to boost this design!
License
You shall not share, sub-license, sell, rent, host, transfer, or distribute in any way the digital or 3D printed versions of this object, nor any other derivative work of this object in its digital or physical format (including - but not limited to - remixes of this object, and hosting on other digital platforms). The objects may not be used without permission in any way whatsoever in which you charge money, or collect fees.
Comment & Rating (20)