Search models, users, collections, and posts

Laser Eggs

IP Report

Print Profile(1)

All
H2C
X1
H2D
A1
P1P
X1 Carbon
X1E
X2D
A1 mini
A2L
P2S
P1S
H2D Pro
H2S

0.8mm nozzle, 0.4mm layer, 2 walls, 15% infill
Designer
47 min
1 plate
5.0(1)

Open in Bambu Studio

Laser
Laser
Designer
12 min
9 plates
5.0(1)

Open in Bambu Suite
Boost
68
173
18
5
39
8
Released 

Bill of Materials

Maker's Supply Kits and Parts
Select all
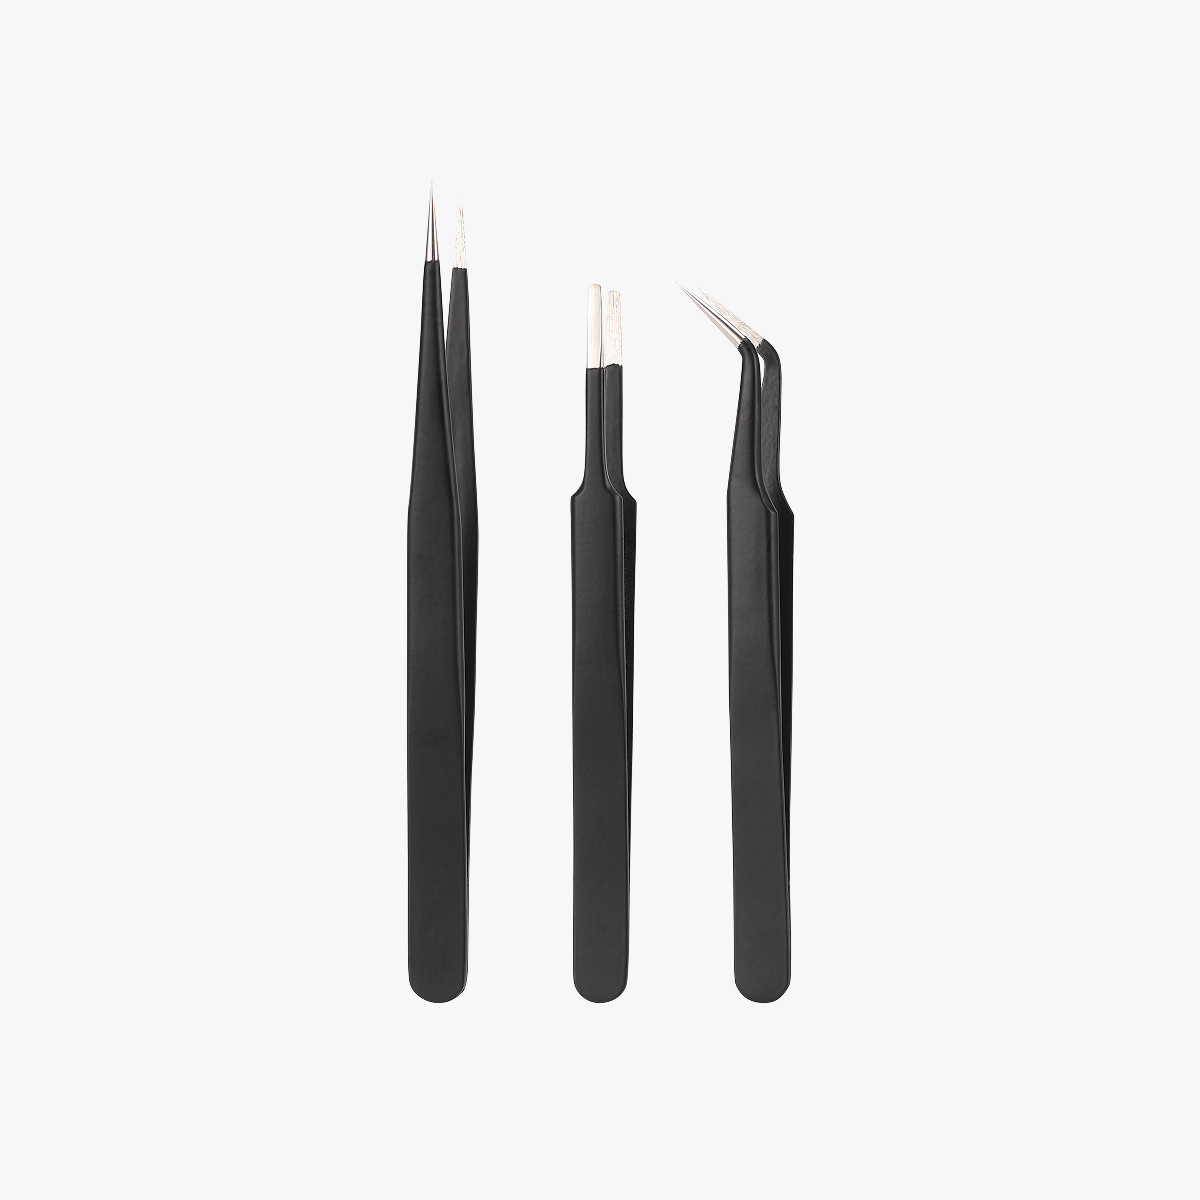
ESD Stainless Steel Tweezers Set
Bambu Filaments
Select all
Yellow (51400) / Filament with spool / 1 kg

Description

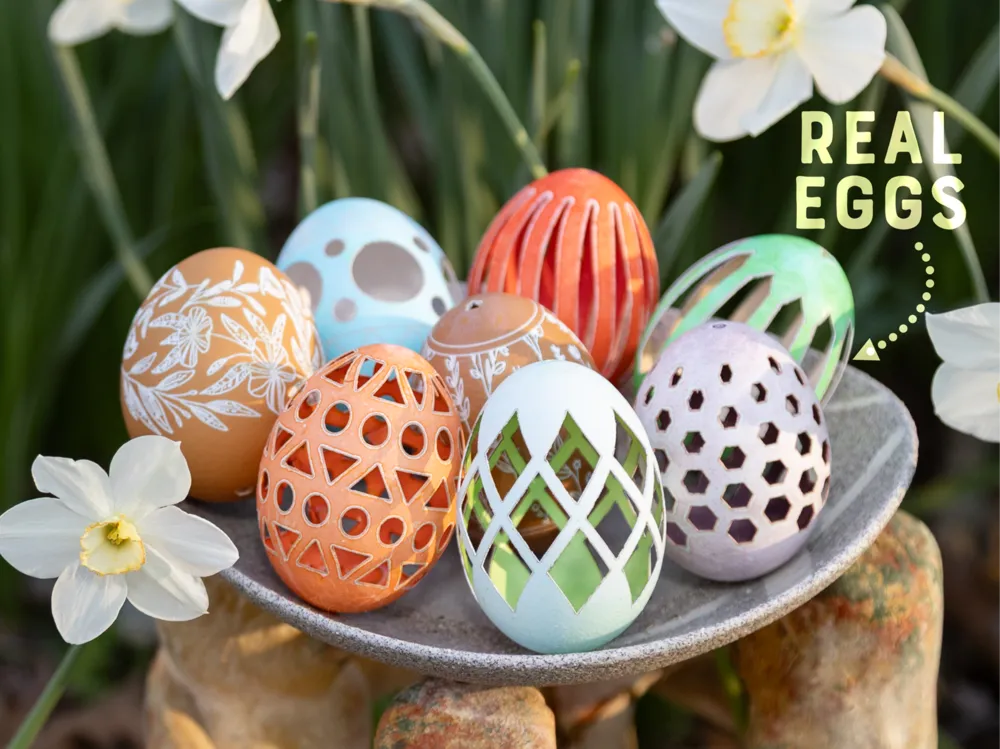
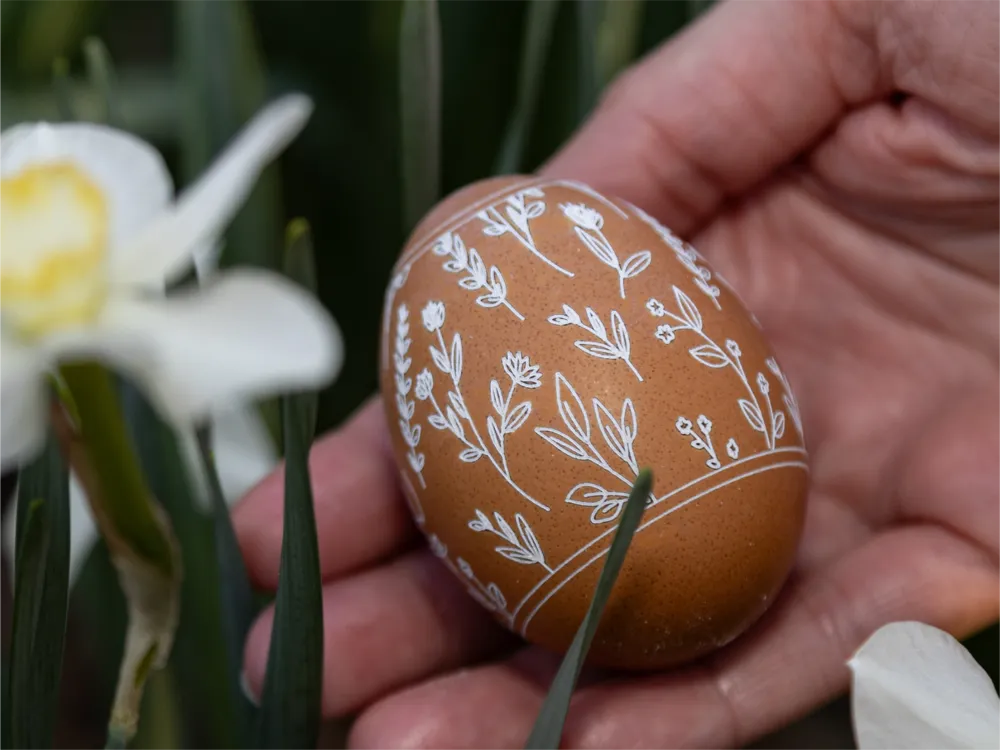
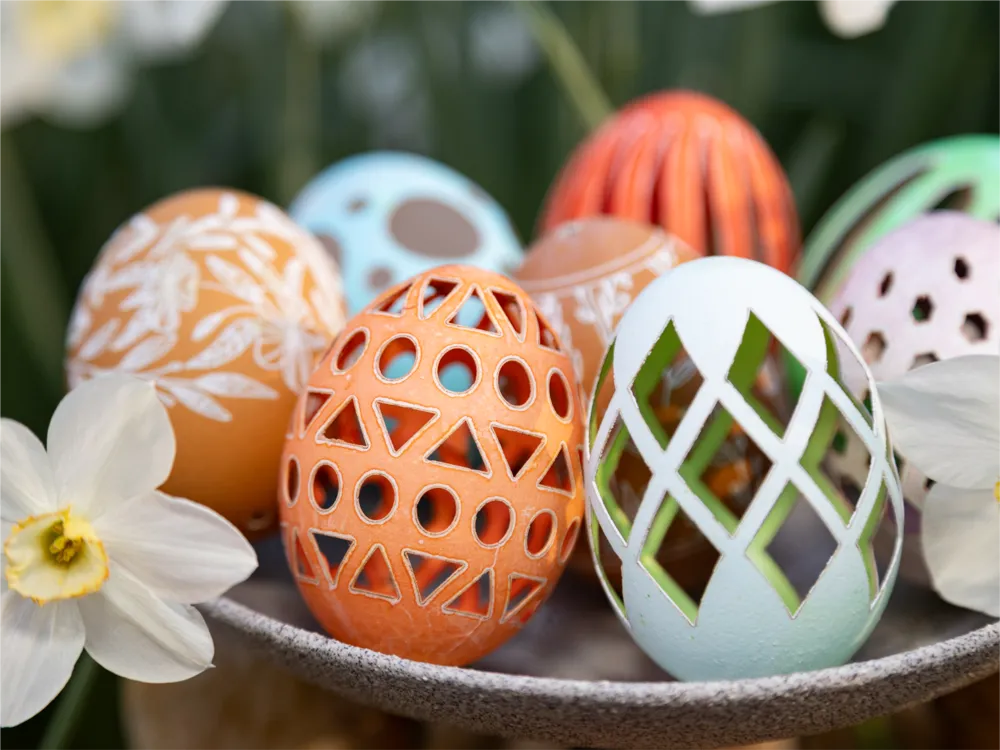
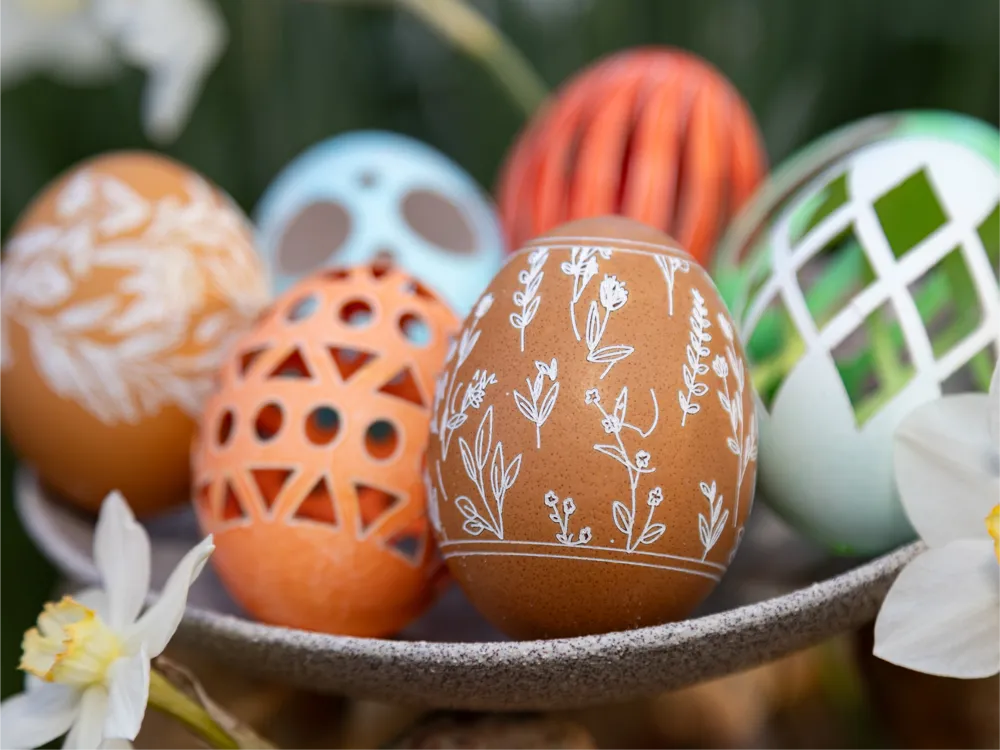
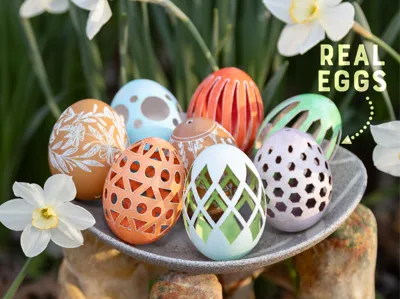
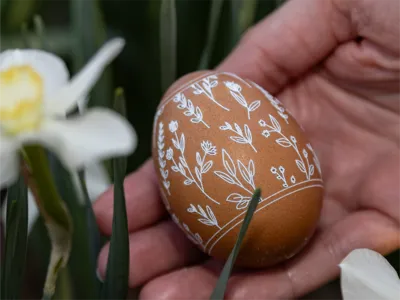
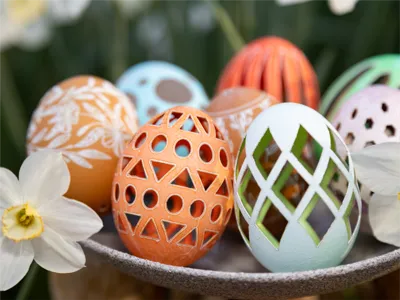
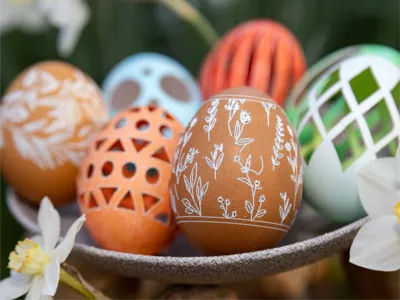
When decorating Easter eggs, I feel like we really don’t use enough lasers. This project allows you to both engrave and cut real eggshells into delicate an intricate shapes using Bambu’s Rotary Attachment. Credit to Viltsu who mentioned the idea of using rotary processing for Easter egg designs - after he said that I had to give it a try!


This project is split into 2 parts:

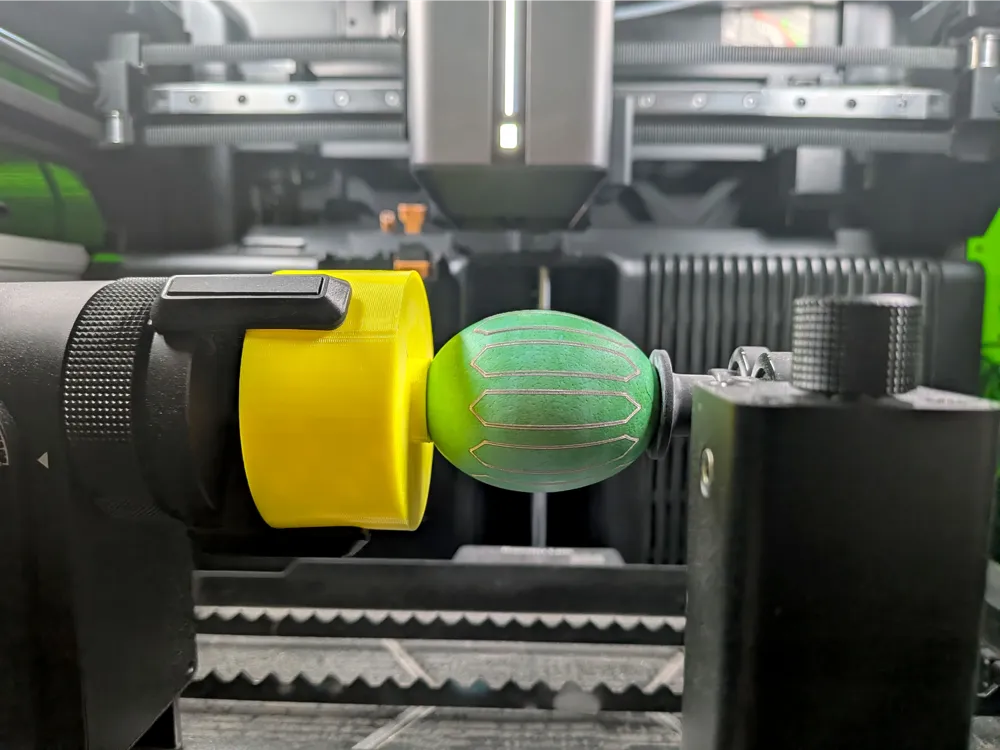
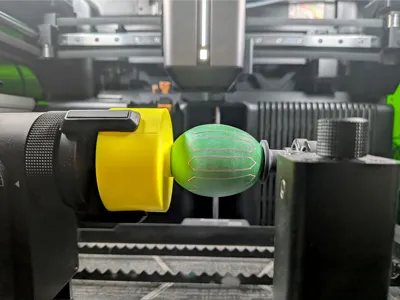
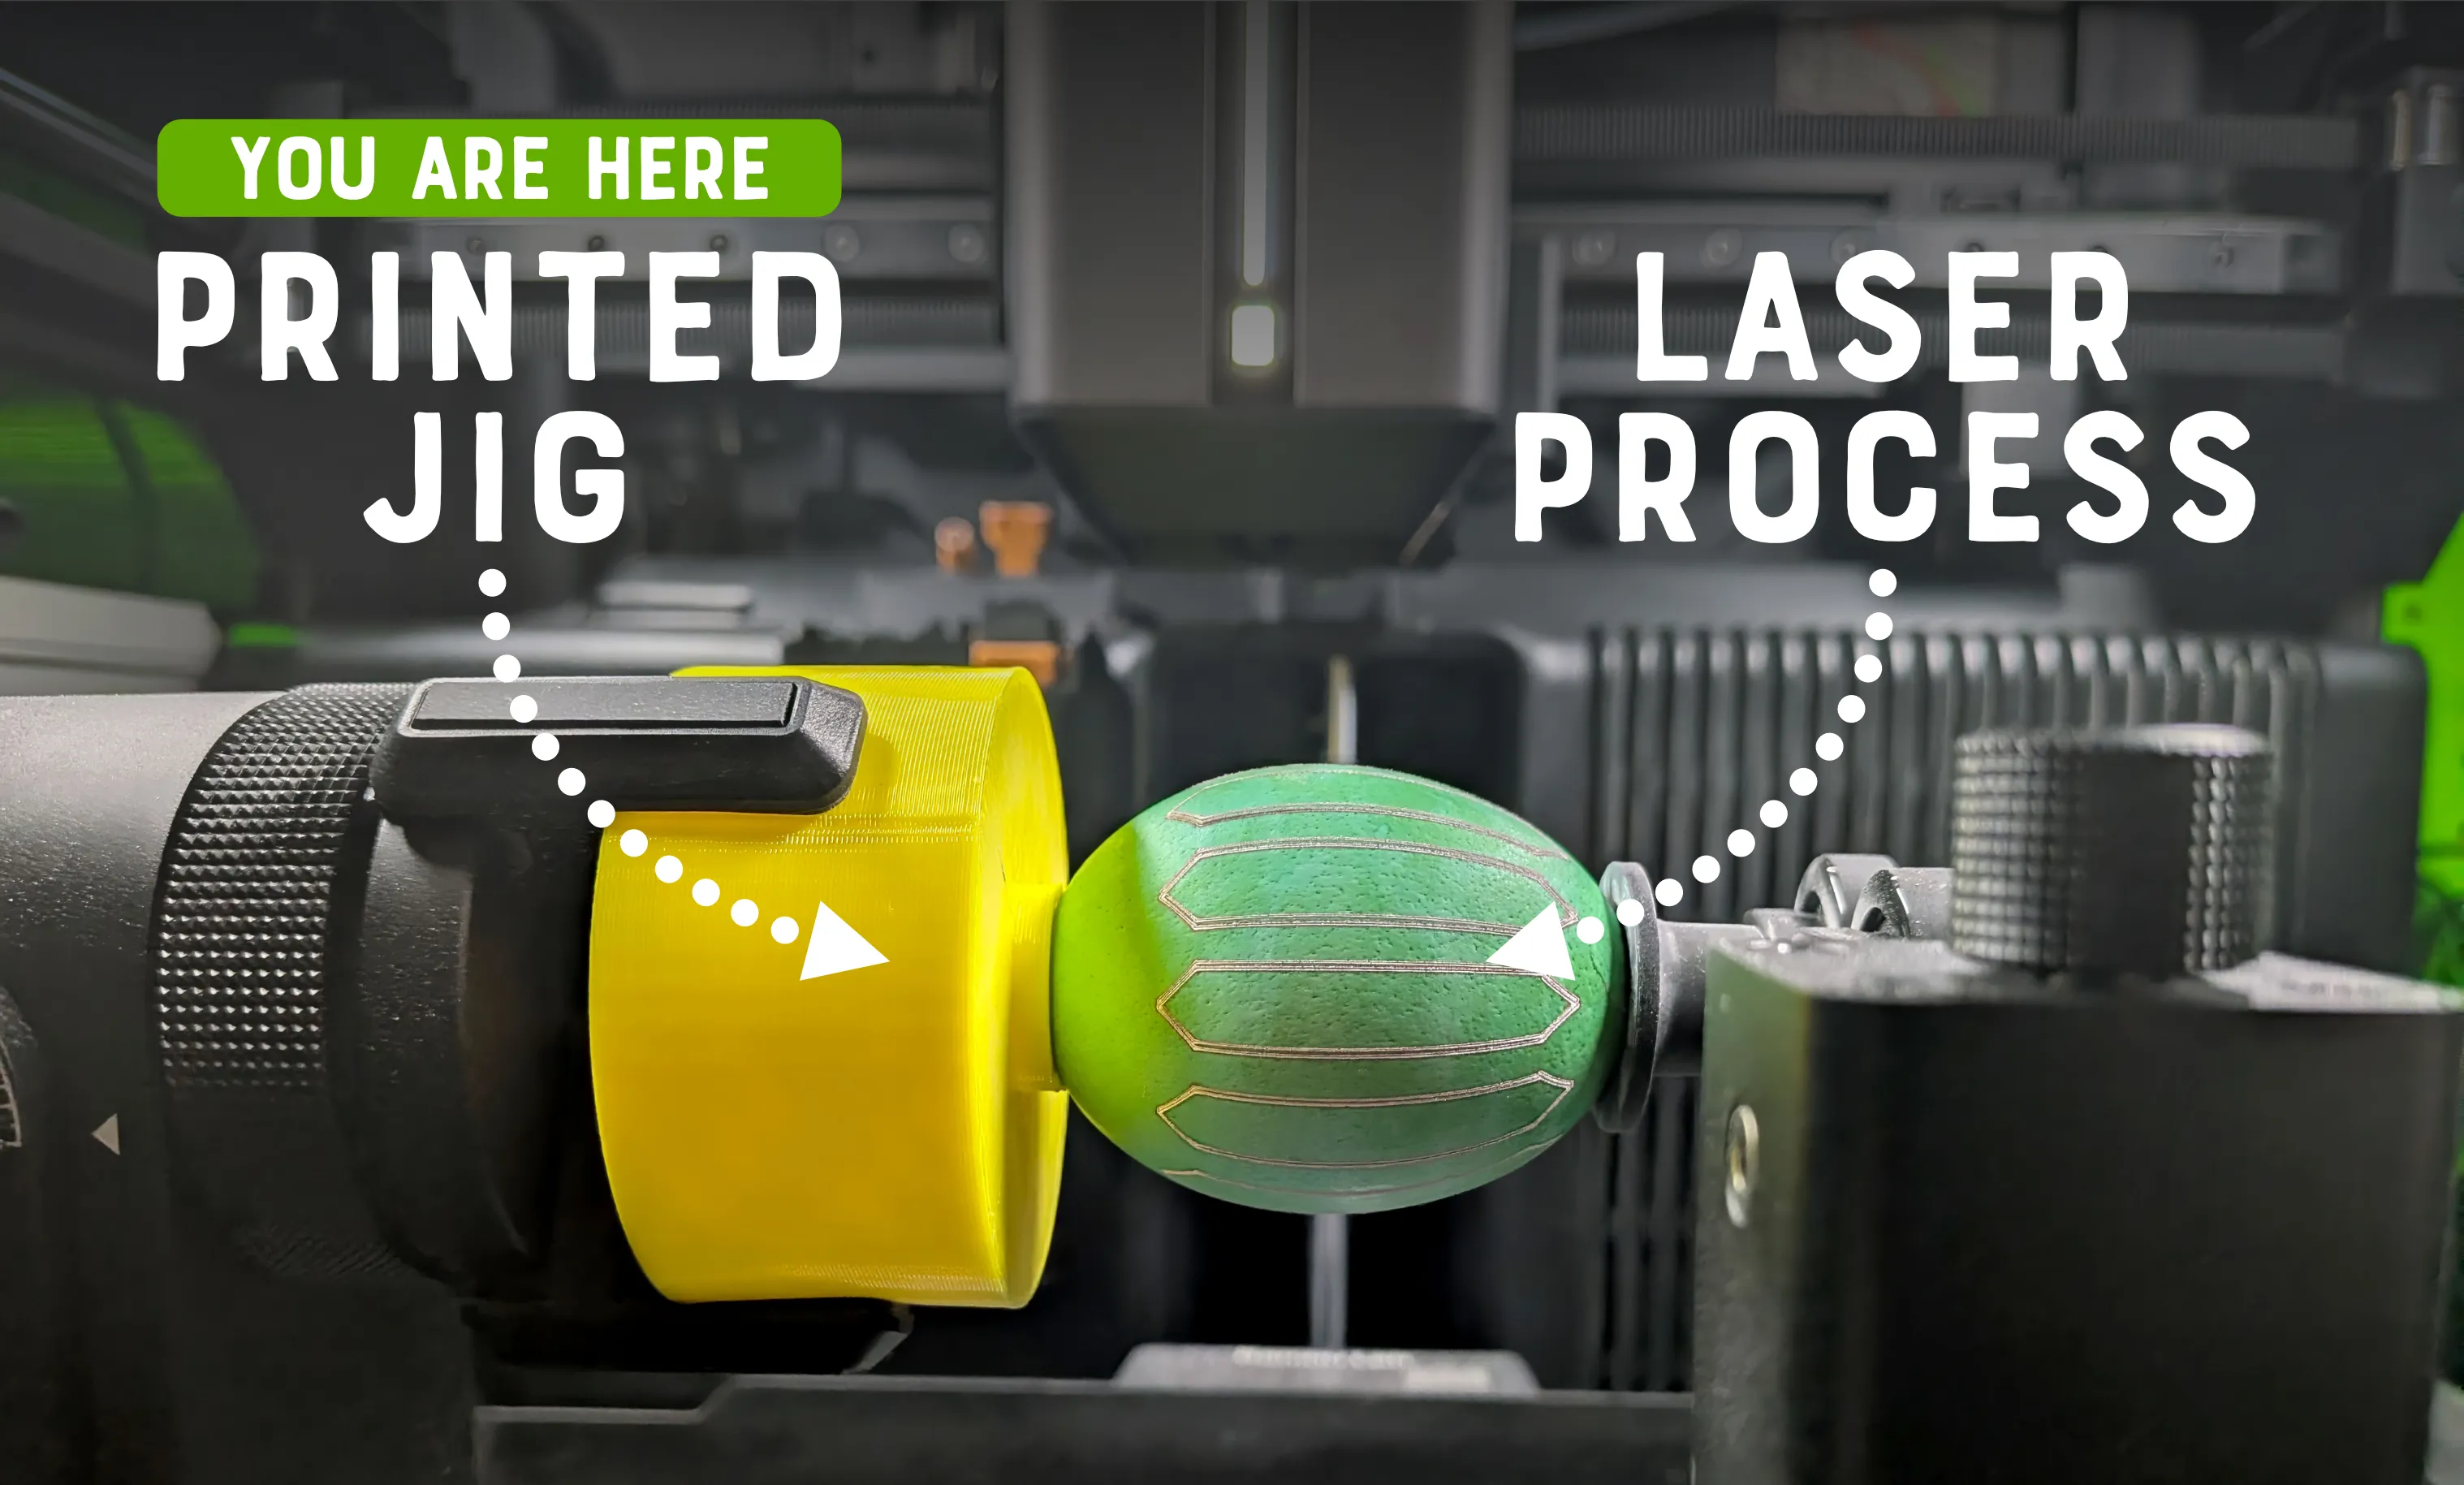
  1. This file: The 3D printed jig used to hold the eggs in the rotary attachment. This is printed with TPU and is needed because the eggs are smaller than the diameter of the rotary claws.
  2. Laser file: you can navigate to this linked file at the top of the page - it includes the .lac with the patterns and laser settings for processing the eggs.
 

Preparing Eggs

When engraving eggs, it helps to choose ones with a darker shell. When dyeing eggs, a lighter shell works best.So that the eggs can be kept long-term, I recommend emptying them out before dyeing them.
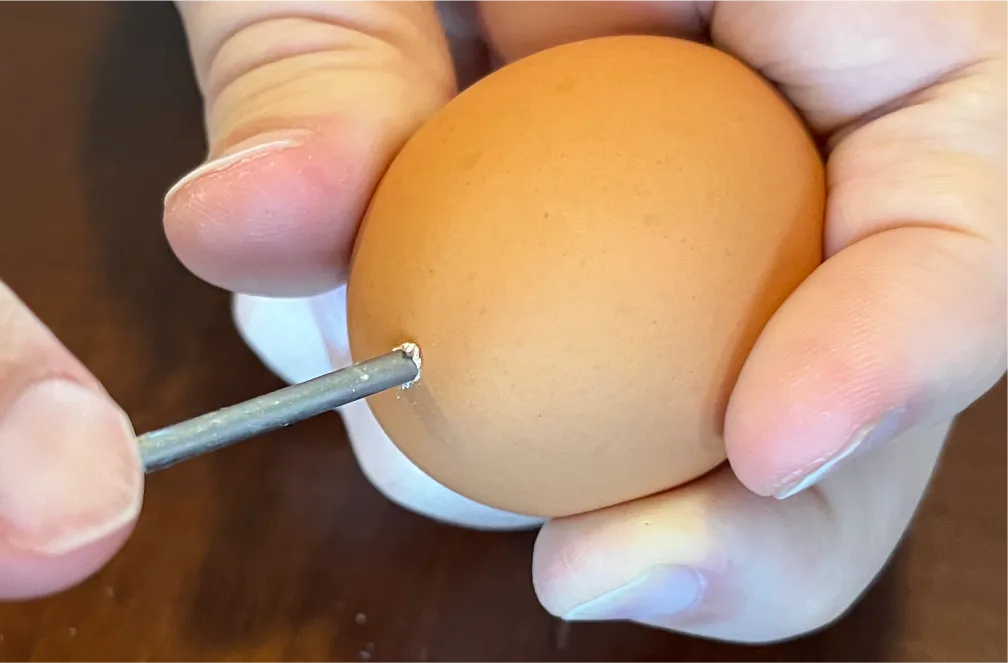
Use a pin or skewer (and a rotating motion) create a hole in the top and bottom of the egg - being careful not to crack it. 

  • You can then use a plastic syringe or other method to blow out the egg yolk & white (I saved mine to make an omelet) 
  • Clean out the interior of the egg by running hot water through it.

You can choose to dye your eggs now or after processing them. 

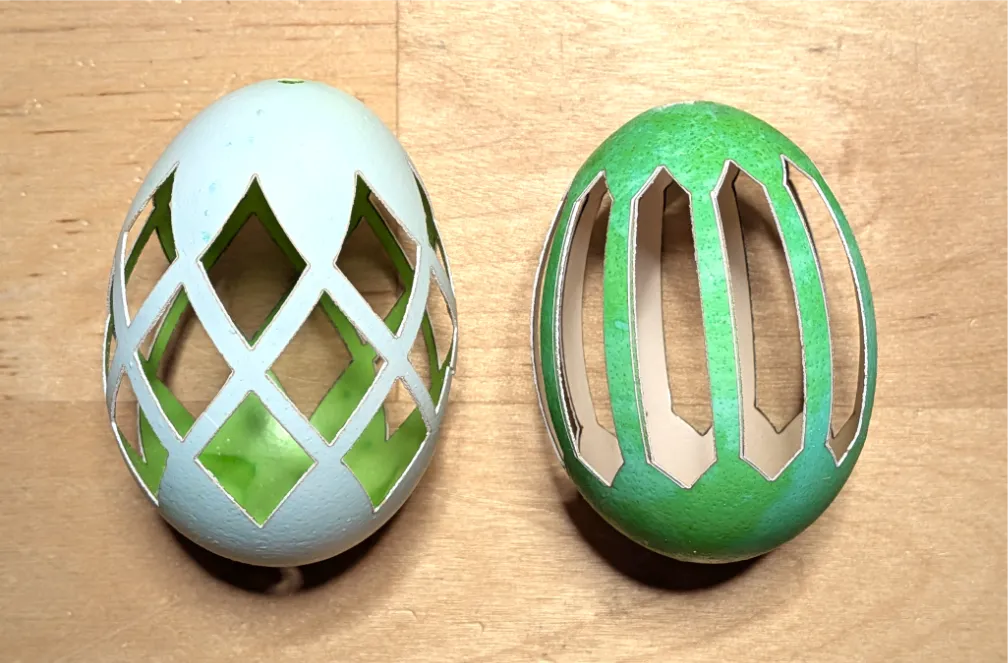
  • Dyeing now will create a contrast between the colorful exterior & the white interior. You'll need to weight the egg down so that it will stay submerged. Example on right.
  • Dyeing after cutting the eggs makes it easy to submerge them and also applies the color to the inside. Example on left.

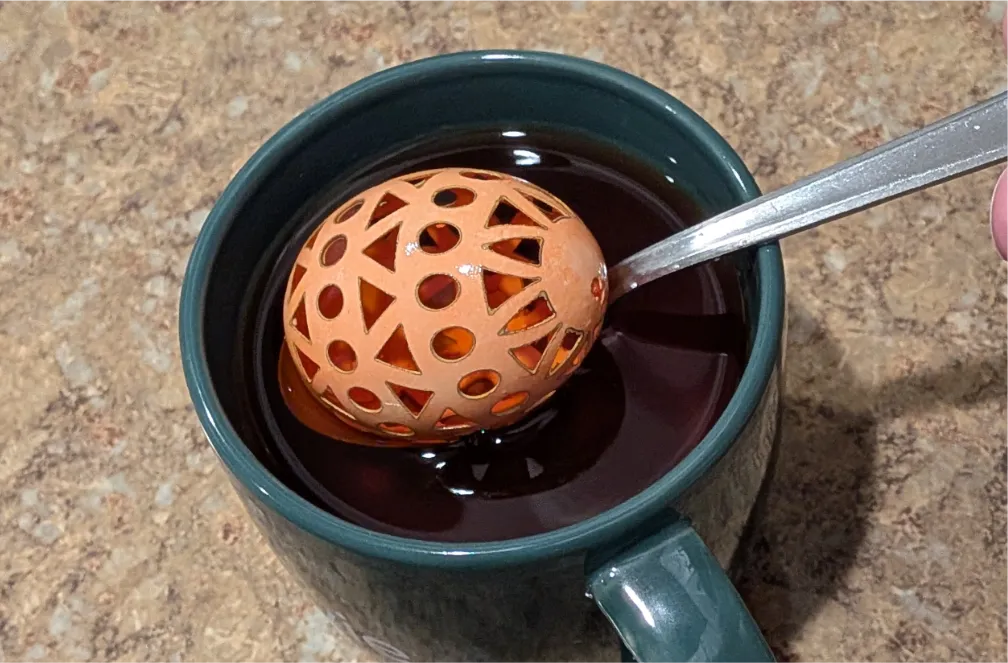
You can use an egg-dyeing kit or easily make your own:

  • Combine 3/4 (180ml) cup boiling water with 1 tbsp (15ml) vinegar and about 10 drops of food coloring into a mug.
  • Place the egg into the mug and leave it for 5-10 minutes. Longer times can make for a darker color
    Remove eggs and place them on a paper towel to dry.


Laser Processing 

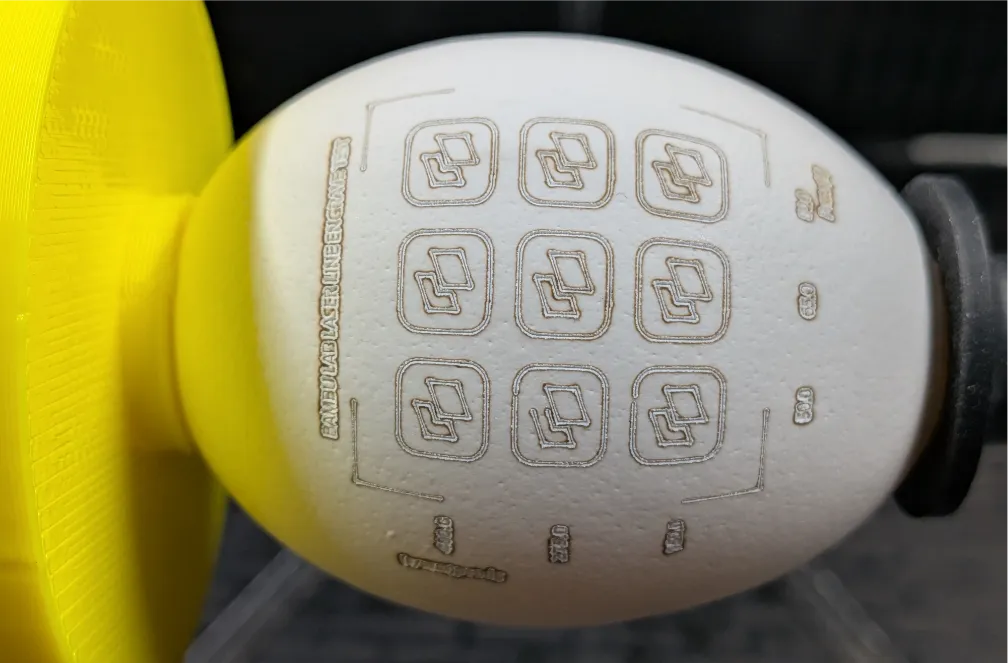
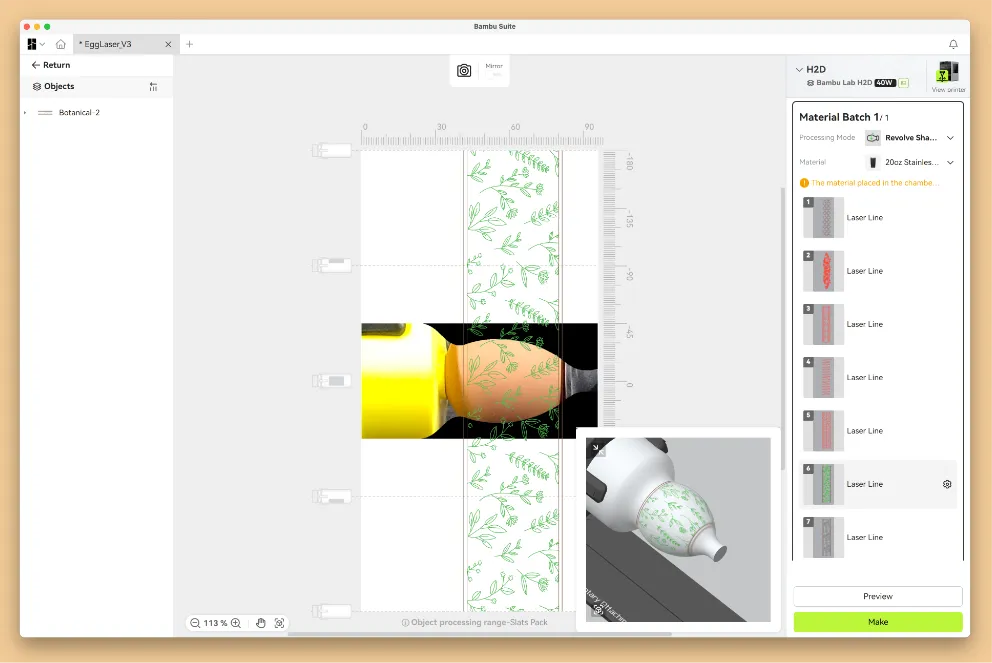
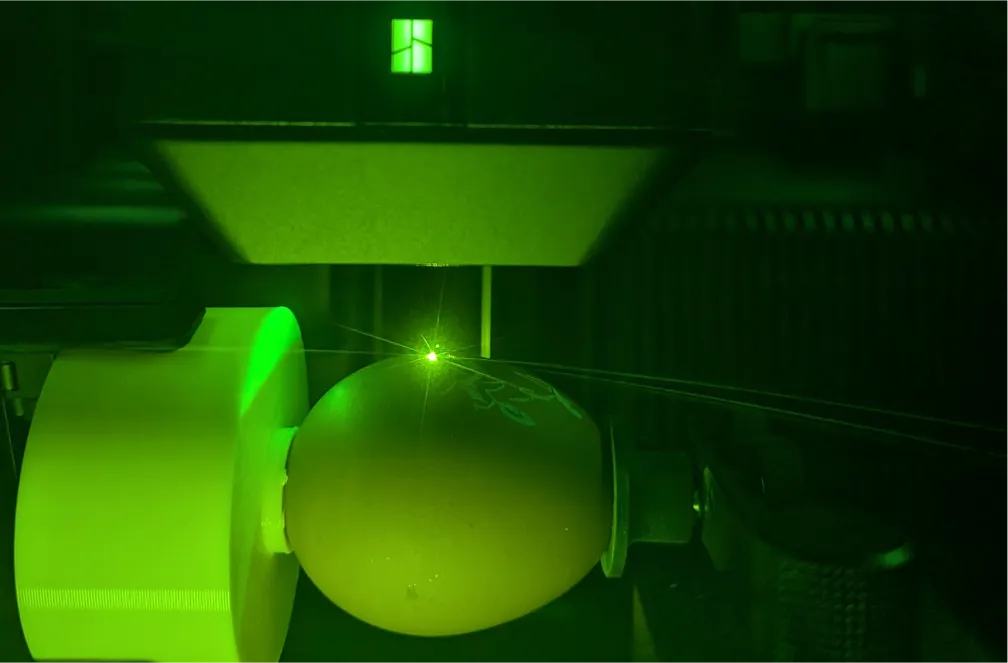
The included templates have both engraved and cut versions. Because the rotary attachment doesn't support cutting actions by default, I'm using the Laser Line processing type with a lower speed to cut through the eggshell. 
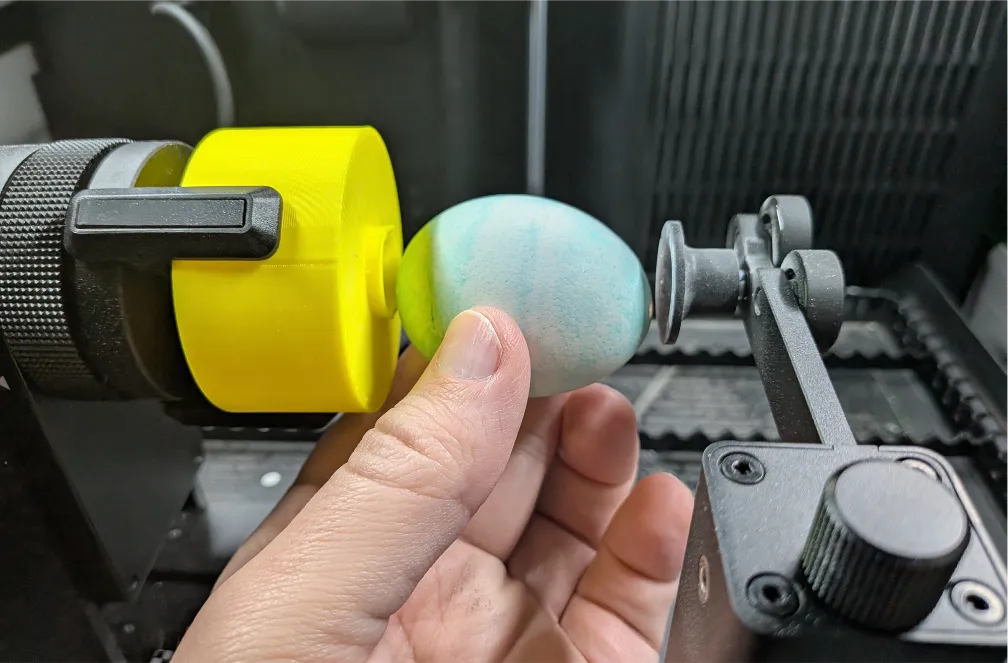
Prepare Rotary Attachment

  • Place the jig into the claws of the rotary attachment and tighten it.
  • Attach the support module while making sure that it is adjusted to the top position and oriented so that the sphere holder can be placed facing the jig.
  • Insert an egg with the small end pointing towards the sphere holder. You will need to adjust the support module to get a snug fit.
  • Rotate the egg manually to see if it is centered. If not, loosen the support module, adjust the egg position and re-tighten.

Test Laser Settings

  • Eggs can vary quite a bit in size, shape and shell thickness. For this reason, it's important to test your settings before you begin.
  • For engraving, I used the settings for Laser Line and the Steel Tumbler material.
  • For cutting through the egg surface, I used the Laser Line process type with a power of 100% and a speed of 35 with the 40W laser.
    • You will want the speed to be slow enough to cut through the shell but now so slow that it will burn the opposite side of the egg.
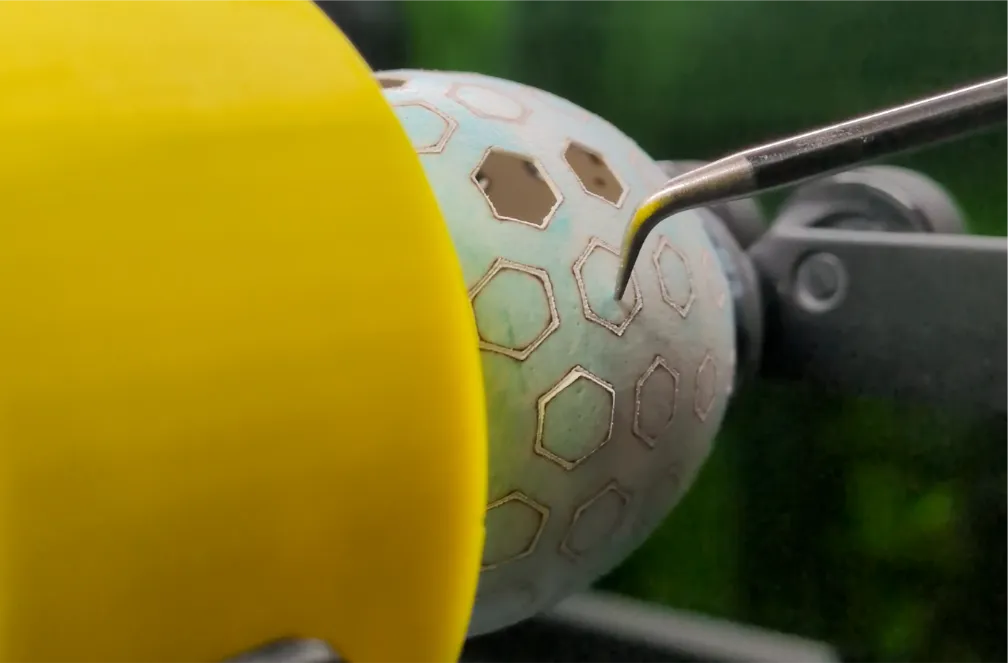
    • I prefer to cut through just enough so that I can knock out the negative part with tweezers
  • You can create a test pattern in Bambu Suite to arrive at the appropriate settings.

Measure & Align Pattern

  • Because most eggs are smaller than the recommended size for the rotary attachment, it can take some experimentation to determine the alignment.
  • For most patterns, you will want to stretch the texture the full height of the workspace.
  • Rotate the 3D view to the bottom of the egg to confirm that the pattern meets on both ends. For some patterns, you may need to slightly stretch them vertically to create space between the first and last feature.

Initiate Process

  • Be sure that your space is well-ventilated - this process is stinky!
  • After removing the eggs, I usually remove them and place them outside to air out.

Post-Processing

  • Depending on your settings, you may need to remove some of the cut-out pieces.
  • Properly cleaning the interior of the eggs (before you start) helps with this.
  • The fine-point tweezers from Maker's Supply work well for this.


Notes

  • I tested the jig with 85A, 90A & 95A HF TPU. All worked well but the 95A HF has the advantage of easier and faster printing - it would be my recommendation.
  • Make sure you have good ventilation - the process can be smelly!
  • The three engraved eggs use flower patterns from Freepik 
  • As always, please be sure to follow all safety guidance and use the laser only as instructed in the hardware documentation.

Boost Me (for free)

If you enjoy my models and would like to support me, please consider sharing a boost! 

Membership

Want to sell prints of my models? This Commercial Membership grants you a license to all of my MakerWorld models!

Join

I love creating models to share for free, personal use. If you enjoyed this model, please consider buying me a coffee or joining me on Patreon

Comment & Rating (18)

(0/1000)

License

If you want to use this model commercially, please join my membership.
Join Now
This user content is licensed under a Standard Digital File License.

You shall not share, sub-license, sell, rent, host, transfer, or distribute in any way the digital or 3D printed versions of this object, nor any other derivative work of this object in its digital or physical format (including - but not limited to - remixes of this object, and hosting on other digital platforms). The objects may not be used without permission in any way whatsoever in which you charge money, or collect fees.