FullPrinted 1/8 RC Off-Road Kart CyberBrick


Print Profile(4)

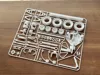
Bill of Materials
Description
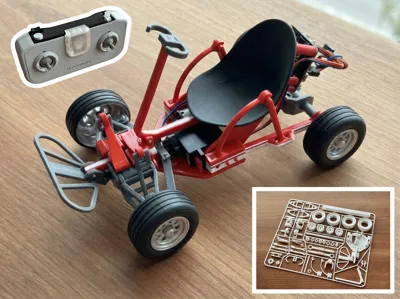
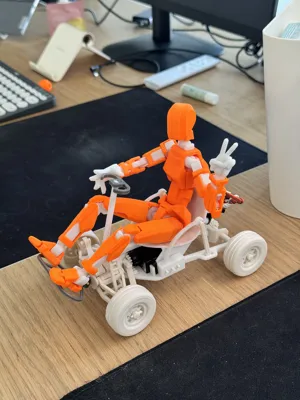
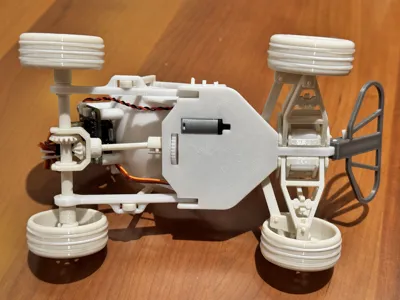
Fully Printed Remote Control Off-Road Go-Kart Set, Can Hold a Dummy13 Figure
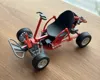
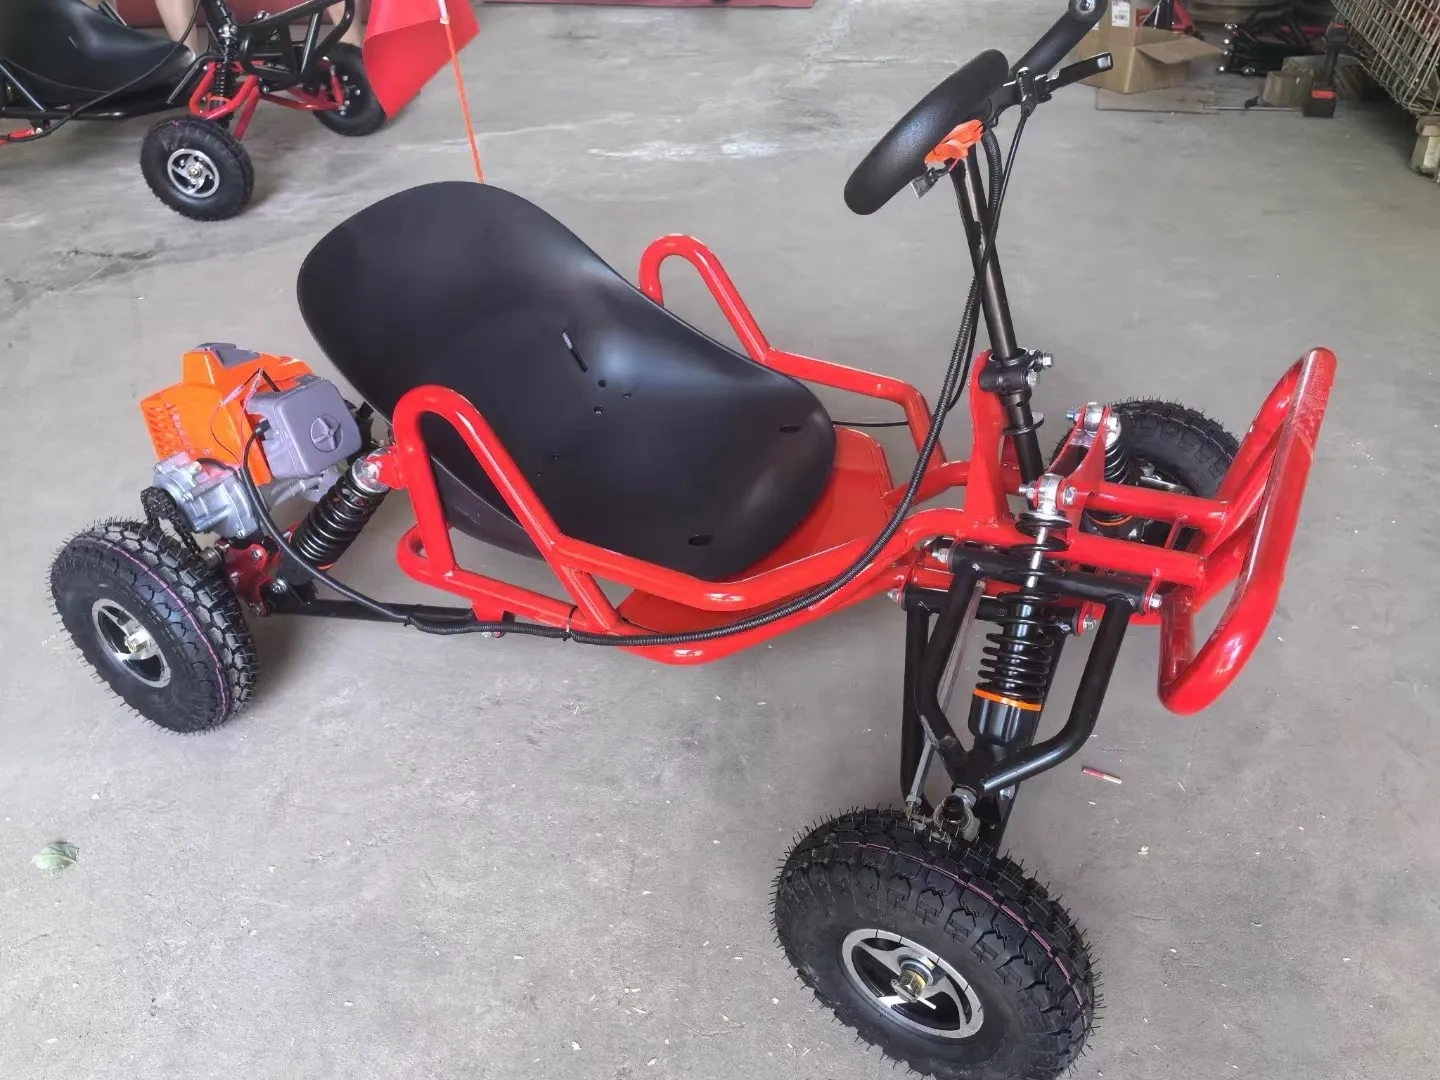
This is the most complex model I've ever made, taking about two weeks. See the reference image below for a mini go-kart that fits a real person.
It completely replicates the structure of a real go-kart, including independent front suspension, rear straight axle suspension, front steering mechanism, and rear drive shaft. Only 105g of filament is needed.
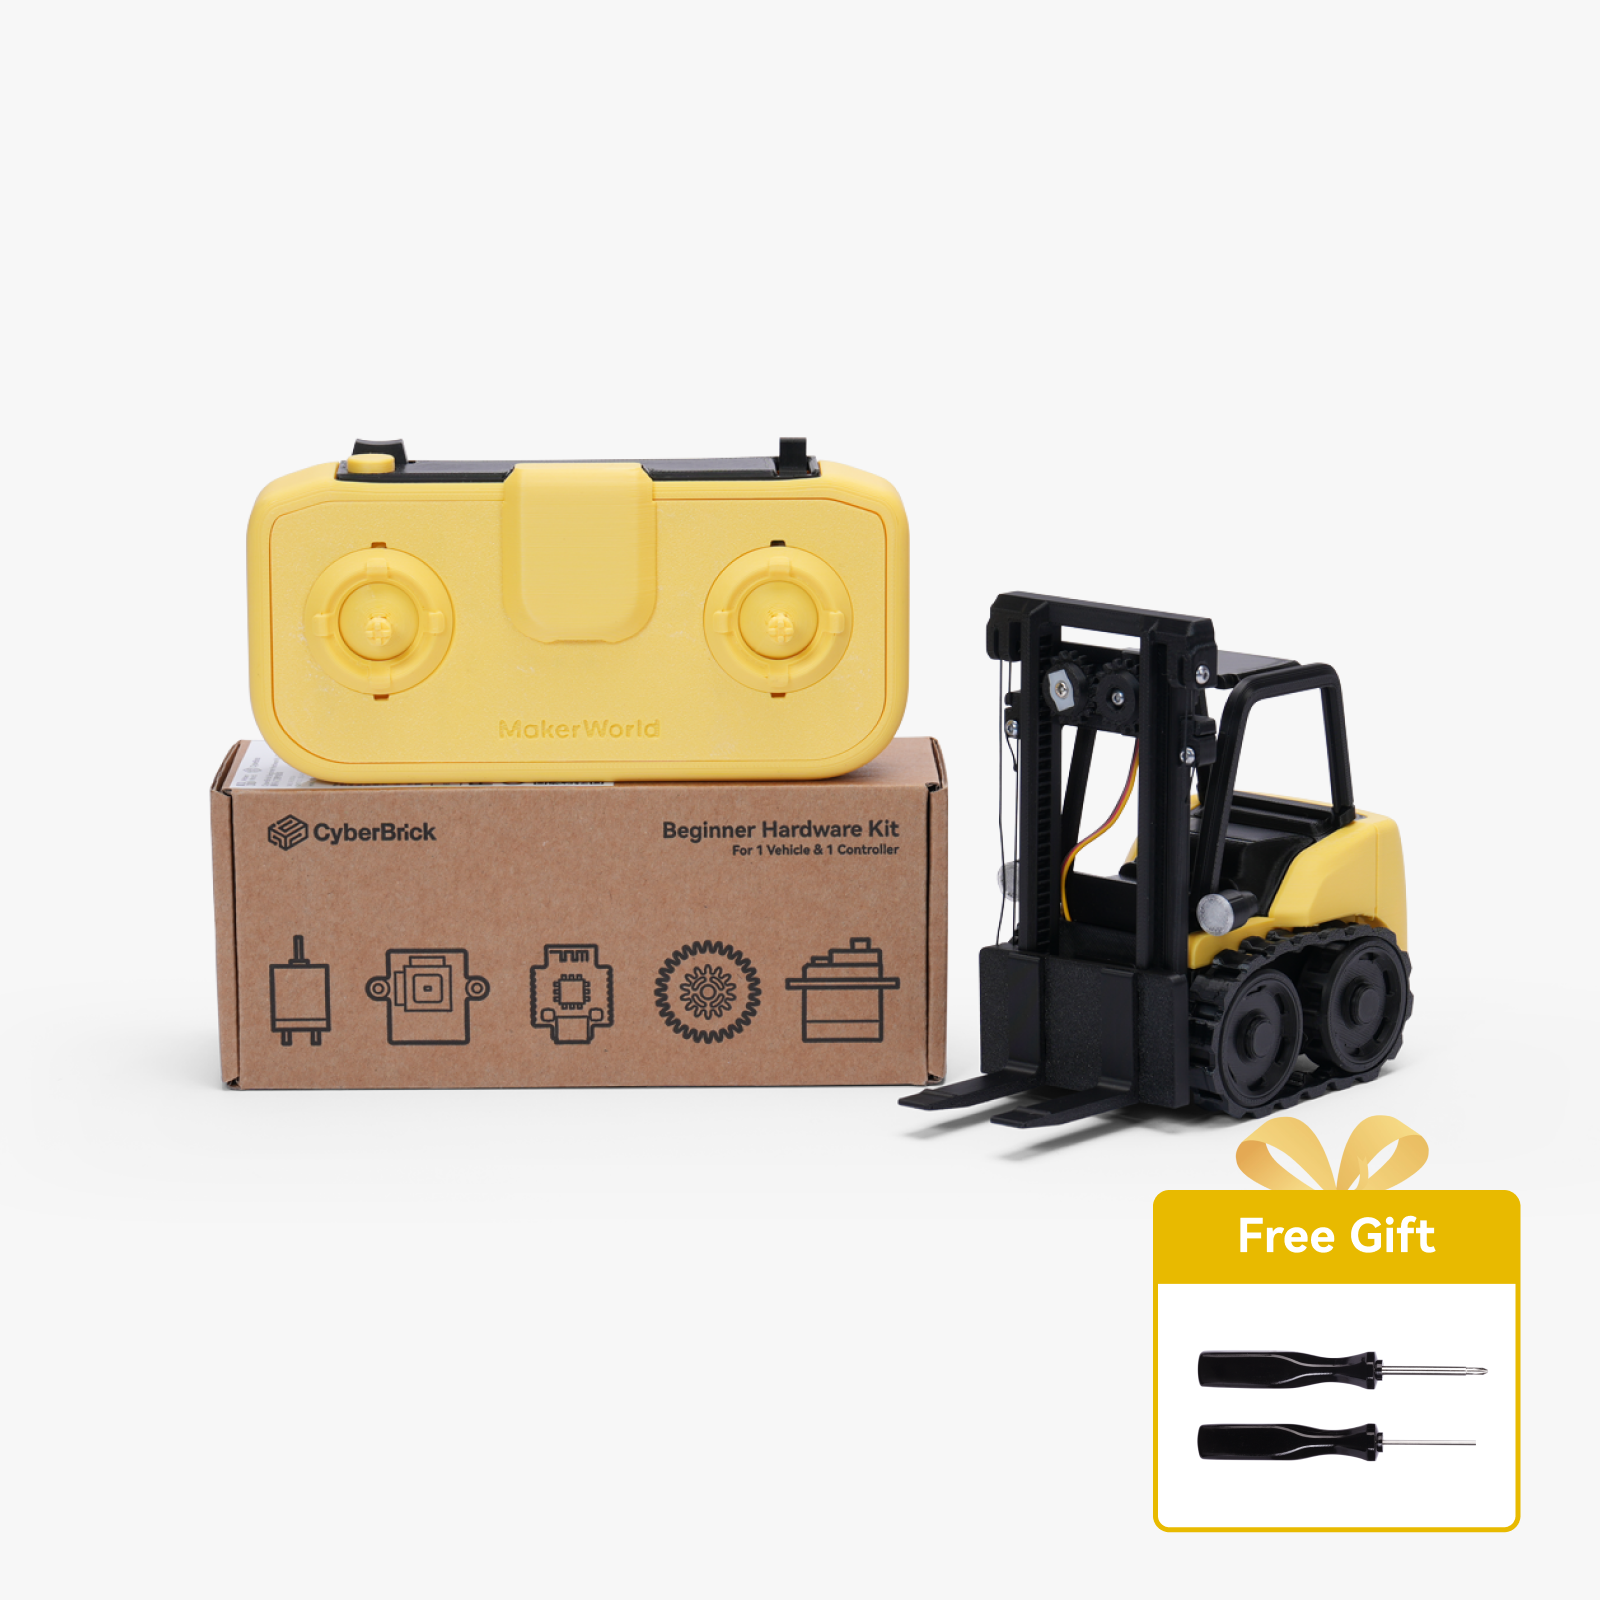
Optional CyberBrick kit can be added to transform it into a remote control car. Without it, you can push it by hand or use it as a display piece with a Dummy13 figure (150% 20cm version).
- All parts are fastened with filament thread; no screws are needed for assembly (a screwdriver is required if you add CyberBrick).
Printing Instructions:
Print the first roll to test the filament tolerance. If it's too tight, decrease the "xy outer contour compensation" and increase the "xy inner contour compensation" adjusting by approximately 0.05mm each time, and vice versa.
Note: Because the design aims for full 3D printing to avoid bearings, this model... cannot be easily assembled with a simple one-click print. It requires some understanding of your printer and filament characteristics, as well as some patience for adjustments.
Then you can print the remaining two discs.
- It is strongly recommended to use filaments with slightly higher strength, such as PETG. PLA is not recommended, as the suspension requires a certain degree of elasticity.
Assembly Instructions:
Detailed assembly instructions are attached. All installation steps are designed to be completed by hand.
Sequence: First assemble the front axle (upper and lower control arms, suspension springs), then assemble the rear axle. Install the two front axle parts onto the chassis, then the bumper and steering wheel, then the servo and motor, steering linkage, and finally the seat.
For convenience, it is best to prepare the following tools in case of emergency: diagonal pliers, needle-nose pliers, super glue, 1.8mm hand drill bit, and trimming knife.
Most connectors use 1.75mm filament wire. If it's too tight, use the tool mentioned above to enlarge the hole; if it's too loose, add a little glue.
A long-handled tool is included with the printed parts for inserting the filament wire (protect your nails).
- CyberBrick Accessories (if you want to use it remotely): Official standard remote controller, receiver and its mounting screws, servo motor, 030 motor and its gears, 2s lithium battery, official gearbox gears. You will also need to purchase 12 25*1.5 O-rings to prevent tire slippage.
Remote Control Instructions:
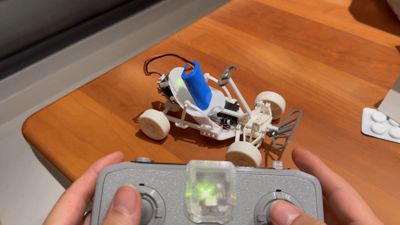
Due to limited space in the vehicle, the battery can only be placed on the seat; it's recommended to secure it with a rubber band.
- Install the CyberBrick desktop software. Connect the transmitter and receiver to the battery. Connect the two chips via Bluetooth in the software, import the JSON configuration file. The left joystick controls throttle forward and backward, and the right joystick controls direction.
Documentation (1)

License
You shall not share, sub-license, sell, rent, host, transfer, or distribute in any way the digital or 3D printed versions of this object, nor any other derivative work of this object in its digital or physical format (including - but not limited to - remixes of this object, and hosting on other digital platforms). The objects may not be used without permission in any way whatsoever in which you charge money, or collect fees.
Comment & Rating (22)