Search models, users, collections, and posts

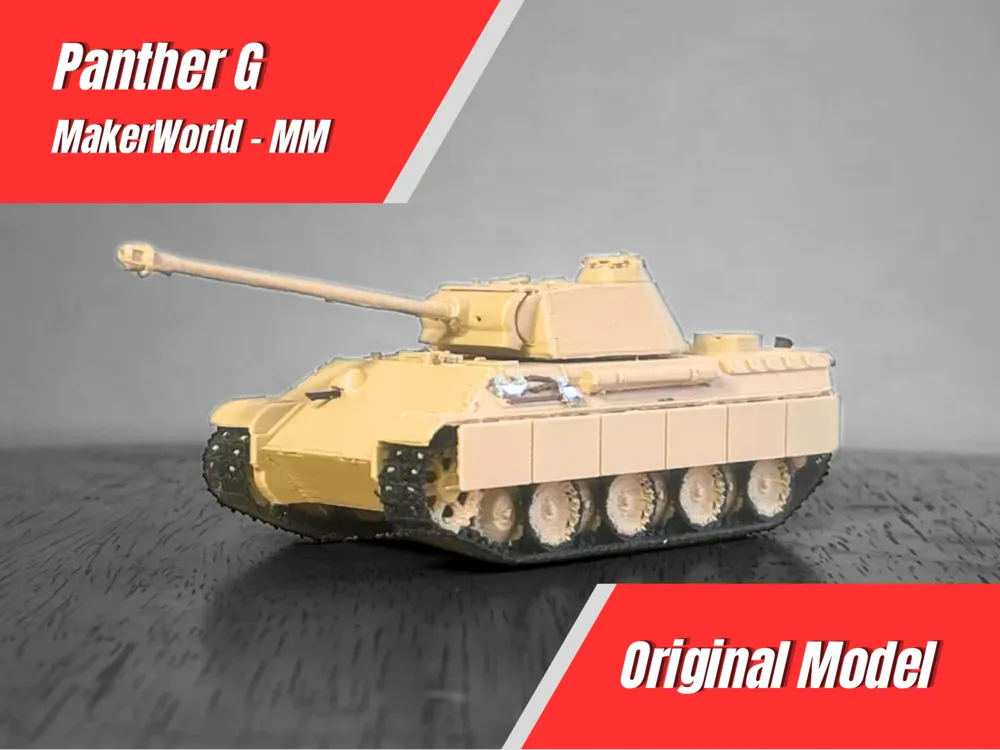
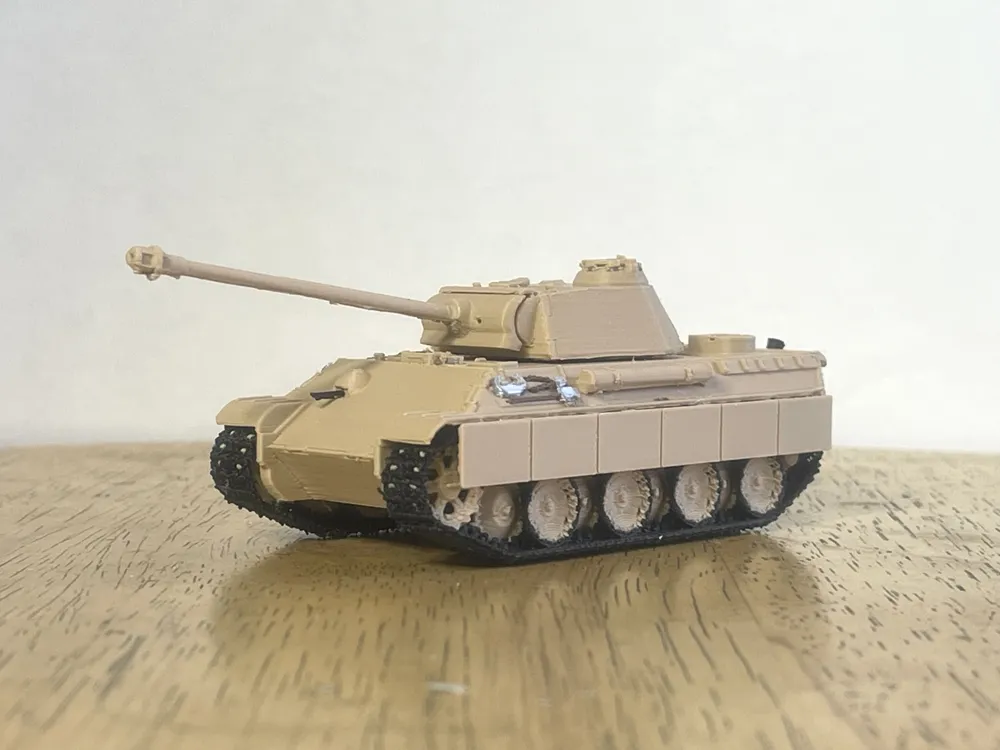
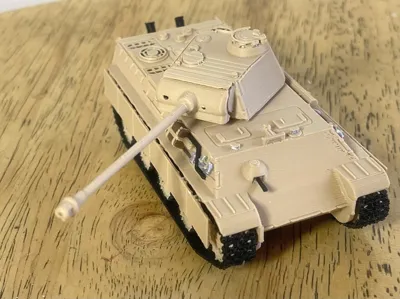
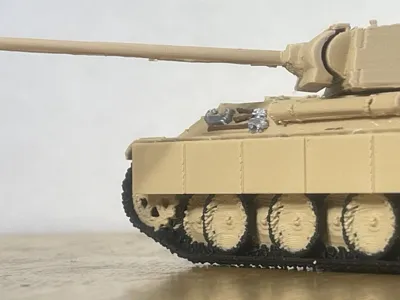
1/72 Panther G

Print Profile(4)
All
P1S
X1
A1
A1 mini
H2C
H2D
H2S
X2D
A2L
X1E
X1 Carbon
P2S
P1P
H2D Pro

1/72 Panther G (0.4mm)
Designer
8.1 h
2 plates
5.0(2)

1/72 Panther G Multicolor (0.4mm)
Designer
12.8 h
2 plates

1/72 Panther G (0.2mm)
Designer
13.9 h
2 plates

1/72 Panther G Multicolor (0.2mm)
Designer
34.4 h
2 plates

Open in Bambu Studio
Boost
38
64
6
1
33
15
Released 

Description

  • 3/23/26 Update: Strengthened track teeth
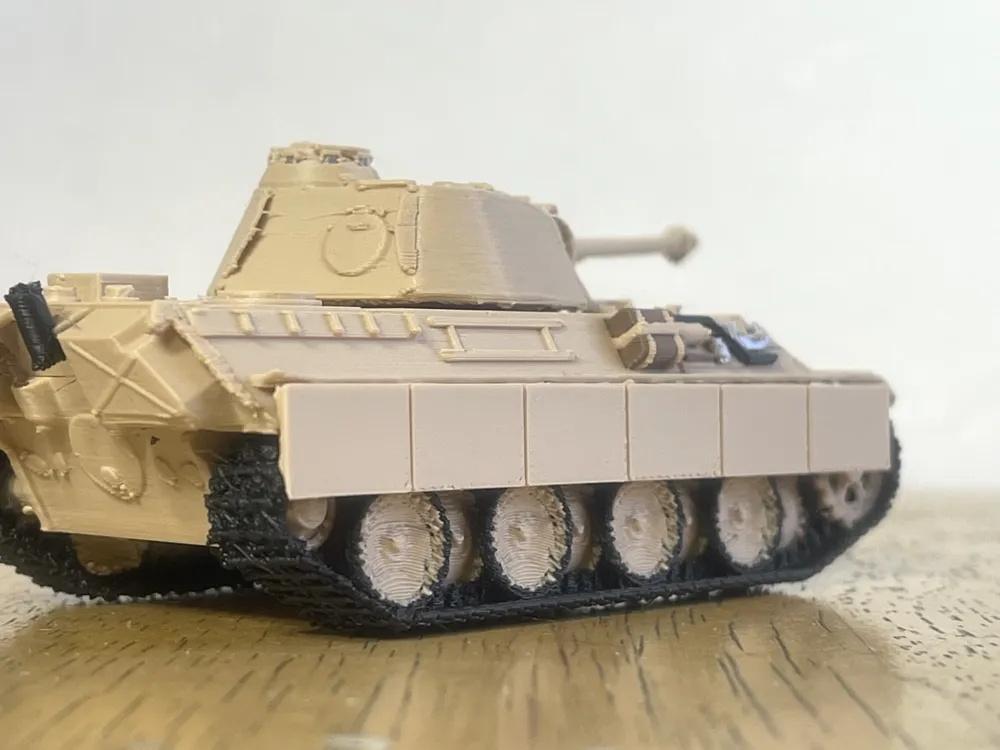
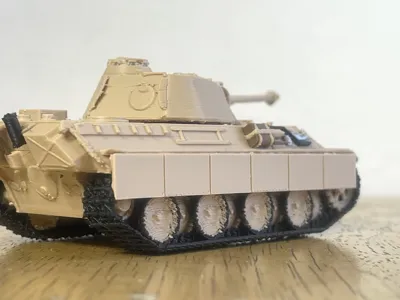
  • 4/1/26 Update: changed side skirts from 6-panel to 5-panel 


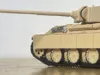
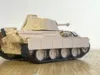
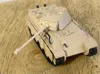
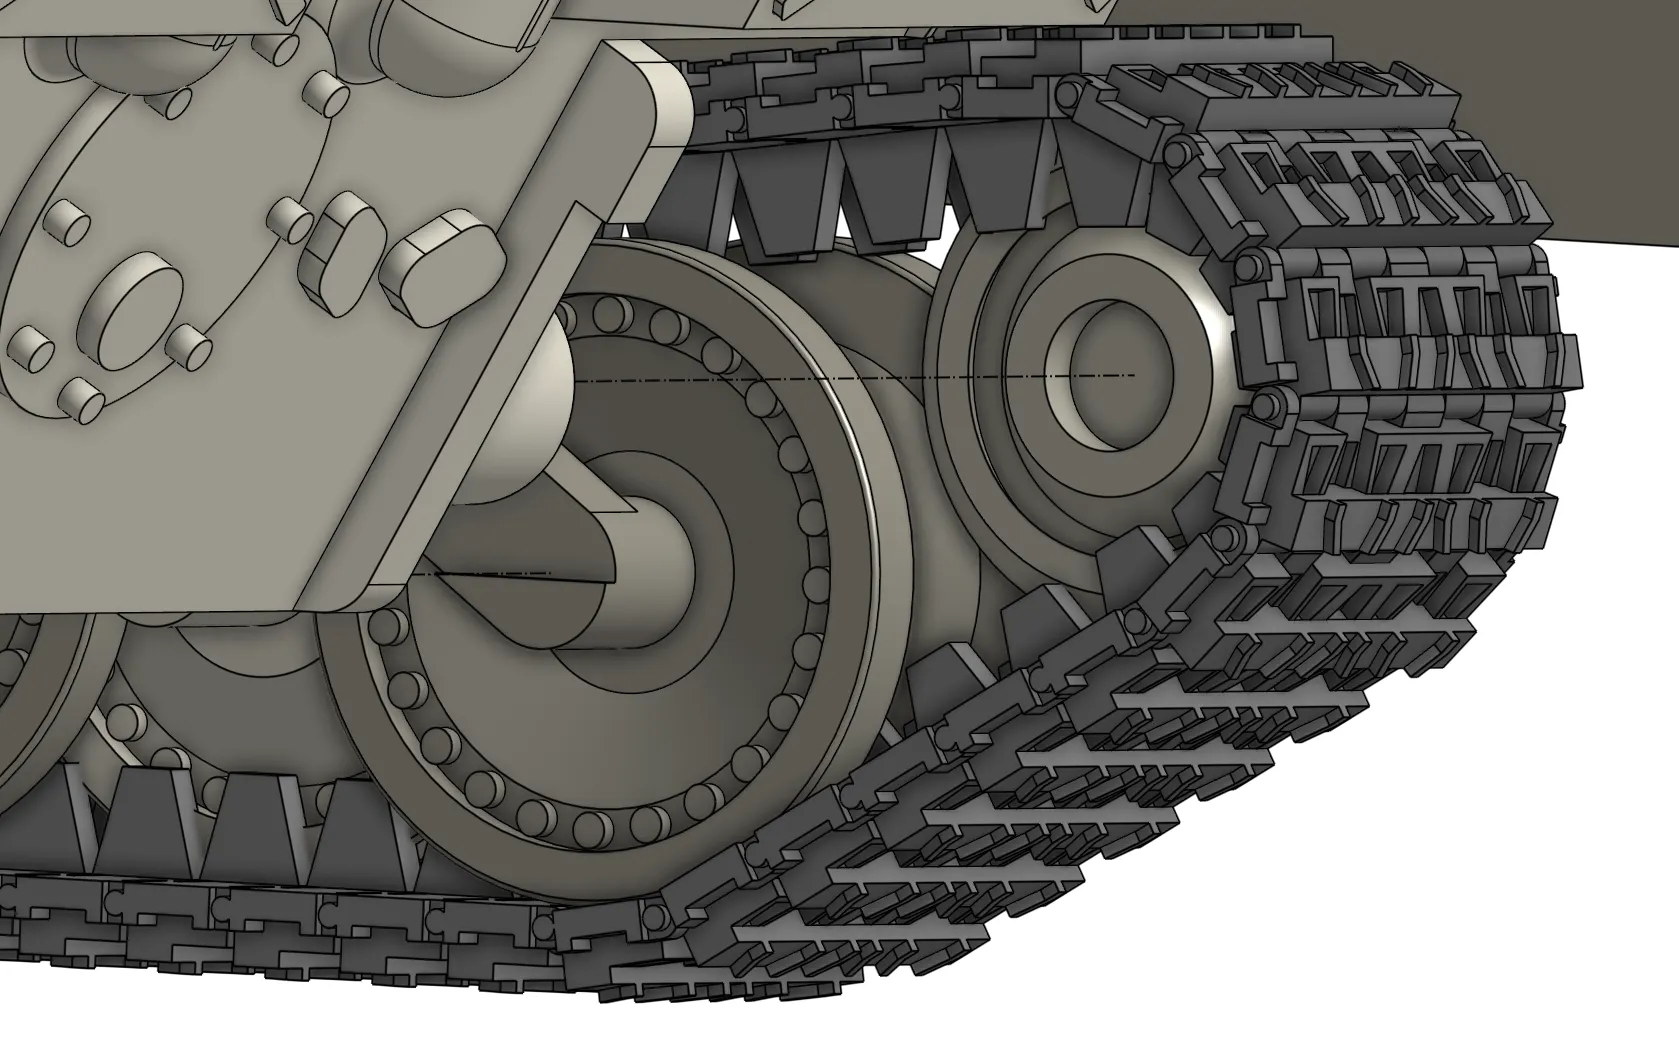
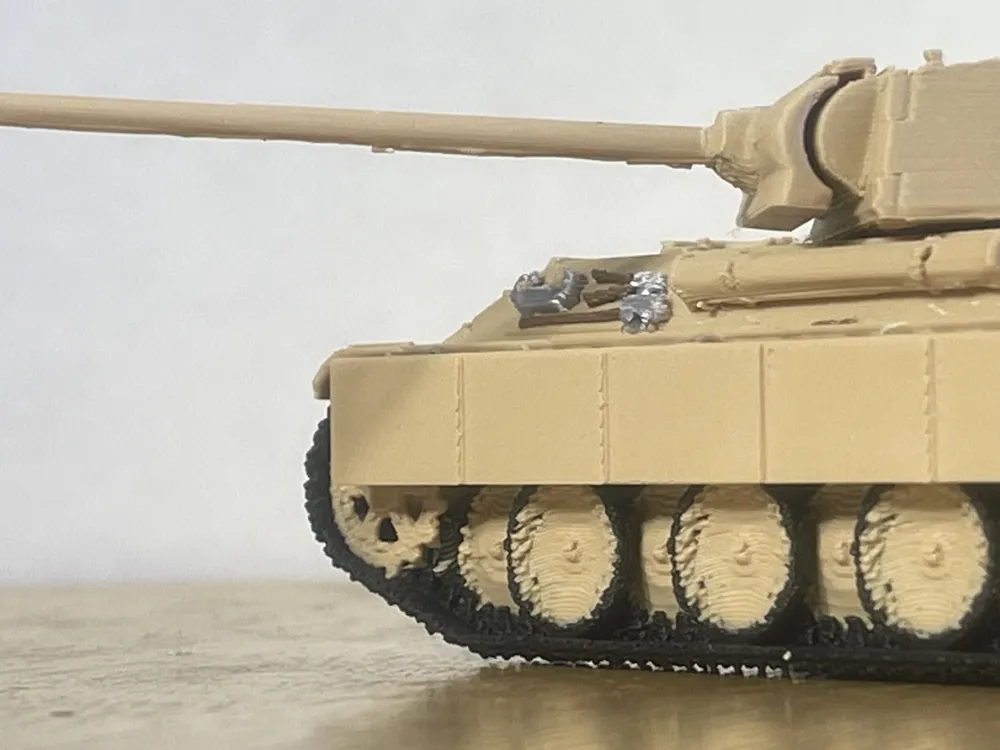
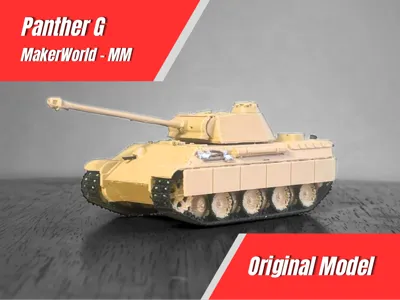
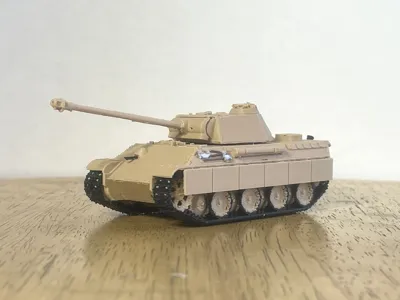
A completely original Panther G model in 1/72 scale!


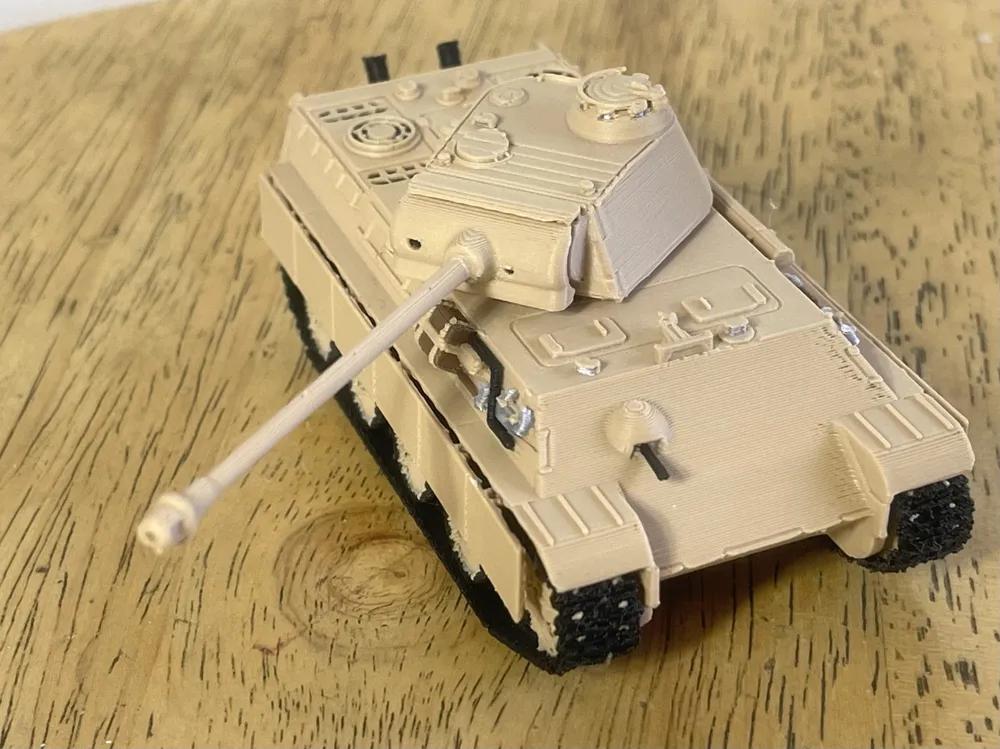
This tank took days of designing, about two weeks went into designing this from scratch. The hull was designed first, with the turret being second, the gun being third, and the tracks and skirts being last. This tank also features a moveable gun!


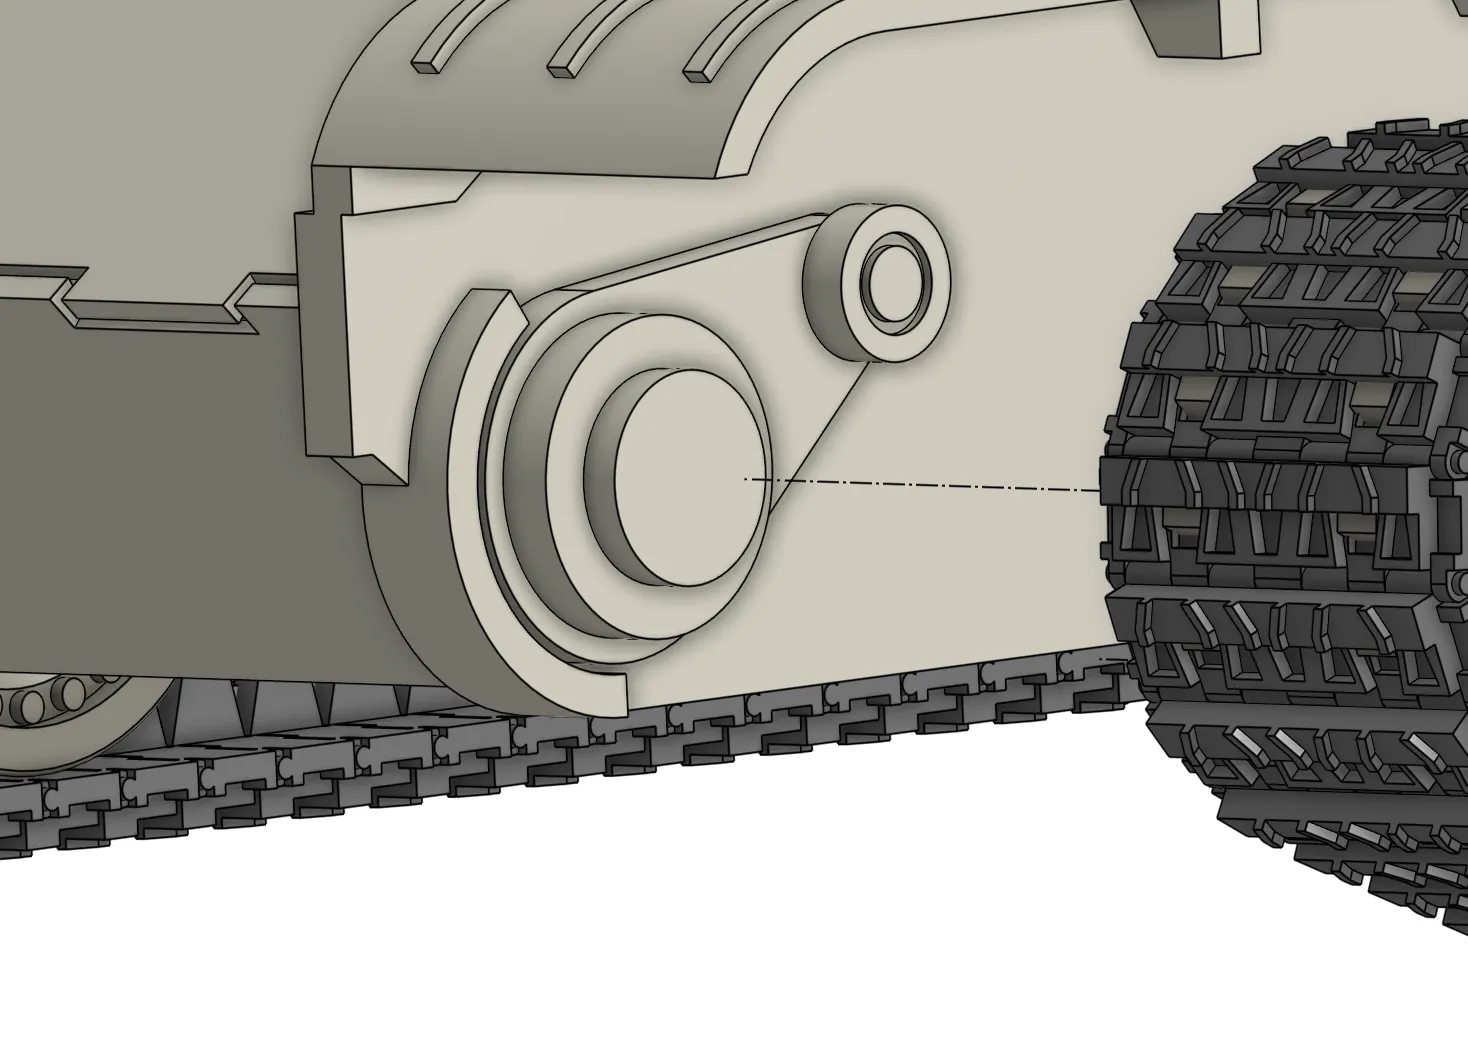
There has been issues with the previous models with how the hull was sliced and the peg-hole-alignments squares, so this model has been designed to not use them. Instead of the hull being sliced into three parts and causing gaps between the parts, the hull is now one complete part, with the tracks only needing to be glued to the hull using regular alignment pegs and holes. 


It is recommended to print this with a 0.2mm nozzle for better quality, but it can be printed with a 0.4mm nozzle. 


Want it in 1/48 scale? Just scale it up to 149.99%. It's not recommended to print it in 1/100, but if you also want it in 1/100, scale it down to 71.99%


Assembly
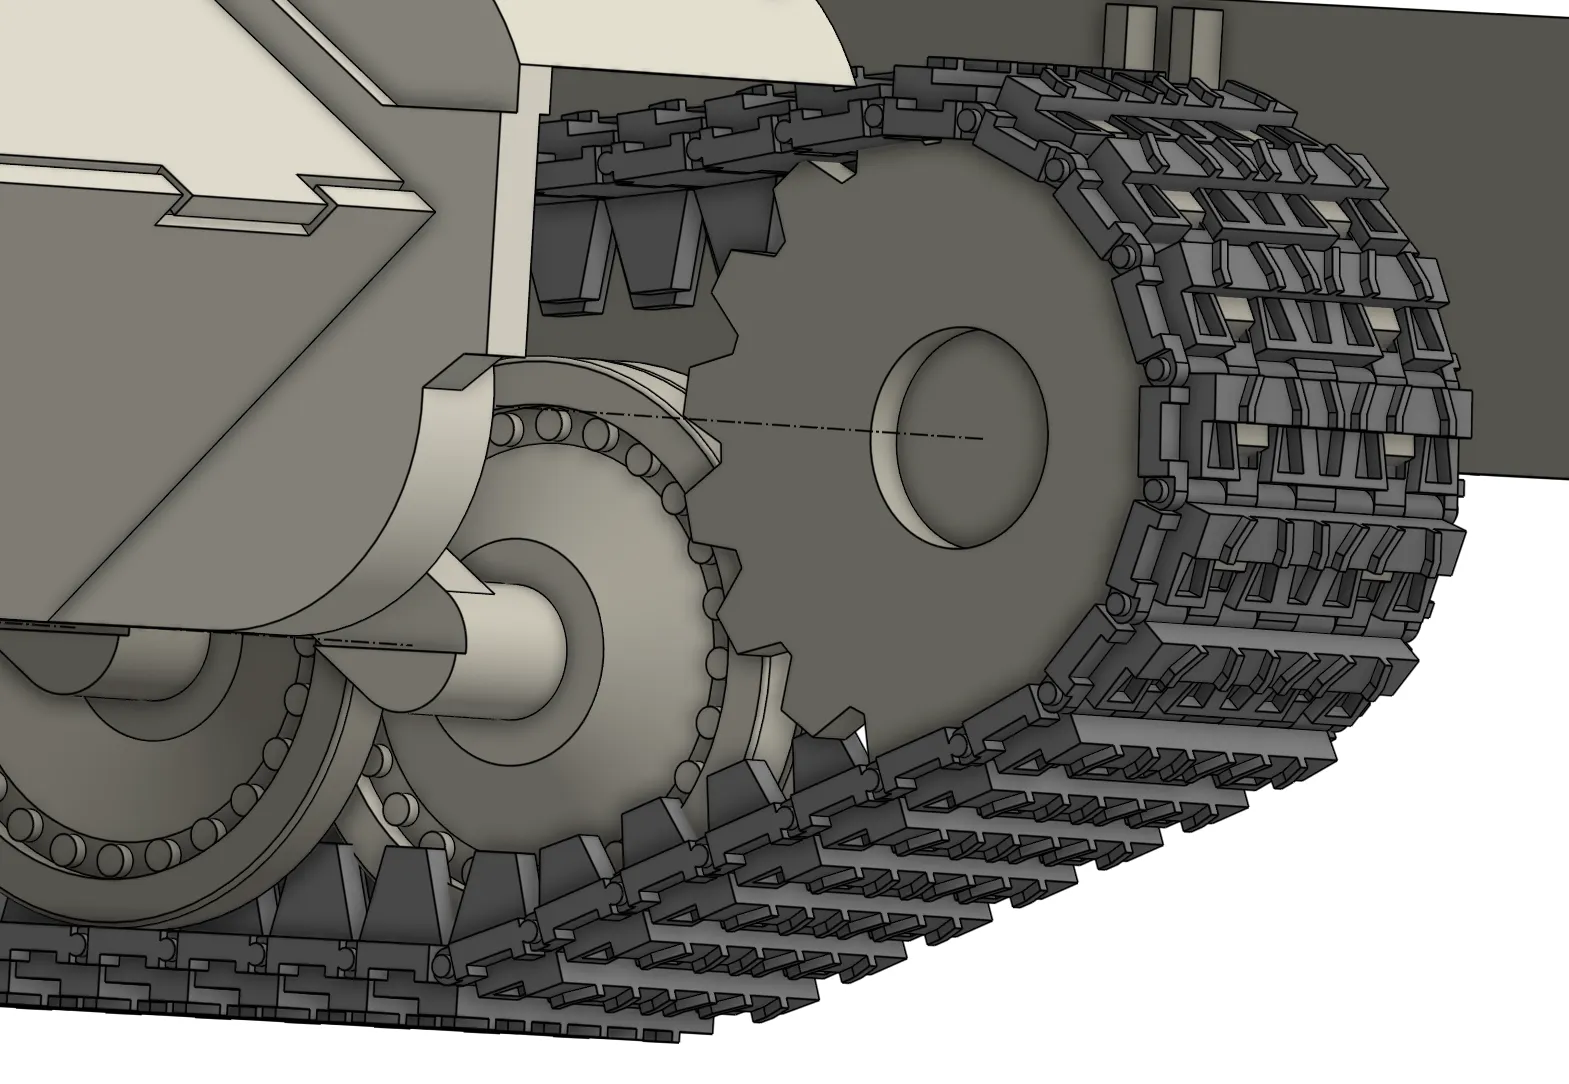
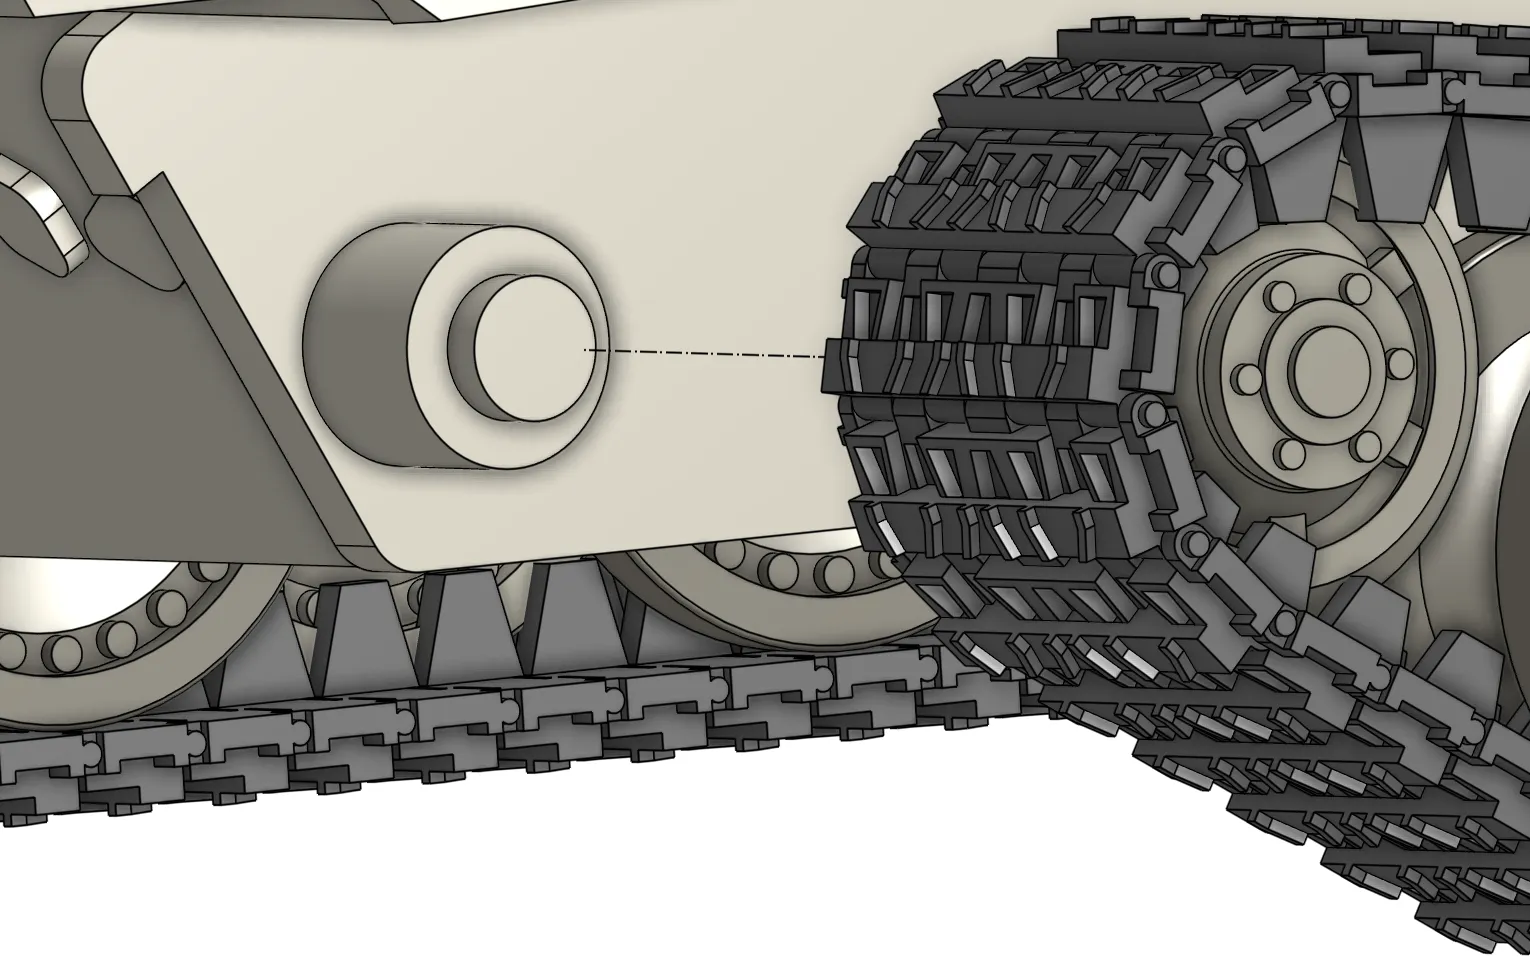
Use the respective alignment pegs to attach the tracks, glue will be needed. 
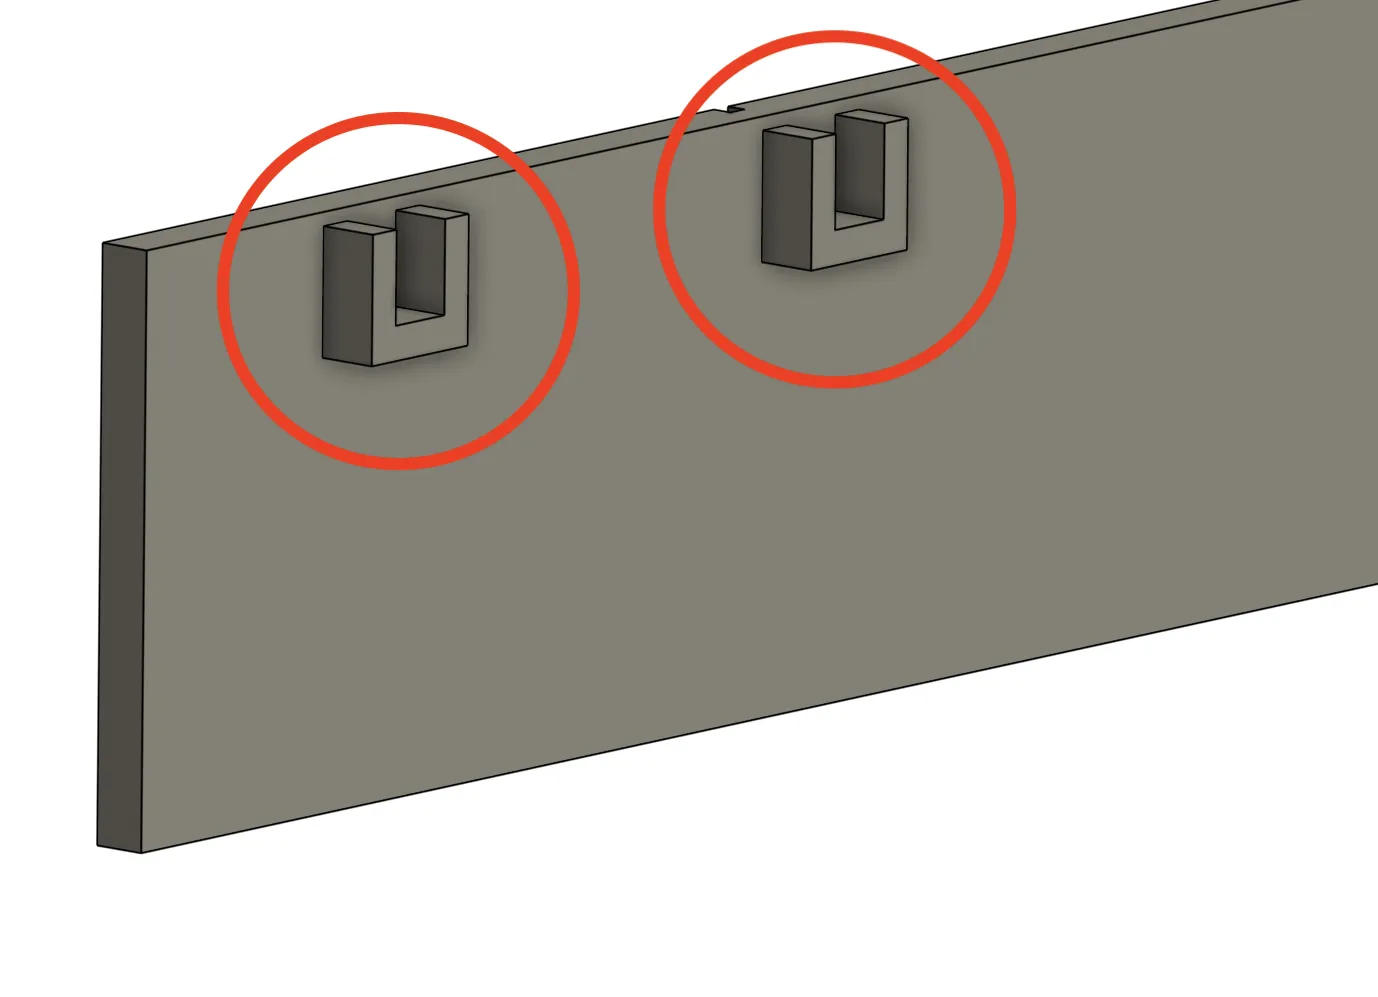
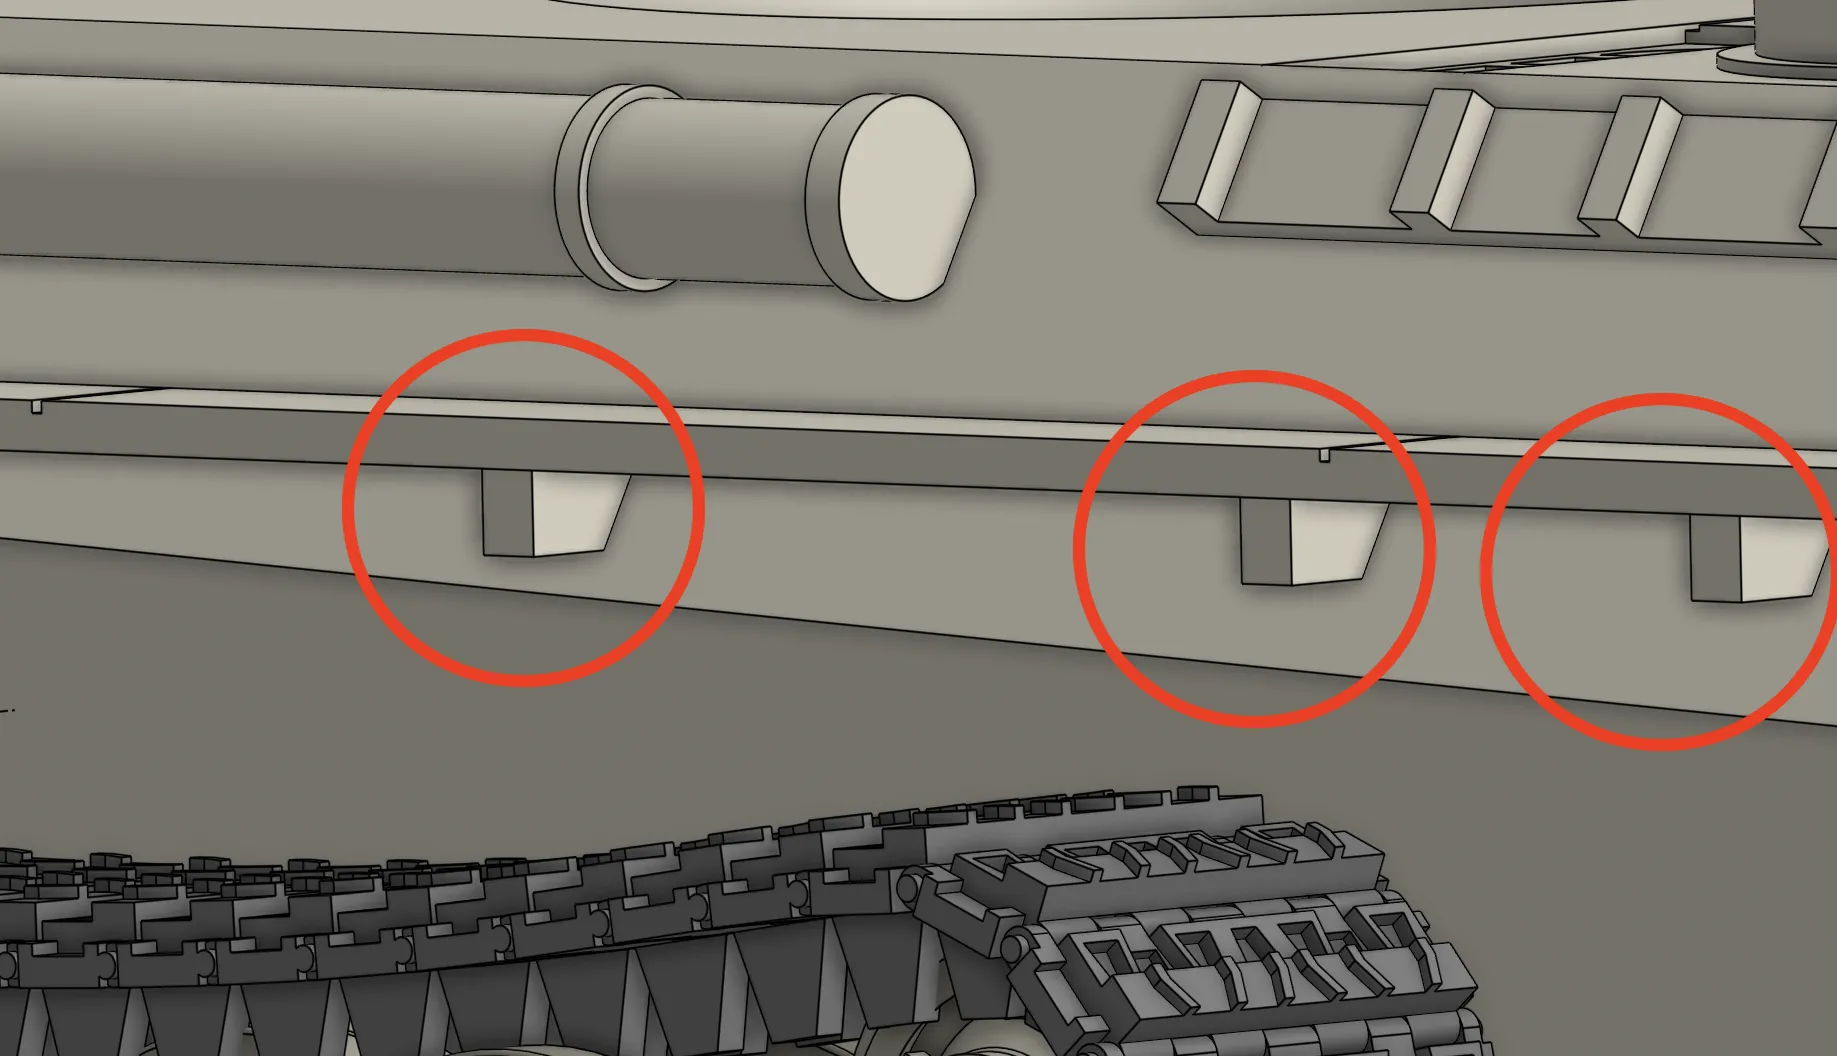
Use the respective alignment pegs to attach the side skirts, glue will be needed (to tell if you have the left or right side skirt, the alignment holes on the side skirt have a shorter distance from each other at the front than the back of the side skirt).

Comment & Rating (6)

(0/1000)