Improved Food Compartment - Adapted for Little Yellow Duck Leaky Food Dispenser Cat and Dog Toy


Print Profile(1)

Description

Product Introduction
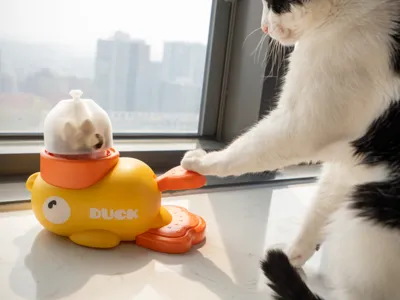
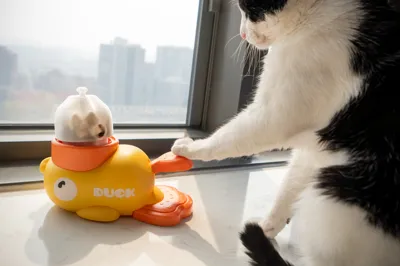
This product is a third-party DIY accessory for the Little Yellow Duck food dispenser, addressing the design flaws of the original dispenser (prone to jamming, base easily accumulating dust causing the entire unit to seize up, etc)
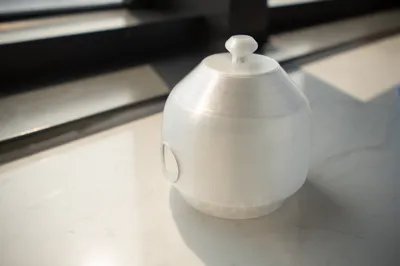
It features an integrated design with a sealed-bottom food compartment, preventing freeze-dried oils and fibers from leaking into the toy body and causing it to jam
Transparency is average, but the remaining freeze-dried quantity can be observed
Prerequisites for Product Use
You need to already own the same Little Yellow Duck food dispenser to use it (it's very cheap, can be bought for under 9 yuan including shipping), not compatible with other models
You need a standard Phillips screwdriver to unscrew a small screw at the bottom of the original toy's food compartment After removing the original bottom cover (as shown in the figure below), insert the printed new food compartment into the column for use The unscrewed screw is not needed, please keep it safe
It is recommended to fill the compartment with freeze-dried food and cat food to about half its capacity for easier dispensing If completely filled, it might compact the treats, making them difficult to shake out

Printing Notes
It is recommended to print with transparent PETG When printing, it is advised to open the printer's top cover and close the front door
2.6CM aperture version (plate 1) is suitable for freeze-dried treats, such as freeze-dried chicken breast;
1CM aperture version (plate 2) is suitable for cat food;
As for the small top cover (plate 3), it can be omitted and not used
After printing, remember to remove supports Pliers are recommended, otherwise the surrounding supports will be difficult to remove
Friends with extra capacity can try reducing the outer wall printing speed, which may result in better transparency
Comment & Rating (0)