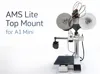
AMS Lite top mount for A1 mini Bamnulab


Print Profile(1)
Description
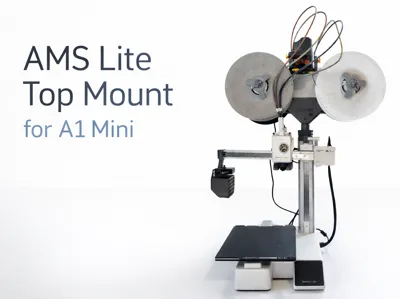
AMS Lite Top Mount for A1 Mini
This kit allows you to mount the AMS Lite system on top of the vertical axis of the Bambu Lab A1 Mini.
I designed this solution because I have very limited space and I cannot drill into the wall or place the AMS beside the printer. At the same time, I didn’t want to lose the ability to print in multiple colors.
I have been using this setup for several months and can confirm that it is solid and reliable, with no issues so far. All parts were printed using standard PLA Basic.
The installation is simple, and you won’t need any additional hardware. All screws required are the same ones already included with the printer and the AMS kit.
Installation
First, download and print the ZAXIS MULTIFUNCTIONAL COVER from this project:
Replace the original Z-axis cover with this one, using the same screws.
Next, print the AMS LITE TOP MOUNT kit.
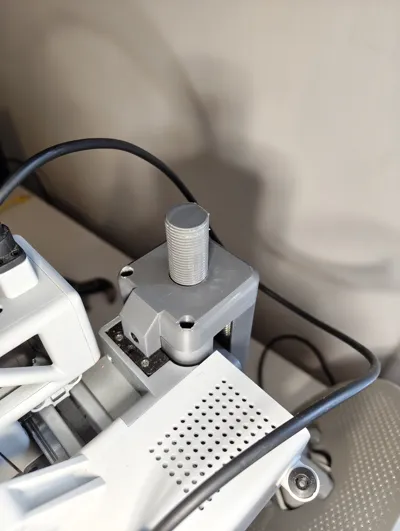
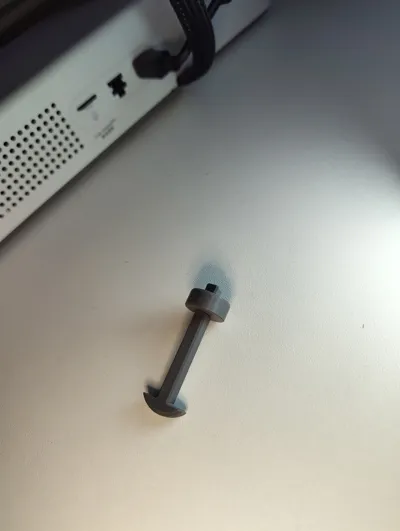
Start by screwing the printed threaded rod all the way in.

- Lock it in place by tightening the first threaded knob firmly.
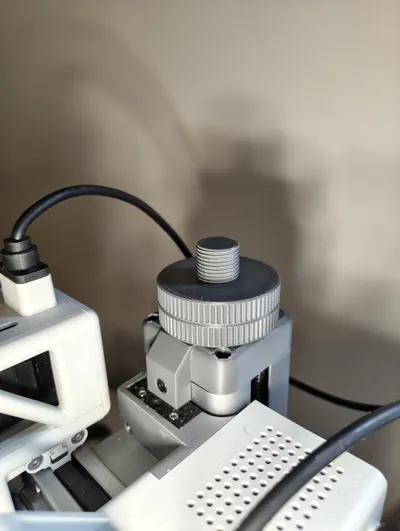
The system is now fixed in position. Screw the second knob until it reaches the end, tightening it but not excessively.

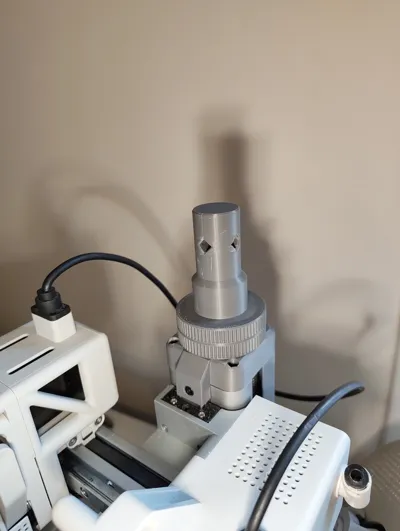
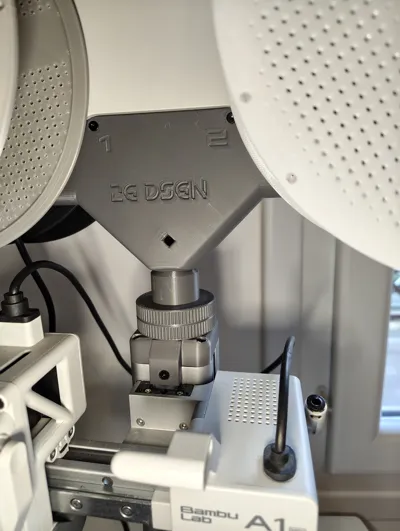
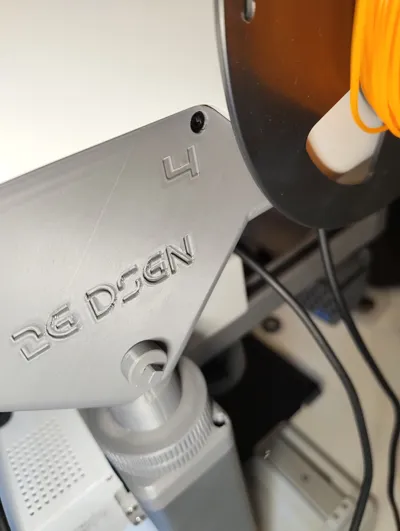
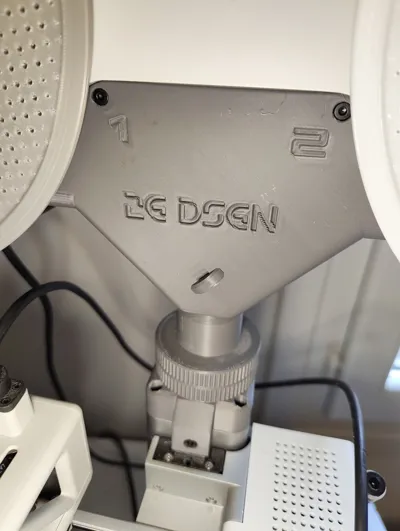
4. Then screw the AMS connection cylinder cap as far as possible until fully seated, keeping one of the diamond-shaped holes facing toward you.
Hold the mounted component steady and use the second knob to lock it in place by unscrewing it against the structure.

Now you can place the AMS support bracket onto the cylinder, making sure the diamond-shaped holes align.
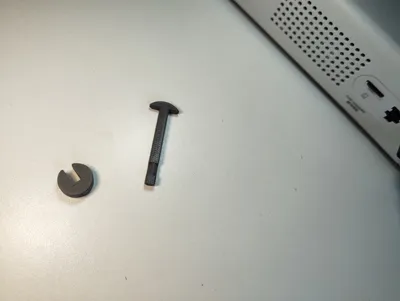
Insert the printed rivet through the hole and secure it on the other side with the locking ring, as shown in the photos.


Remove the original AMS base with feet and reuse the same screws to mount the AMS onto the new structure.
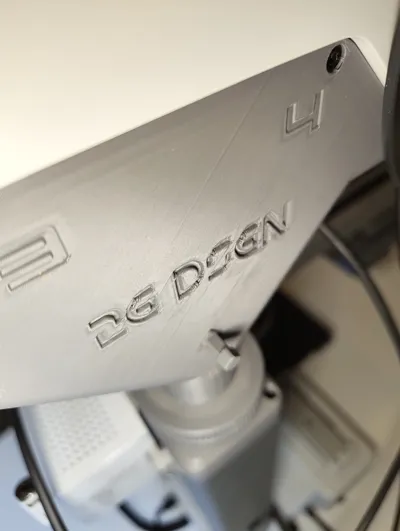
The numbers on the mount will help you orient it correctly.
If everything was assembled correctly, the AMS should now be firmly in place. Run a calibration and you’re ready to print.
⚠️ If you are new to 3D printing, do not change the print settings.
Membership
Want to support my work or sell prints of my designs? As a subscriber, you will: 🛠️Help me create more free, high-quality models. ✨Unlock exclusive perks. 💼Acquire commercial rights.
Boost Me (for free)
if you like my project
License
You shall not share, sub-license, sell, rent, host, transfer, or distribute in any way the digital or 3D printed versions of this object, nor any other derivative work of this object in its digital or physical format (including - but not limited to - remixes of this object, and hosting on other digital platforms). The objects may not be used without permission in any way whatsoever in which you charge money, or collect fees.
Comment & Rating (8)