Easter Bunny Shadowbox - Laser/Pen/Cut


Print Profile(3)
Bill of Materials
Description
Boost Me (for free)
Tap 'Boots Me' and sprinkle a little magic on my day! ✨😊
About This Profile 💡
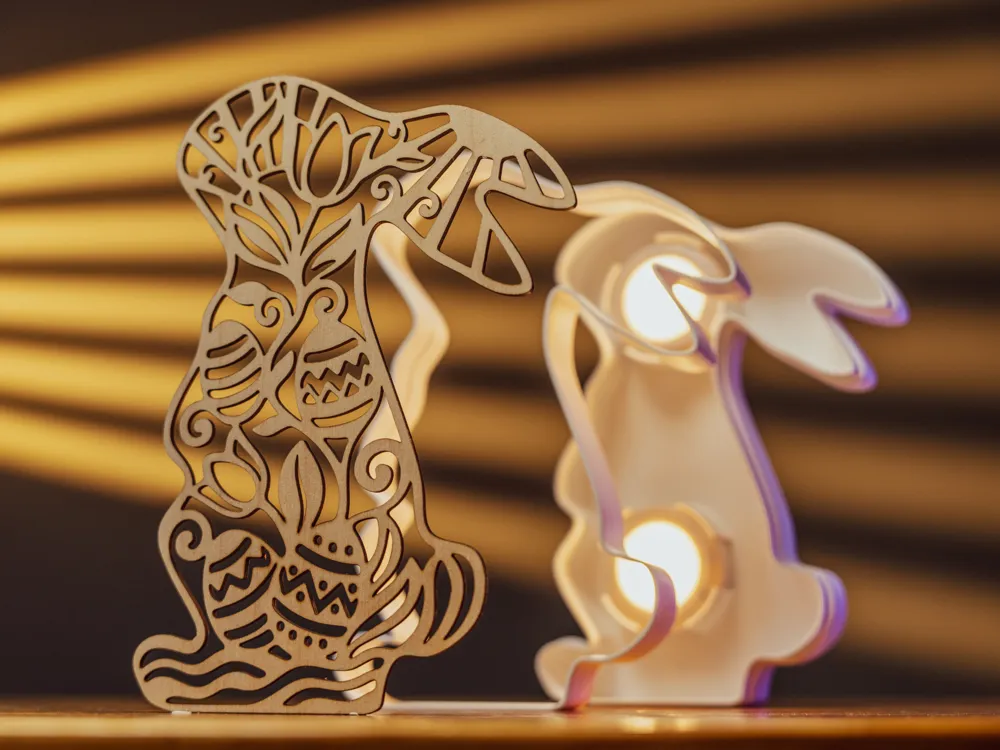
This is the special 2D profile pack for my Easter Bunny Shadowbox.
It is designed to perfectly fit the main 3D printed bunny frame.
Please make sure to download the main 3D model here first:
This is the exclusive 2D profile pack prepared for my 'Glow Bunny' shadowbox.
It is specially designed to perfectly fit the 3D printed bunny frame.
Please be sure to download the main 3D model here first
What's Included 🧰
This pack includes three profiles to let the printer do all the hard work.
This profile pack includes three profiles, letting the printer do all the hard work.
⚡ Laser Cut: Used to cut the hollow wooden insert. It gives the bunny that warm, toast-like smell.
Laser Cut: Used to cut the hollow wooden insert. It gives the bunny that warm, toast-like smell.
🖍️ Pen Draw: Let the printer draw the exact lines for you. Just get your colorful markers ready!
Pen Draw: Let the printer draw the exact lines for you. You just need to prepare your colorful markers!
✂️ Blade Cut: Used to cut the paper outline, so it fits the frame perfectly like a sandwich.
Blade Cut: Used to cut the bunny's outline on paper, allowing it to fit snugly into the frame like a sandwich.
Have Fun ❤️
Just use your imagination and create your own unique lamp.
I can't wait to see your colored bunnies in the comments!
Use your imagination to create your own unique night light.
I'm really looking forward to seeing your colored bunnies in the comments!
Honestly, I'm secretly a little jealous of your Easter break! 🤭
But even so, I still designed this GlowBunny Shadowbox Kit for you guys. 🎁
This is a super fun DIY project perfect for family time. Kids absolutely love playing with it—for example, me. 🙋♀️
Honestly, I'm secretly a little jealous of your Easter holiday!
But even so, I still designed this Glow Bunny Shadowbox Kit for you.
This is a super fun DIY project, perfect for family time. Kids absolutely love playing with this, for example, me.

Look 🎨
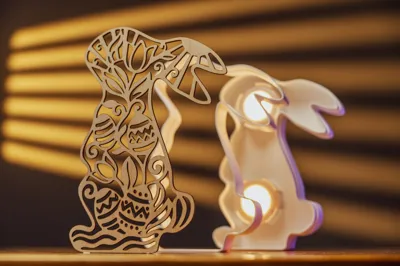
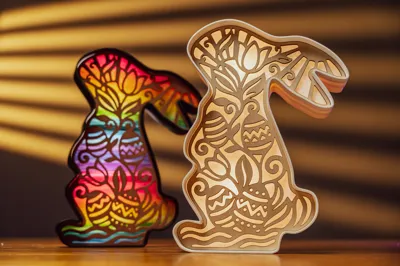
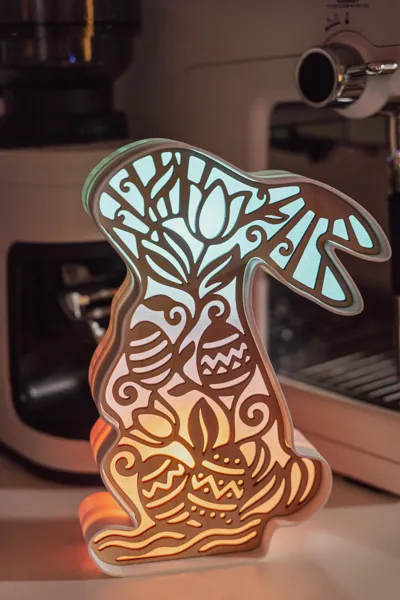
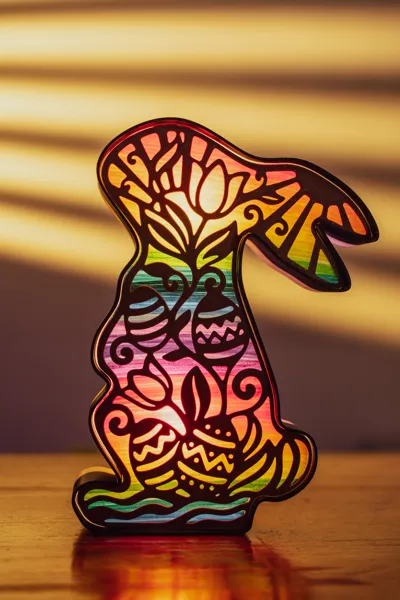
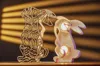
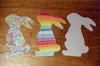
You can freely mix and match the parts to create your own unique lamp. ✨ I tried a church stained glass style and a simple rainbow version. 🌈
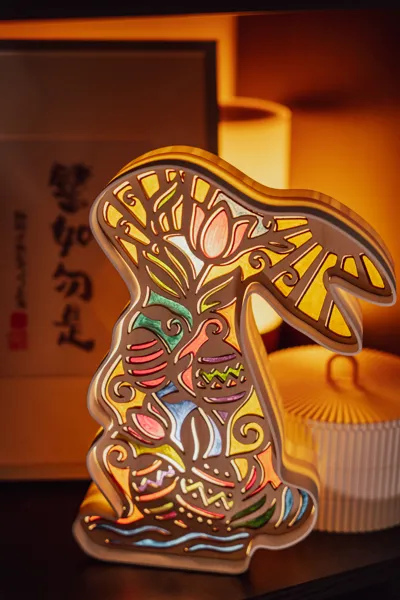
Find a dark corner, turn it on, and it feels incredibly cozy. 🕯️
You can freely mix and match the parts in the kit to create your own unique night light. I tried a church stained glass style and a simple rainbow gradient version.
Turn it on in a dark corner, and it feels incredibly cozy.

Function 🛋️
It’s an easy DIY for kids, and surprisingly relaxing for adults. It is a perfect way to bring a little spring into your room. 🌱
This DIY is super simple for kids, and surprisingly relaxing for adults. It's just right to add a touch of spring to the room.

Printing 🖨️
My Bambu Lab H2S did all the hard work, like cutting the wood and drawing the lines. 🤖
But don't worry, I also designed a fully 3D printable alternative for the insert. 💡 It is very easy to print and assemble. ✅
I let Bambu Lab H2S handle all the hard work, such as cutting wood and drawing outlines.
But don't worry at all, I also designed a fully 3D printable insert alternative for everyone. It is very easy to print and assemble.

Materials 🪵
I highly recommend trying the laser-cut wood if you can. It smells a little bit like toast. 🍞
For the 3D printed parts, regular PLA works perfectly. 🧵
If possible, I highly recommend trying laser-cut wood. It smells a little bit like toast.
For 3D printed parts, regular PLA works perfectly.
Hardware ⚙️
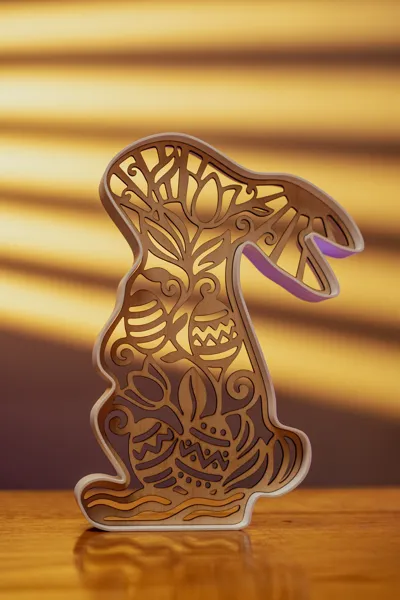
For the lighting, you will need the Bambu Lab RGBW Puck Lights (Components Kit 007). 💡
They come in a pack of two, which fits perfectly into the custom back plate.
For the lighting, you will need Bambu Lab's RGBW ambient lights (KC007).
It comes in a set of two, perfectly fitting the backplate slot I designed.
How to play 🥪
Layer the paper and wood inside the frame, like making a sandwich. 🥪
Just use your imagination to color the outlines. 🖍️
If you color outside the lines, the wood will hide your mistakes. 🤫
Layer the paper and wood inside the frame, like making a sandwich.
Use your imagination and freely color the outlines.
If you accidentally color outside the lines, the wooden board will hide your small mistakes.

Thanks & Feedback ❤️
I can't wait to see what you create. 🌟
Welcome to share your makes in the comments! 📸
Happy Easter to you, and a happy normal weekend to me. 🐰💕
I'm super excited to see your creations.
Welcome to share your makes in the comments!
Happy Easter to you, and a happy normal weekend to me.


Boost Me (for free)
Tap 'Boots Me' and sprinkle a little magic on my day! ✨😊
First, we need to print the main body of the shadowbox.
Just use my 3D print profile and let the printer do its job.
Regular PLA works perfectly for these parts.
First, we need to print the main body of the shadowbox.
Just use my 3D print profile and let the printer do its job.
Regular PLA material works perfectly for these parts.


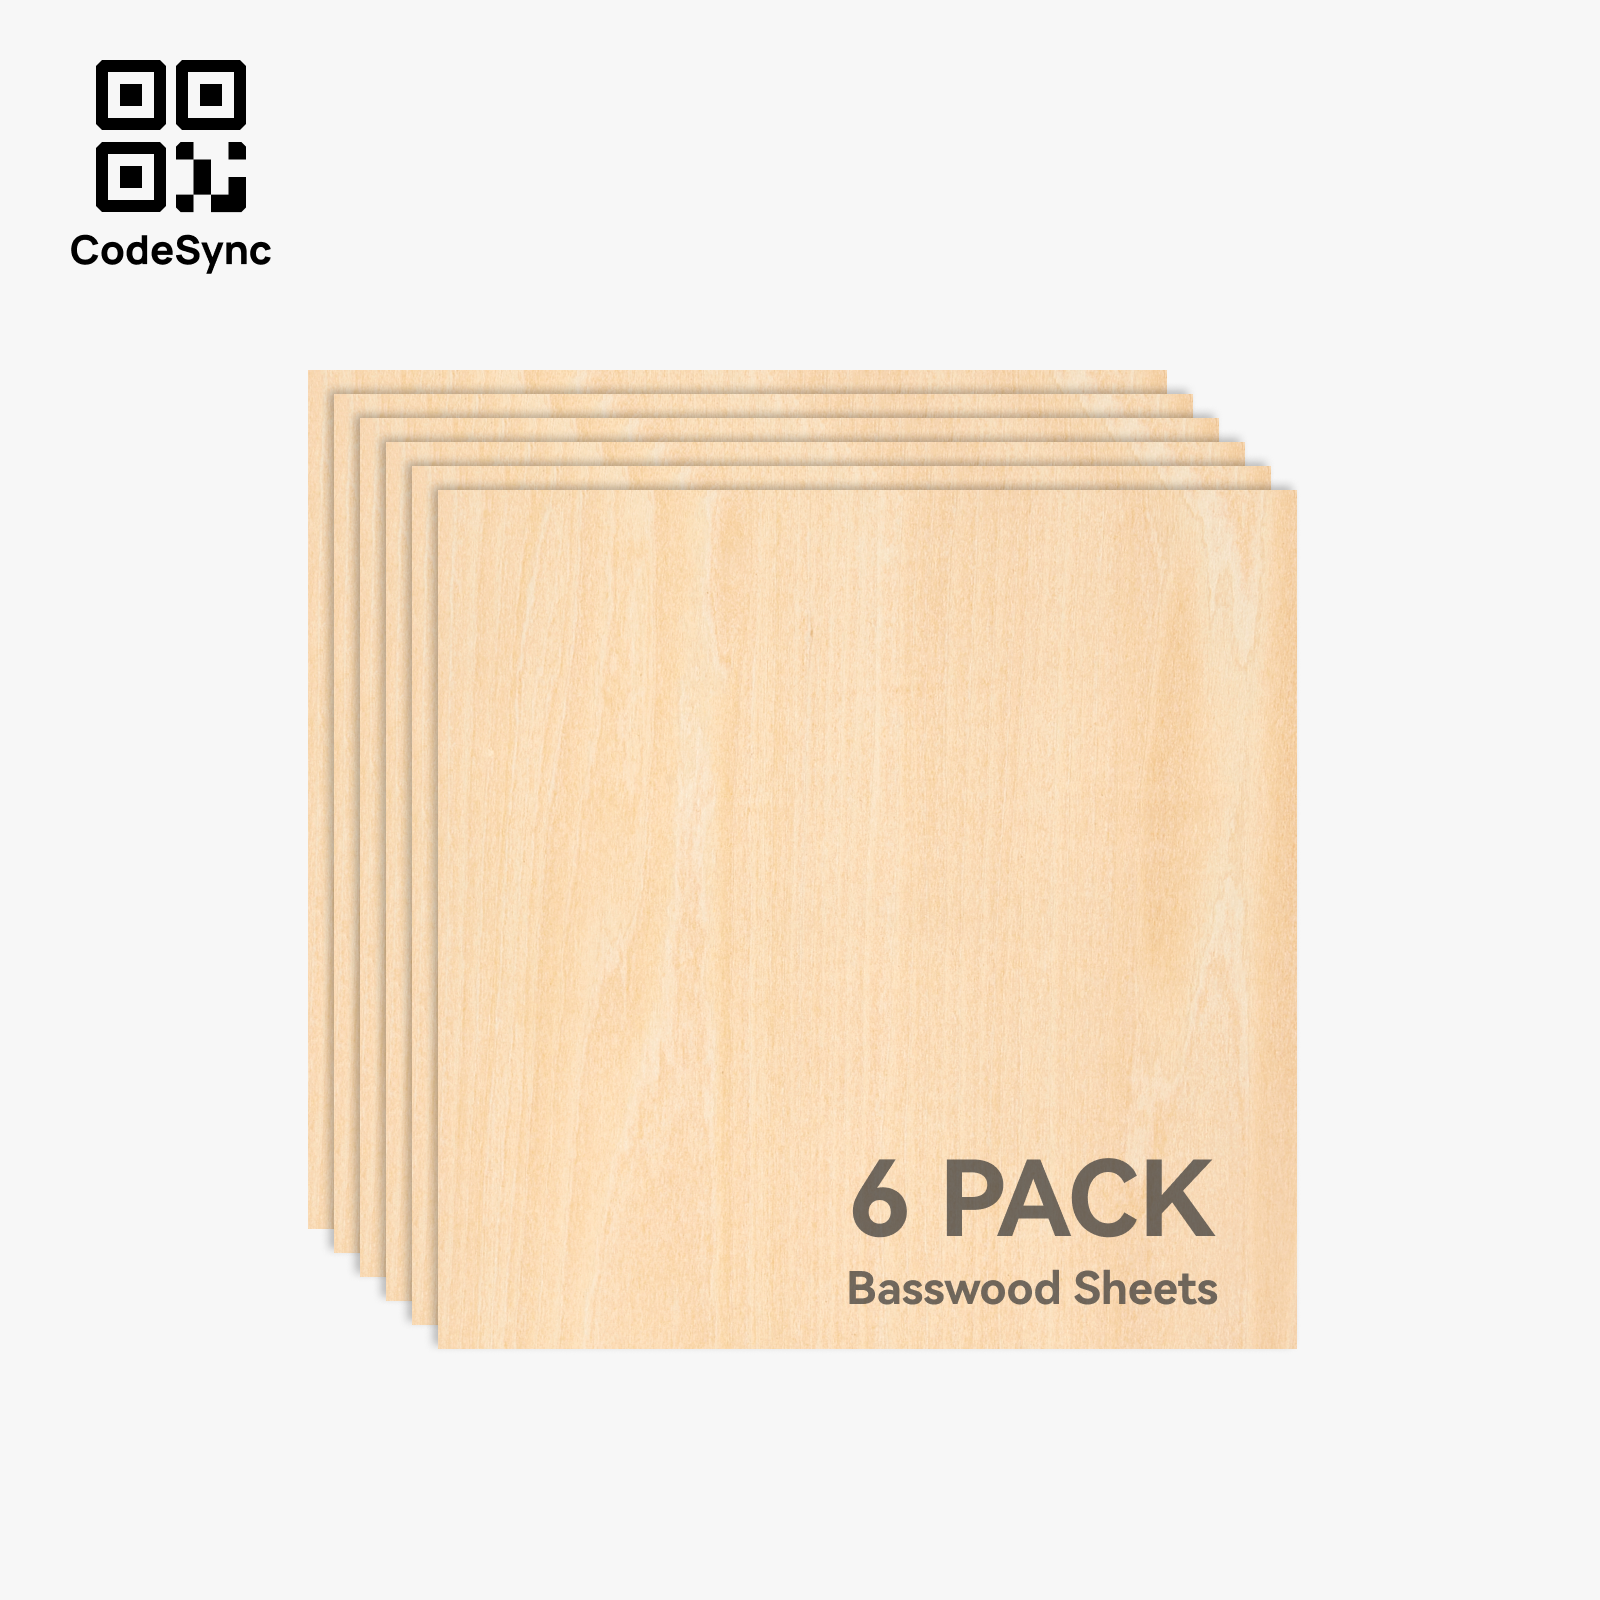
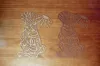
Next, swap to the laser module to cut the wooden insert. 🌳
I used a 3mm wooden board, and it smells a little bit like toast when it's done!
(If you don't have a laser module, you can just 3D print the insert instead.)
Next, swap to the laser cutting module to cut the wooden insert.
I used a 3mm wooden board, and it smells a little bit like toast after cutting!
(If you don't have a laser module, you can also directly use 3D printing to make this insert.)


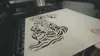
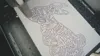
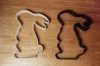
Now, change to the pen tool and let it draw the perfect outline on paper.
Then, use the blade profile to cut out the bunny shape perfectly. ✂️
Now, switch to the pen tool and let it accurately draw the outline on paper for you.
Then, use the blade profile to perfectly cut out the bunny's outline.


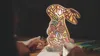
This is the most fun part of the DIY project!
Grab your markers and use your imagination to color the paper. 🌈
Don't worry if you color outside the lines, because the wooden insert will hide your mistakes. 🤫
This is the most fun part of the entire DIY project!
Pick up your markers and use your imagination to color the drawing.
Don't worry at all about coloring outside the lines, because the wooden board in front will help hide all your small mistakes.


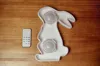
Finally, layer the paper and wood inside the frame, just like making a sandwich. 🥪
Put the Bambu Lab RGBW Puck Lights into the back plate and close it. 💡
Press the remote, and enjoy your quiet, glowing bunny! ✨
Finally, layer the paper and wood inside the frame, just like making a sandwich.
Put Bambu Lab's RGBW ambient lights (KC007) into the backplate and close it.
Press the remote, and enjoy your quiet, glowing bunny!


Documentation (5)
License
You shall not share, sub-license, sell, rent, host, transfer, or distribute in any way the digital or 3D printed versions of this object, nor any other derivative work of this object in its digital or physical format (including - but not limited to - remixes of this object, and hosting on other digital platforms). The objects may not be used without permission in any way whatsoever in which you charge money, or collect fees.
Comment & Rating (0)