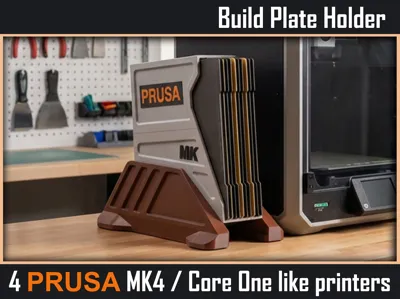
PRUSA MK4 and Core One Like Build Plate Holder


Print Profile(1)
Description
Membership
Becoming a member you will help to support me in my working on my models and also you will have rights to use prints commercially. Plus You will be first in line if any modifications of model will be needed in your case
Boost Me (for free)
If You like what I'm doing and want to support me in my work here. Every little helps.
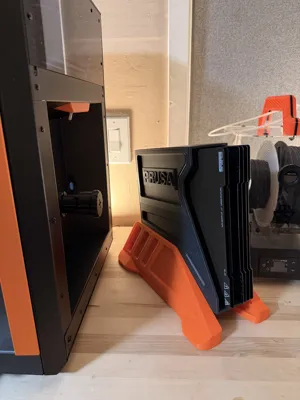
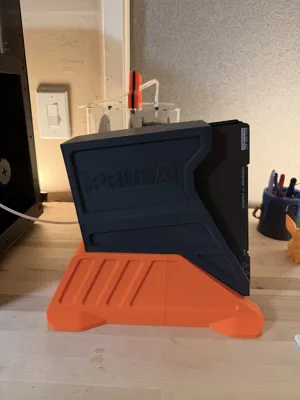
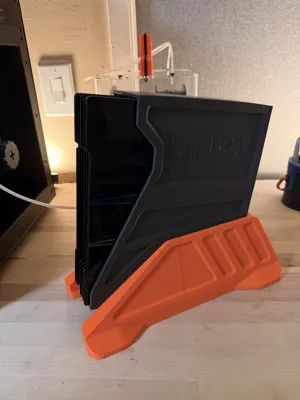
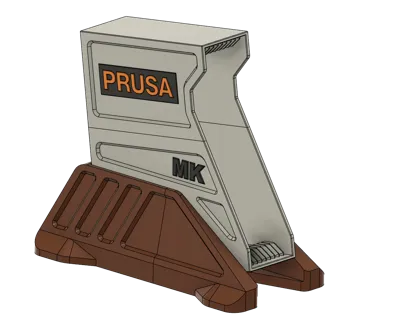
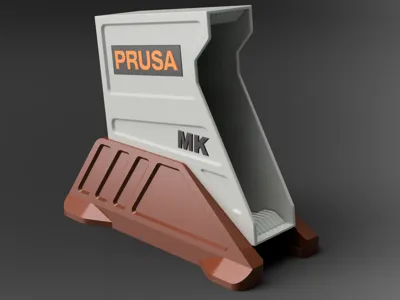
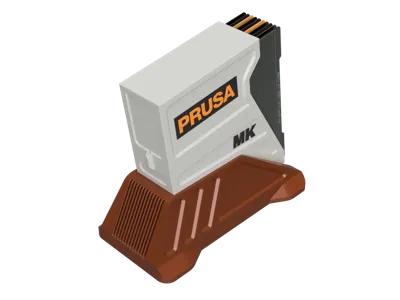
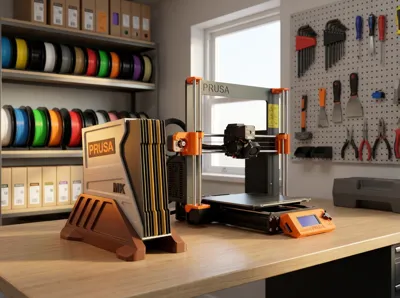
PRUSA MK4 / Core One and similar Printer Build Plate Holder
Here is Build Plate holder made made by request for PRUSA MK4 Core One and other with same Build Plate size printers. Plate sizes this Holder is made for are 254 x 241mm. Holder can hold plates up tu 255mm in width and 241mm and up to 255mm long (or vice versa of course).
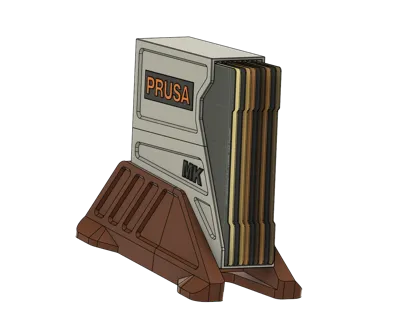
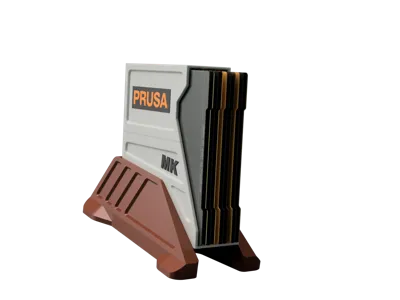
In the presented Profile and RAW file section you will find a two Base Parts and four Frame half parts. You will need only two frame parts per Holder. Frames are done in two versions (thats why there are 4 of them instead of two). So You can choose Clean version or version with PRUSA Logo and MK mark on the sides. So check Plate descriptions or file names (if using RAW files) before print them out.
Assembling is very easy here:
Almost no hardware needed. All You will need here are 1 or 3 M3x16mm Self Tapping screws. Ideally with countersunk heads but other ones like Socket Head from Bambu Maker's supply will be just fine as well.
- Put Bottom and Front Base parts together by sliding from top using slide rails. You can use a glue to permamently fix them together. Just make sure they are flush on tyhe bottom as if you will leave one a bit higher than other one it can cause a problem sliding Frame into a Base!!!
- Next move is to put Top and Bottom parts of the Frame together. Push them together using Top Parts Pegs and corresponding Bottom Parts Peg Holes and push Top Part forward. Fix position with M3x14mm or 16mm self tapping Screw in provided screw hole on the back of Frame. And again, if you want, you can use a glue for firm connection.
- Fully slide Frame into the Base and that's it. You can fix frame in it's position with one or two M3x14-16mm self tapping screws. But this is not a requirement. Just an option for ya.
You can Buy me a coffee if You would like to support me even more :)

https://www.buymeacoffee.com/warlogh
(And very Big Thank You For interest in my work)
Comment & Rating (1)