Sequre ES126 Screwdriver Grip & Trigger
Remixed by
Boost
0
0
0


Print Profile(2)

TPU Grip: 0.2mm layer, 3 walls, 15% infill
Designer
1.3 h
1 plate

ABS/PLA Trigger: 0.16mm layer, 4 walls, 40% infill
Designer
12 min
1 plate
Open in Bambu Studio
Boost
0
0
0
0
2
1
Released
Description
I really liked the original model by Majarspeed but wanted to print the grip out of TPU. The open-sided design wasn't a good match for TPU as it didn't stay on the screwdriver body, so I modified it to be a full sleeve.
If you don't want the full grip, the included trigger mounting ring can also work. This is also intended to be printed out of TPU.
Two versions of the trigger arm are provided. The original is very sensitive which can be a good thing or a bad thing. My preference is the “Less Sensitive” variant that requires the trigger to be fully squeezed before it activates the button.
Printing Instructions
All parts are oriented for printing without supports.
- Grip: print in 95A TPU with 0.2mm layer height and 3 perimeters. Infill of 10-20% is fine. Mine was printed on a Bambu P1S with the “0.2mm - Standard” profile and generic TPU settings.
- Trigger: print in PLA or ABS (you want this to be pretty stiff) with 0.16-0.2mm layer height, 4 perimeters, and 5 top/bottom layers for strength.
Additional Hardware
- Sequre ES126 Electric Screwdriver
- 1x M3x18 screw (M3x20 will also work but protrudes more than necessary)
- 1x M3 nut (regular nut with loctite works fine but a locknut would be even better)
Assembly
- Slide the grip on from the tip of the screwdriver.
- It should be a tight fit, but if it seems like it's really getting stuck don't force it. I went through a few revisions of this model before I found just the right sizing. You may need to modify your print settings, scale up the model in the XY-dimensions by 1-2%, or even adjust the step file depending on your printer.
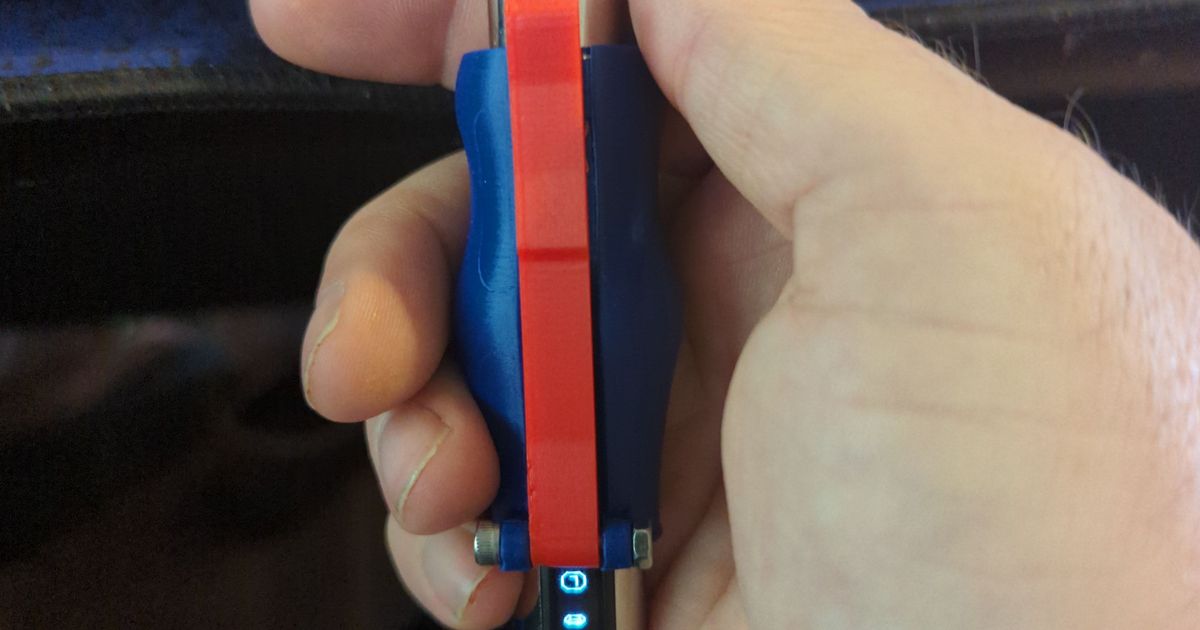
- The grip should end up just past the two buttons but not covering the LCD.
- Install the trigger arm with the M3 screw and nut. Don't overtighten the nut.
- Adjust the grip very slightly front-to-back if needed for correct activation of the button.
- The trigger should activate the button closer to the LCD that also turns on the LED light. If you prefer to use the screwdriver without the LED, I suggest using the mounting ring instead of the full grip as this allows flexible positioning of the trigger to activate either button
Comment & Rating (0)
All
No more
This remix is based on
License
This user content is licensed under a
Creative Commons Attribution-Share AlikeRelated Models


© 2024 MakerWorld