
Automatic Spray Module Servo-Based


Print Profile(1)
Description
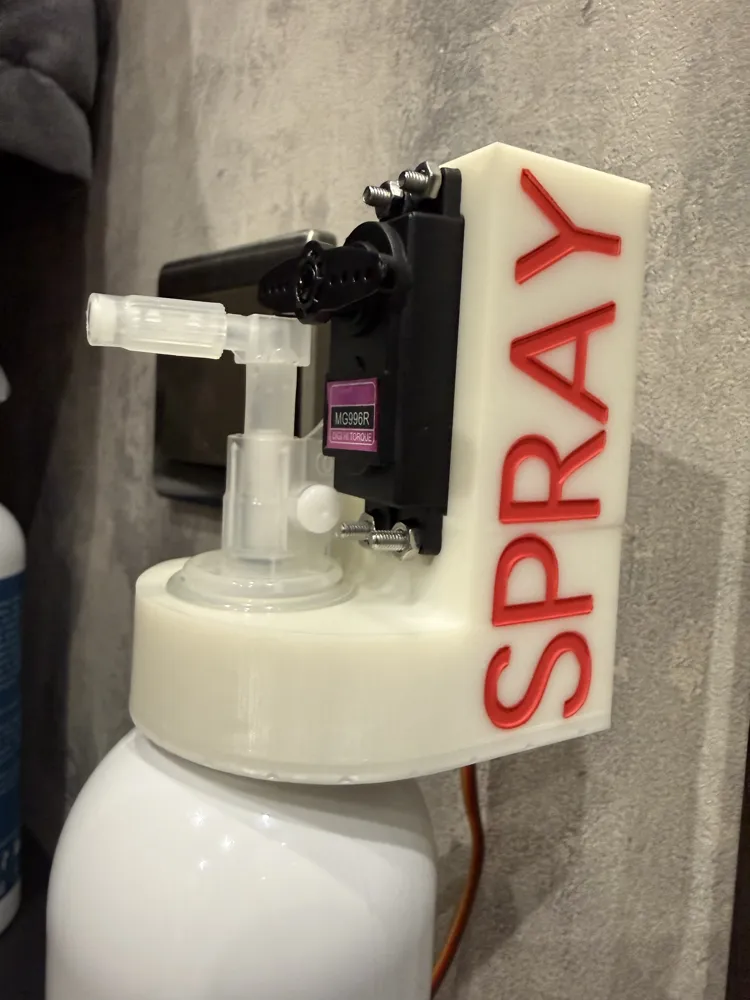
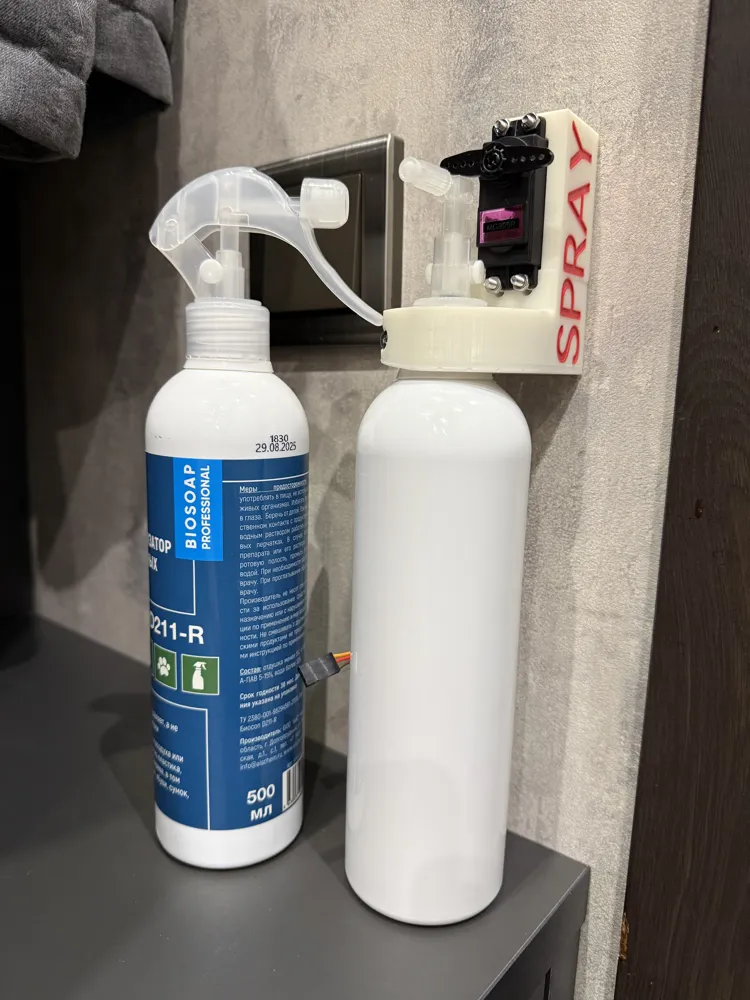
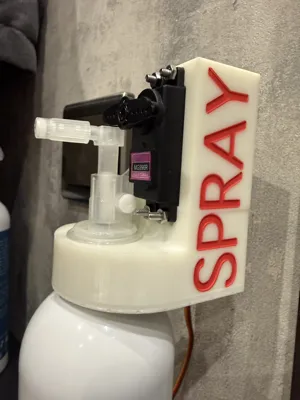
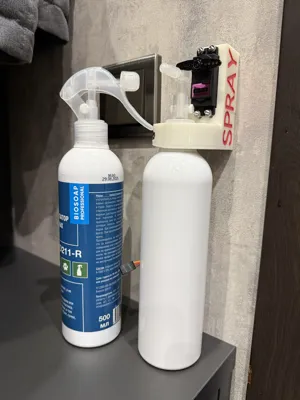
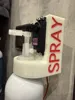
A compact, 3D-printable module that automates pressing the valve on a spray bottle using a servo motor.
Key Features:
Universal Design: Works with most standard freshener bottles.
Easy to Print & Assemble
Fully Controllable: Use an Arduino, Raspberry Pi, or any microcontroller to program precise spray timing, duration, and intervals.
Adjustable
Potential Applications:
Smart Home: Automatic room deodorizer/freshener (triggered by timer or motion sensor).
Gardening: Automated watering or misting for small plants.
Workshop: Hands-free lubricant or cleaner application.
What You Need:
3D Printed Parts (files attached).
1x Standard Servo Motor MG996R
Hardware: 4x M3x16mm screws
Controller: e.g., Arduino, ESP32, Raspberry Pi.
Power Supply/Battery for the servo
Assembly & Usage Instructions:
Print all parts.
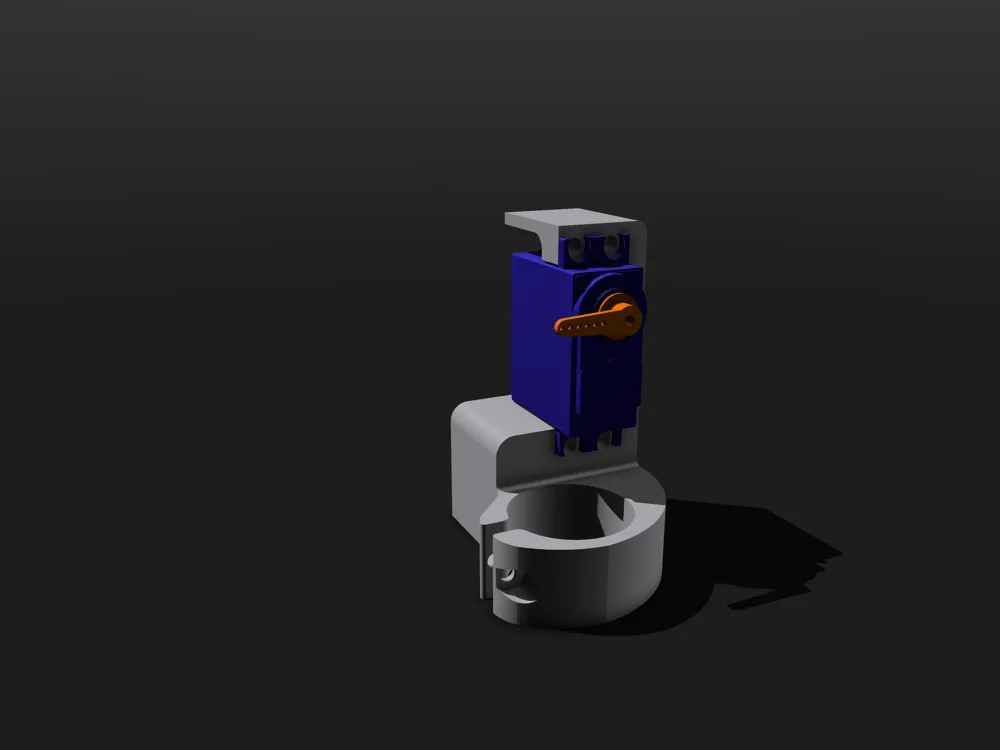
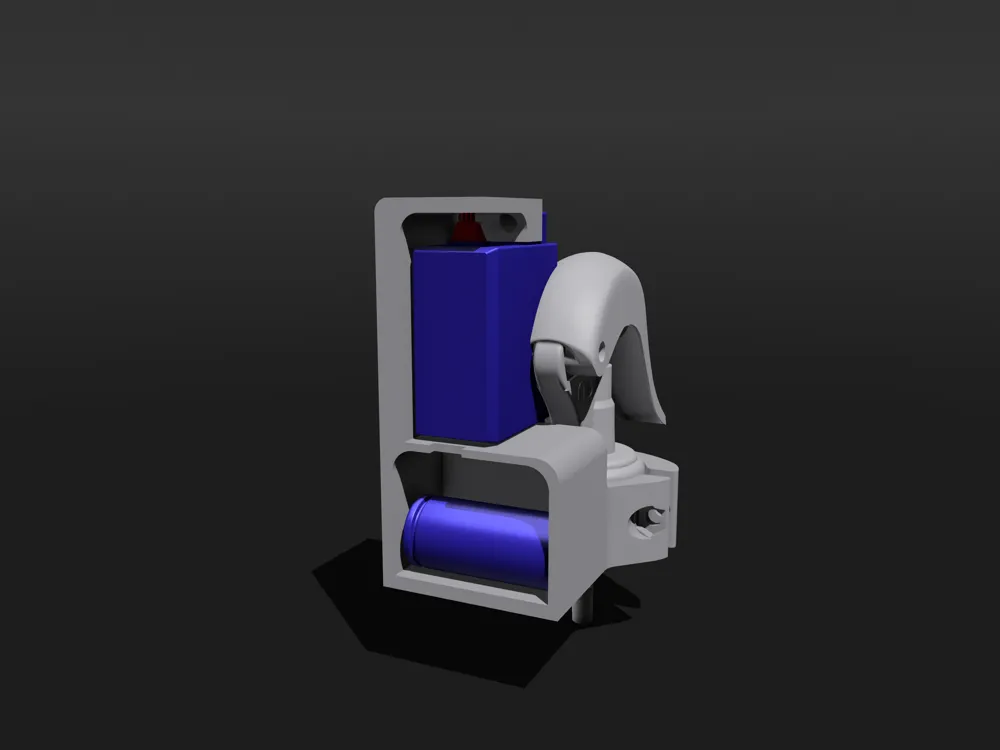
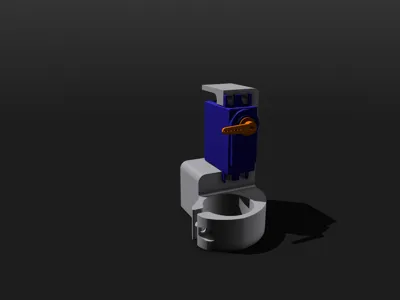
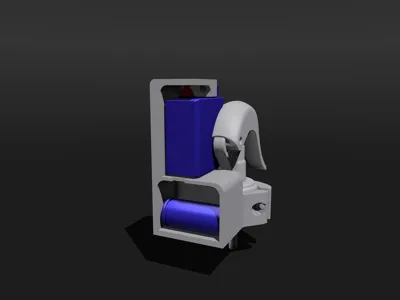
Secure the servo inside the main housing using the screws.
Attach the lever to the servo horn.
Place your spray into the holder. Position the entire unit so the lever presses the can's valve correctly.
Connect the servo to your microcontroller and upload a simple sketch (e.g., rotate lever 150 degrees for 1 seconds every 10 minutes).
License



Comment & Rating (0)