
rodamiento
Print Profile(1)
Description
This is an optimized description proposal for MakerWorld. It is designed to be attractive, technical, and clear, helping your model stand out and users know exactly how to print it successfully.
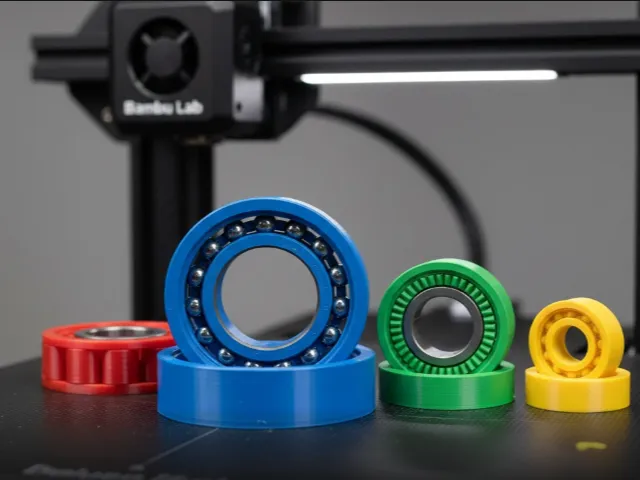
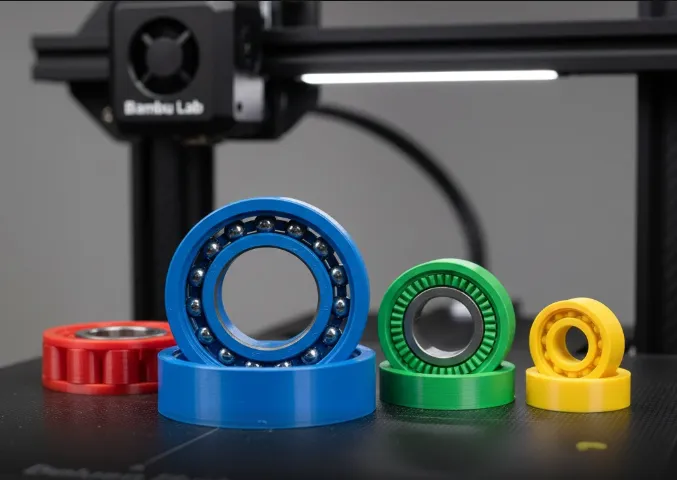
⚙️ 3D Printed Ball Bearing (Print-in-Place)
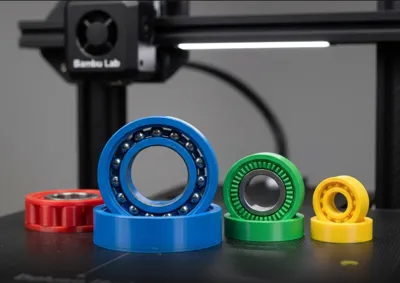
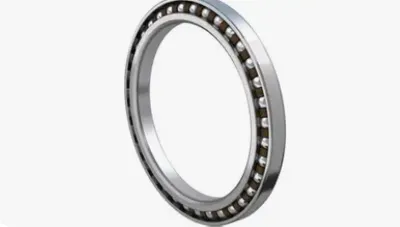
This is a functional ball bearing, specifically designed to be printed in a single piece (Print-in-Place) without the need for supports. It is ideal for robotics projects, spinner toys, or simply as a tolerance test for your printer.
✨ Main Features
- No Assembly Required: Everything prints at once. Once printing is complete, you just need to turn it a little to "break" the small sacrificial bonds, and it will start to spin freely.
- Optimized for FDM: Tolerances are adjusted so that the balls do not fuse with the inner and outer races.
- Low Friction: Designed with a "V"-track geometry to minimize contact and improve rotation.
🛠️ Recommended Print Parameters
For best results and to prevent the bearing from sticking, use these settings:
| Parameter | Suggested Value |
|---|---|
| Layer Height | 0.16mm or 0.20mm |
| Walls (Wall loops) | 3 or 4 (for greater rigidity) |
| Infill | 20% Gyroid |
| Supports | NO (Designed for internal bridges) |
| Material | PLA (Recommended), PETG, or ABS |
💡 Pro Tip: If the bearing is a bit stiff coming off the bed, apply a drop of silicone lubricant or sewing machine oil. It will spin like silk!
🚀 Post-Processing Instructions
- Wait for the print bed to be completely cool before removing the part.
- Hold the outer part with one hand and the inner part with the other (or use needle-nose pliers if it's very firm).
- Apply gentle twisting force until you hear a small "crack". That's the sound of the tolerances releasing.
- Spin it repeatedly for a minute to seat the internal surfaces.
Do you like the design?
If this bearing has been useful for your project, don't forget to give a Boost or share a photo of your print! It helps me a lot to keep creating.
Boost Me (for free)
pless
License

You shall not share, sub-license, sell, rent, host, transfer, or distribute in any way the digital or 3D printed versions of this object, nor any other derivative work of this object in its digital or physical format (including - but not limited to - remixes of this object, and hosting on other digital platforms). The objects may not be used without permission in any way whatsoever in which you charge money, or collect fees.


Comment & Rating (7)