


Print Profile(6)
Bill of Materials


Description
Check out also V2 Version: https://makerworld.com/de/models/2492358-count-my-drinks-v2-count-up-down-reset#profileId-2738892
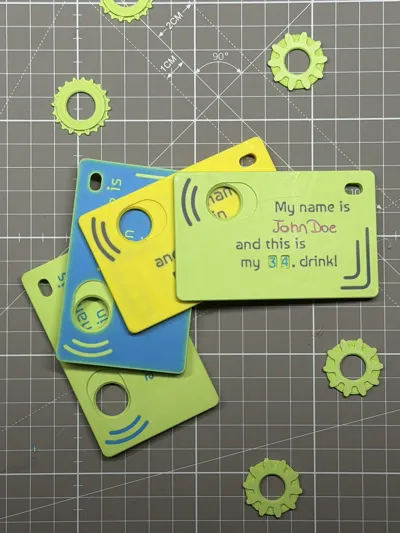
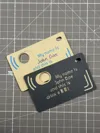
Credit Card Drink Counter
This is a slim, mechanical drink counter designed in standard credit card format.
It fits in a wallet, pocket, or on a badge reel and is intended for one handed use in bar or event environments.
The counter mechanically counts from 00 to 99.
No electronics, no hardware, no springs, no screws.
Function
Each intentional trigger pull increases the count by one.
The trigger geometry is designed to avoid unintentional activation in a pocket or while moving.
Design
The body is only 3.6 mm thin and follows standard credit card proportions.
All parts snap together and are fully printable.
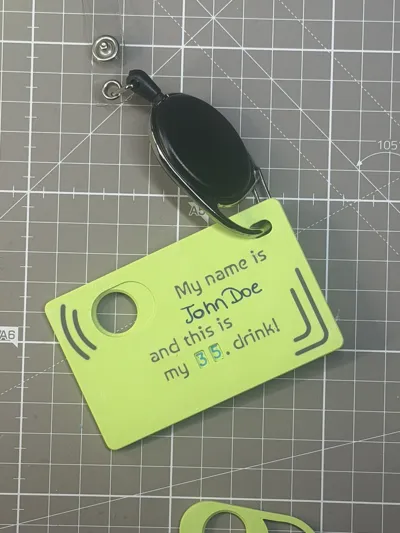
A mounting hole allows attachment to a lanyard or badge reel, making it suitable for festivals, events, or bar staff.
Assembly is straightforward and intuitive.
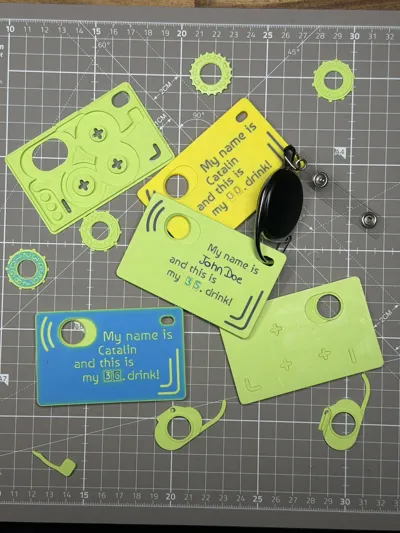
Versions Included
Four front design variants are included.
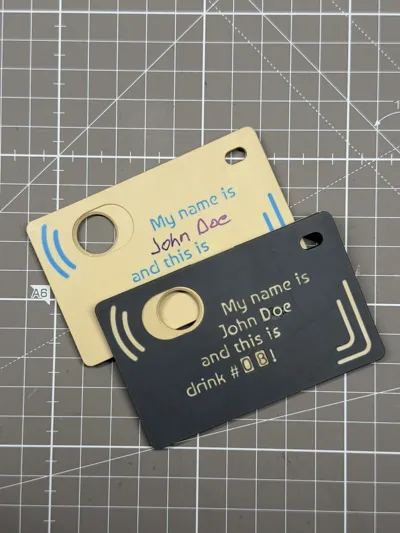
Text with Custom Name
This version includes the text
“My name is ____ and this is my ____ drink.”
The name text can be edited directly in Bambu Studio before printing.Alternate Text with Custom Name
This version includes the text
“My name is ____ and this is drink # ____ !.”
The name text can be edited directly in Bambu Studio before printing.Text with Blank Name Space
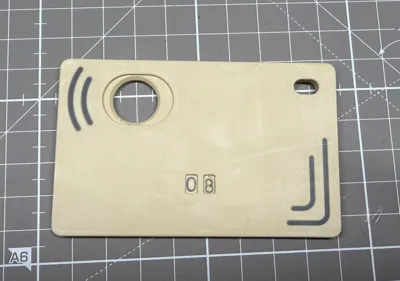
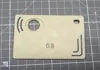
This version includes the same text but leaves a blank area for writing a name using a permanent marker or a sticker.Completely Blank Version
This version has no text and no graphics at all.
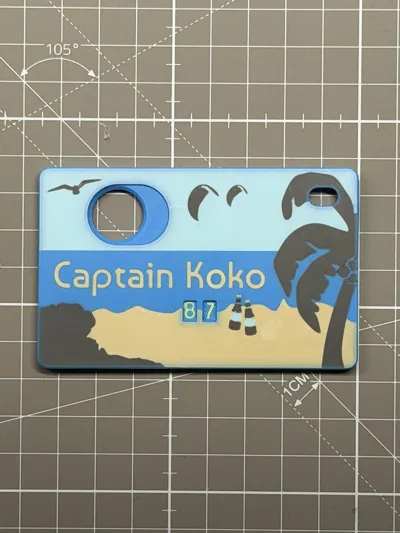
It is intentionally left clean for maximum flexibility or a minimal look.Holiday Version
This version features a decorative holiday or beach themed front design.
It is available either as a pure image design or with optional customizable text or name editable in Bambu Studio.Count Down Version
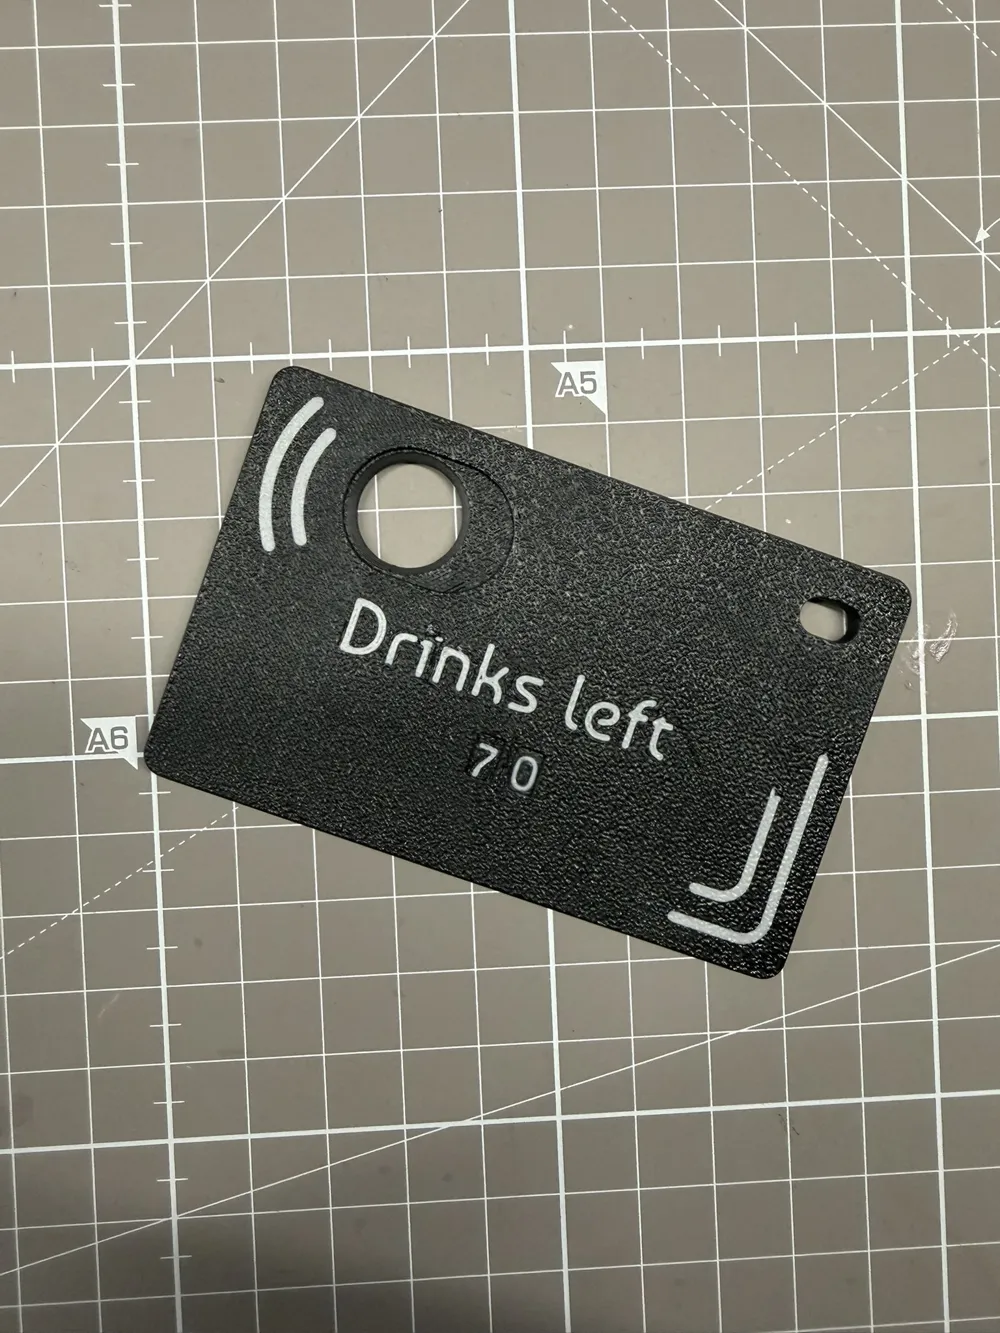
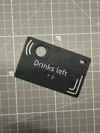
This version counts down instead of up — ideal for tracking what’s left.
Included text options:
- Blanc
- Drinks left
- Days ’till the party
- Days left
To convert an existing counter, swap the internal gear plate with the included countdown plate to reverse the counting direction.
Quick change, same compact design.
How to personalize Text
- Open the 3mf file in Bambu Studio on a personal computer or a laptop.
- On the left side you open the tab that says „Objects“
- Scroll down and find the Modifier that says “CHANGE NAME HERE”
- Right click on „CHANGE NAME HERE“
- Left click on edit text.
- A popup opens where you can change the Name.
You can also change the other text lines or add new text with the text tool.
Then proceed as usual: Slice plate → Print plate

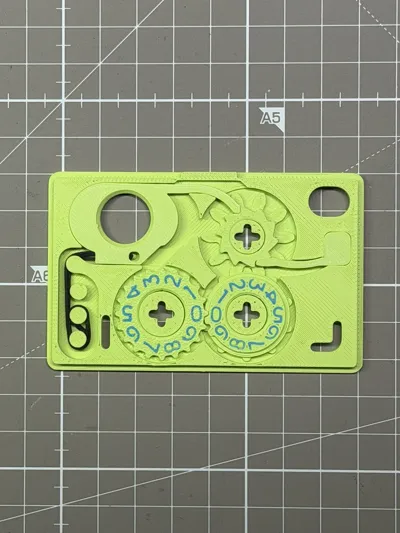
Assembly and Disassembly
Use the picture below to place the gears into place.
- The two halves snap together by pressure. Make sure all 3 plus-shaped axel connectors snap firmly into place.
- If disassembly is required, a small flat screwdriver can be used carefully.
No tools are required for normal assembly.

Optional Rubber Band
The counter works fully without a rubber band.
In this configuration the trigger requires a deliberate double action.
An optional rubber band can be installed to provide a lighter and faster trigger return.
To install it, hook the rubber band (1.4 x 20mm) into the trigger, then route it over the center pin and slot it in as shown in the images.
When using a different rubber band than the suggested one, the routing may need adjustment to achieve sufficient tension.

Intended Use
Suitable for bar nights, festivals, holidays, events, or drinking games where manual counting stops being reliable.
Flat, mechanical, and simple.
It counts exactly what you tell it to count.
Printing Disclaimer and Build Recommendations
Build Plate Selection
• For best dimensional stability and reliable function, an engineering or smooth build plate is strongly recommended
• Textured plates may work, but results can vary depending on filament and calibration
• The most consistent results are achieved with a smooth plate
Build Plate Cleanliness
• The build plate must be clean to ensure reliable adhesion and dimensional accuracy
• Oils, fingerprints, or residue can negatively affect the first layer
• If adhesion issues occur, a light layer of 3DLAC or a comparable adhesive spray can be used
Part Removal from Smooth Plates
• For small parts, remove them immediately after the print finishes while the plate is still warm
• Cool the plate by moving it gently in the air
• While the parts are still slightly warm, carefully bend the plate to release them
• This method minimizes stress and reduces the risk of damaging fine details
Using a Scraper
• If a scraper is used, proceed slowly and with care
• Avoid applying excessive force, especially on small gear teeth
• If any gear teeth bend during removal, straighten them carefully before assembly
Following these recommendations improves print reliability, dimensional accuracy, and long term performance of the mechanism.
Boost Me (for free)
Enjoyed this model? Give it a little BOOST boost! Your support helps more makers find my designs—and keeps the ideas flowing (and the filament melting)! Thanks for helping this project shine.
Membership
If you plan to sell prints made from this model, please make sure you have an active Commercial Membership.
License
You shall not share, sub-license, sell, rent, host, transfer, or distribute in any way the digital or 3D printed versions of this object, nor any other derivative work of this object in its digital or physical format (including - but not limited to - remixes of this object, and hosting on other digital platforms). The objects may not be used without permission in any way whatsoever in which you charge money, or collect fees.
Comment & Rating (409)