Stitch Photo Frame & Stand / Swappable frame NOAMS


Print Profile(1)

Bill of Materials


Description

Boost Me (for free)
And if you like my art, please don't forget to boost me.. Thank you!
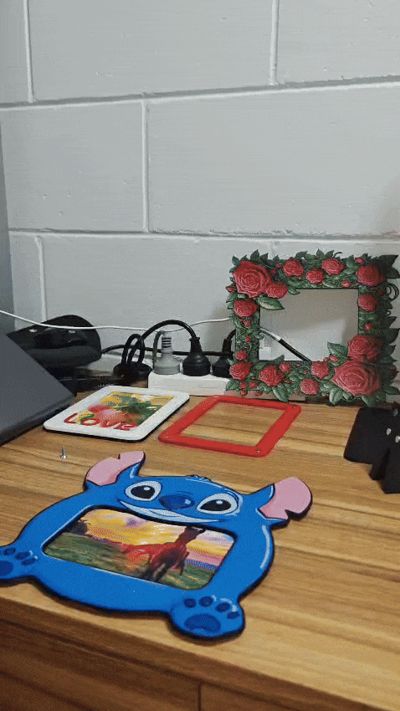
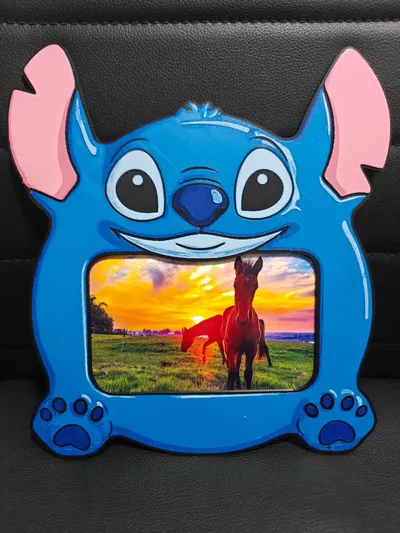
This is a standard 4×6 inch or 10x15 cm photo frame size, with swappable frame system (multiple frames, keeping the same back cover and stand).
IMPORTANT:
Click the link below for all assembly information and the back cover + stand file.

Check out my Full Collection of frames here:
https://makerworld.com/collections/19741745
(don't forget to follow my collection to get a notification for my newest release)
The frame comes in three parts:
- the floreal frame
- the back cover (horizontal and vertical with keyhole slot)
- the stand
It can be used with or without the stand. Hidden high-strength neodymium magnets lock everything into place, keeping the design clean and elegant. The four magnets holding the back cover are strong enough to mount the frame directly onto most metallic surfaces, completely invisible to the eye. If you want extra strength, you can add the additional four magnets originally intended for the stand. As a final test, I even mounted it directly onto a wall with a hidden metal structure behind it. No screws, no hardware.
Prefer a traditional wall mount? The back cover also includes a keyhole slot, so you can hang the frame anywhere using a nail or screw.

This quick guide explains how to assemble the floral frame using 16 × 7×2 mm magnets. (6x2 Magnets from bumbu website can be used)
This print uses 5 unique filaments
Swap Instructions:
Start with Black
At layer #14 (2.88mm) swap to Blue
At layer #16 (3.04mm) swap to Cyan
At layer #18 (3.2mm) swap to Jade White
At layer #21 (3.44mm) swap to Black
At layer #22 (3.52mm) swap to Hot Pink
At layer #27 (3.92mm) swap to Jade White for the rest.
I make all my hueforges up to 8 colours using only 1 ams to make sure that you can do the same as well.
If you need help setting up the colours check my Step-by-Step guide here:
https://www.patreon.com/posts/126116814?collection=1433961
Important Print Settings
Import all my presets!!
- Initial layer height: 0.24 mm
- Layer height: 0.08 mm
- Infill: 100%
⚠️ Note:
The full model is not printed entirely at 100% infill and it is not print entirely at 0.08mm. A modifier applies 8% infill to specific areas to keep the frame lightweight while maintaining strength and a premium feel. Do NOT change my settings
Parts Needed
- Front frame
- Back cover panel
- Stand
- 16 × 7×2 or 6x2 mm round magnets
- Super glue (I personally use E6000)
During magnet installation, a lighter may be helpful. Depending on your printer’s tolerances, the magnet slots can be slightly tight, making it difficult to press the magnets fully into place.
Gently warm the magnet hole with a lighter for a few seconds to slightly soften the plastic, then insert the magnet while the material is still warm. This will help it seat properly and create a secure fit.
⚠️ Be careful not to overheat the plastic, only a small amount of heat is needed.

Step 1 – Install Magnets (Back Cover)
- Insert 8 magnets into the holes (only 4 if you don't use the stand)
- Make sure all magnets have the same polarity
- Glue in place and let dry
Step 2 – Install Magnets (Front Frame)
- Turn the frame upside down
- Test polarity against the black frame magnets
- Insert the 4 magnets necessary
Glue and allow to fully cure
⚠️ Incorrect polarity will cause the frame to repel.
Step – Install Magnets (Stand)
- Test polarity against the back of the black frame magnets
- Insert the 4 magnets necessary
Glue and allow to fully cure
⚠️ Incorrect polarity will cause the frame to repel.
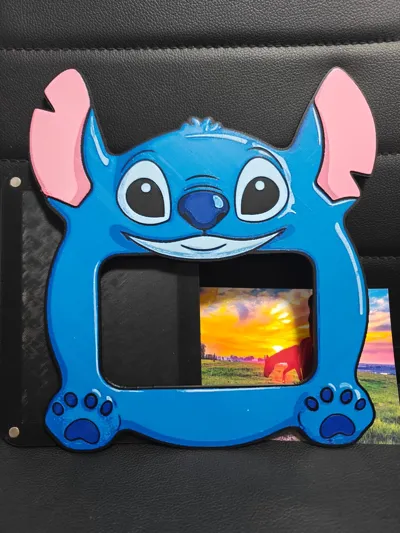
Step 4 – Close the Frame
- Instert 4x6 photo on the black cover panel
- Align edges
Let the magnets snap the 2 frames closed
The frame is now ready to display ✨

My Fast print profiles are also only available on my Patreon, reducing printing time by at least 1 hour without affecting quality and speed, saving wear on your machine.
Membership
Unlock Endless Possibilities with a Makerworld Commercial License For Just USD $8/Month! Gain access to sell high-quality multicolor prints from my Makerworld collection, with new designs added regularly. If you love the files you receive and want even more exclusive designs and benefits, consider upgrading to my Patreon membership for an even bigger collection of unique
Documentation (1)
License
You shall not share, sub-license, sell, rent, host, transfer, or distribute in any way the digital or 3D printed versions of this object, nor any other derivative work of this object in its digital or physical format (including - but not limited to - remixes of this object, and hosting on other digital platforms). The objects may not be used without permission in any way whatsoever in which you charge money, or collect fees.
Comment & Rating (0)