
Tilting Wall Mount for AMS 2 & HT (WALL or SKADIS)
Print Profile(5)
Bill of Materials





Description
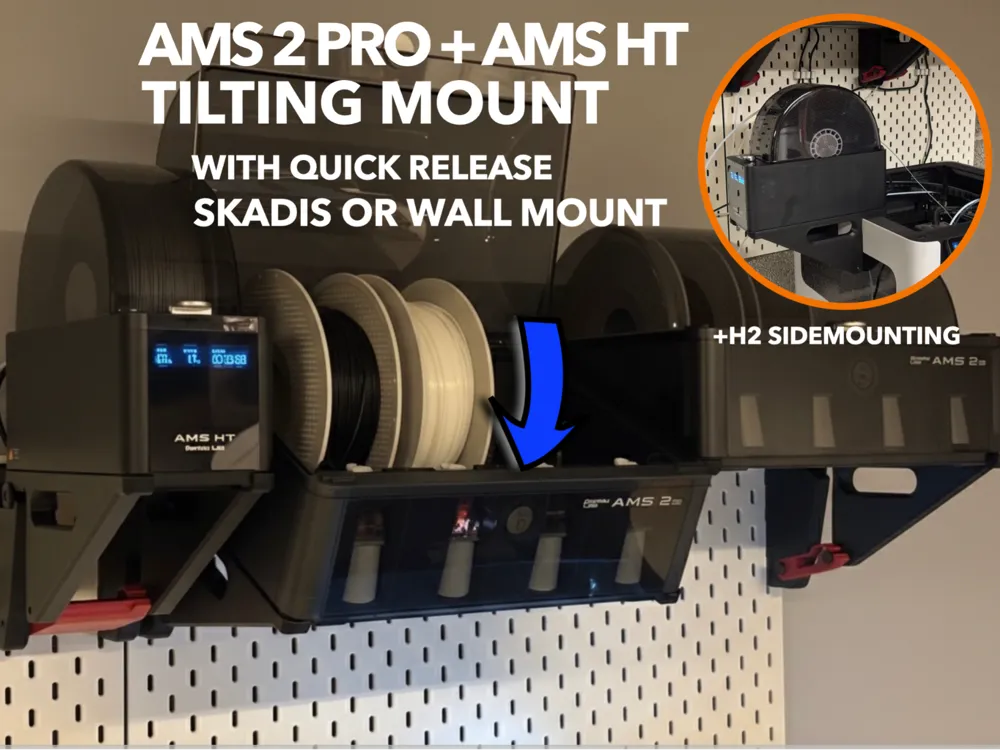


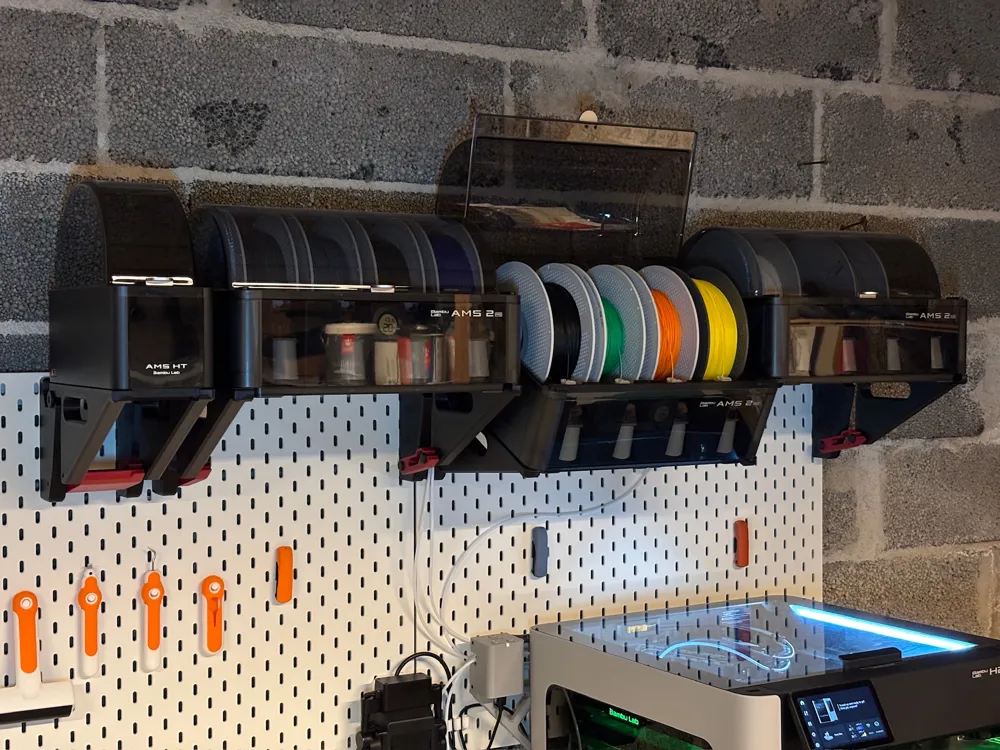
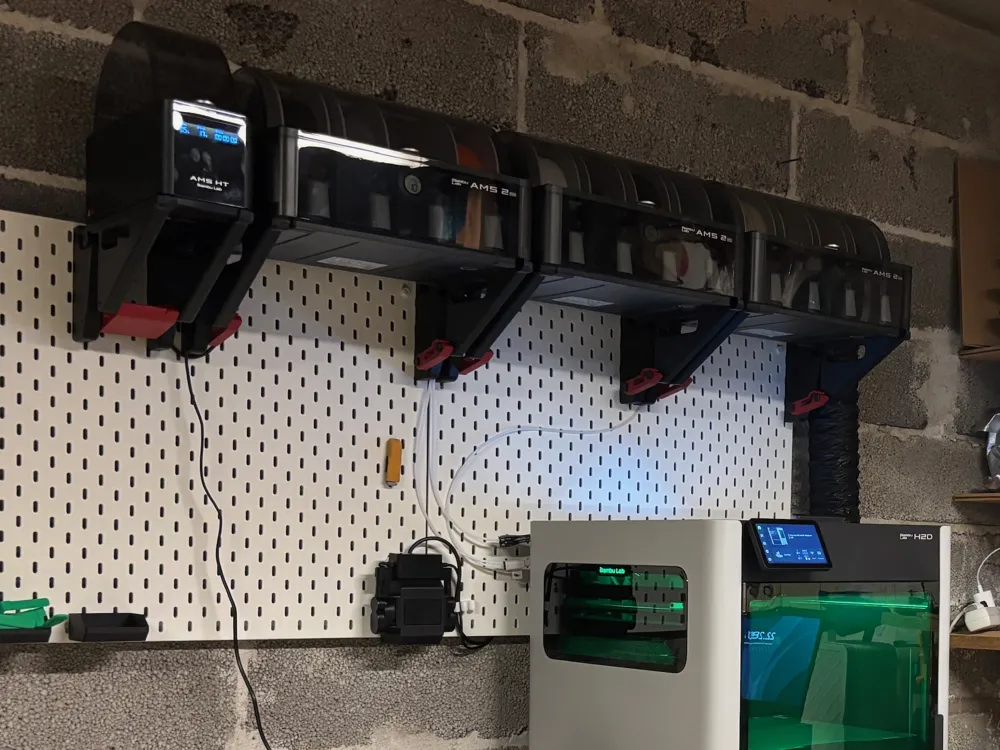
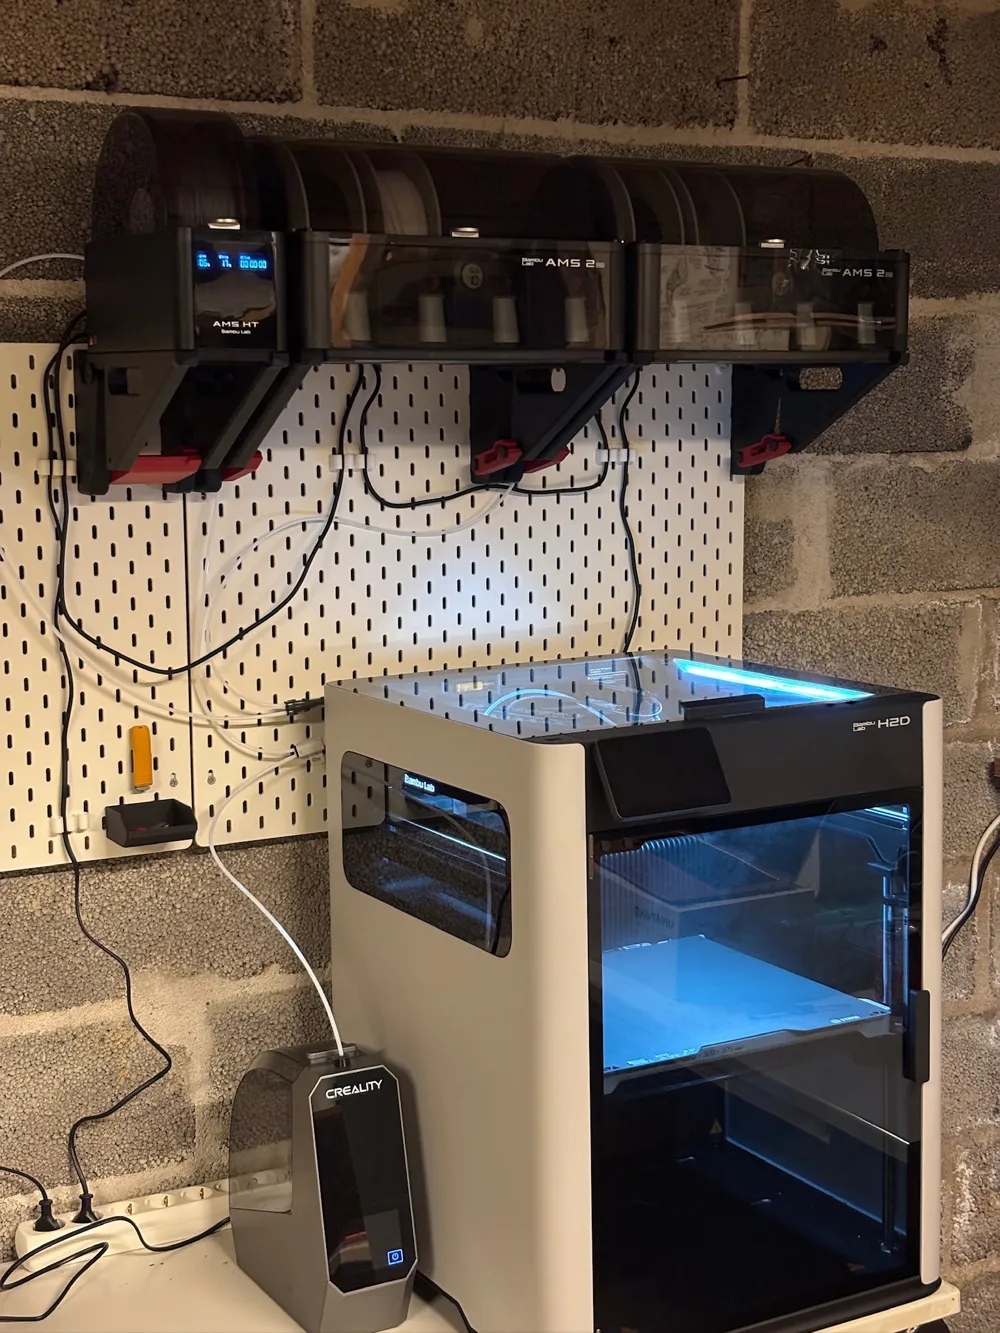
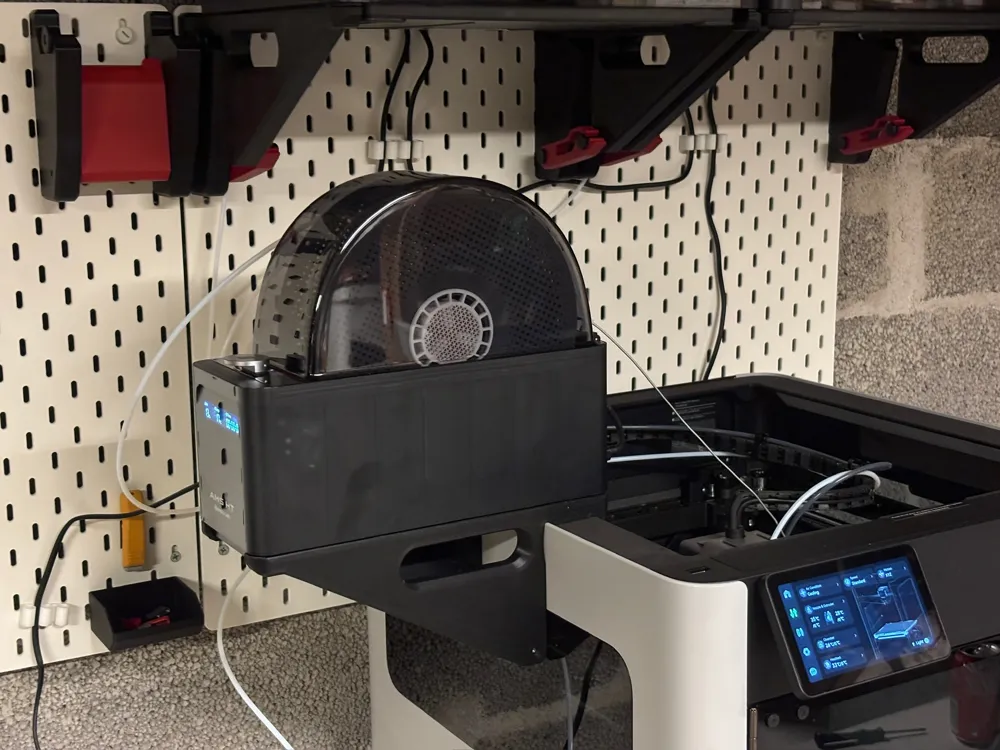
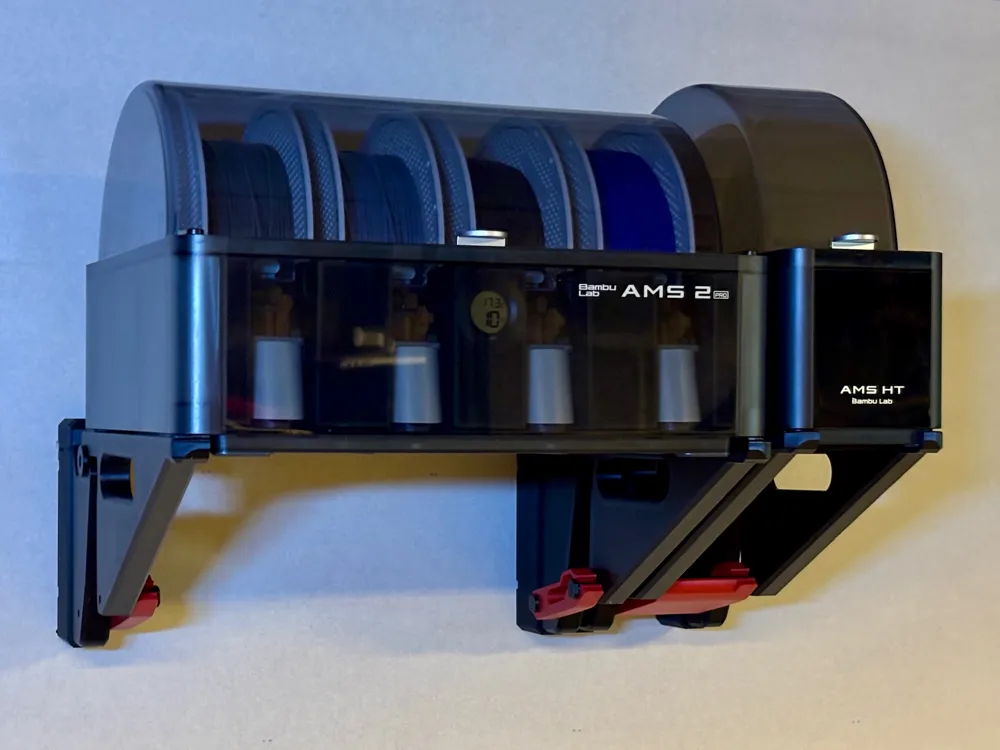
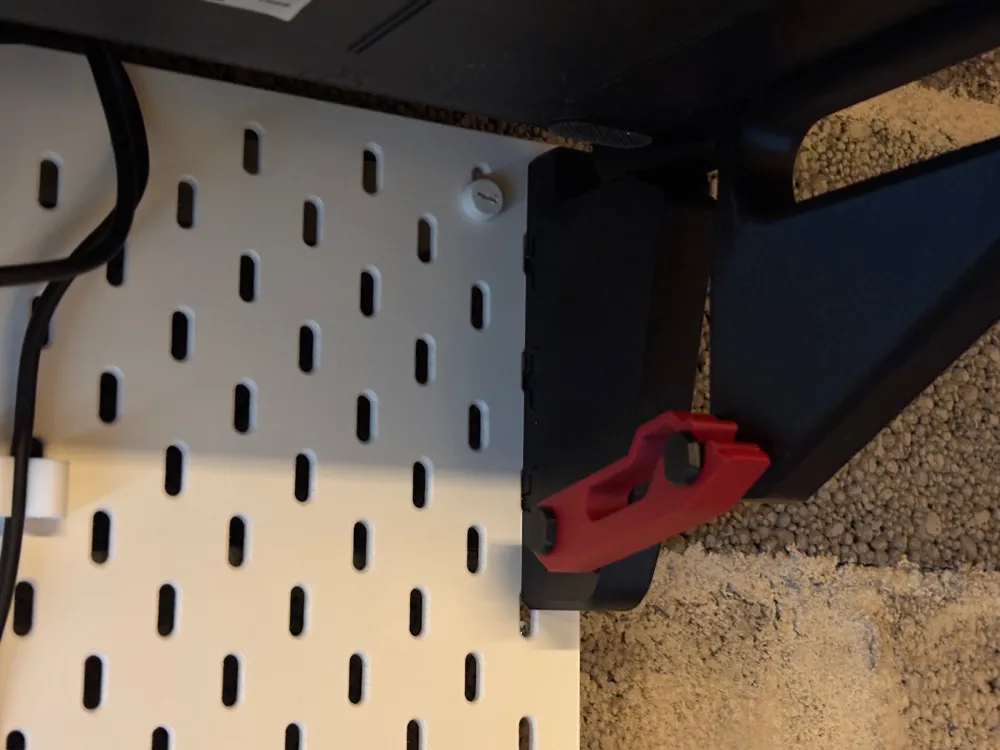
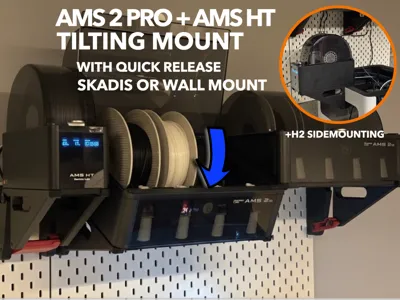
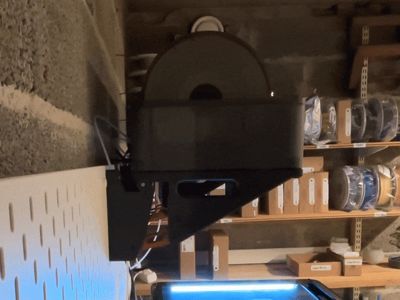
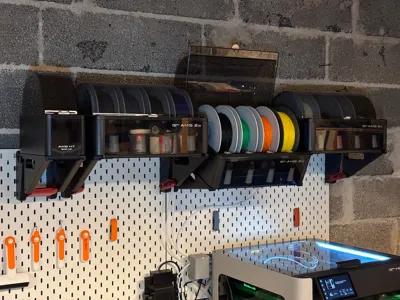
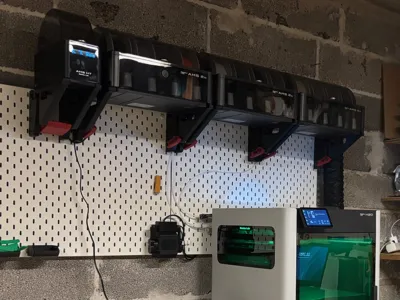
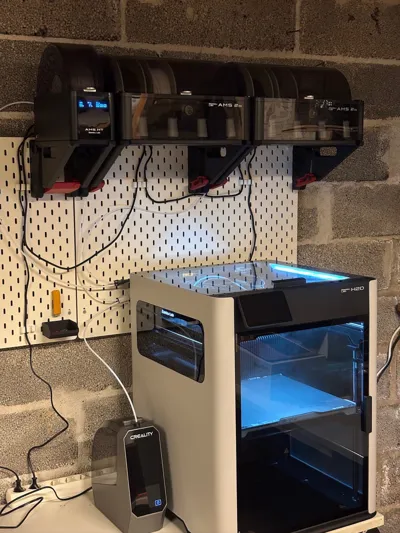
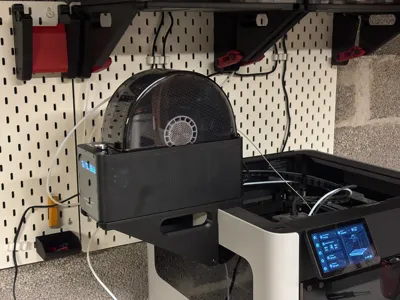
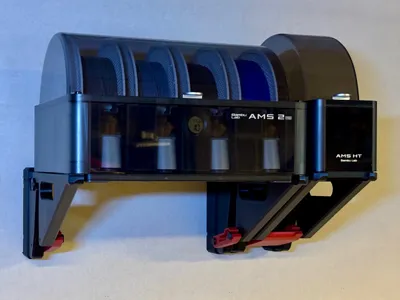
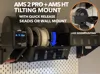
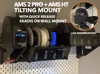
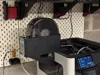
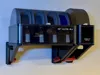
See the GIF videos! This wall mount system let's you conveniently place AMS 2 PRO and AMS HT above your printer. Tilting system makes material change effortless and the AMS are easily detachable for maintenance. The AMS HT mount can also be hung from the side of H2 printers for optimal TPU printing.
Boost Me (for free)
If you like this print, please also check out my other designs and consider leaving a boost to support release of free high quality models. Each one is greatly appreciated. Cheers!
Features:
- Secure mounting for AMS 2 Pro (old and new models) and AMS HT
- Tilting mechanism – horizontal to keep out of the way and tilt down to access filaments
- Easy to detach and to re-attach
- AMS HT can be side-mounted to H2 machines – Optimal filament path for TPU printing
Notes!
Designed to mount on the top row of Ikea Skadis wall boards. The AMS 2 PRO mount could work at other height as well, but cable bending is tight.
UPDATE 22.4.26: Wall brackets to use without a Skadis board are now added! See instructions below for details.
UPDATE 25.5.26: Updated pin/shaft geometry for easier installation.
UPDATE 26.5.26: Changed latch holes to “polyholes” to limit hole diameter from shrinking.
For secure and safe wall installation, read all instructions below.
AMS HT:
Choose 3-pin or 4-pin version from the profile plates – this depends on what position on the wall you want to mount to. The mount in the photos is 3-pin (= fits corners of the Skadis board).
For screw-on wall mounts, select the 3-pin version!
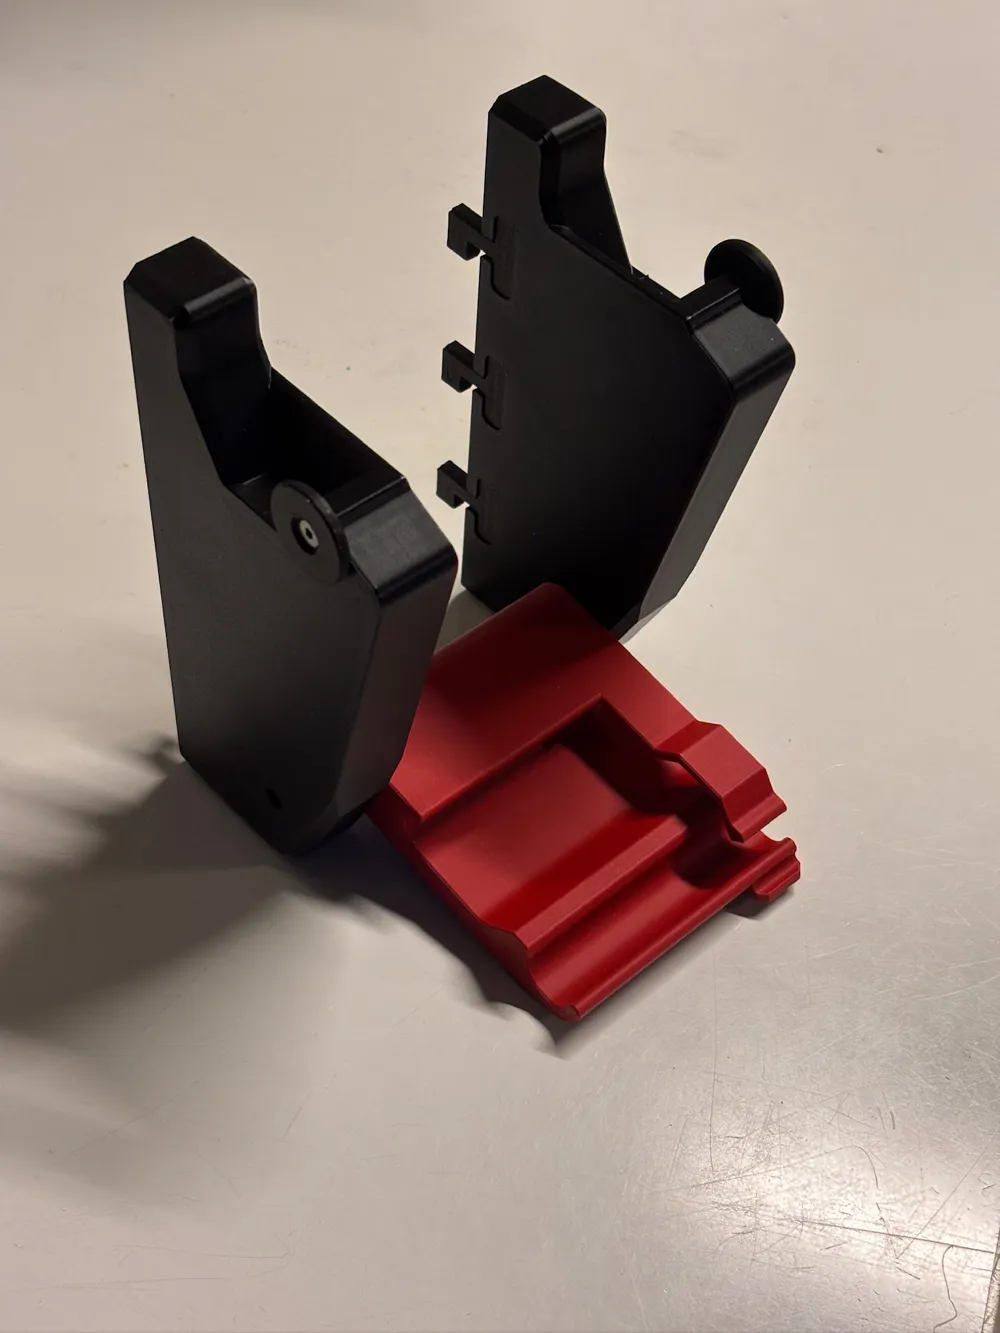
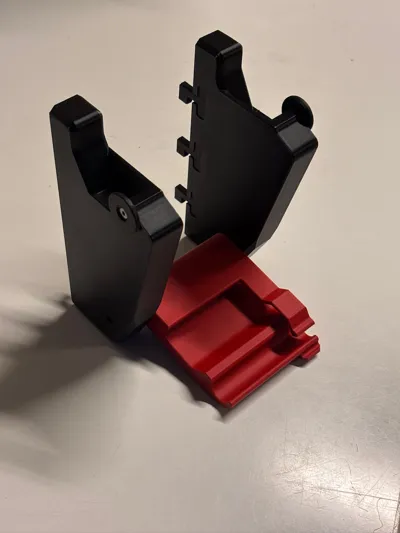
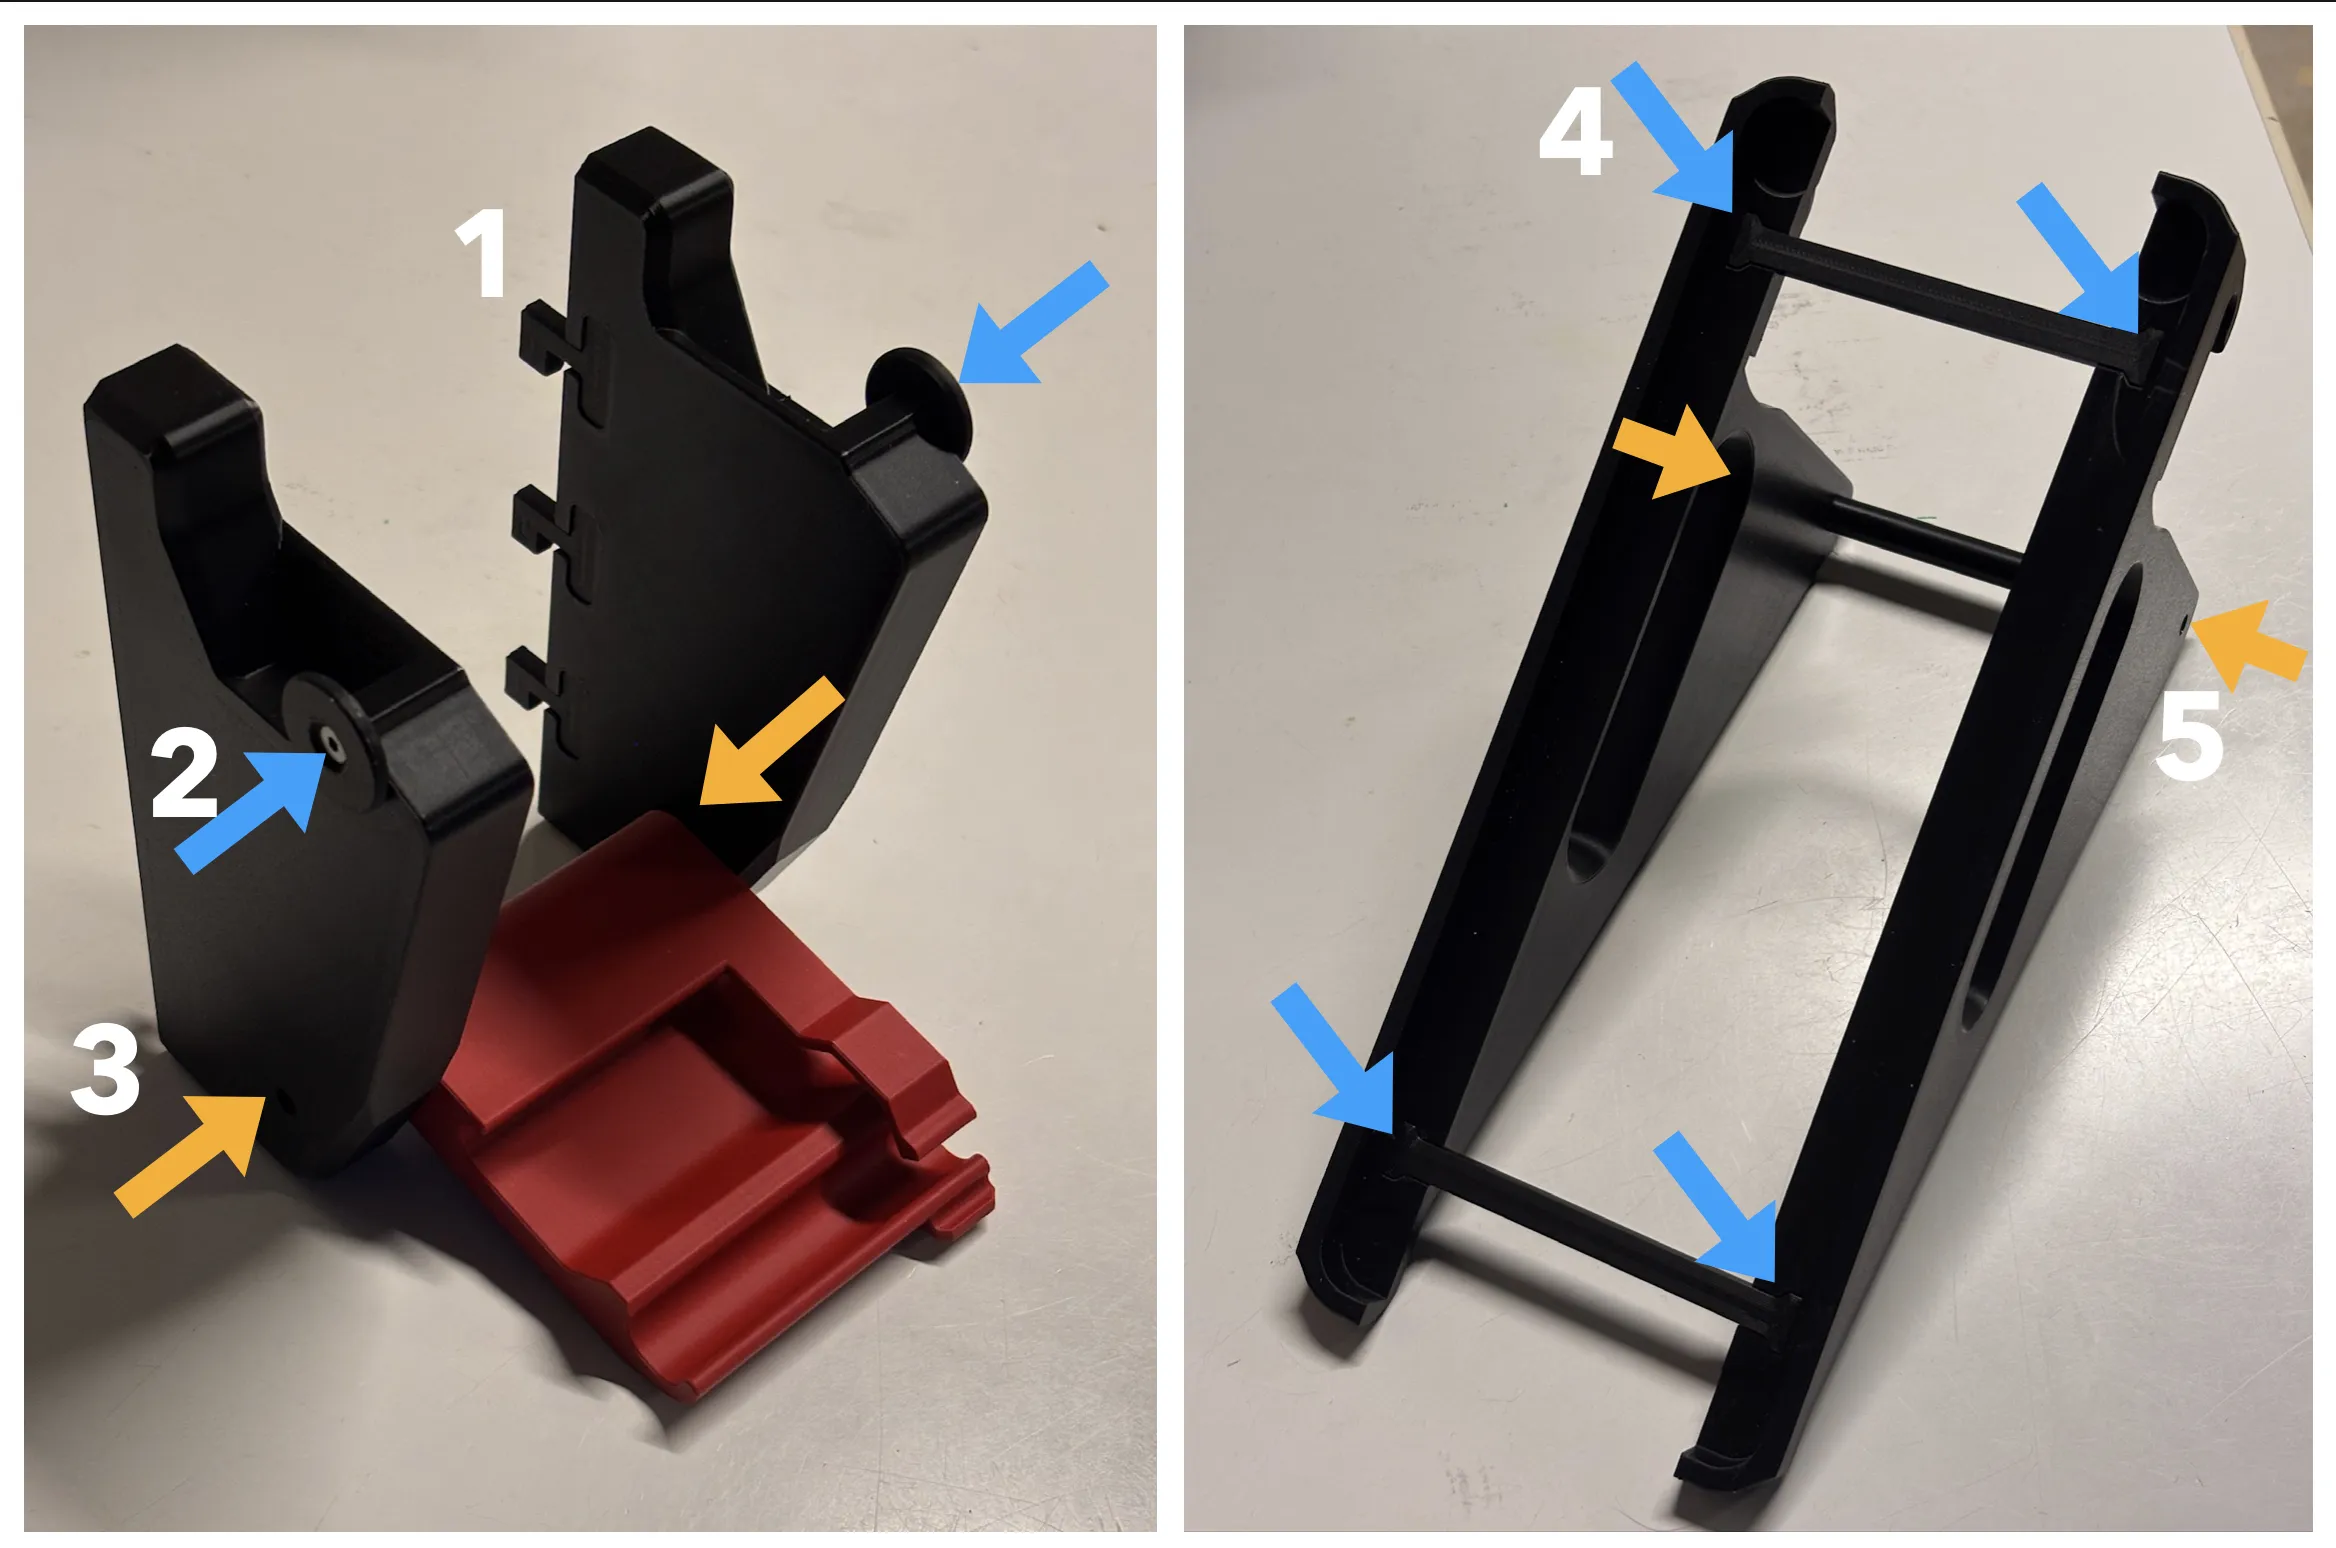
- Glue on the pegs
- Attach the guide plates using 2pcs M3x10 countersink screws - don't over-tighten.
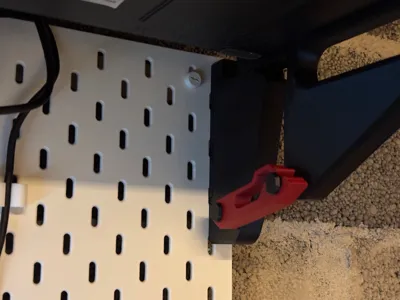
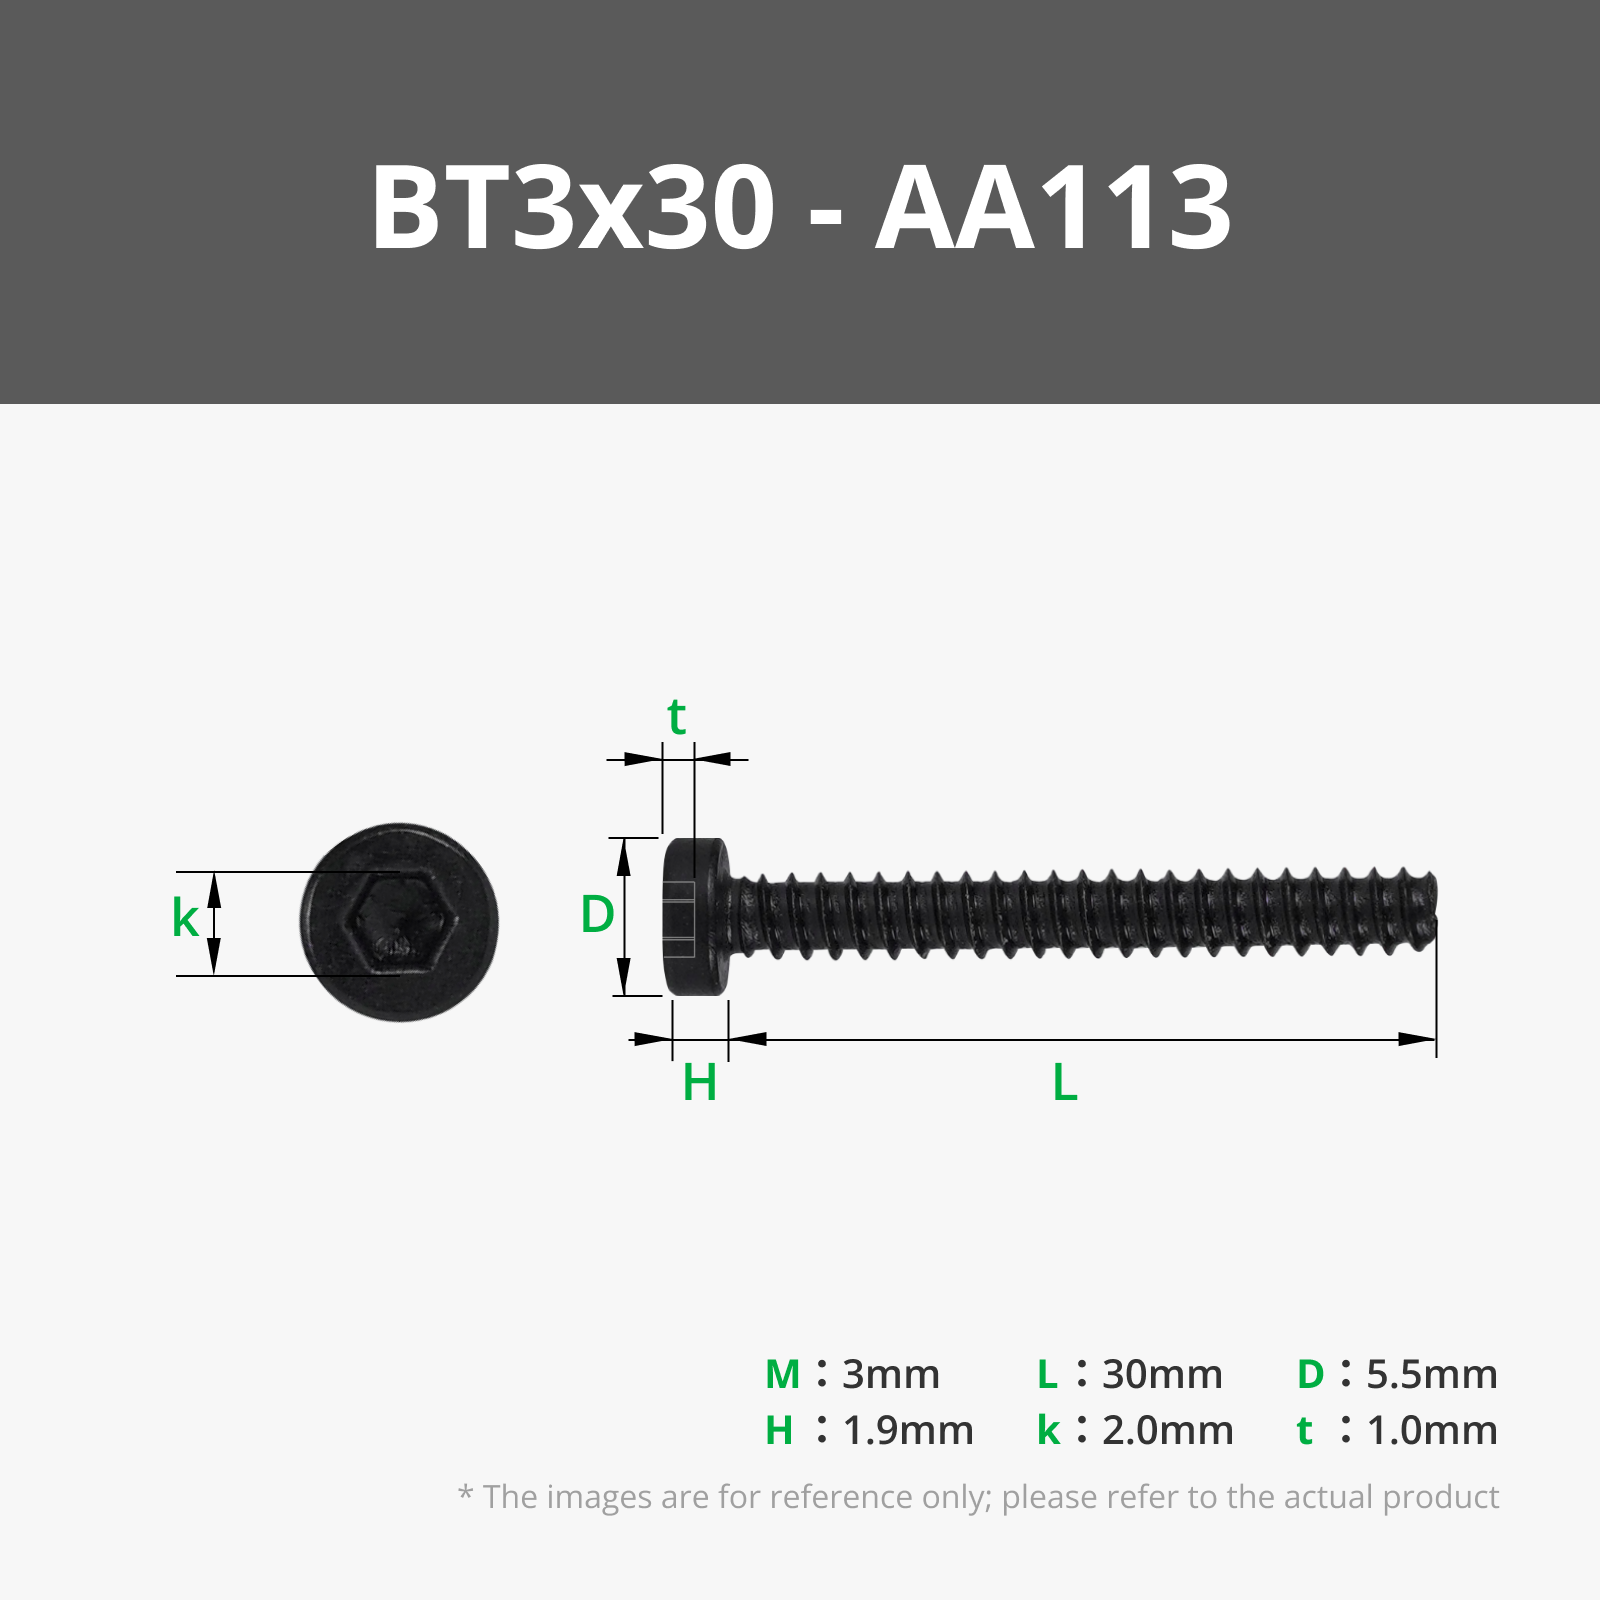
- Attach the red latch with the long shaft through it using 2x BT3x30 screws - don't over tighten. Shaft fit should be snug - add a drop of glue if needed.
- Glue on the cross-beams
- Attach the other long shaft using 2x BT3x30 screws - don't over tighten. Shaft fit should be snug - add a drop of glue if needed.
Mount on the Skadis board or on the screw-on wall mounts and make sure the fit is snug. Add tape, blu tack or similar if fit is loose. Familiarize yourself with the latching system before adding the AMS HT. Always support the AMS HT properly when tilting down, lifting up or detaching. See video among photos to see how it is used.
AMS 2 PRO:
Choose Left or Right version from the profile plates. This depends on what position on the wall you want to mount to. The left AMS 2 PRO in the photos has “Left version” and the one on the right has “Right” version. "Left" version has three pins on the left side bracket and four pins on the right side bracket. “Right” version has these reversed.
For screw-on wall mounts, select the Wall-mount-version which has 3-pin brackets on both sides. If you want to later use it on a Skadis board, replace one of the 3-pin brackets with a 4-pin bracket.
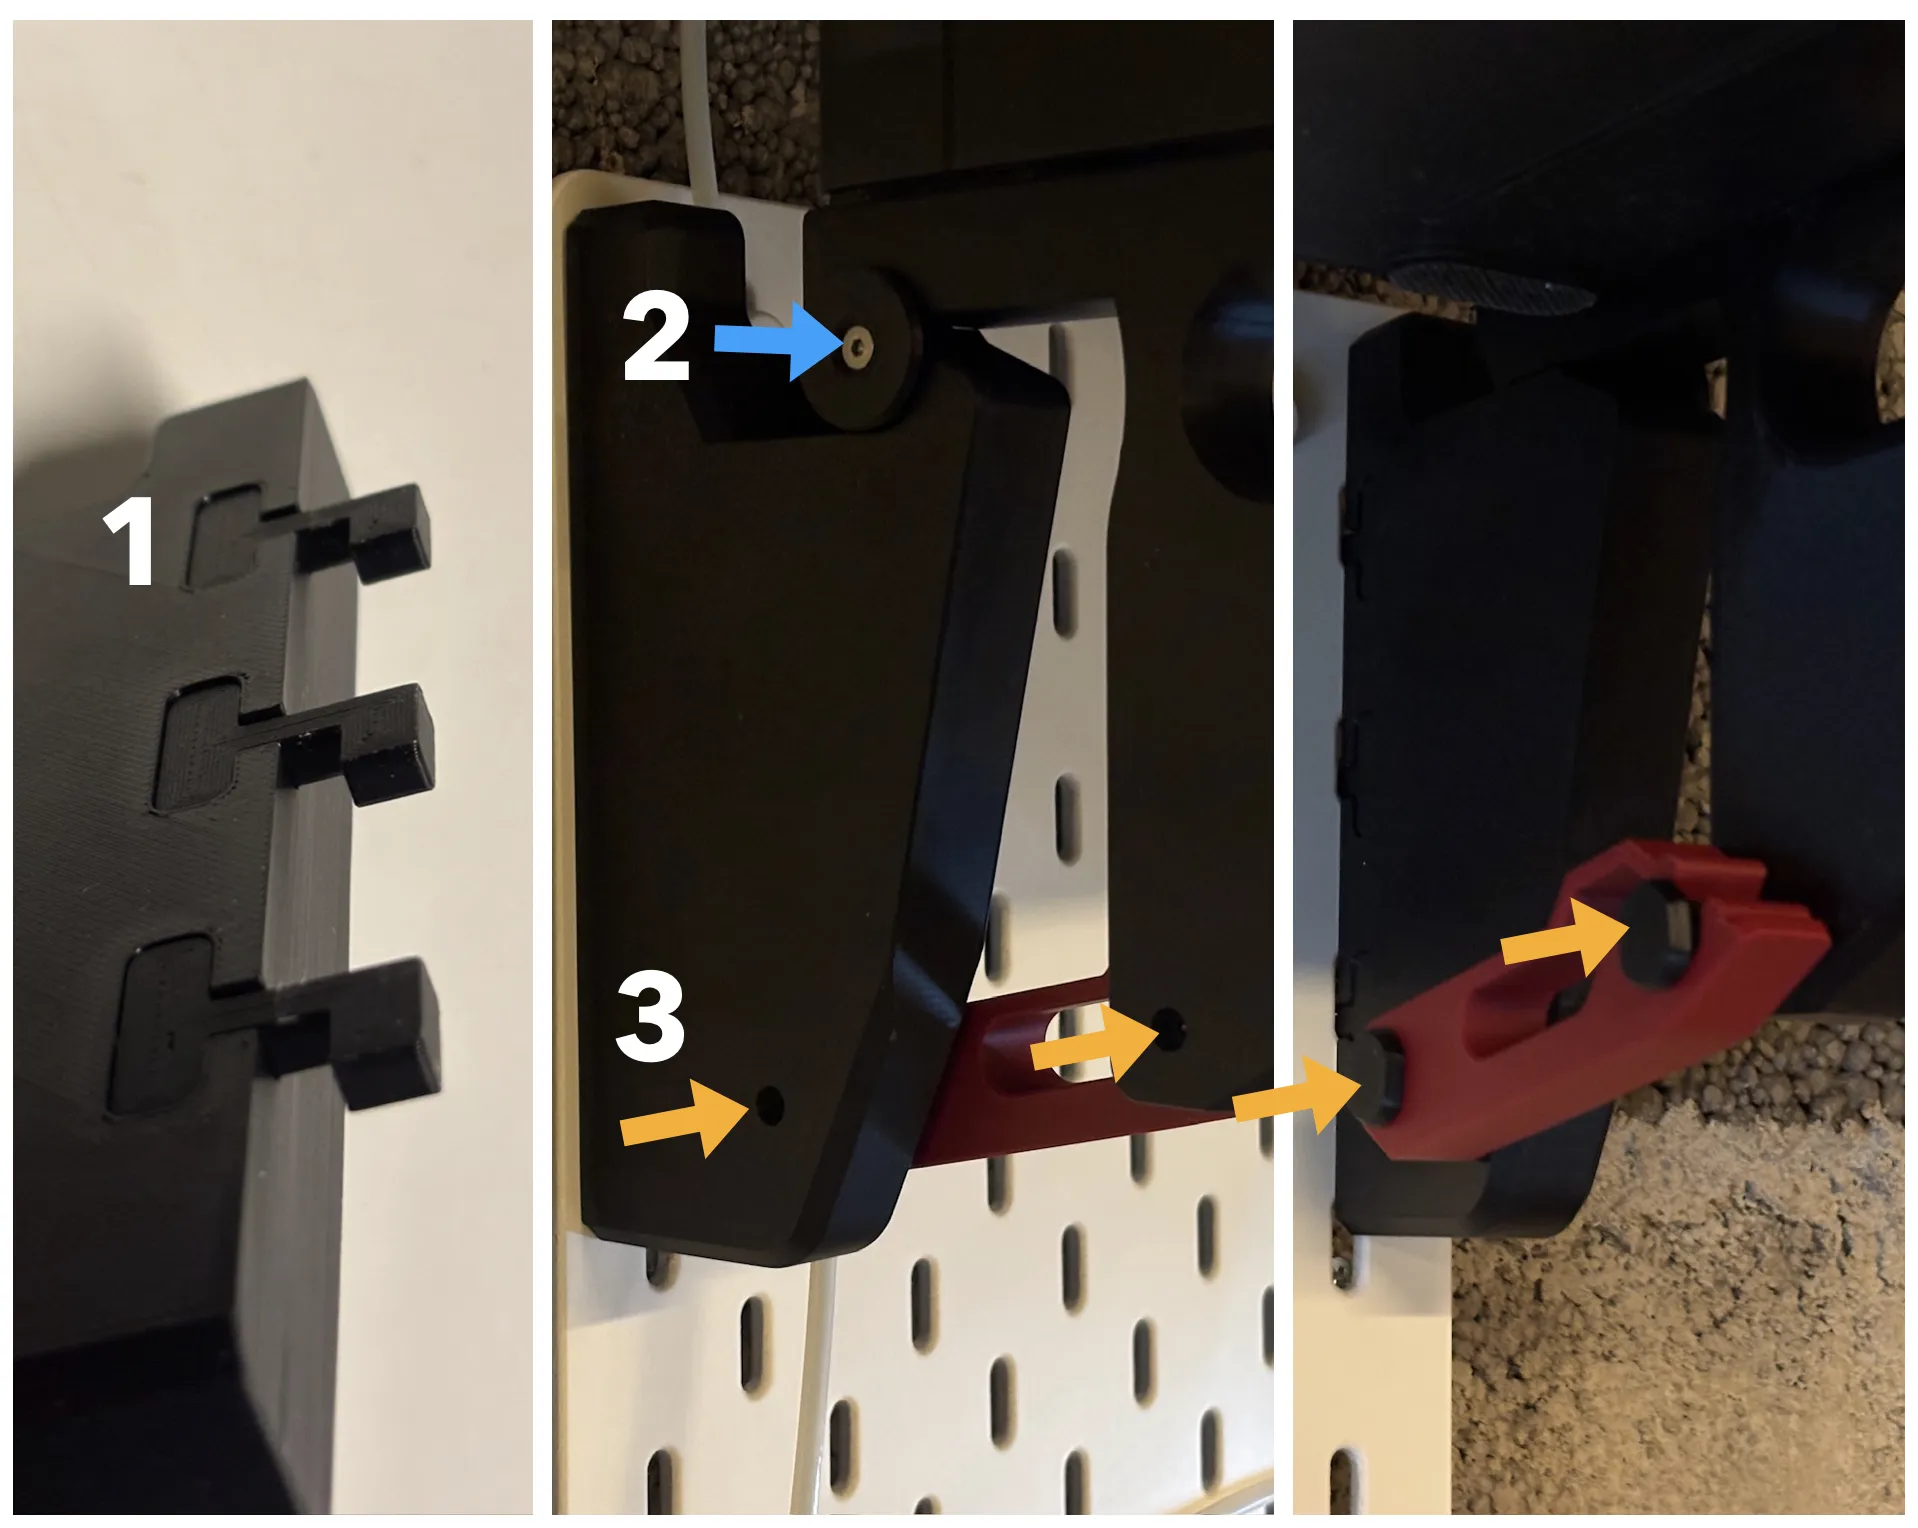
- Glue on the pegs
- Attach the guide plates using 2pcs M3x10 countersink screws - don't over-tighten.
- Attach the shafts and red latches using 4x BT3x30 screws - don't over tighten. Shaft fit should be snug - add a drop of glue if needed.
Mount on the Skadis board or on the screw-on wall mounts and make sure the fit is snug. Add tape, blu tack or similar if the fit is loose. Familiarize yourself with the latching system before adding the AMS. The mounts are press fit under the AMS and the AMS is then hung on the wall bracket. Always support the AMS properly when tilting down, lifting up or detaching. See video among photos to see how it is used.
SKADIS Securing:
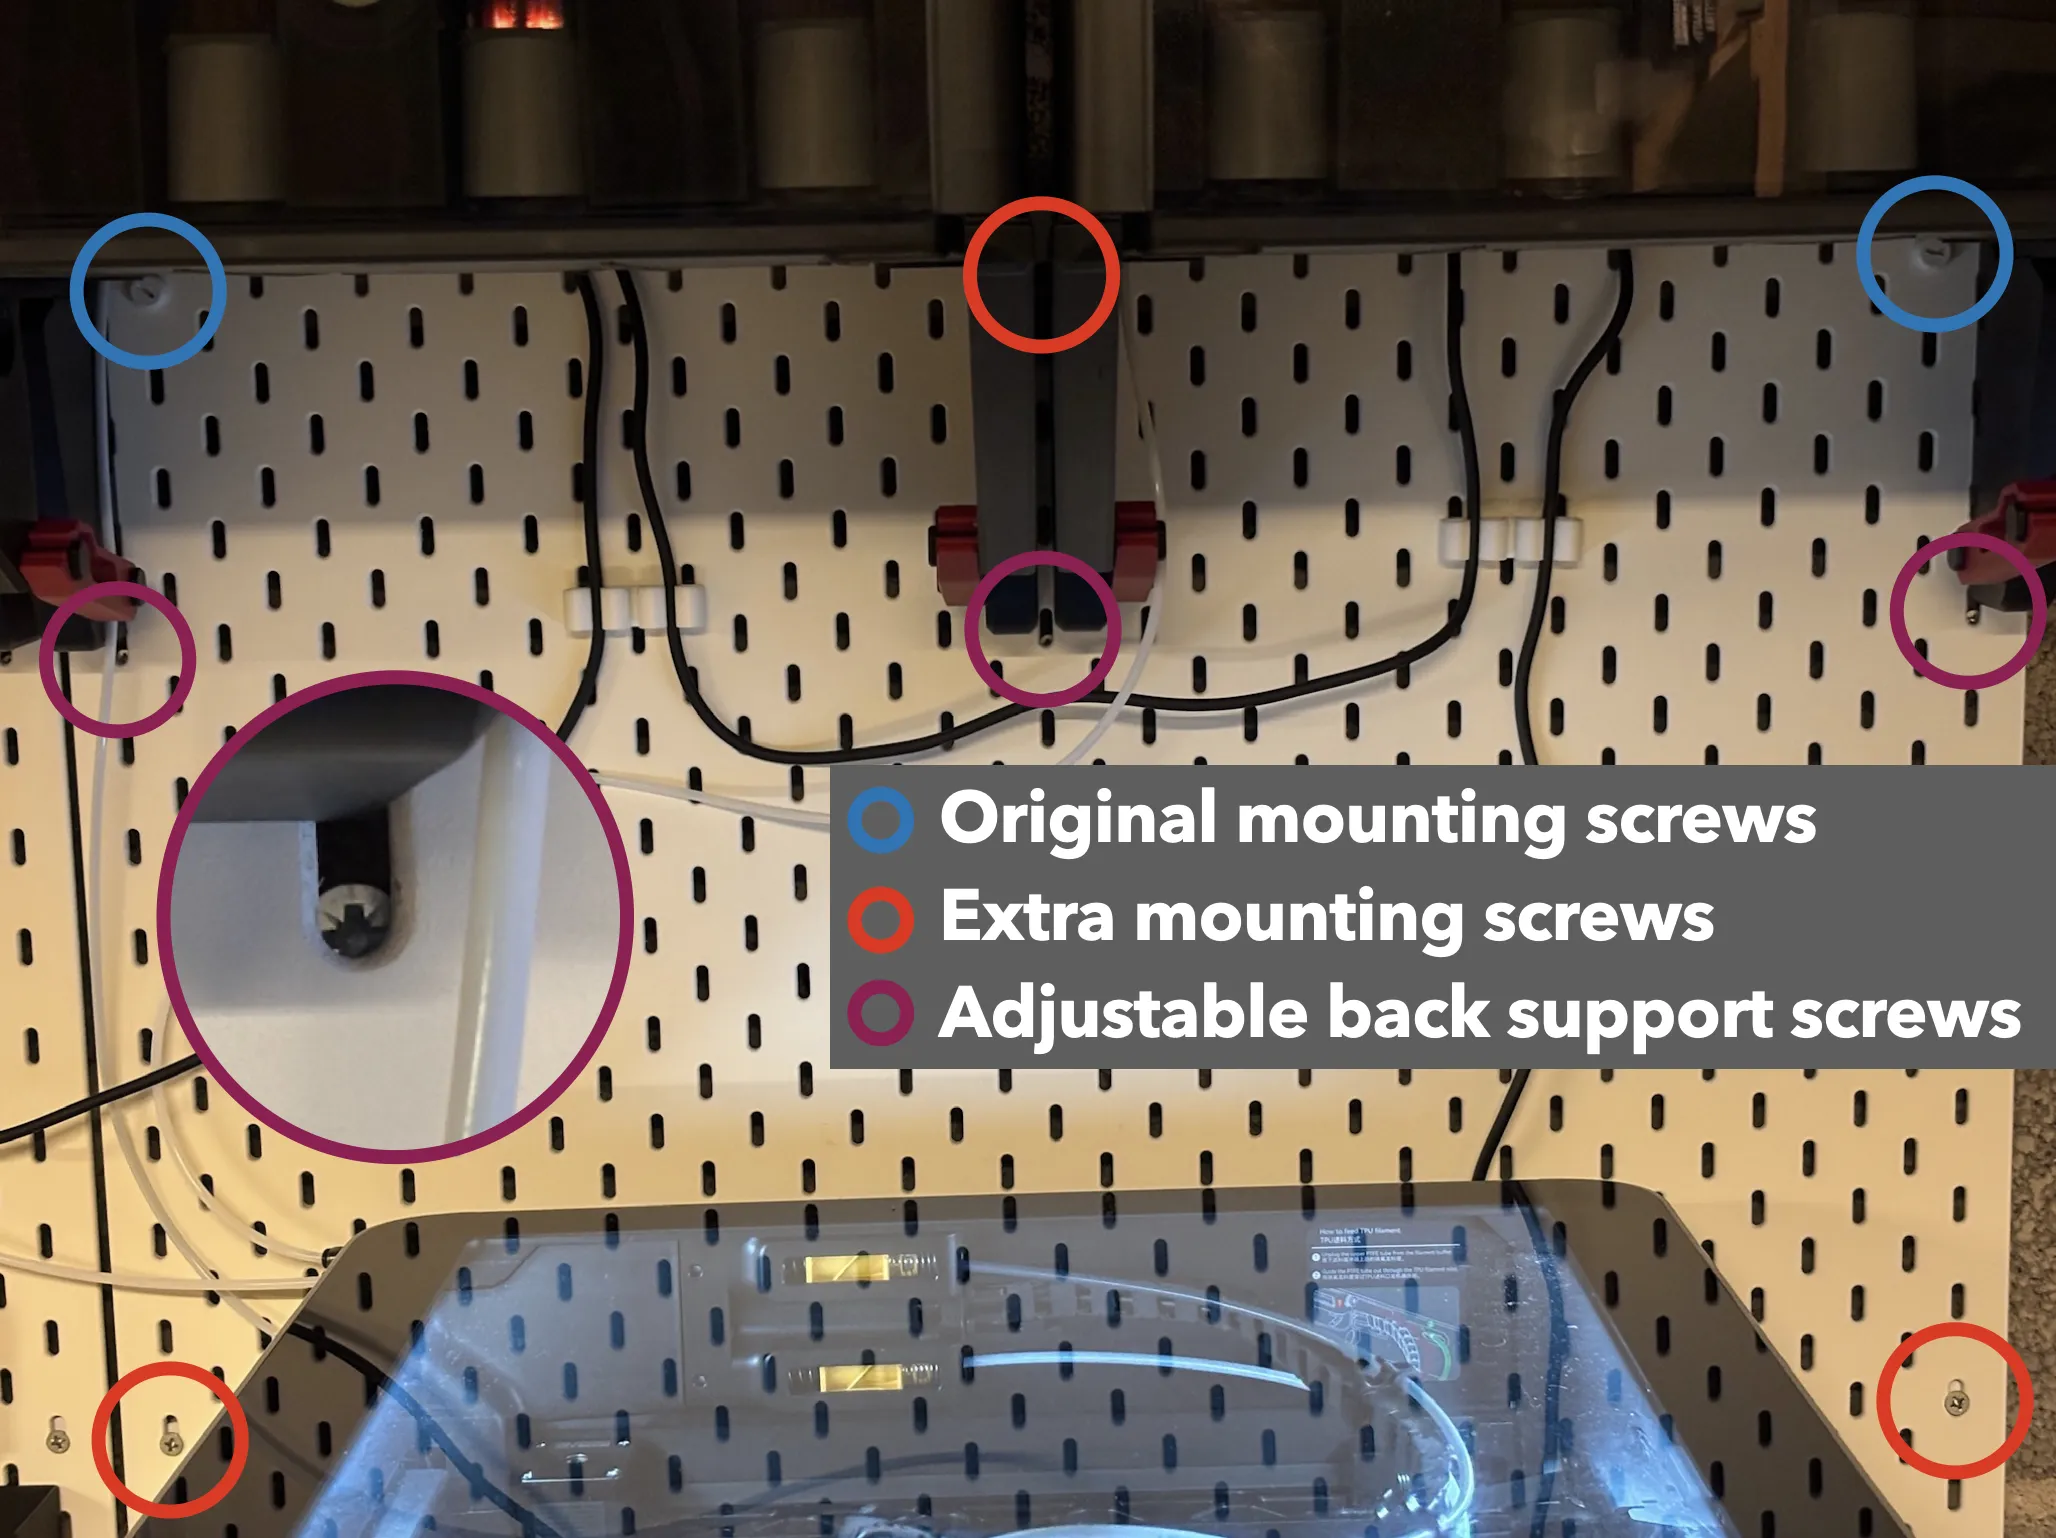
For a solid installation that doesn't bend the Skadis board it is necessary to add supports similar to shown below.
- Additional mounting screws on top middle and bottom corners. Use 20mm spacers (profile included)
- Adjustable screws behind the board that stop the board from bending towards the wall. Adjust these so that the AMS are level on either side and not flexing. To check, open AMS cover latches - the cover should stay level and not lift from either side.
Screw-on Wall Mounts
The screw-on wall mounts only work with 3-pin brackets - make sure you have printed the correct brackets. See notes above for details.
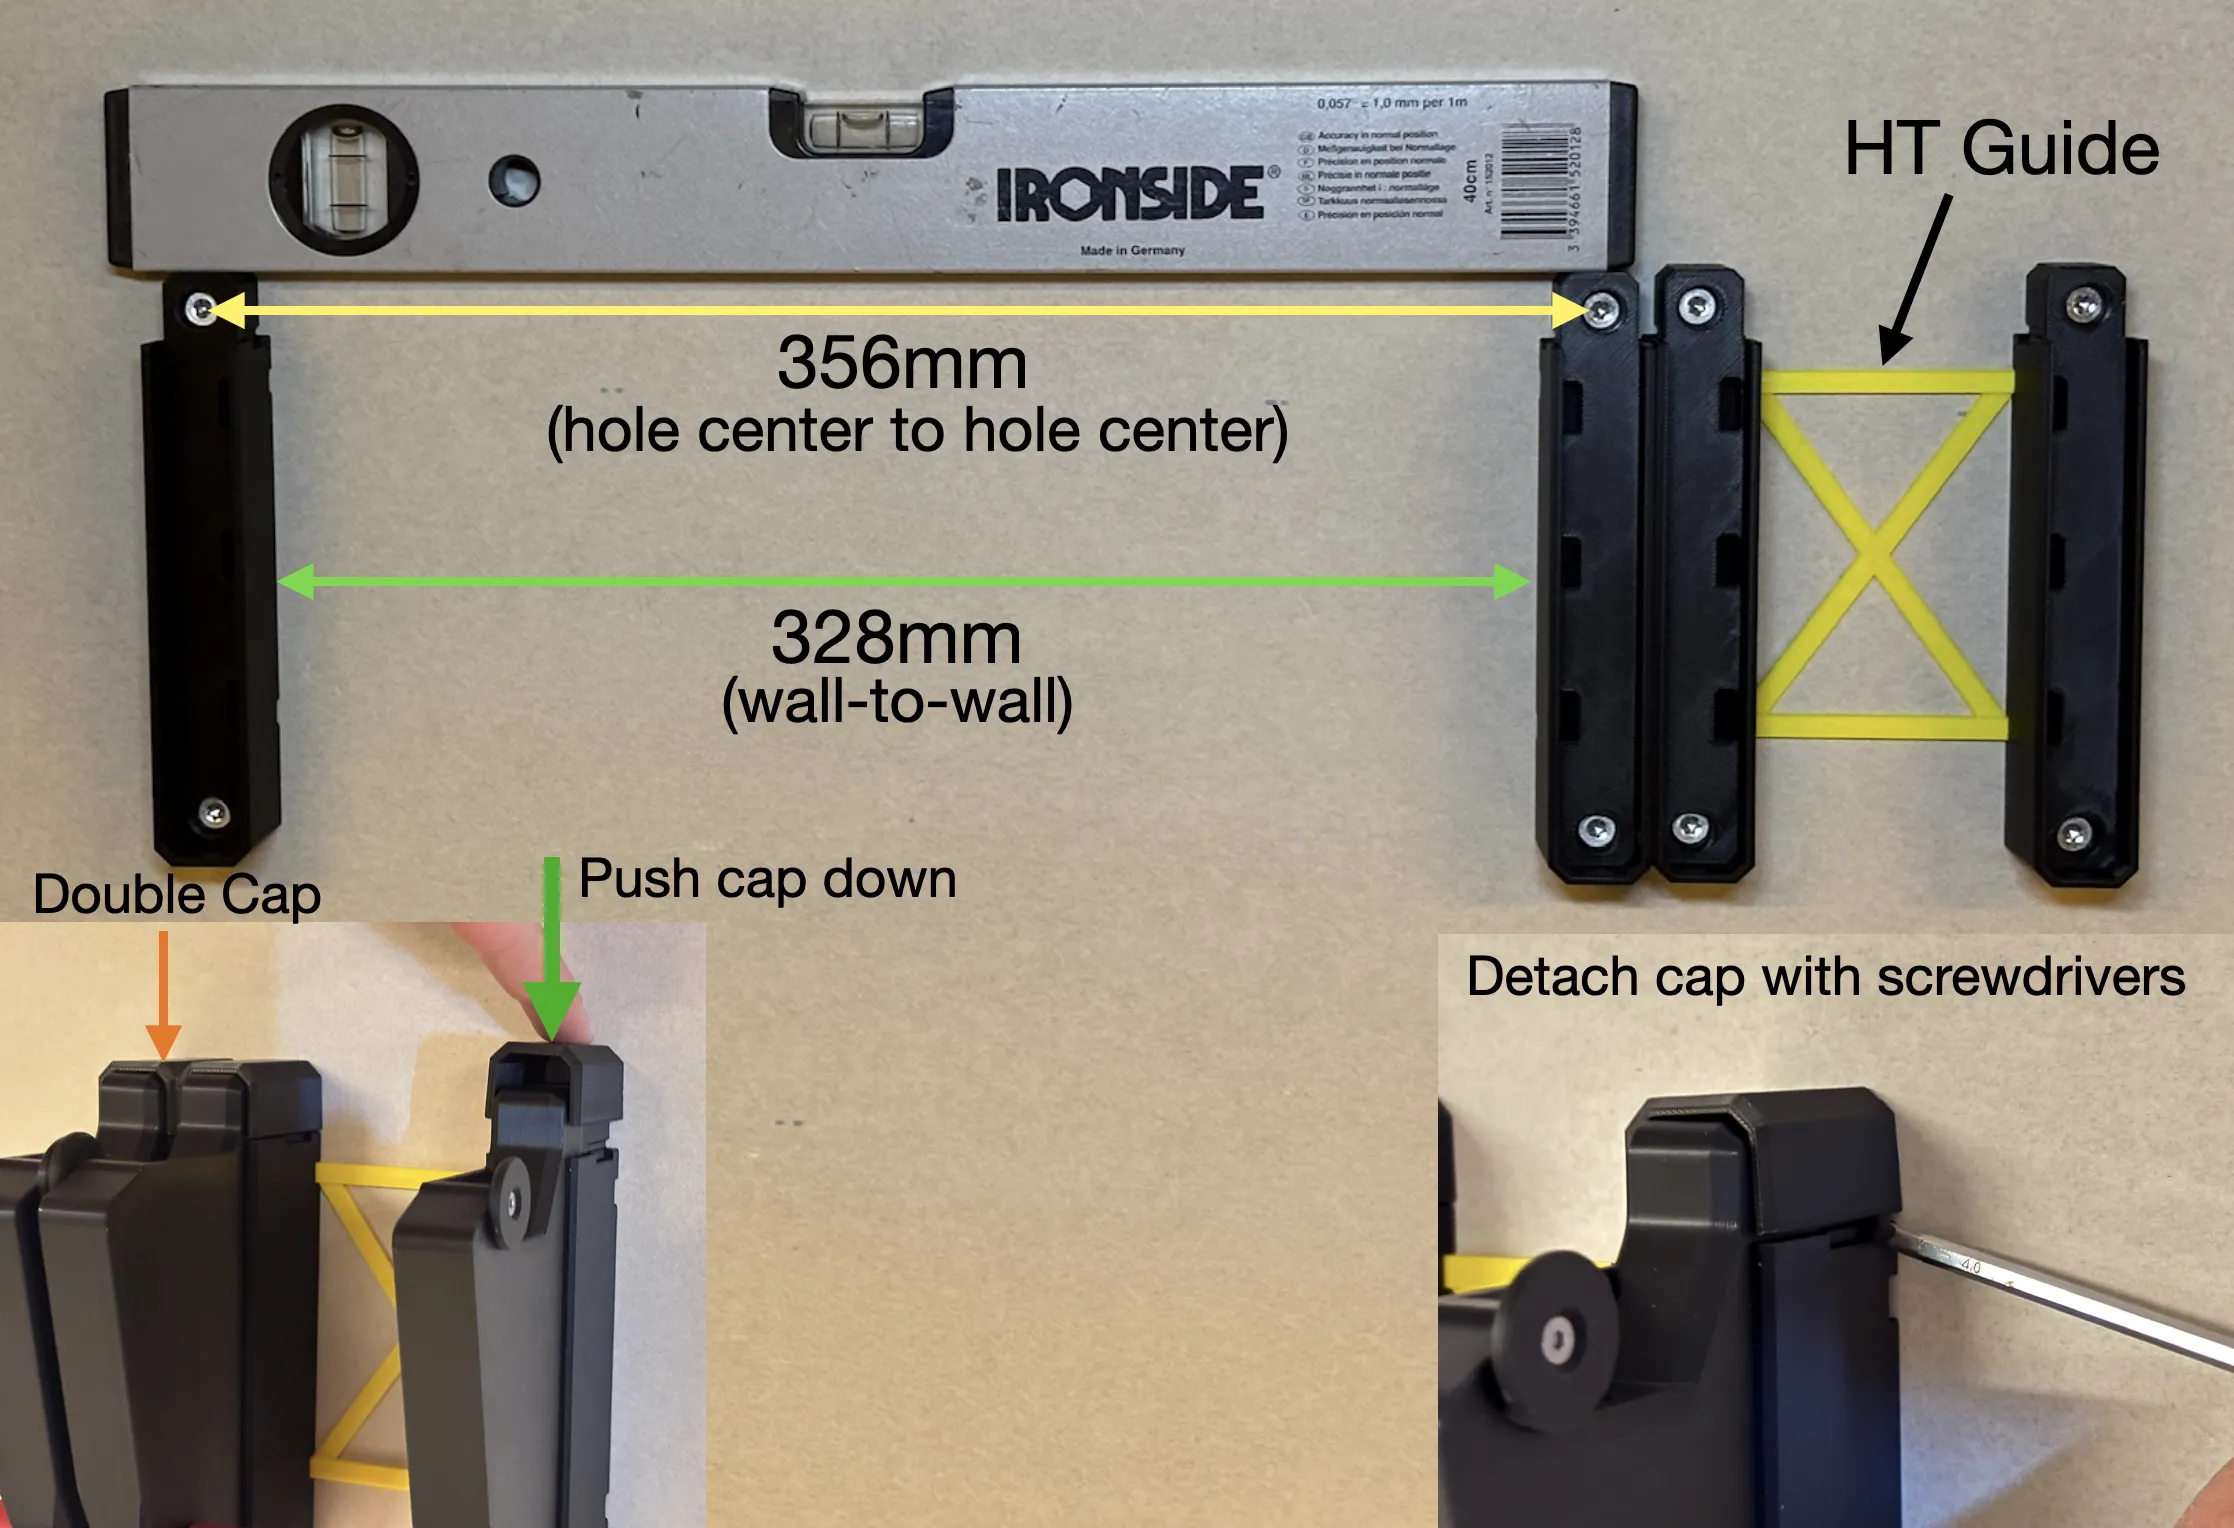
Use the HT Guide to set correct alignment and spacing for use with AMS HT. The HT Guide can be left in place or removed after checking the fitting.
For AMS 2, install the brackets at the distance shown below. Use a water level indicator or measure the height of the brackets.
After installing the brackets on the mounts, place on the caps. If you mount multiple AMS side by side, use the Double cap.
Alignment parts to help side by side installation are also included, but you can also use the double cap to keep the brackets together when drilling.
Use long screws and securely fix the mounts to the wall with proper plugs/anchors. The hole on the mount is designed for OD 5-6mm screws with 10-11mm countersunk heads.
Boost Me (for free)
If you like this print, please also check out my other designs and consider leaving a boost to support release of free high quality models. Each one is greatly appreciated. Cheers!
License

You shall not share, sub-license, sell, rent, host, transfer, or distribute in any way the digital or 3D printed versions of this object, nor any other derivative work of this object in its digital or physical format (including - but not limited to - remixes of this object, and hosting on other digital platforms). The objects may not be used without permission in any way whatsoever in which you charge money, or collect fees.


Comment & Rating (70)