
Rubber Band Catapult – Print & Play
Print Profile(1)
Description
Thanks for checking out my model! Every download and print means a lot!
If you’d like to support me, a Boost is wonderful.
Boost Me (for free)
Rubber Band Catapult – Print & Play
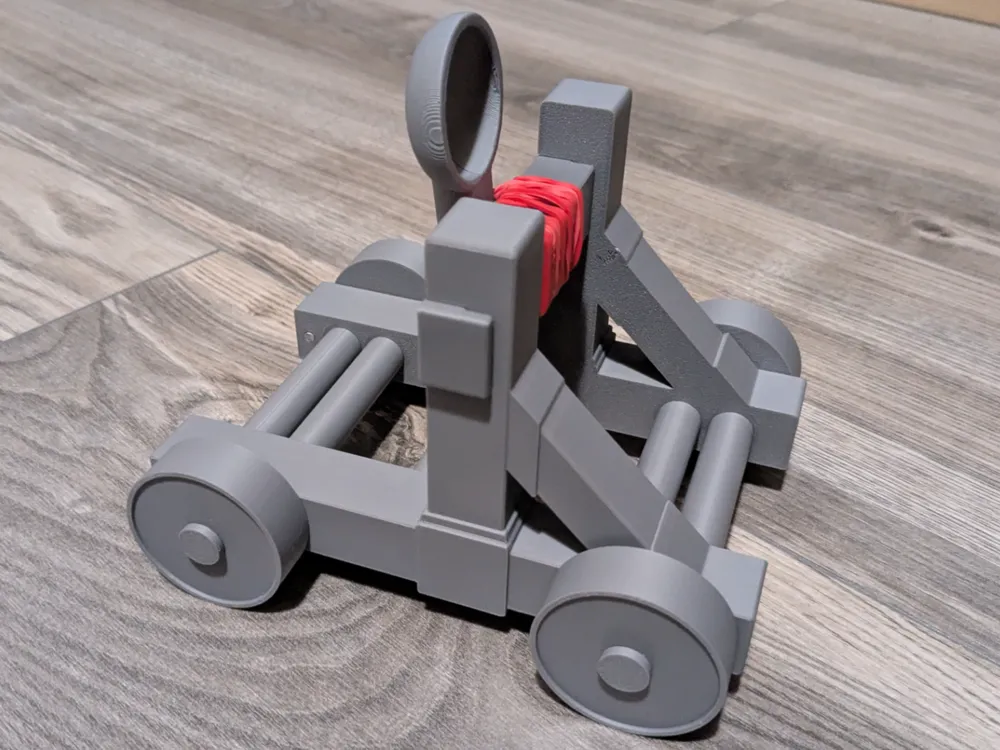
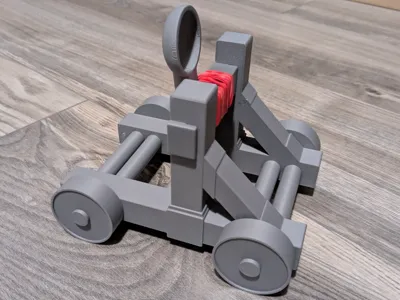
A simple, fun 3D printed catapult: just print the parts, assemble them, add a jar rubber band (or any similar elastic band), and you’re ready to launch soft projectiles around the room!
This model is designed as an easy weekend build and a great desk/toy project. Tension is provided by the rubber band, so you can tune the power by using thicker/thinner bands.
Features
- ✅ Fully 3D printed, no screws needed
- ✅ Uses a common rubber band as the spring mechanism
- ✅ Fun mechanical build + working toy
- ✅ Power can be adjusted by rubber band size/tension
What you need
- 3D printed parts (from this upload)
- 1–3 rubber bands (jar rubber band / office rubber band / O-ring works too)
Recommended projectiles
Use only soft / lightweight items, for example:
- mini marshmallows
- small paper balls
- foam pieces / pom-poms
Print settings (recommended starting point)
- Material: PLA (PETG also works)
- Layer height: 0.20 mm
- Walls: 3
- Infill: 15–25%
- Supports: not required
Assembly
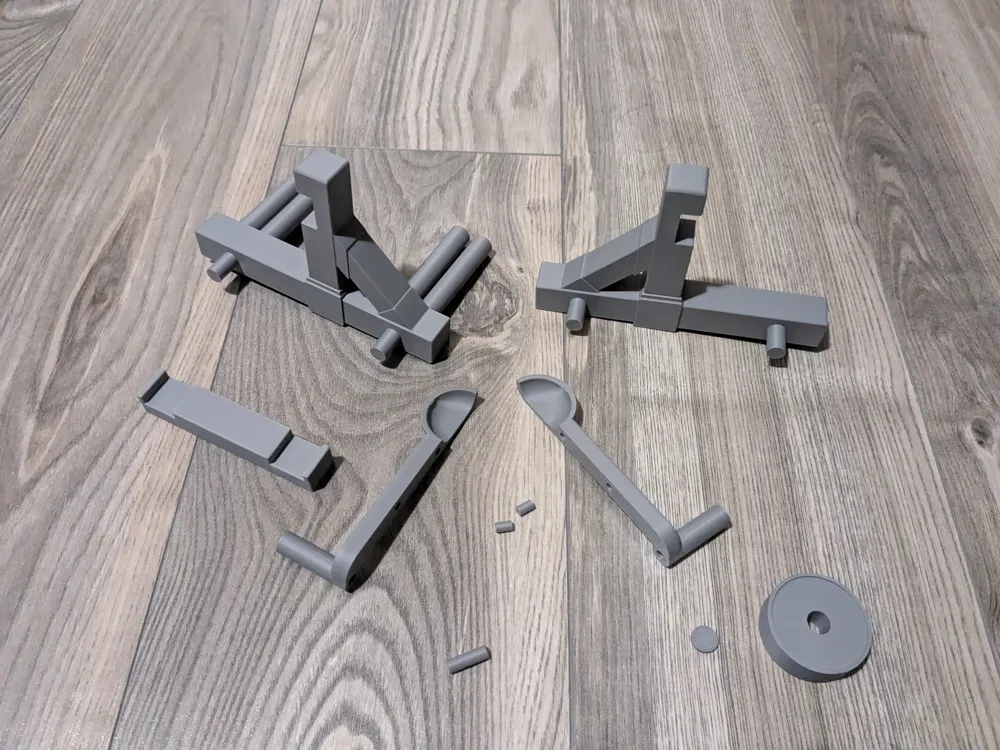
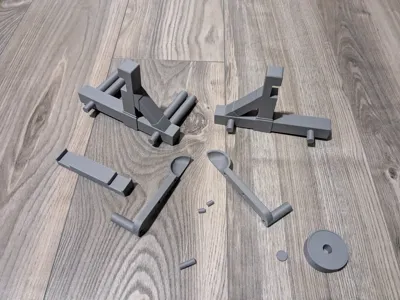
1) Print the parts
Print all parts from the project. No glue is required for normal assembly.
Pins / rods you’ll need (printed):
- 2× pin 5×8 mm
- 1× pin 6×18 mm
- 4× rod 13×80 mm
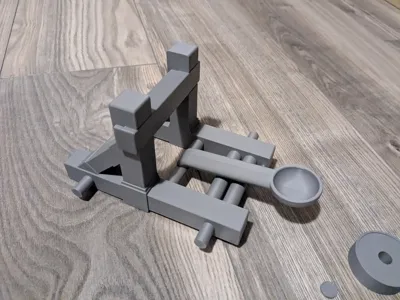
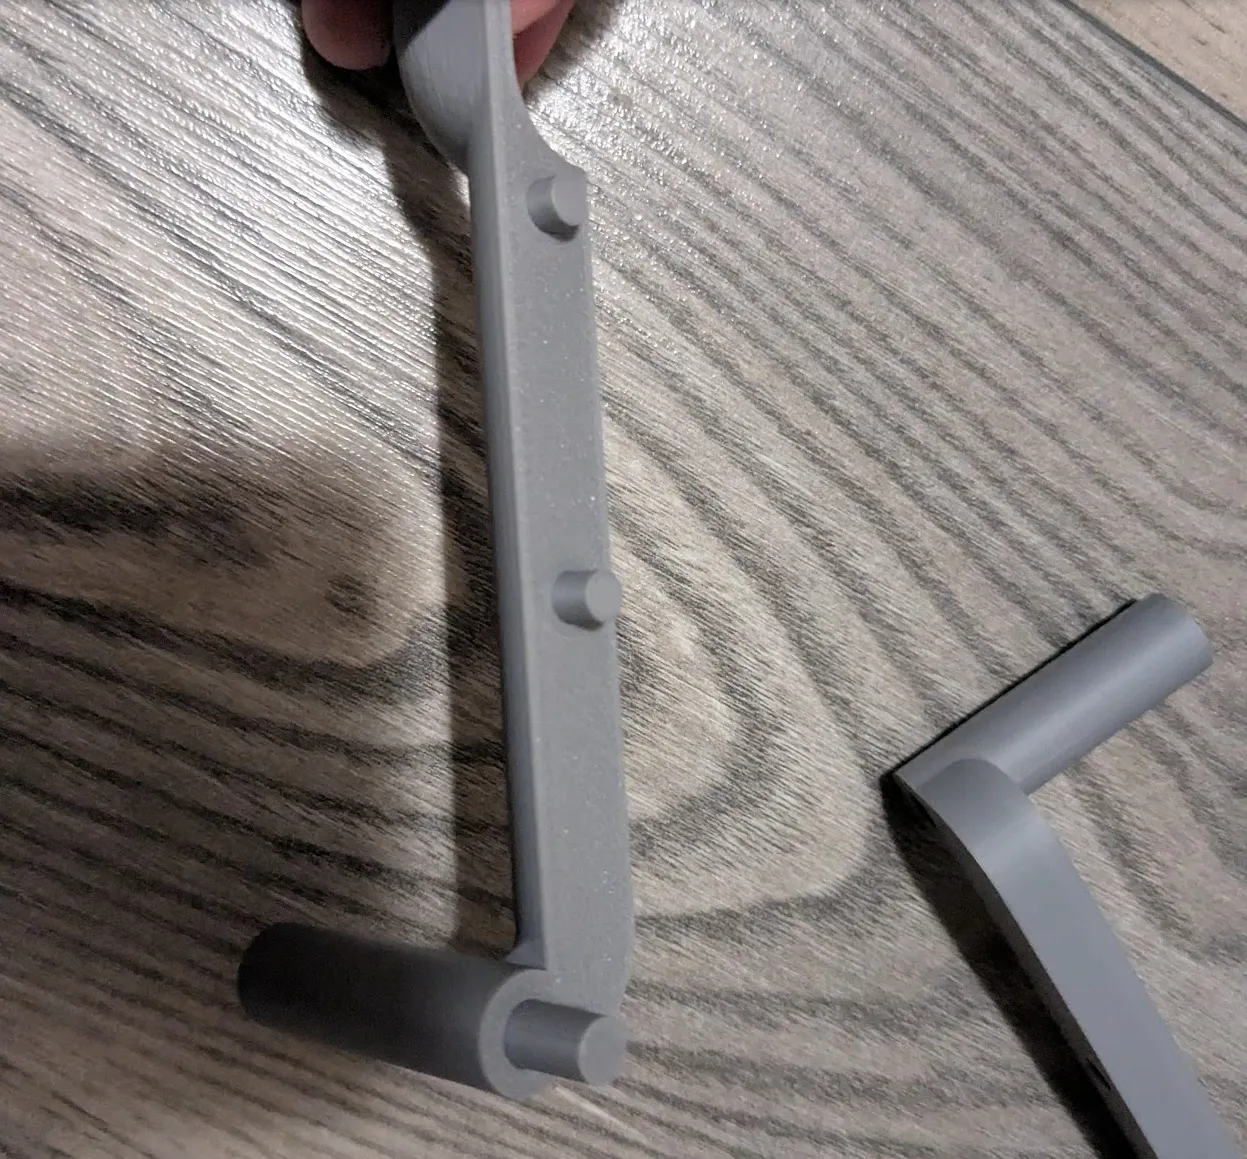
2) Assemble the “spoon” (throwing arm)
The spoon/arm is made of multiple parts and is held together by 3 small pins:
- Insert 2× 5×8 mm pins into the matching holes.
- Insert 1× 6×18 mm pin into the long hole.
- push the 2 halves together
Optional (only if you really want extra security):
a tiny drop of glue at the spoon joint is OK, but not necessary.
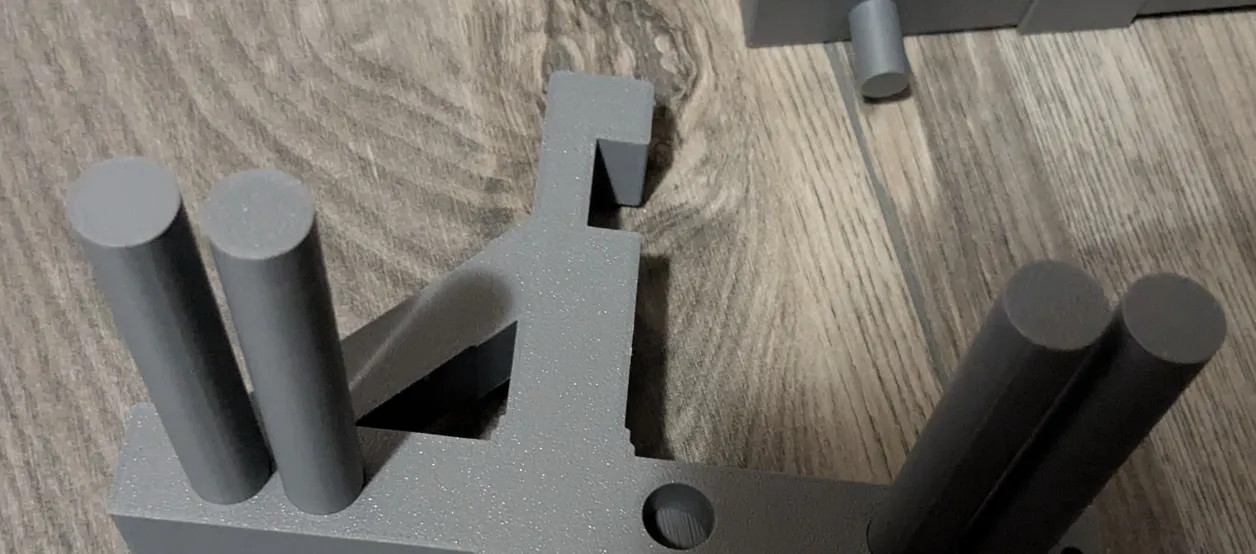
3) Insert the 4 long rods into the first side frame
Take one side frame and insert the 4× 13×80 mm rods into their sockets.
Tip: Make sure they’re straight and fully seated before moving on.
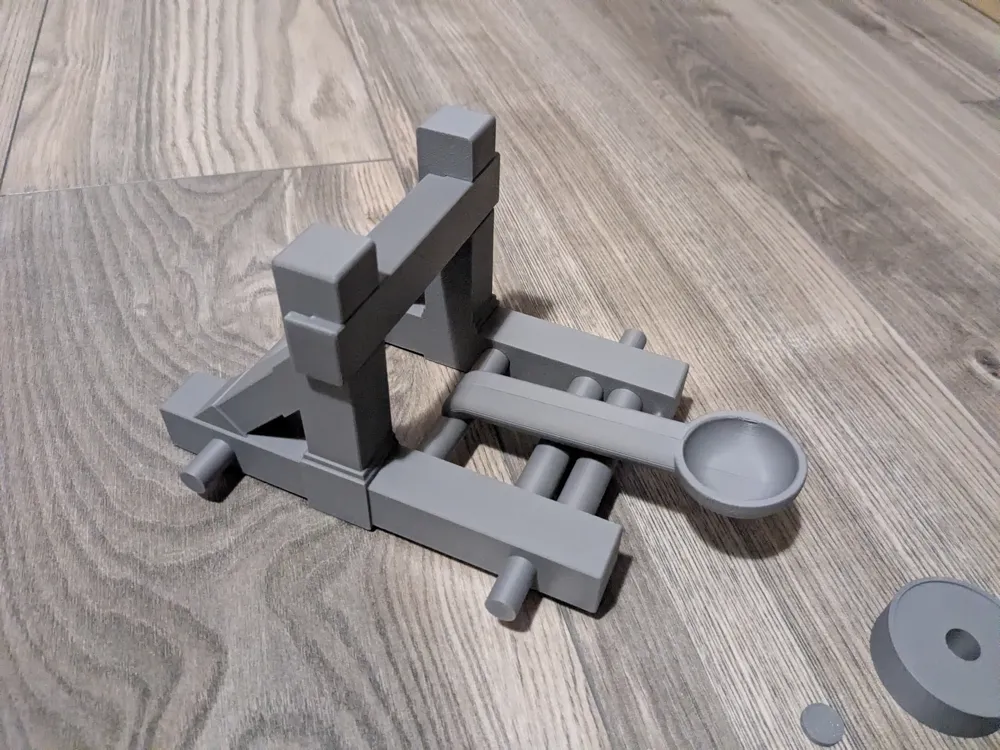
4) Align the spoon/arm in the middle
Place the spoon/arm assembly into position between the two side frames.
- The spoon’s axle/rod is slightly shorter on purpose.
- You should see about ~1 mm play to each side (left/right) from center.
This is normal and helps the mechanism move freely.
5) Press on the second side frame (tight fit!)
Now press the other side frame onto the rods and into place.
⚠️ This step is intentionally tight. Use force.
Depending on your printer tolerances, it can be very stiff.
Fit reference:
- When fully pressed together, the 80 mm rods will have ~60 mm visible/free outside the frame.
- A 1–2 mm difference is totally fine.
Note: On my print it became almost impossible to disassemble after pressing together — this is expected with a tight press-fit.
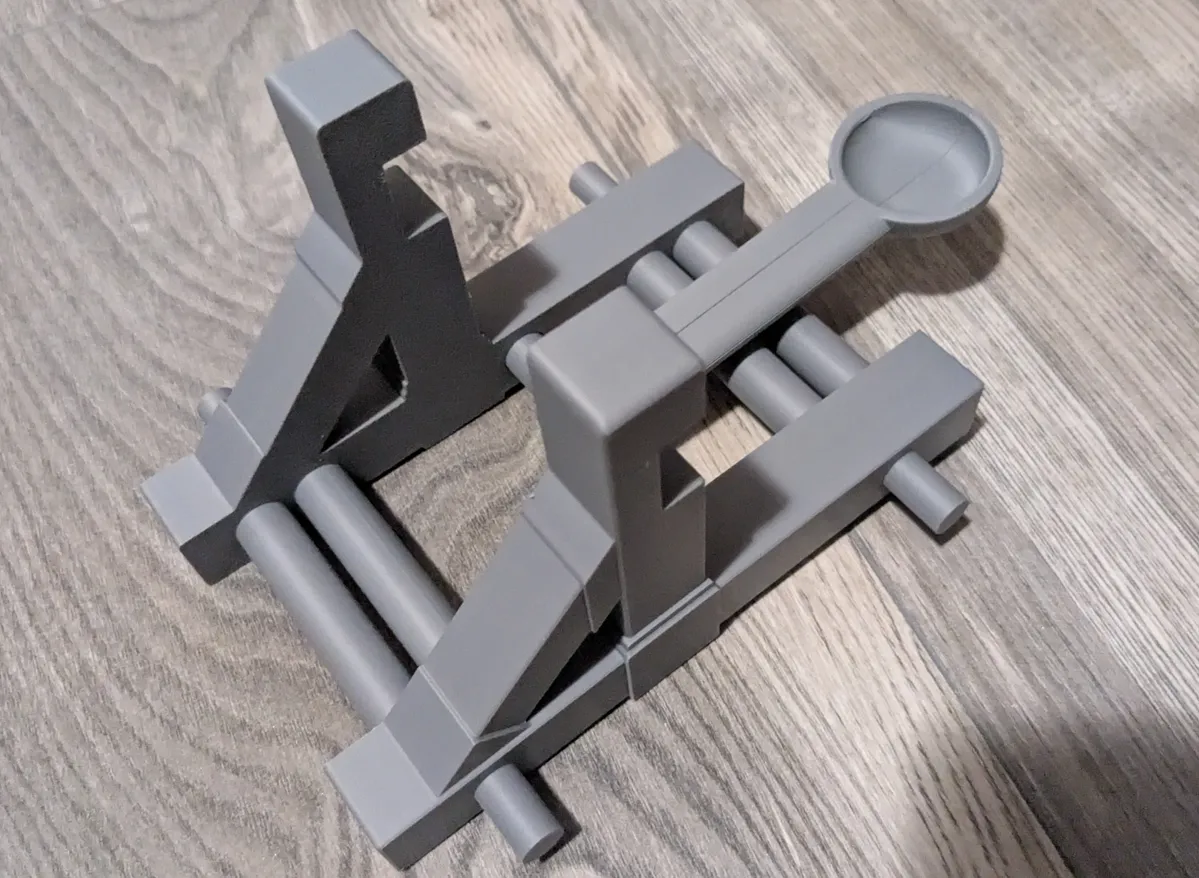
6) Insert the top beam
Install the top beam into its slot on the upper posts to lock the structure.
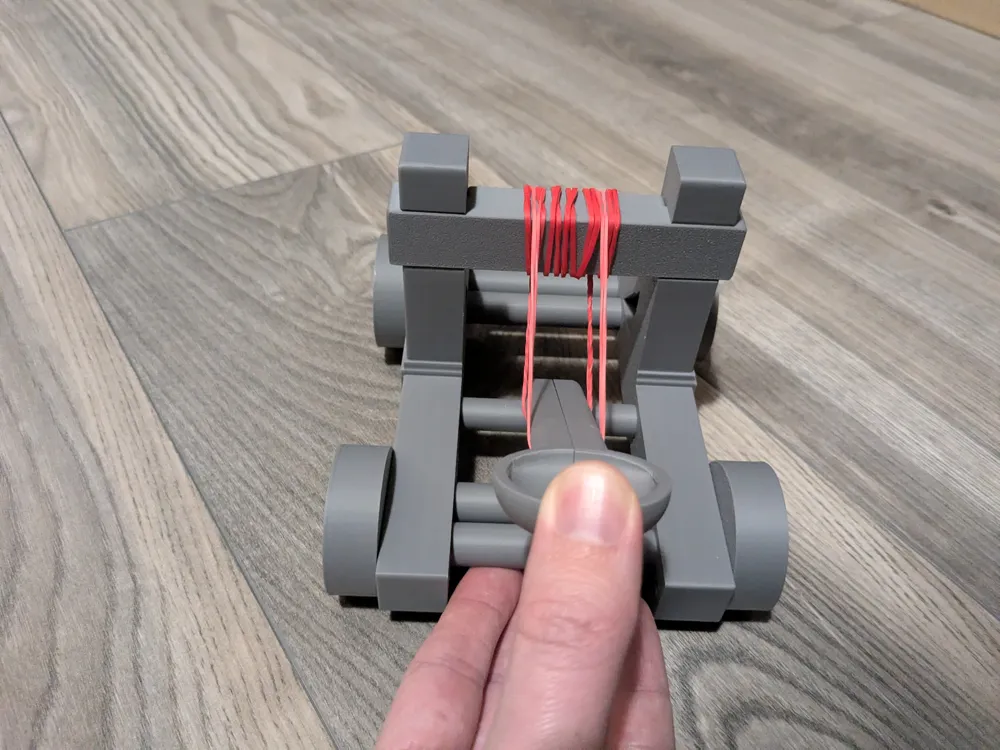
Note: Extra rubber bands on the top crossbeam look nice and can also add a little damping
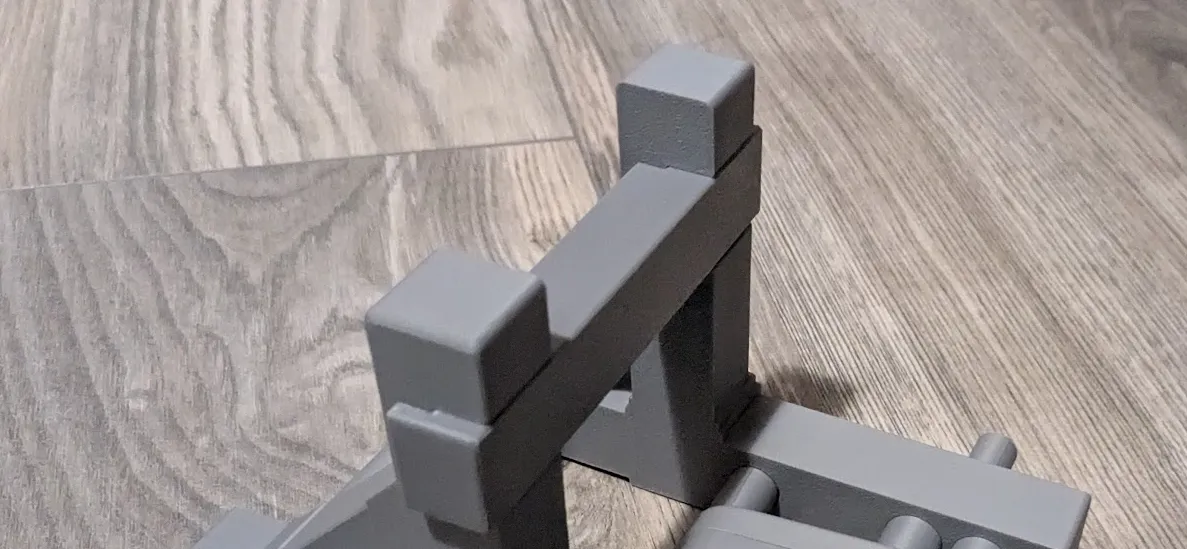
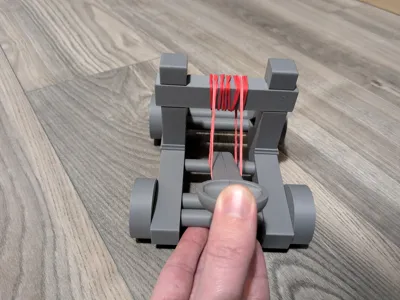
7) Add the rubber band
Place a jar rubber band (or similar elastic band) onto the posts and around the spoon/arm as shown.
You can adjust power by using:
- thicker band = stronger launch
- thinner band = softer launch
or stacking 2–3 bands
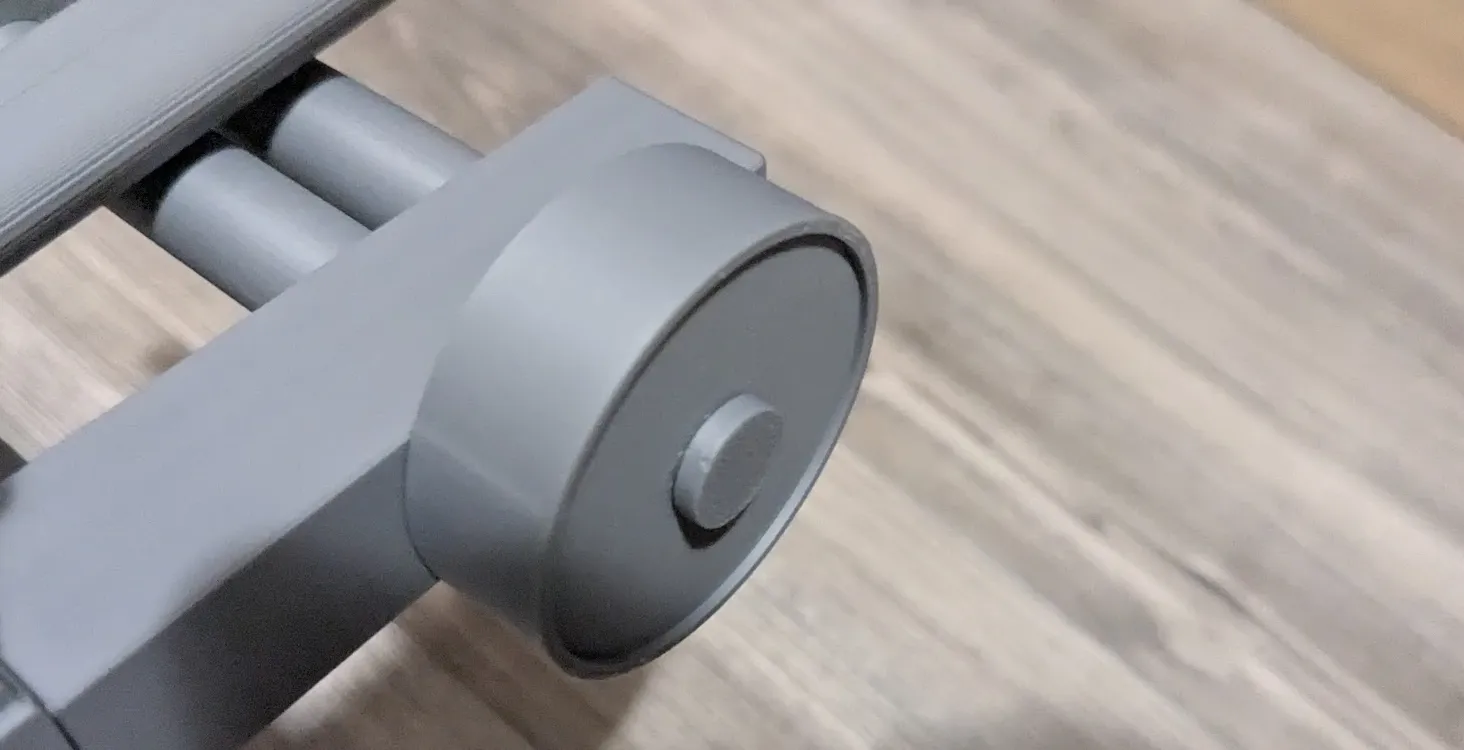
8) Install and lock the wheels
Push on the 4 wheels, then add the wheel locks/caps to keep them in place.
Optional: If you’re worried about wheels coming off, add one tiny drop of glue on the wheel lock/cap — but again, it’s not required.
No-glue design
Everything is designed as a press-fit, so no glue is needed for standard use.
Safety note
This is a toy. Do not aim at faces/eyes and do not use hard objects as ammo. Adult supervision recommended for kids.
License

You shall not share, sub-license, sell, rent, host, transfer, or distribute in any way the digital or 3D printed versions of this object, nor any other derivative work of this object in its digital or physical format (including - but not limited to - remixes of this object, and hosting on other digital platforms). The objects may not be used without permission in any way whatsoever in which you charge money, or collect fees.


Comment & Rating (1)