
Print Profile(1)
Bill of Materials






Description
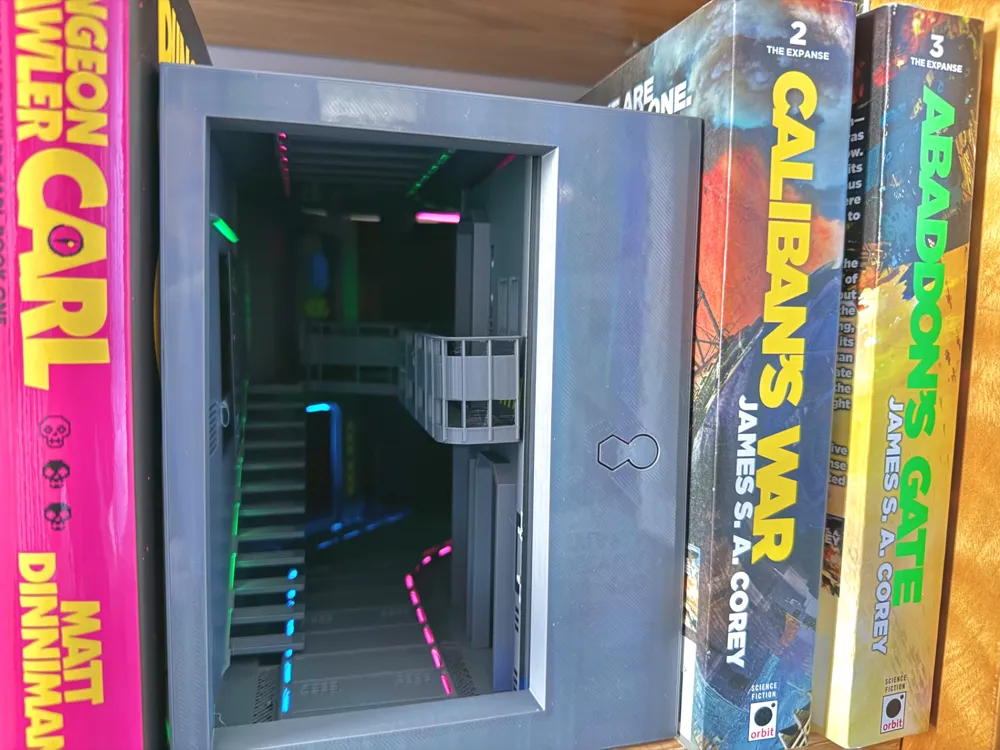
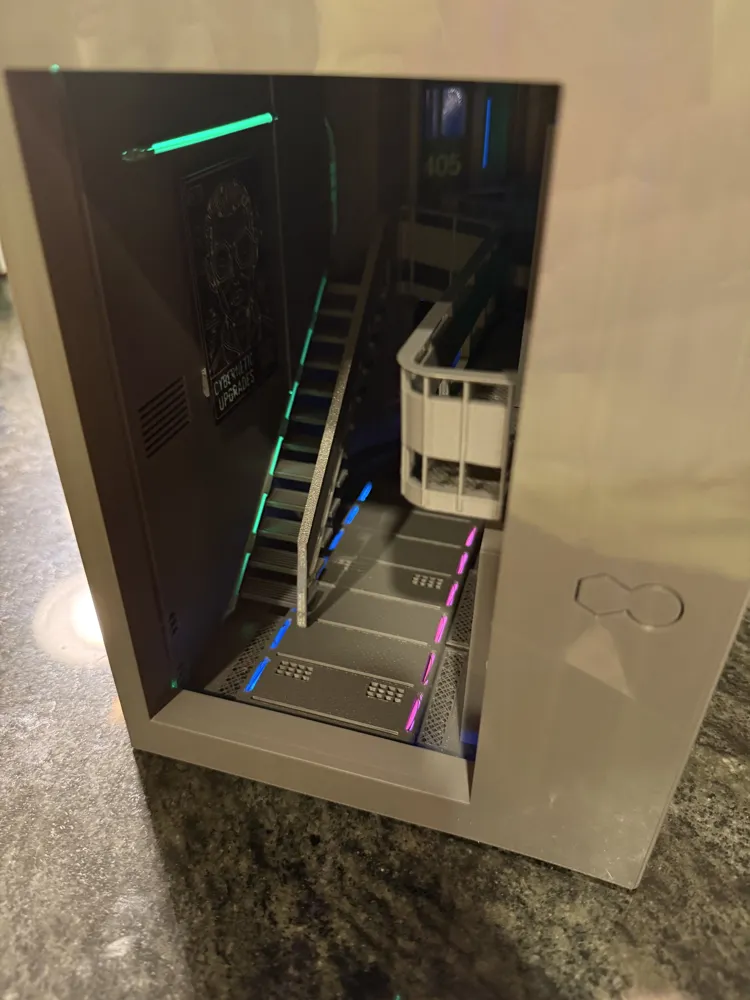
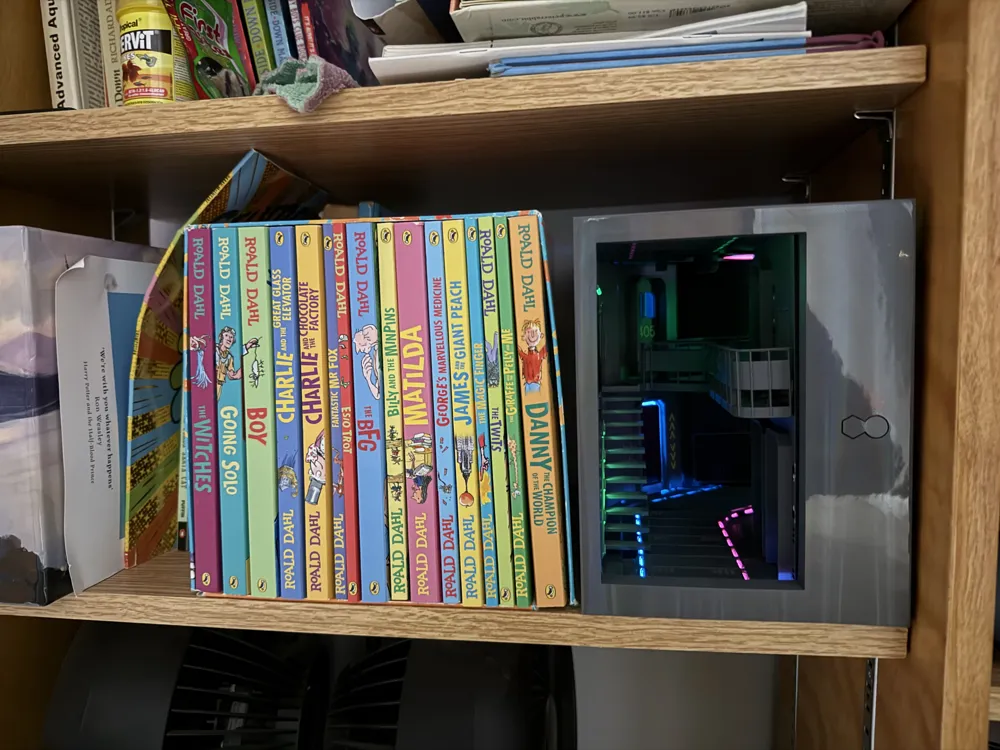
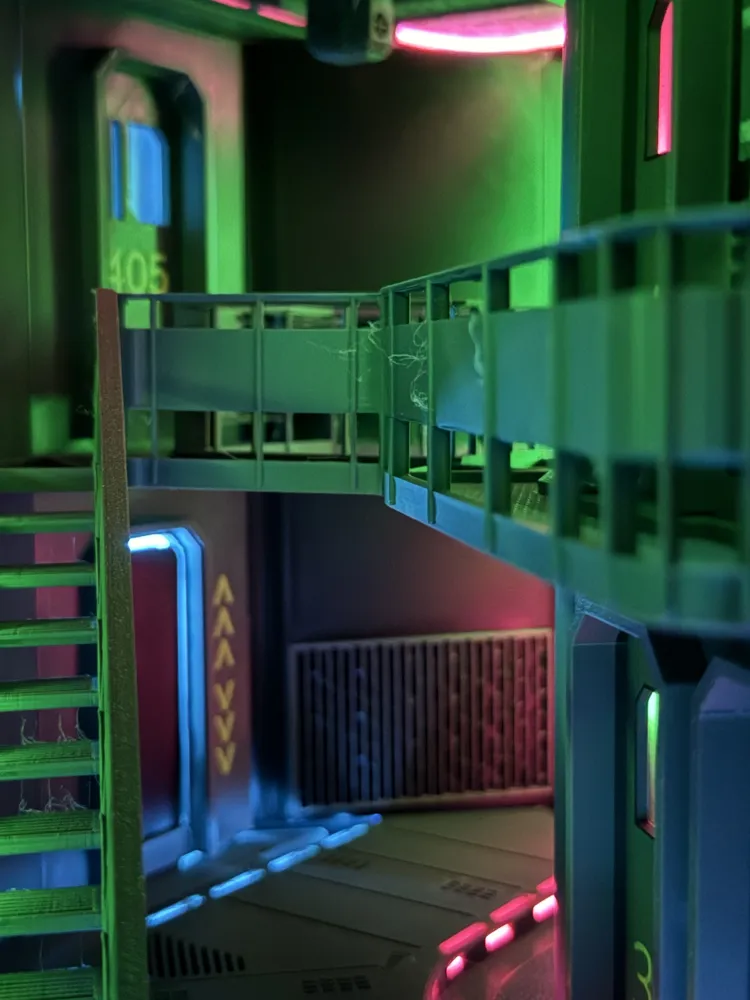
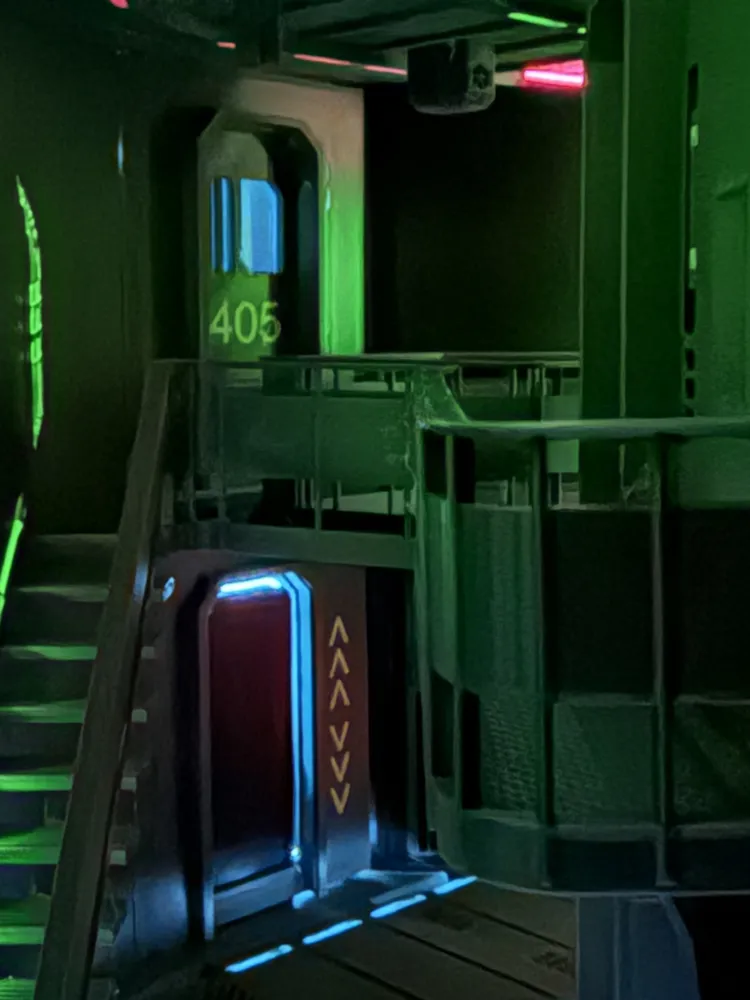
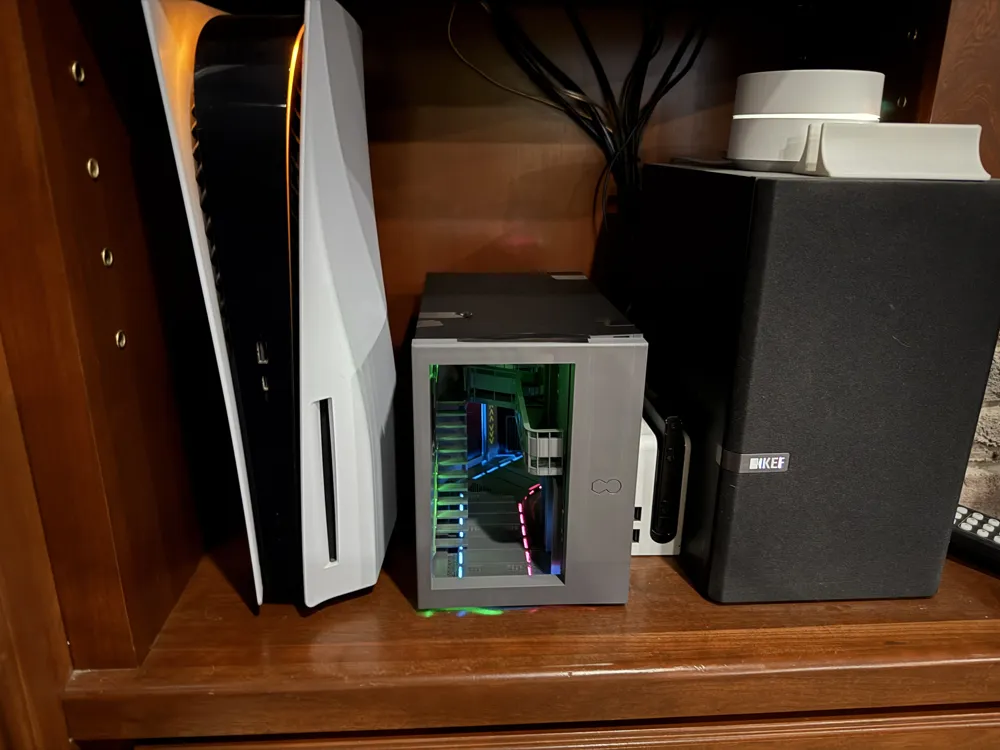
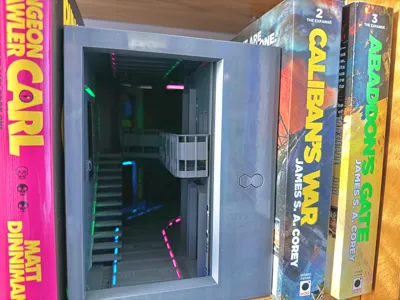
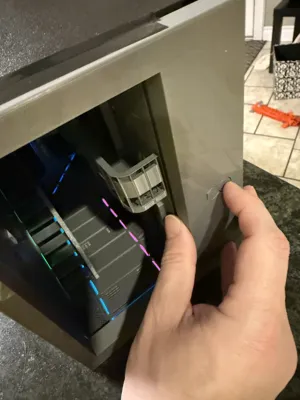
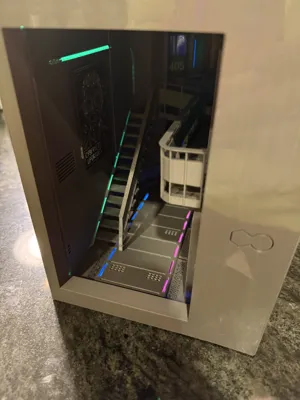
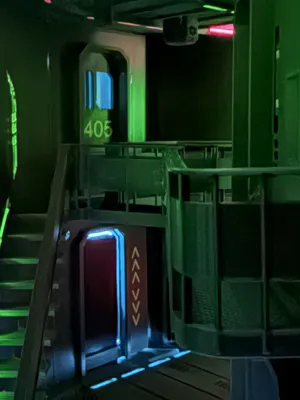
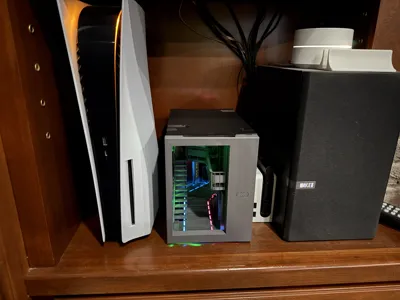
The CyberNook is your own personal escape into the world of Cyberpunk.
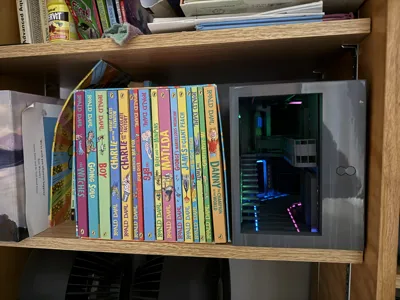
Put it on your bookshelf between your favourite Sci-Fi novels and know you can escape there at any time.
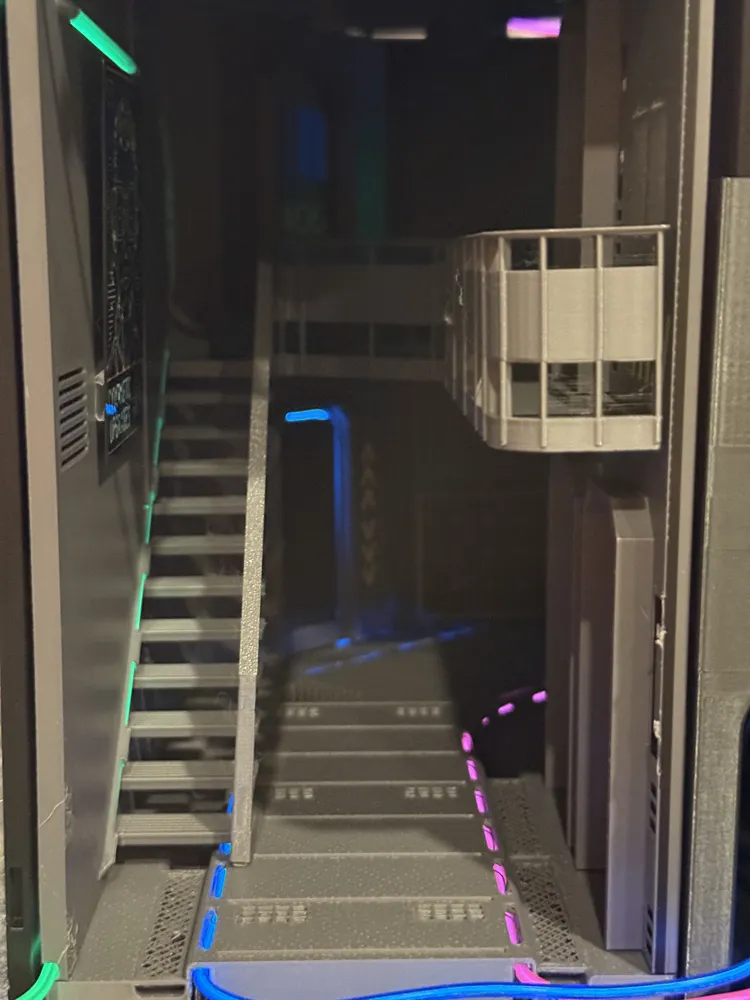
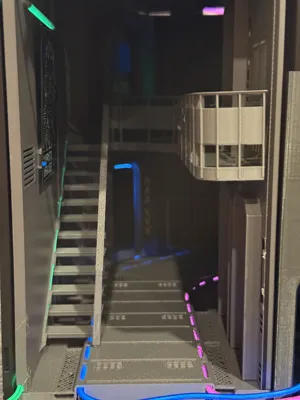
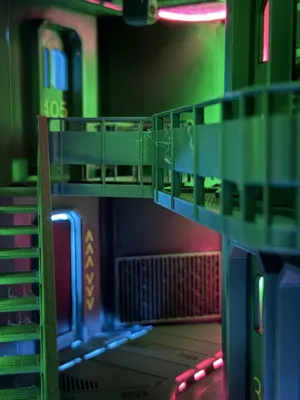
This model was inspired by all of the cyberpunk books I've read and movies I've seen. I tried to make it feel realistic and provide the cyberpunk atmosphere and aesthetic as much as possible, while making it printable and easy to assemble.
- Some of the plates use multiple colours so having an AMS is handy but you could print it without an AMS and just do some pieces in black and some in grey. (Maybe don't print the windows at all.)
- No glue is required. I did use a bit of clear tape to hold the wires in place during assembly though.
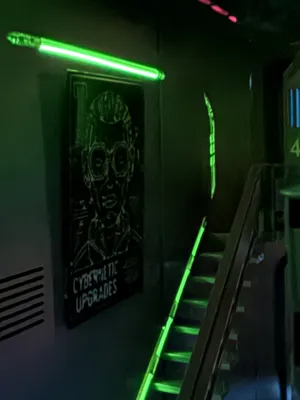
- You can use any colours for the lighting that you want. https://www.amazon.ca/dp/B075FNQ2FL?ref=ppx_yo2ov_dt_b_fed_asin_title is the EL-Wire I used (just the one inverter and 3 colors but you could use all 5 if you want.
- The stair railing is optional. I started without, and kind-of linked the floating stairs look, but felt conflicted that it wasn't safe so I added a railing.
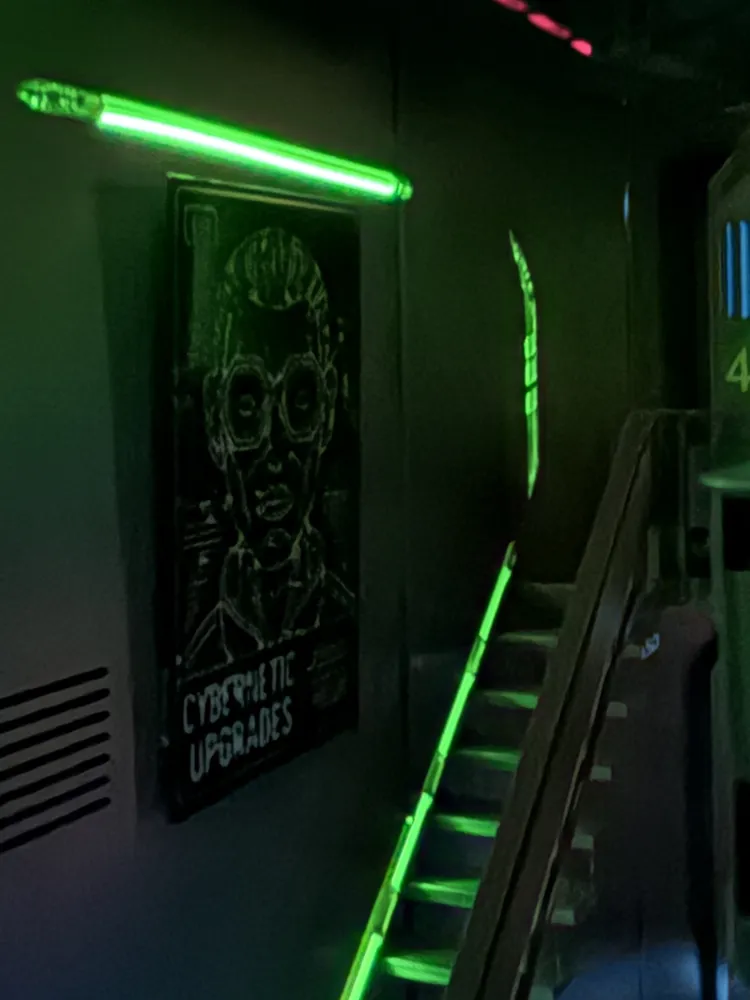
- I've included one poster for the left wall that you can print on a holographic build-plate to get a more dynamic look. Feel free to make your own. (That was actually attached with double-sided tape).
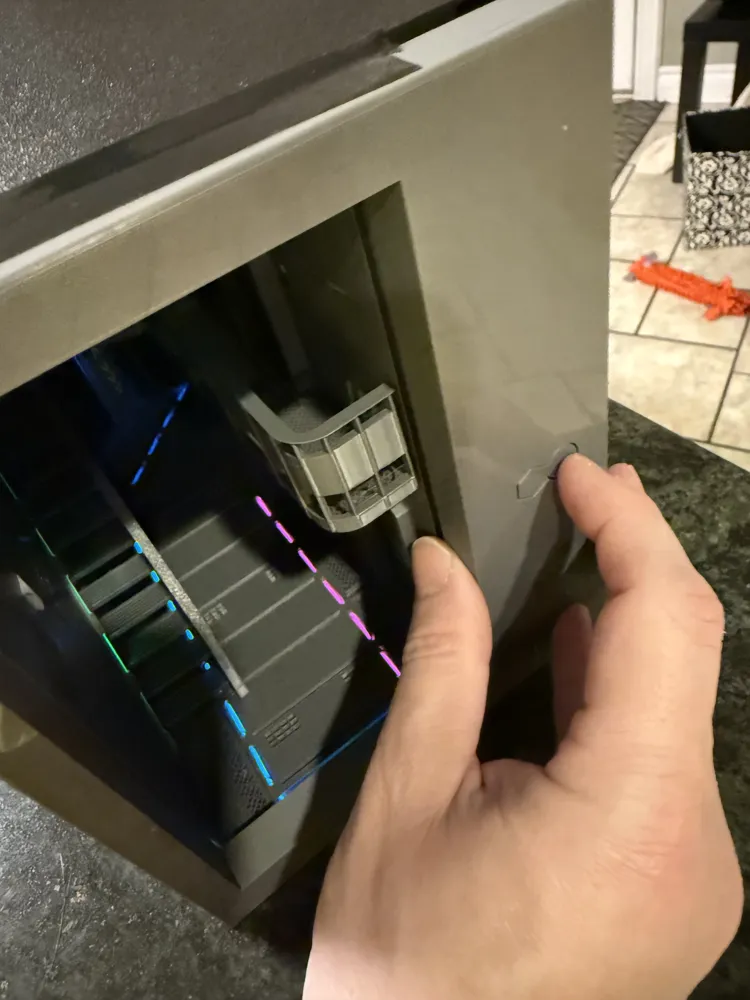
- The front of the enclosure was printed with a holographic build plate too to add some extra shine but you can print it with a regular plate too if you want.
- Everything prints without supports! (One plate suggests them but it prints fine without)
Note: Some of the tabs may need a bit of filing to fit properly. I'd suggest testing them before full-assembly so you don't struggle to make the connections when you have a bunch of pieces already assembled.
Documentation (1)
License

You may create derivative works based on this object, provided that all such derivative works are published exclusively on the MakerWorld platform and include proper attribution to the original creator. You may not share, upload, host, distribute, or publish this object—or any derivative work of this object—on any other digital platform, marketplace, or distribution channel. Commercial use of this object and any derivative works is strictly prohibited. This includes, but is not limited to, selling, renting, sublicensing, or using the object in any context in which you receive monetary compensation or other financial benefits.
Comment & Rating (4)