
Appendiabiti
Print Profile(1)
Bill of Materials
























Description
Boost Me (for free)
Thank you for your contribution! Happy Printing!
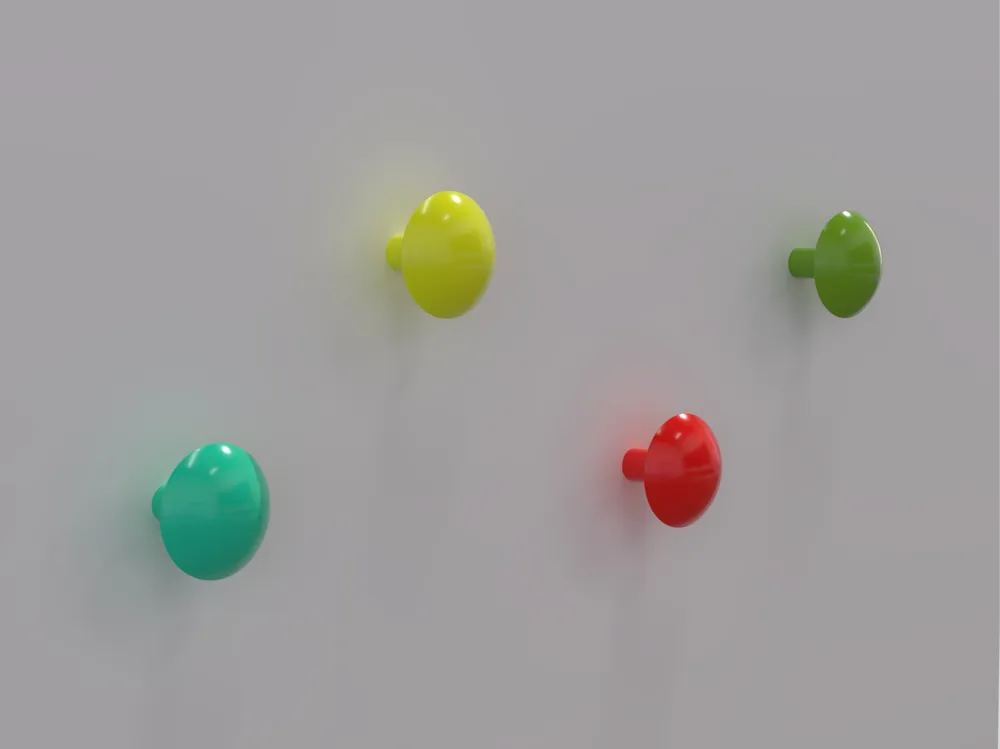
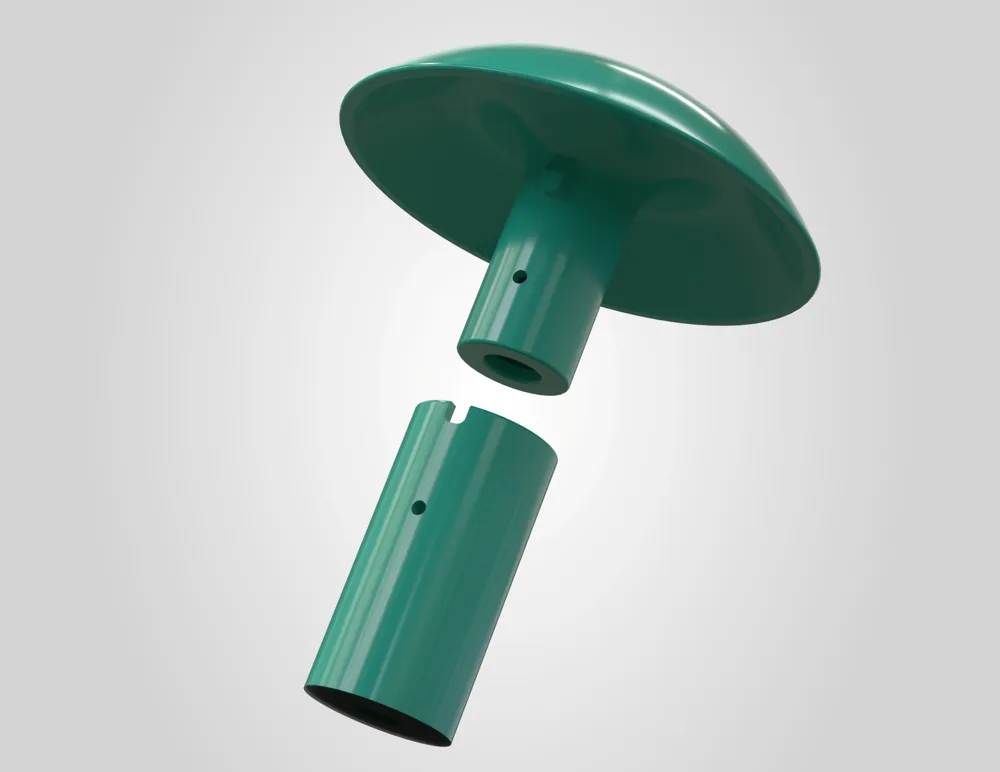
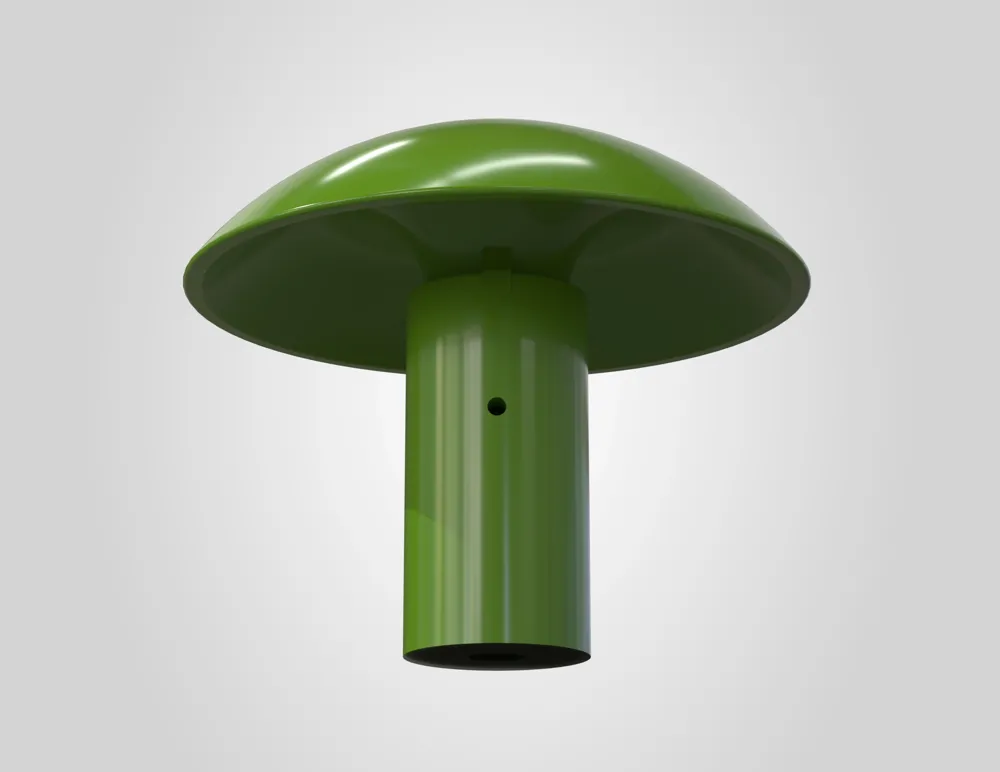
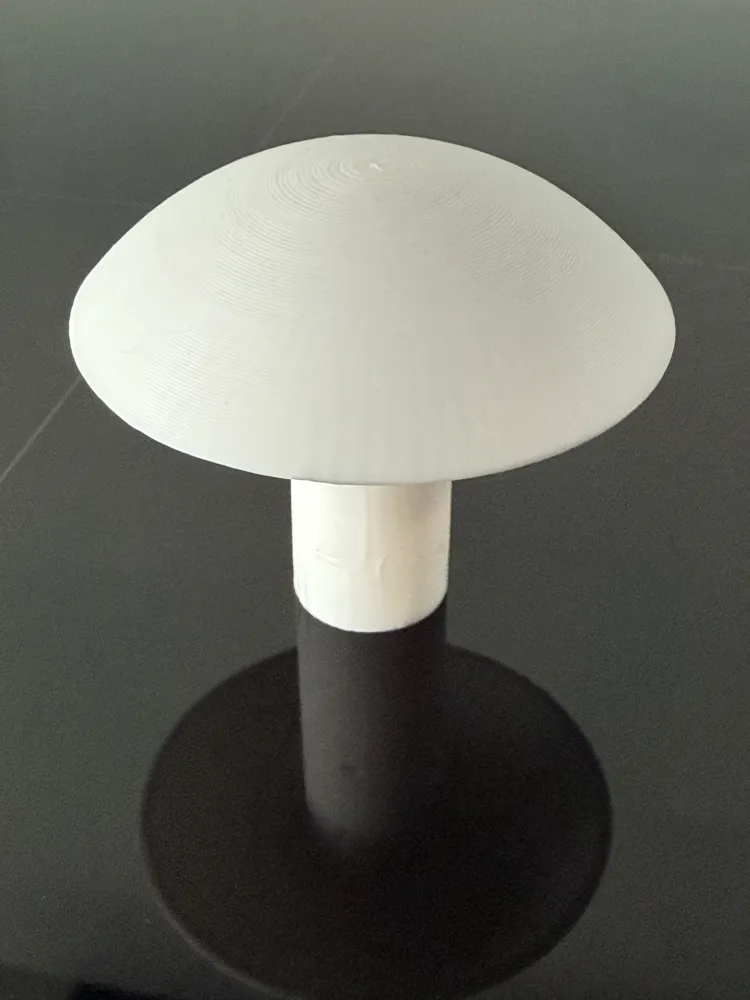
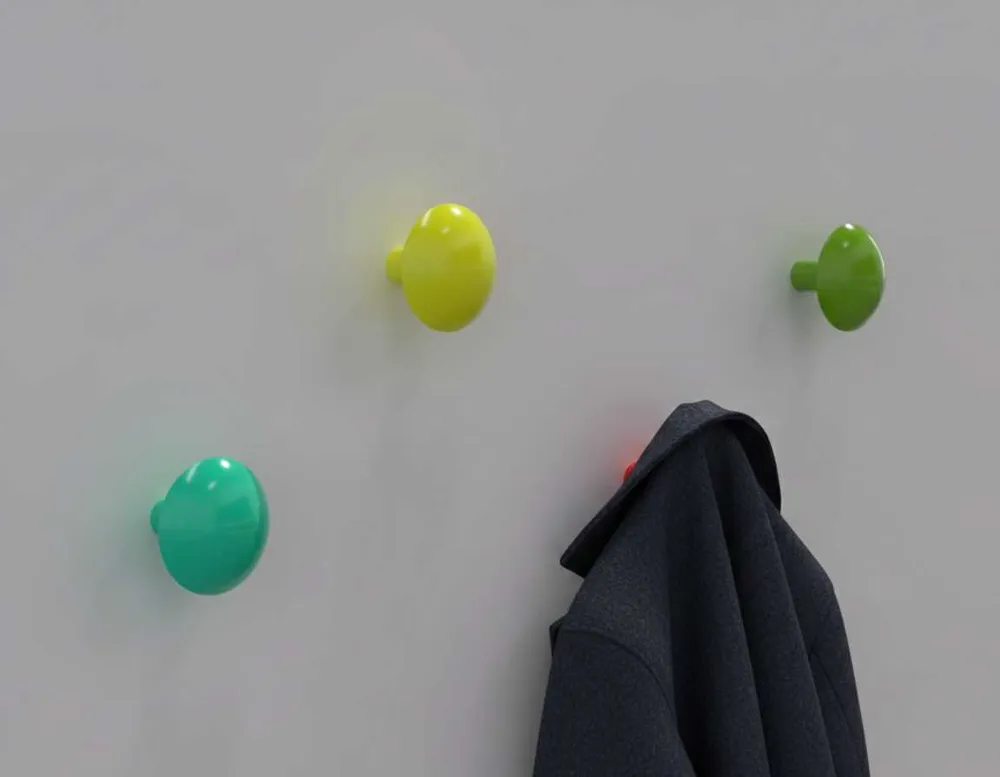
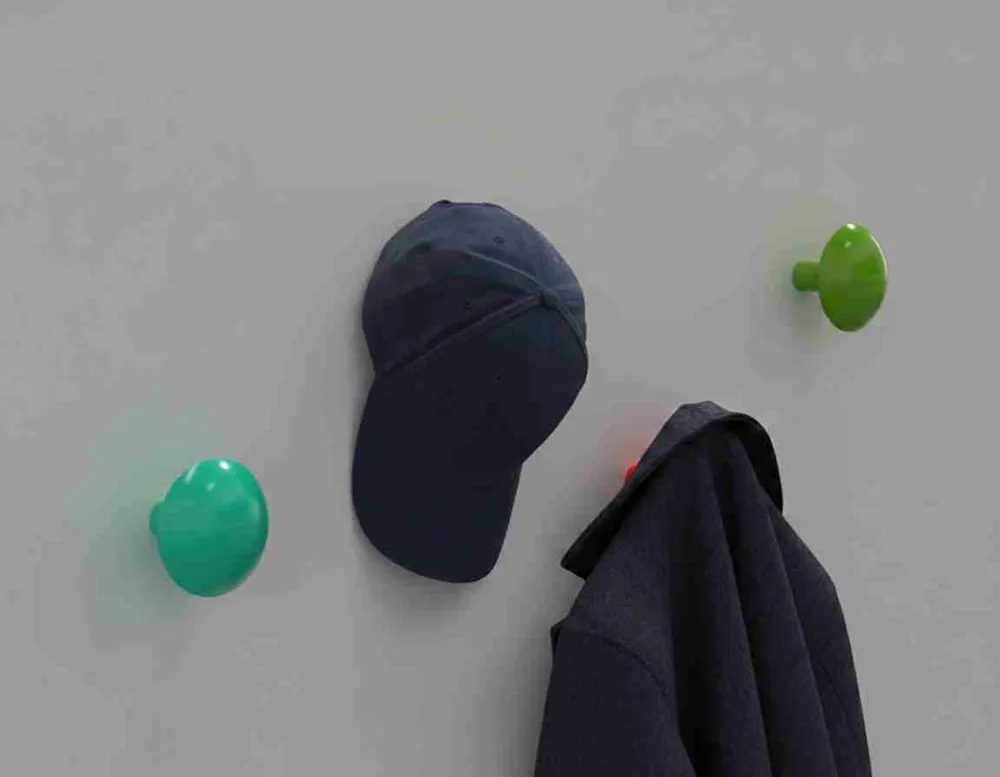
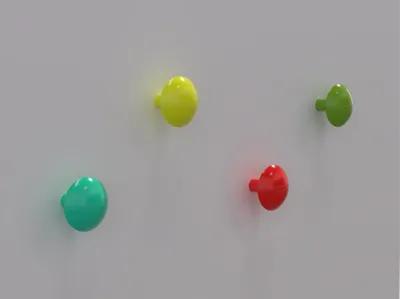
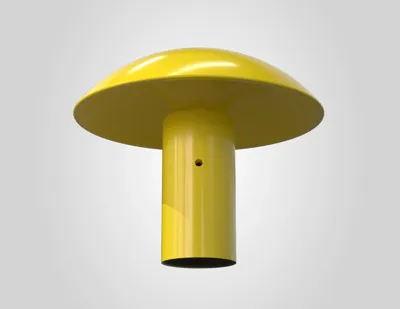
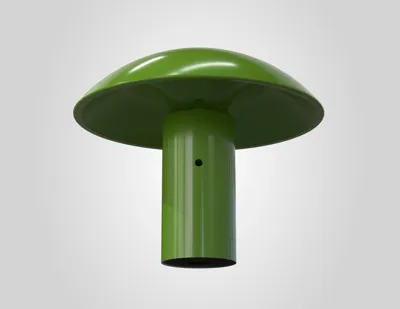
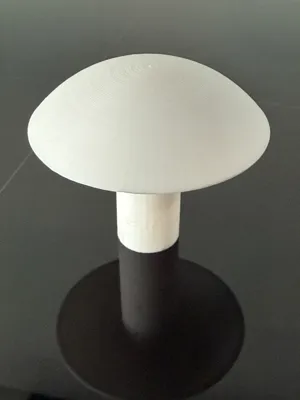
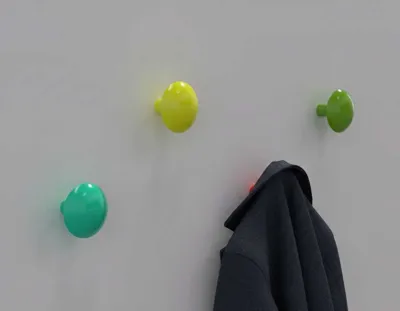
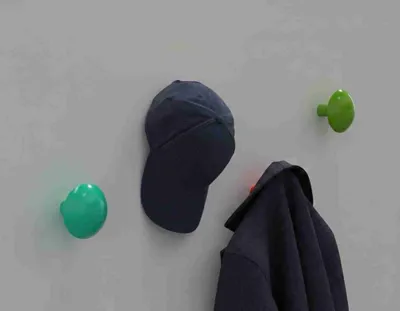
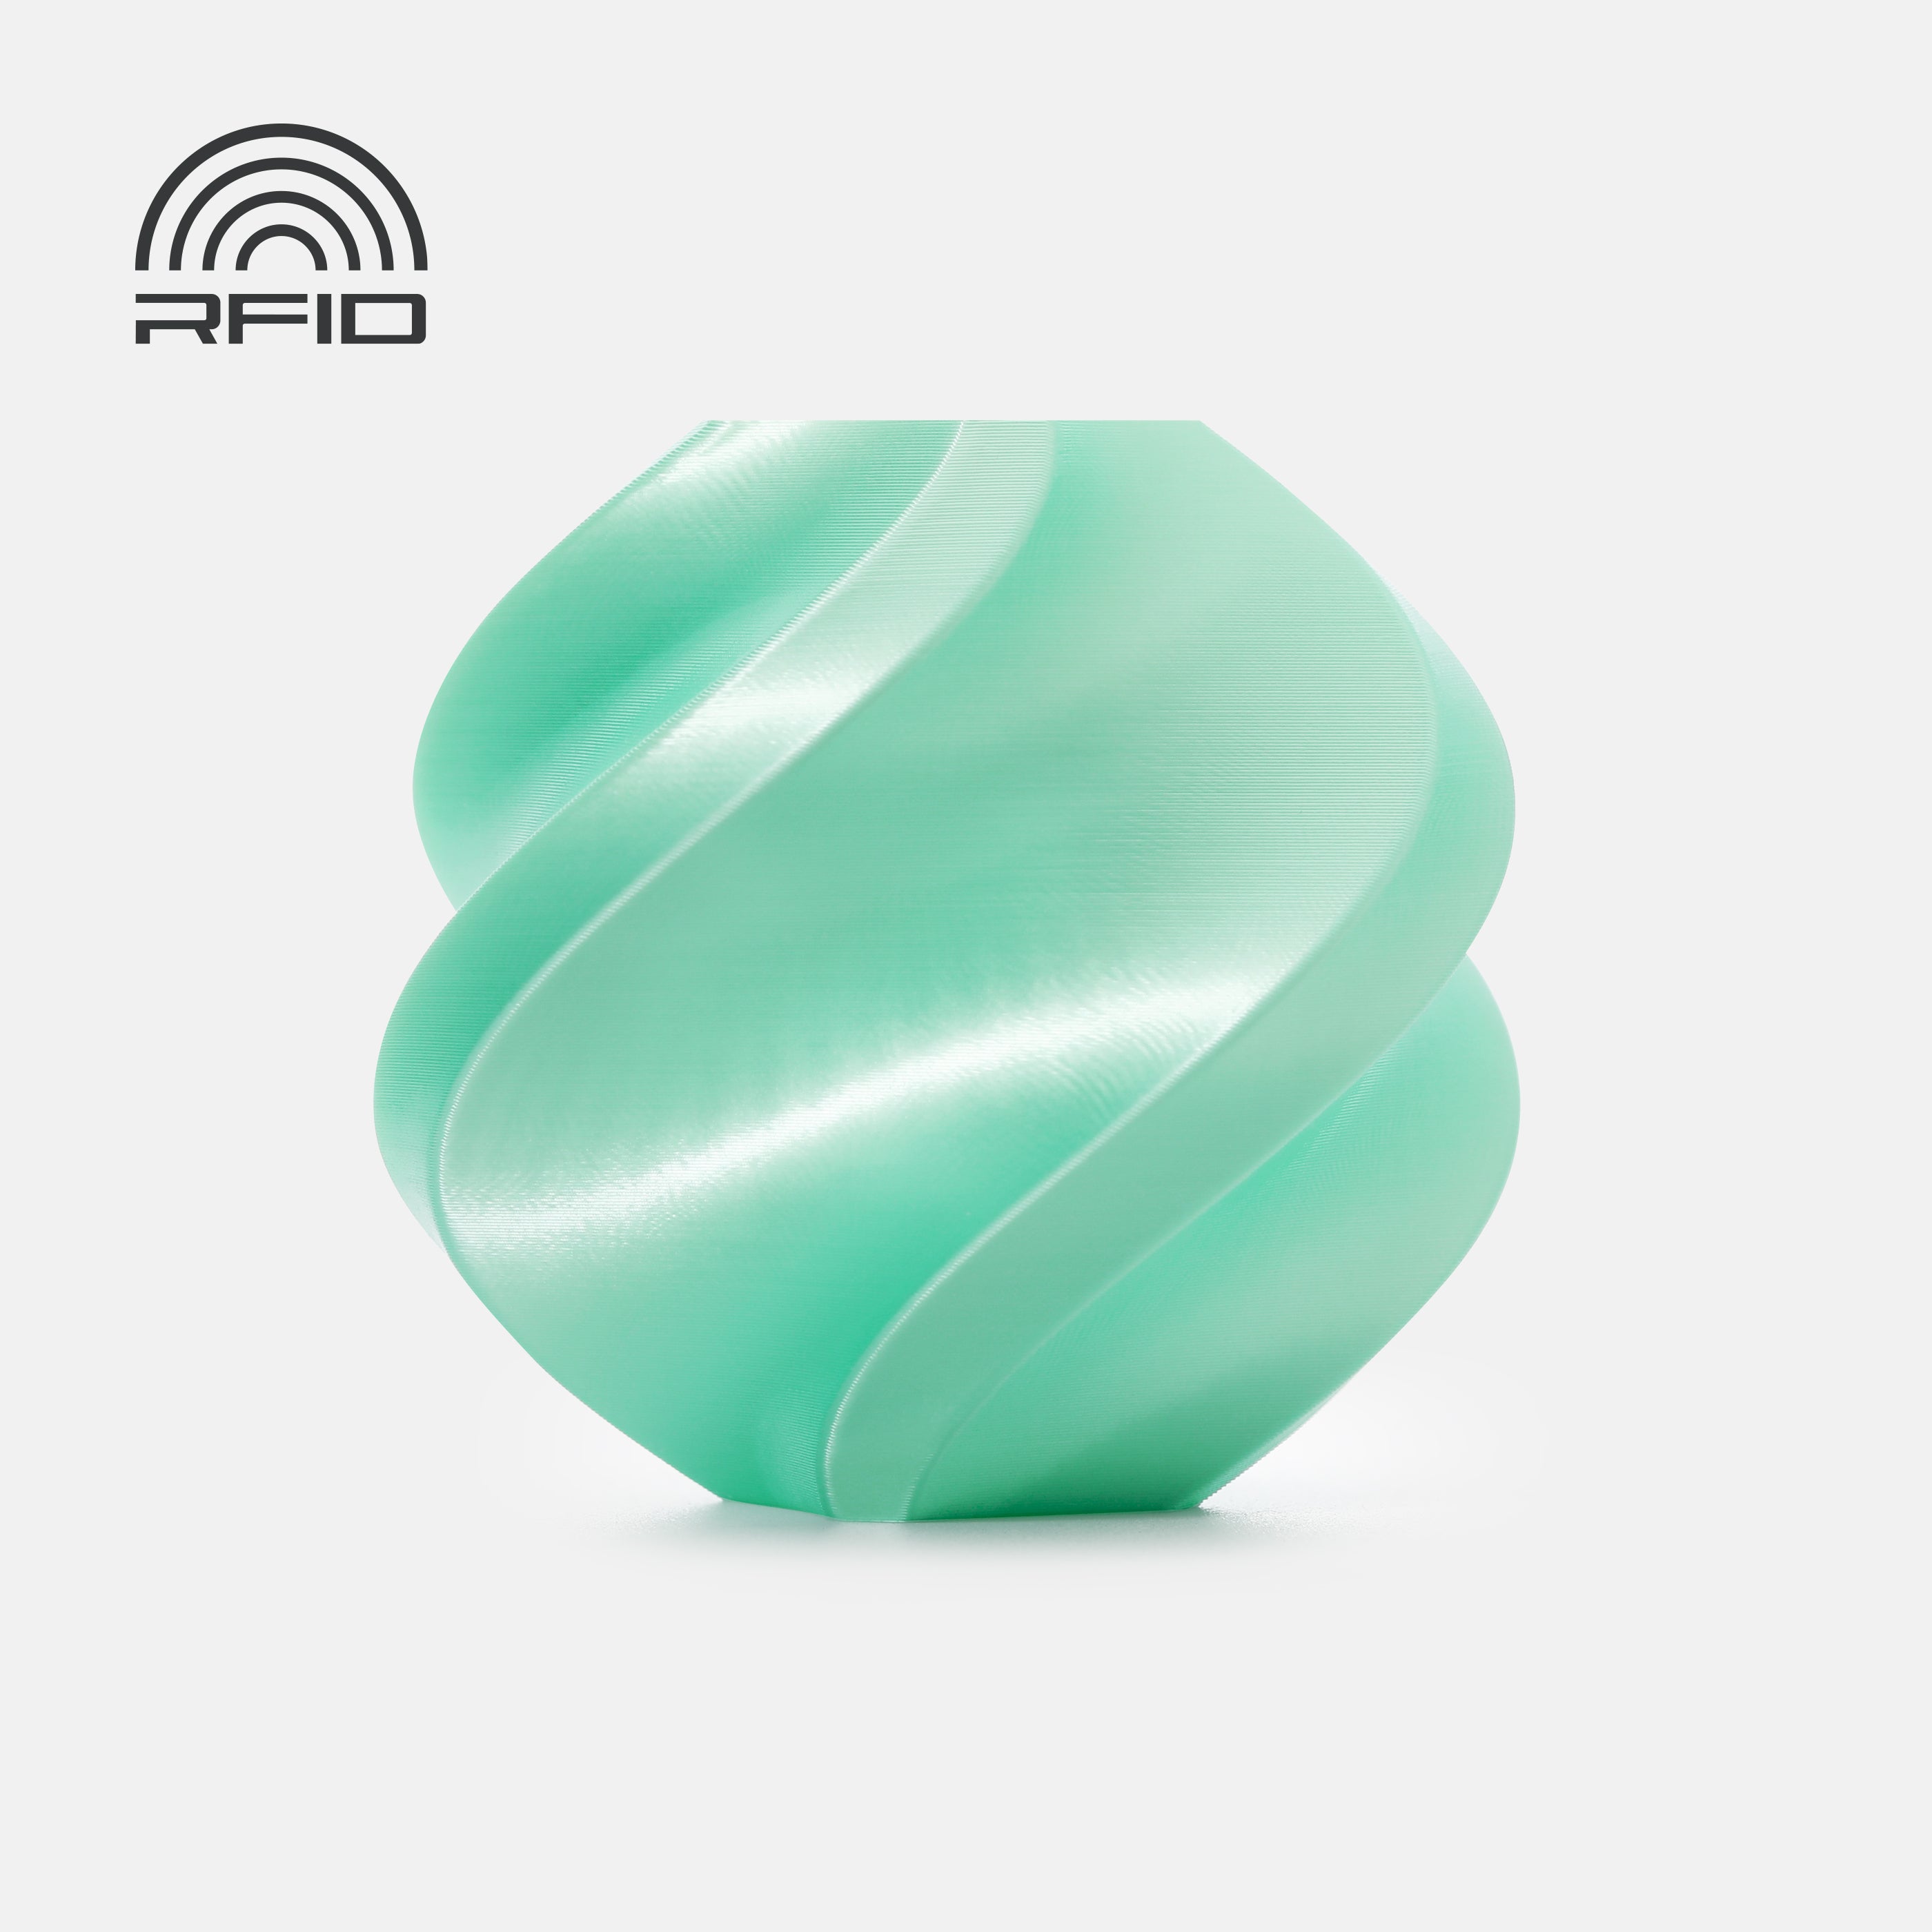
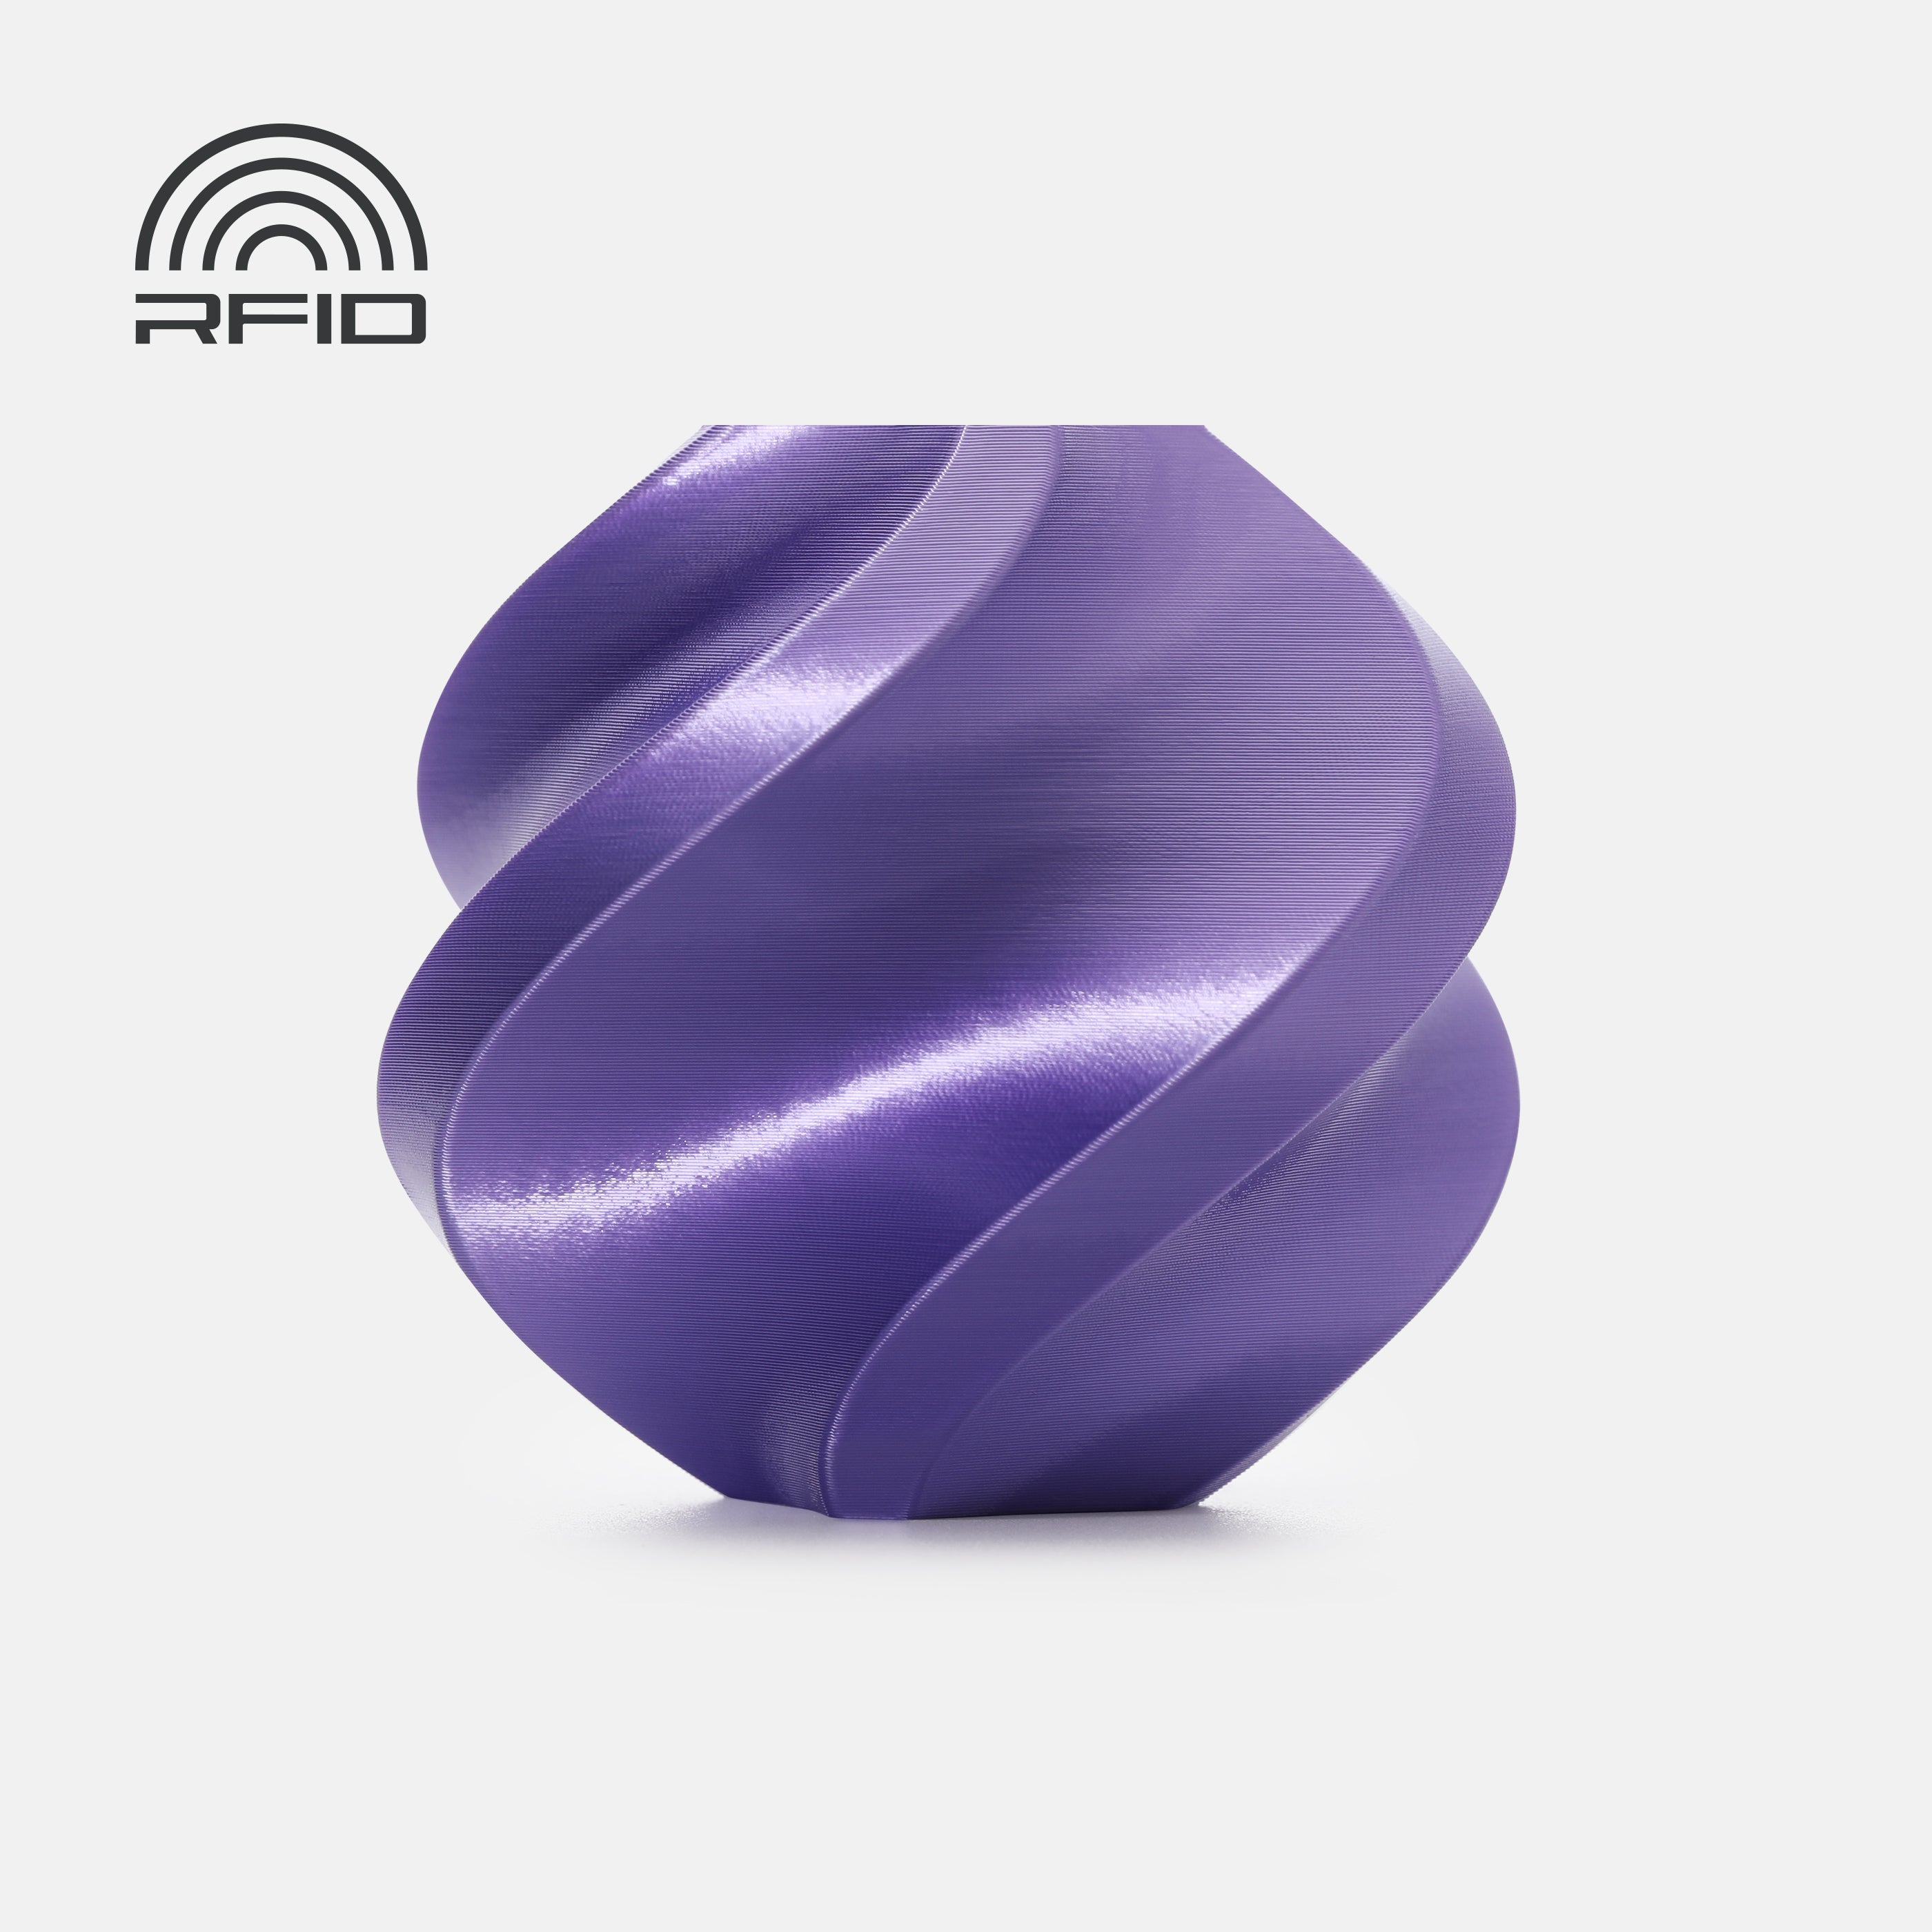
A modern and charming coat rack to decorate your home
Simple and impactful, depending on the color used, it will enhance both an adult's and a child's room
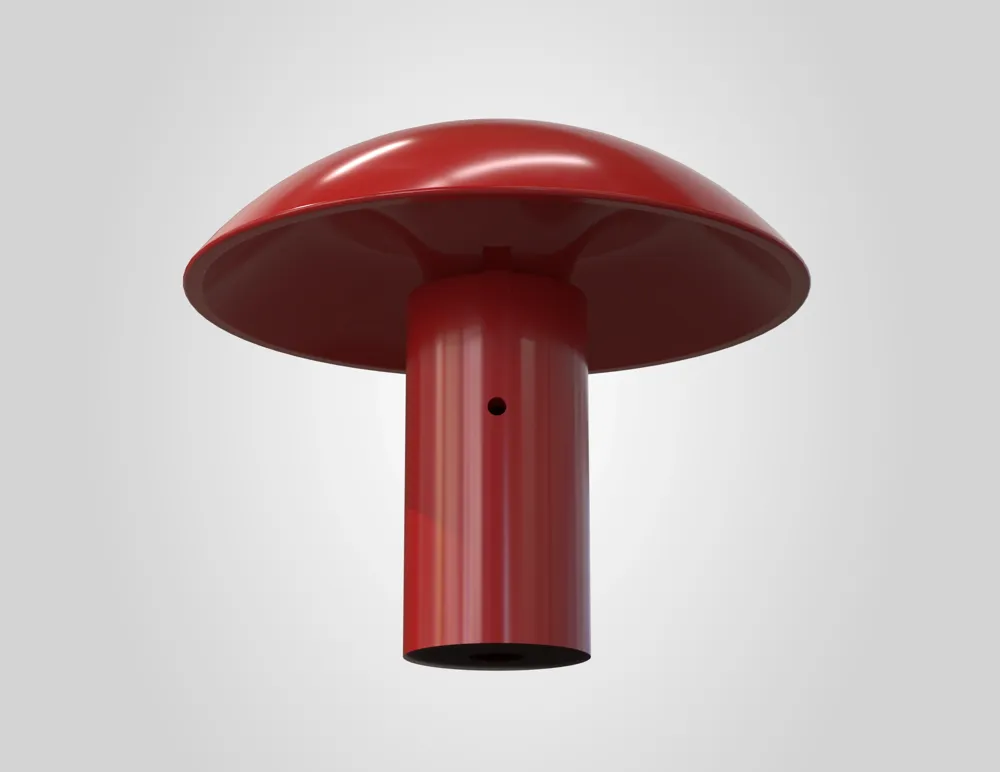
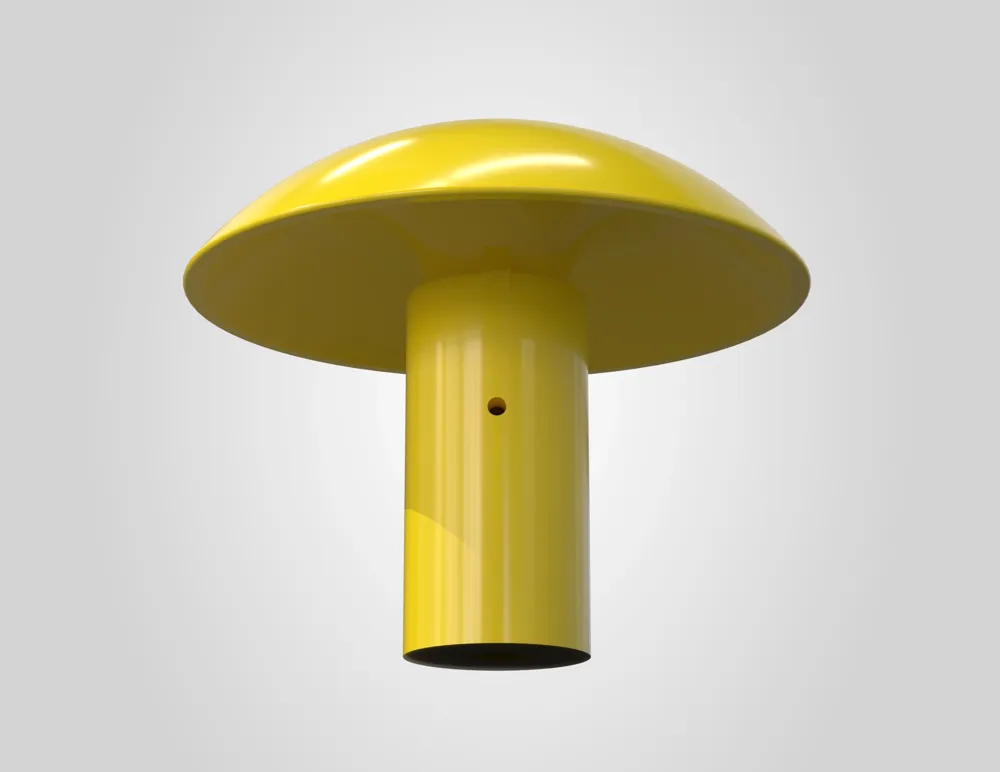
Dimensions: 70 x 70 x 58 (height)
Tips:
Printing:
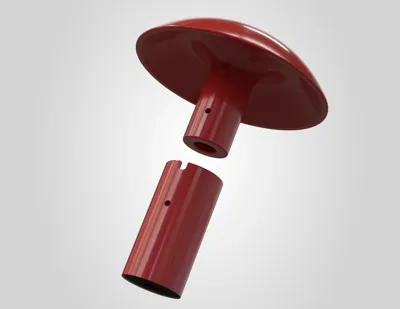
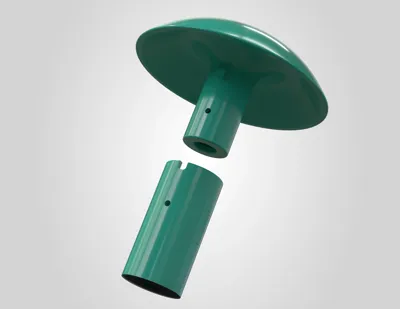
I achieved the best print using tree supports and variable layer height on the spherical part (2) to get the smoothest possible surface and avoid visible layers
Post-Printing:
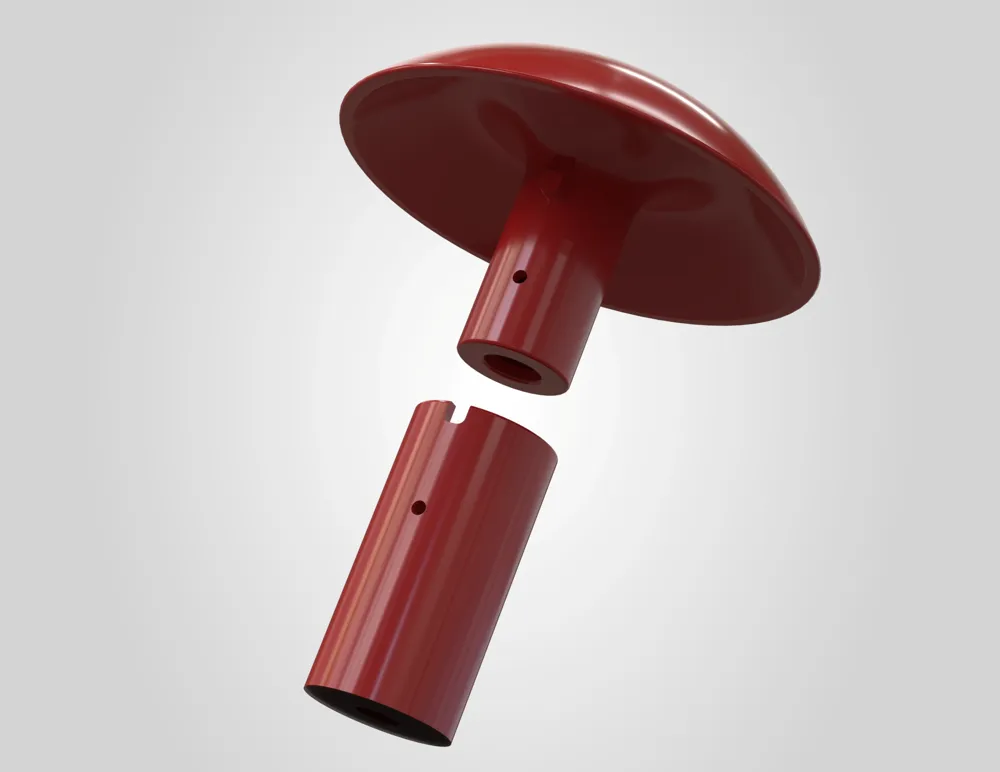
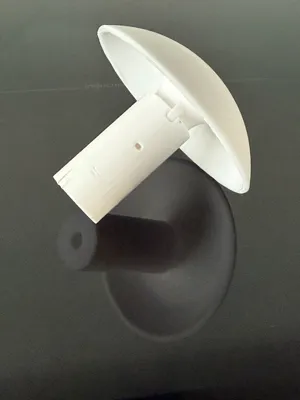
before proceeding with assembly, check if the two parts fit together correctly and if they can be easily inserted and removed, if you find it very tight, sand the cylinder of the spherical part (2) a bit, this will improve insertion, if in the future you need to unscrew the part due to breakage or change, you won't have to force the screw into the wall, avoiding damage
Assembly:
after printing the two parts:
1 - decide where to place the coat rack, mark a spot on the wall (drywall, wood, or other) with a pencil
2 - drill a hole with a D 5 drill bit in the coat rack (use the appropriate wall plug for wall, wood, or drywall)
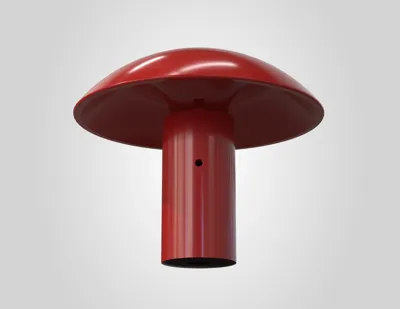
3 - insert the wall plug into the wall, insert the screw into the pre-drilled part of piece (1) and tighten (do not overtighten to avoid damage), keep the hole and the recess on the outer surface facing upwards
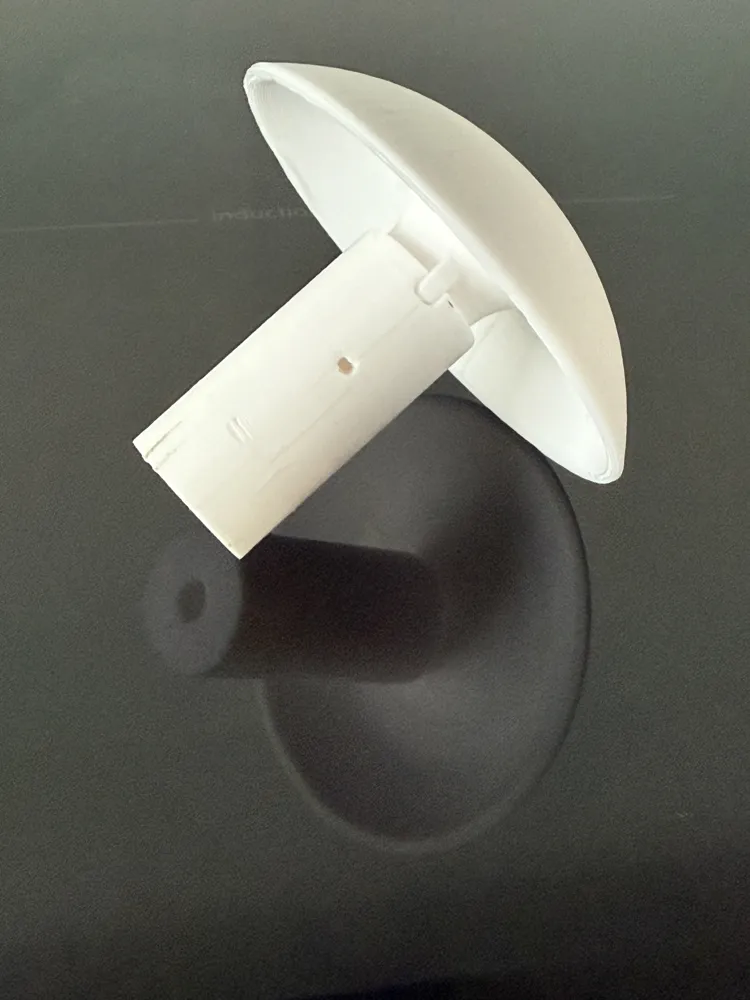
4 - insert piece (2) into the hole of the first piece (1), keeping the hole and the protrusion facing upwards, push until the protrusion locks into the recess in the previously fixed piece (1)
5 - if properly interlocked, the holes on the surface of the two pieces will be concentric, secure by screwing the two parts together with a D 2 screw
6 - enjoy your new coat rack, print them in all colors!
For any problems, improvements, modifications, or information, you can contact me privately or leave a comment
Happy printing!
Documentation (1)
License

You shall not share, sub-license, sell, rent, host, transfer, or distribute in any way the digital or 3D printed versions of this object, nor any other derivative work of this object in its digital or physical format (including - but not limited to - remixes of this object, and hosting on other digital platforms). The objects may not be used without permission in any way whatsoever in which you charge money, or collect fees.


Comment & Rating (0)