
APACHE 1800 MODULAR COMPONENT MOUNT INSERT
Print Profile(1)

Description
🔊 APACHE 1800 MODULAR COMPONENT MOUNT INSERT
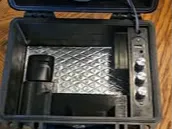
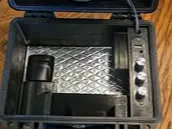
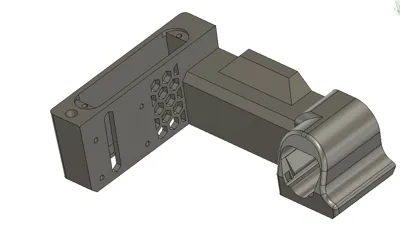
This Apache 1800 Modular Component Mount Insert is a clean, professional, all-in-one interior solution designed for DIY Bluetooth speaker builds using Apache 1800 (and same-size rebranded) dry boxes.
It consolidates battery mounting, amplifier mounting, switch relocation, wire management, and storage into a single modular system—giving your build a factory-finished, repeatable layout without custom fabrication.
✅ FEATURES
- M12-compatible battery mount
- 1001U amplifier mount with integrated LVC mount
- Switch relocation plate
- Wire & switch cover for a clean interior
- Built-in storage space
- Tested speaker compatibility:
- Polk 5.25" marine speakers
- Polk 4×6 marine speakers
- Designed for Apache 1800 and same-size rebranded dry boxes
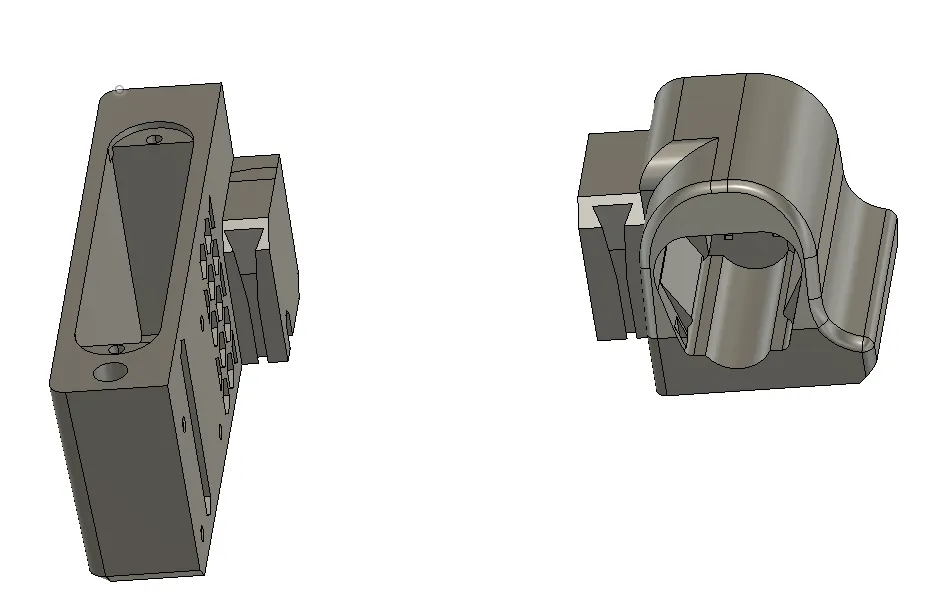
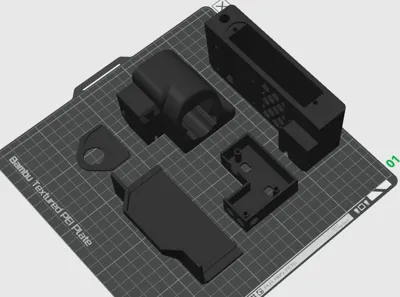
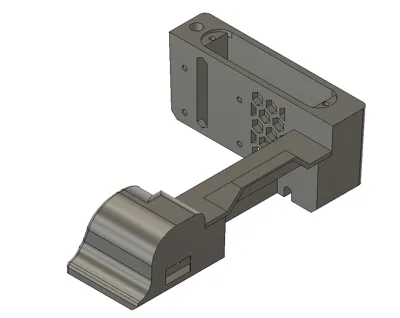
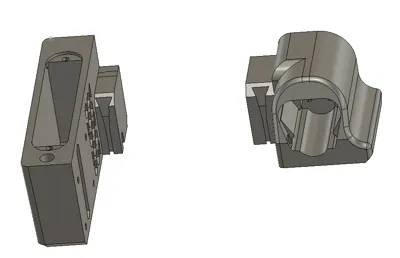
🧩 MODULAR 3-PART DESIGN
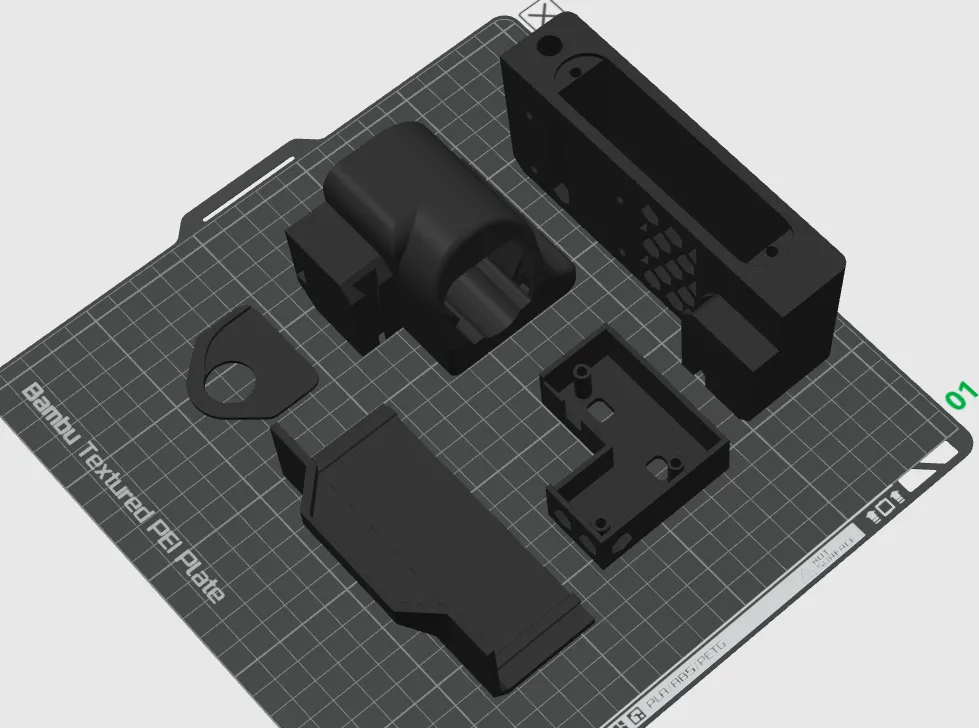
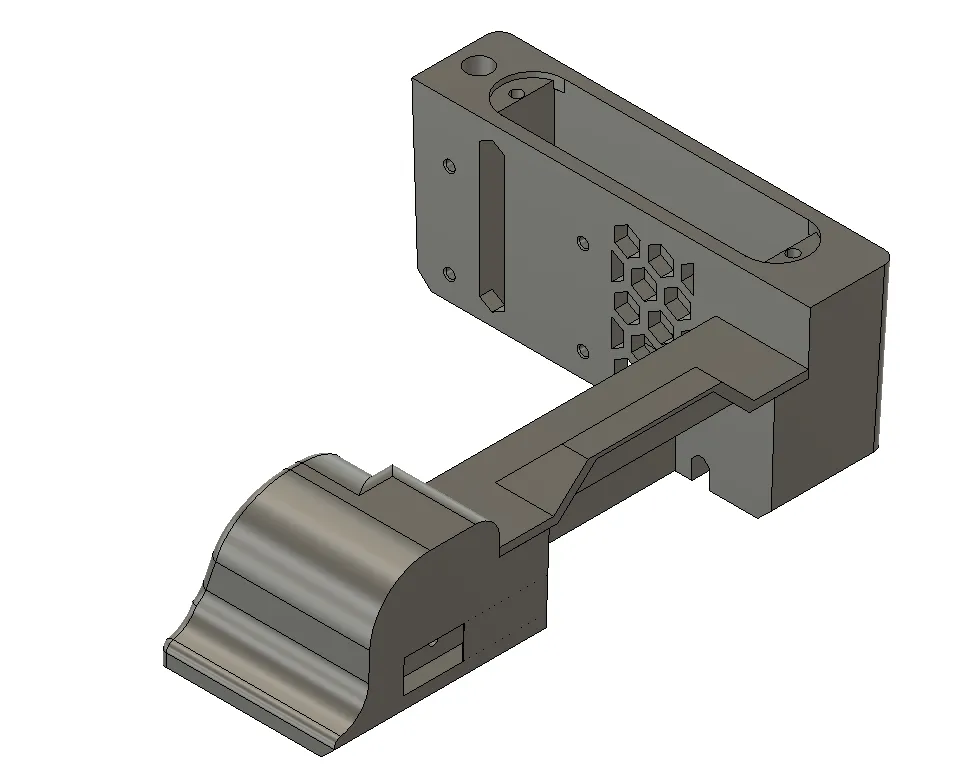
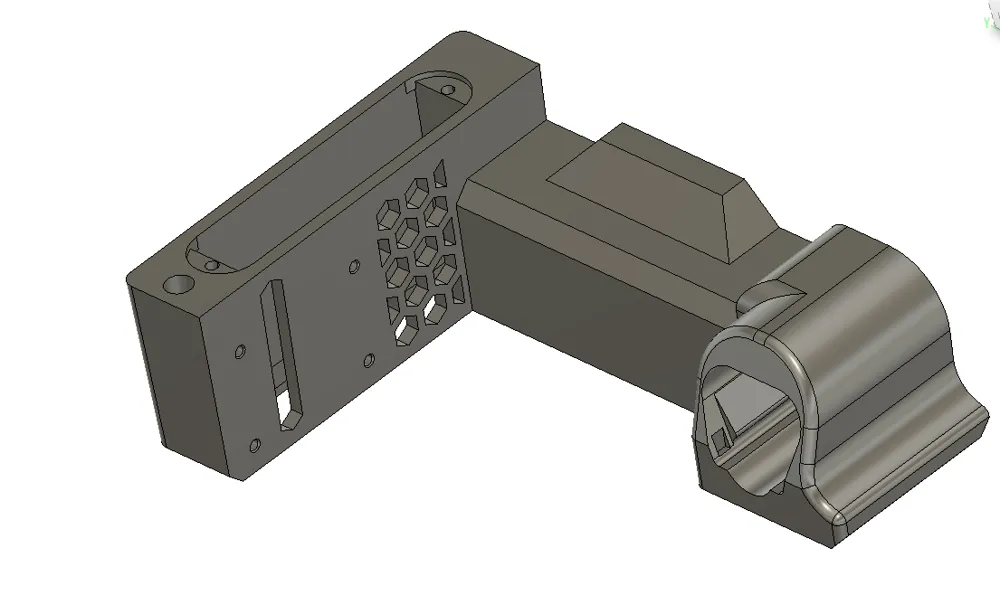
This is a three-part modular system:
- Main interior mount
- Can be removed if needed
- Battery + 1001U amplifier mount
- Switch cover
- Installs last using dovetail joints
Installation Notes
- Parts are designed to be glued or siliconed in place
- Sound deadening material is strongly recommended on:
- Bottom of the box
- Handle-side interior wall
This provides an excellent surface for adhesion and vibration control.
🔩 HARDWARE REQUIRED
You will need the following hardware and components:
- 6 × M3x4 knurled heat-set inserts
https://www.amazon.com/dp/B09ZHSGHXD - 2 × Non-Insulated Male Spade Connectors (16–14 AWG)
(Insulated versions will work if plastic is removed)
Wires are intended to be soldered in place
https://www.amazon.com/dp/B0B5TSPVNM - 1 × Sound Deadening Material Mat
https://www.amazon.com/dp/B0FQ9QR8Q1 - 3 × M3x8 mm screws
https://www.amazon.com/dp/B01BBOZGKC - 3 × M3x25 mm flat-head socket cap screws
https://www.amazon.com/dp/B0D8241LZ7 - 1 × 1001U amplifier
https://www.amazon.com/dp/B0F9Y1BNHC - 1 × Switch
https://www.amazon.com/dp/B09GTX2B9D - 1 × Low-Voltage Cutoff (LVC)
https://www.amazon.com/dp/B0B599XRZ8
🖨️ PRINTING DETAILS
- Material: PETG or ABS (recommended for outdoor use)
- Supports: ❌ None required
- Nozzle: 0.6 mm recommended for faster prints
- Print difficulty: Beginner-friendly
- Estimated print time: ~4 hours (HF PETG)
- Designed specifically for support-free printing
🛠️ ASSEMBLY INSTRUCTIONS
Follow the steps below for proper assembly and wiring. Reading through the full process before starting is recommended.
🔩 HEAT-SET INSERT INSTALLATION
- Install 2 heat-set inserts into the top of the amp mount
→ These are used to secure the 1001U amplifier. - Install 4 heat-set inserts into the inside face of the amp mount
→ These are used to mount the LVC and LVC cover.
🔌 AMP & LVC INSTALLATION
- Install 1 short M3 screw in the lower-right corner of the amp mount.
- Run your speaker wires through the round wire pass-through hole into the internal cavity.
- Wire the switch to the LVC:
- Run power and ground from the switch to the input side of the LVC
- Run power and ground from the output side of the LVC
- Connect power, ground, and speaker wires to the 1001U amplifier.
- Slide the 1001U amplifier into the mount and secure it using the remaining two short M3 screws.
🧱 LVC COVER INSTALLATION
- Place the LVC cover over the LVC.
- Install 3 long M3 screws to secure the LVC and cover to the amp housing.
🔋 BATTERY MOUNT & CONNECTORS
- Before soldering, run the power and ground wires through the battery mount.
- Solder the wires to the male spade connectors:
- Power → short side of the battery mount
- Ground → dovetail side of the battery mount
- Using needle-nose pliers, insert each spade connector into the mounting holes.
- These are a tight fit
- Heating the connector slightly or inserting immediately after soldering may help
- Ensure connectors are vertical and aligned with the battery slots
- If alignment is incorrect, rotate 180° and reinsert
✅ FINAL CHECK
- Confirm all fasteners are tight
- Verify spade connectors align cleanly with battery terminals
- Ensure wires are fully seated and strain-free before closing the enclosure
🔧 REAL-WORLD TESTED
- Used in multiple completed speaker builds
- Designed to be rigid, secure, and vibration-resistant
- Protected inside the enclosure (not externally exposed)
- Focused on clean layout and professional appearance
🔗 WORKS WITH THESE COMPANION FILES
This insert is designed to work in conjunction with:
- Apache 1800 Polk 5.25" Marine Speaker Undermount
- Apache 1800 Polk 4×6 Marine Speaker Undermount
- Apache 1800 Low Profile Grill Series
Using these together creates a fully modular Apache 1800 speaker system.
📜 LICENSE & USE (IMPORTANT)
- ✅ Personal use only
- ❌ Commercial use NOT allowed
- 🔁 Remixes allowed
- 📝 Attribution REQUIRED
🙌 SUPPORT THE PROJECT
If this model helped your build:
- ⭐ Please BOOST this model
- 📸 Share photos of your make
- 🔧 Post remixes or improvements (with attribution)
Boosts, makes, and photos help others find this project and support future designs.
License



Comment & Rating (4)