
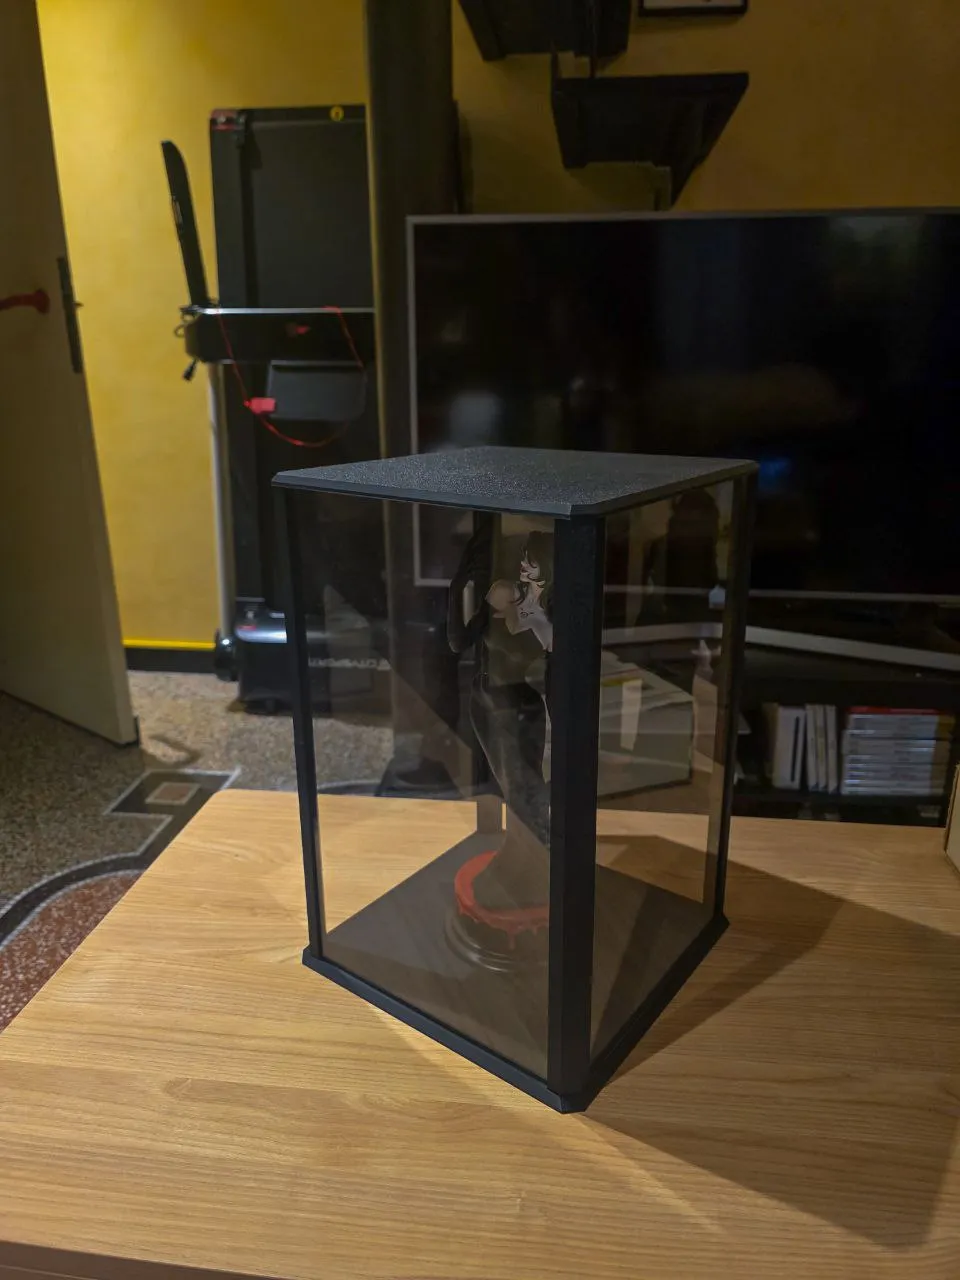
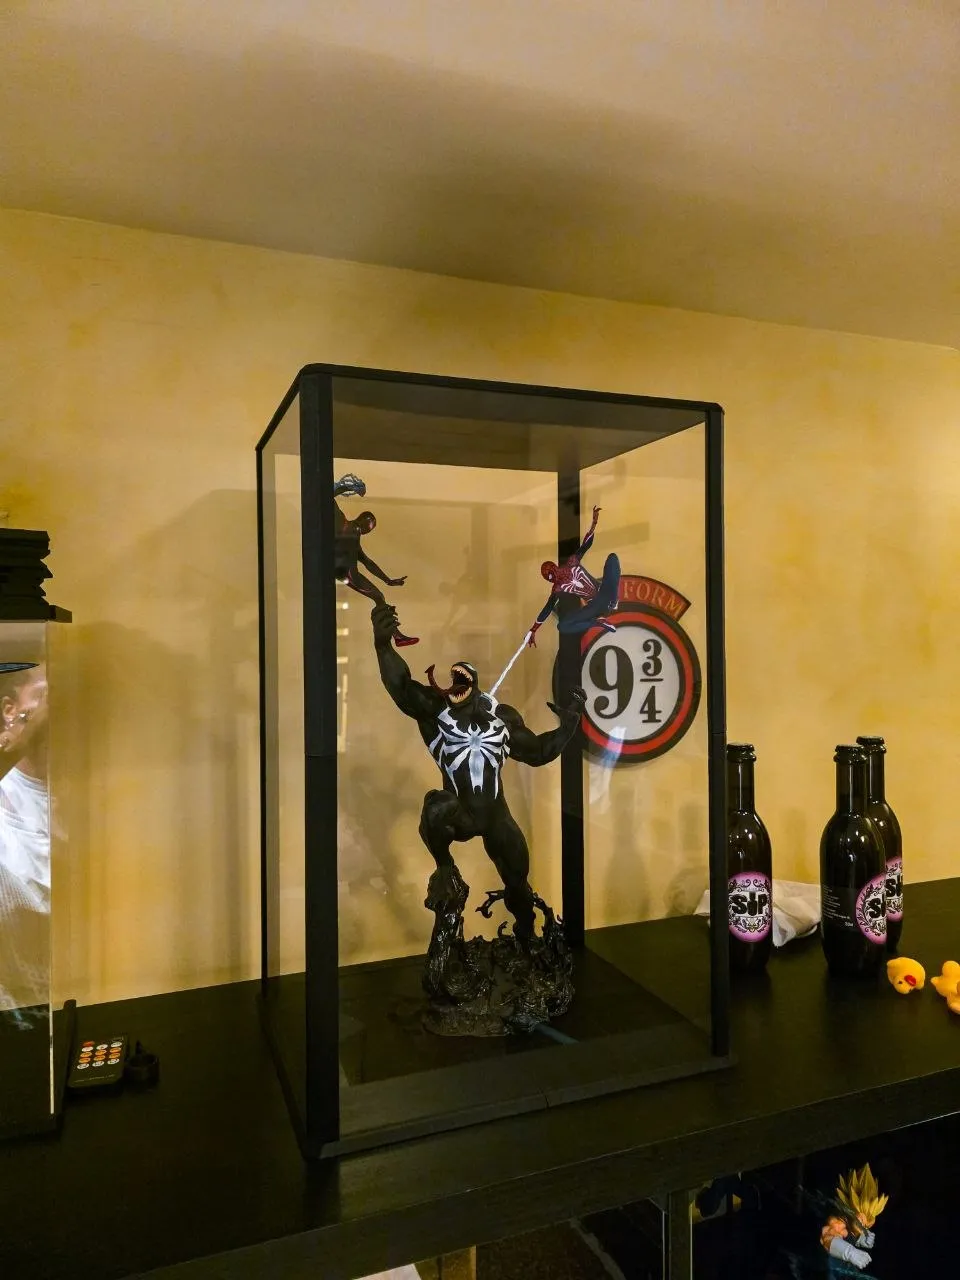
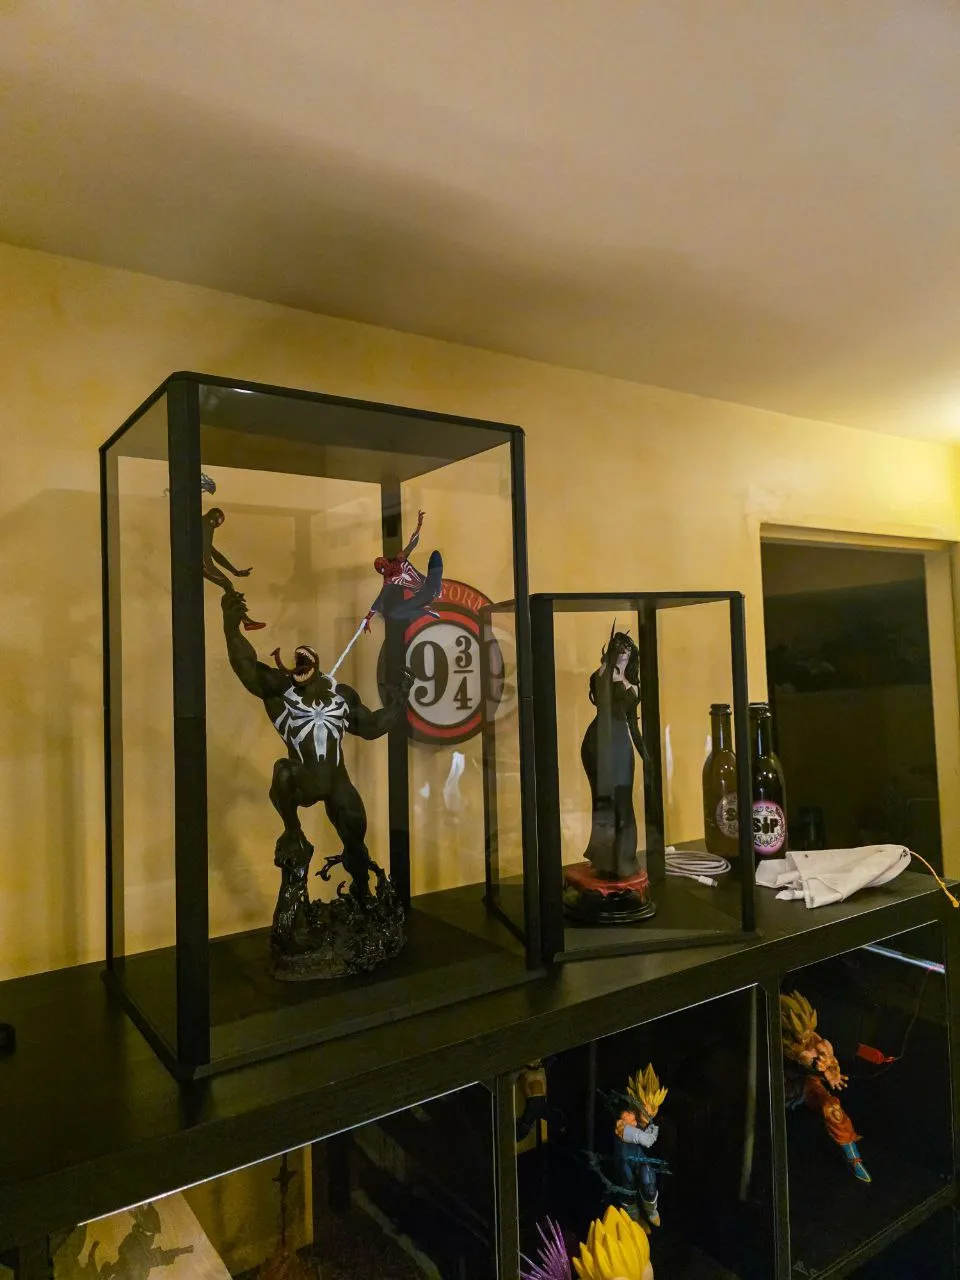
Print Profile(2)
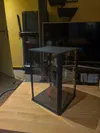
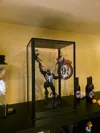
Bill of Materials


- Glass/acrilic panel x 4:
Description
-Update 1 (06/02/2026)
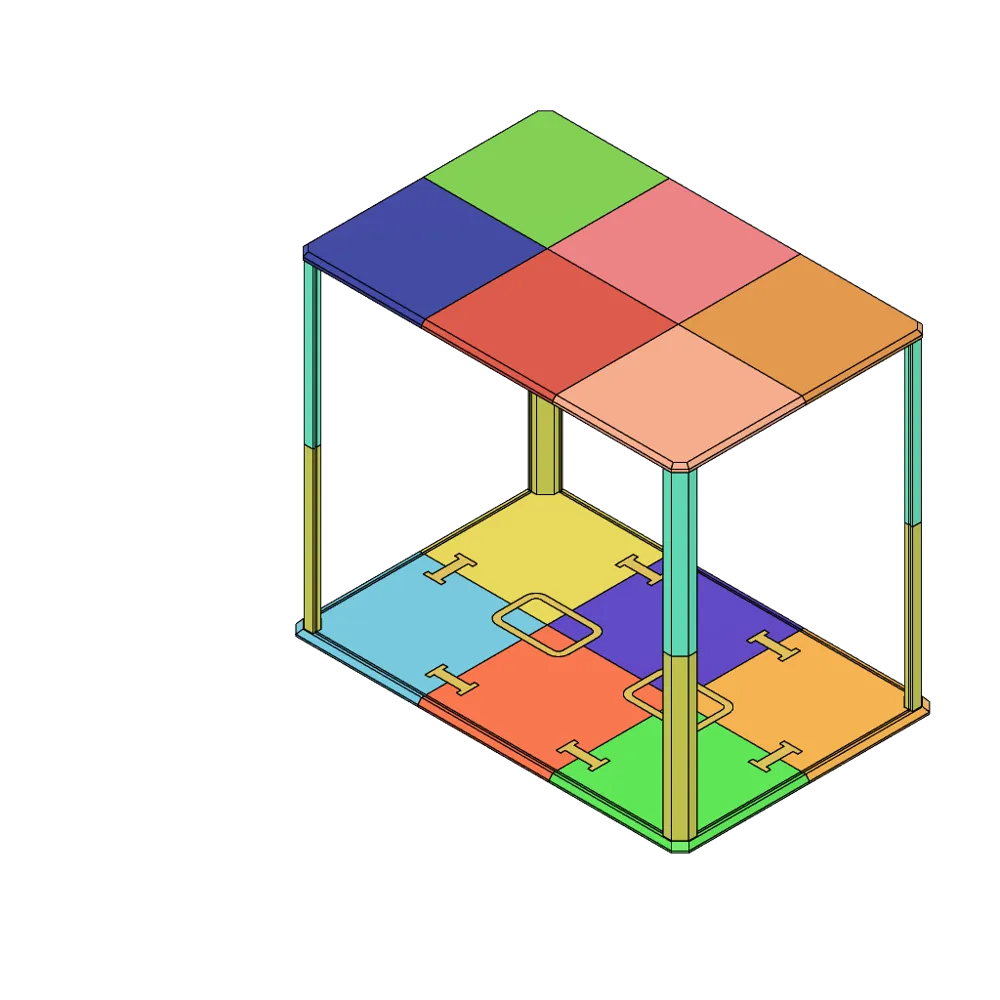
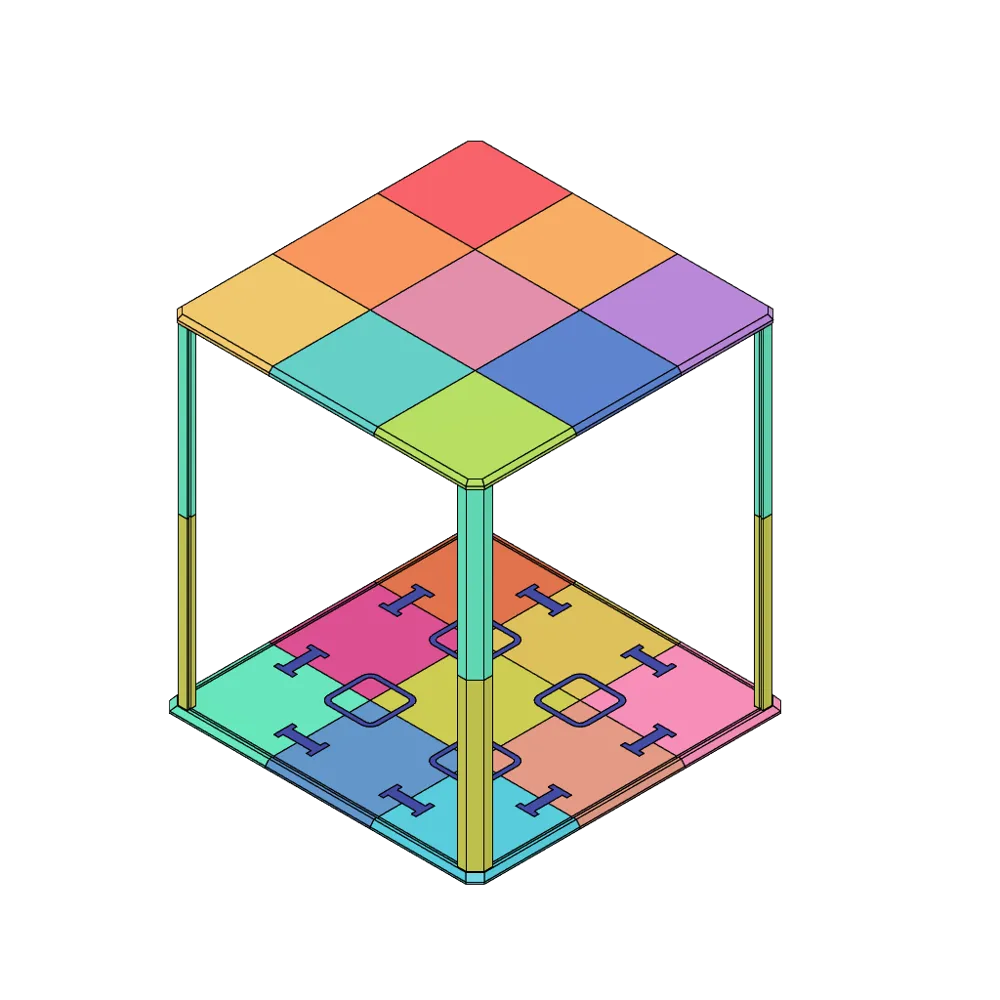
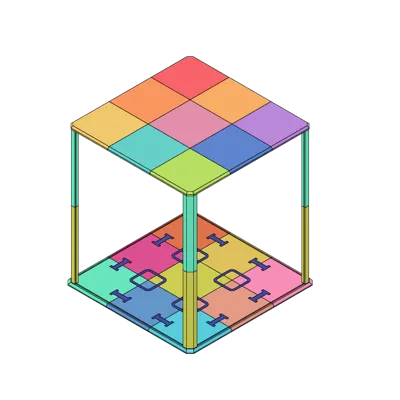
-Two new versions with lids divided in 6 and 9 parts, ideal for bigger figures/Iego sets.
-Update 2 (13/02/2026)
-New version with puck light support. (UNTESTED)
-Small tweaks on connectors.
-Update 3 (17/02/2026)
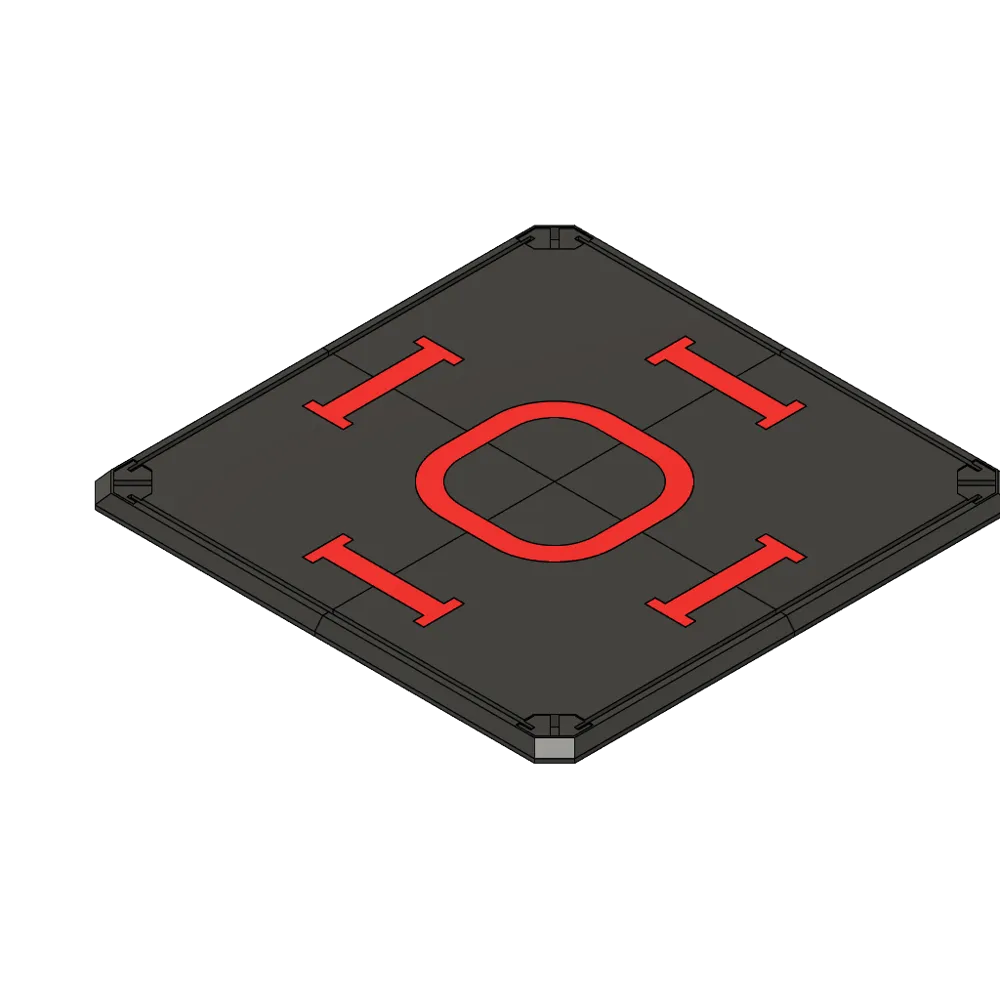
-New version with full lids (with and without puck light) and no minimum size.
-New version with 100x100 minimum size for every 2x2 model.
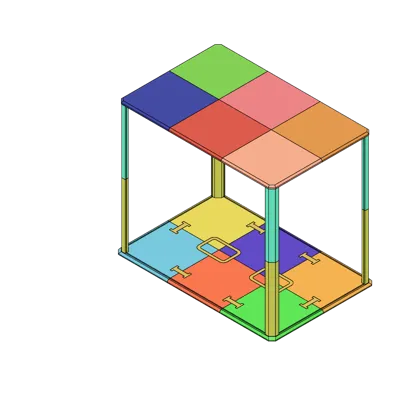
-New version with 200x115mm minimum size for every 2x3 model.
-All versions now come with full or split corners.
Boost Me (for free)
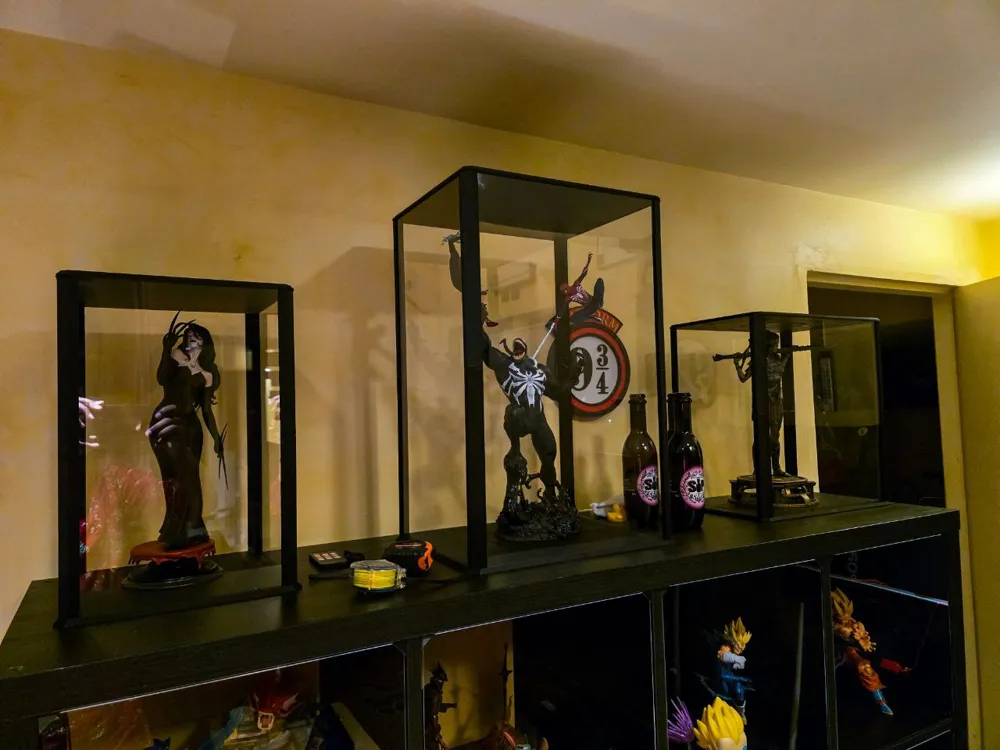
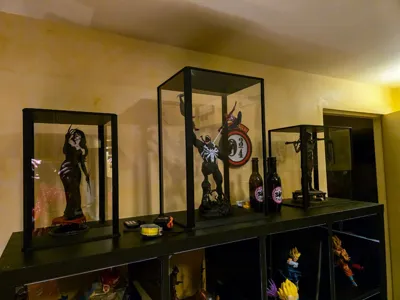
If you hate dust on your figures and Iego sets, consider boosting this model!
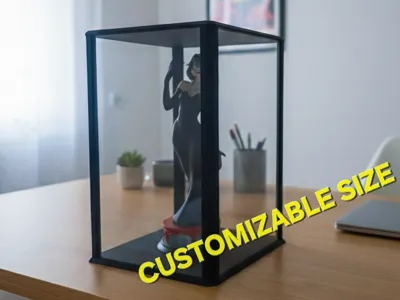
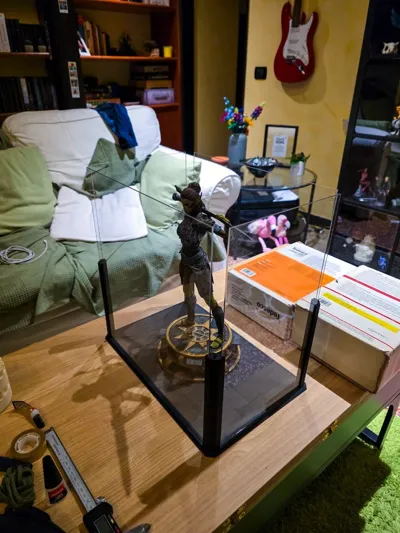
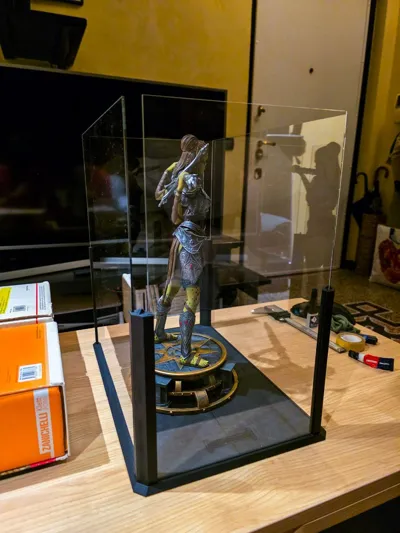
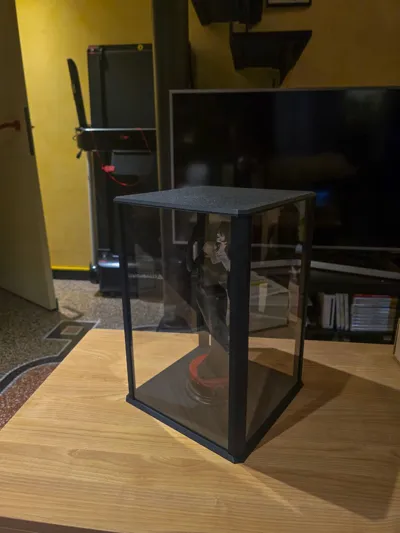
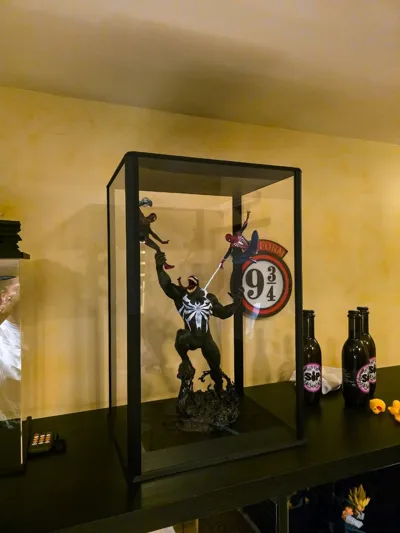
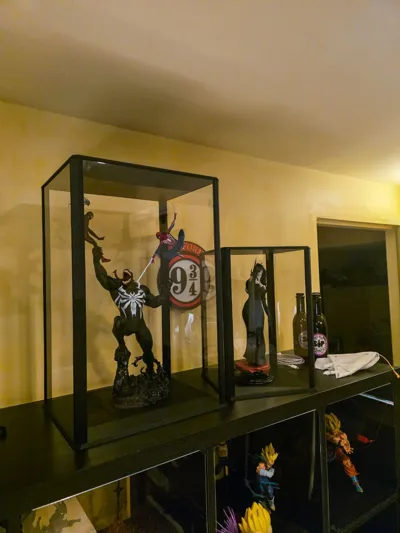
After hours of searching for a way to display my larger resin prints and statues, i couldn't find a suitable solution for all the different sizes and shapes of my figures so i decided to try and come up with a simple but flexible solution.
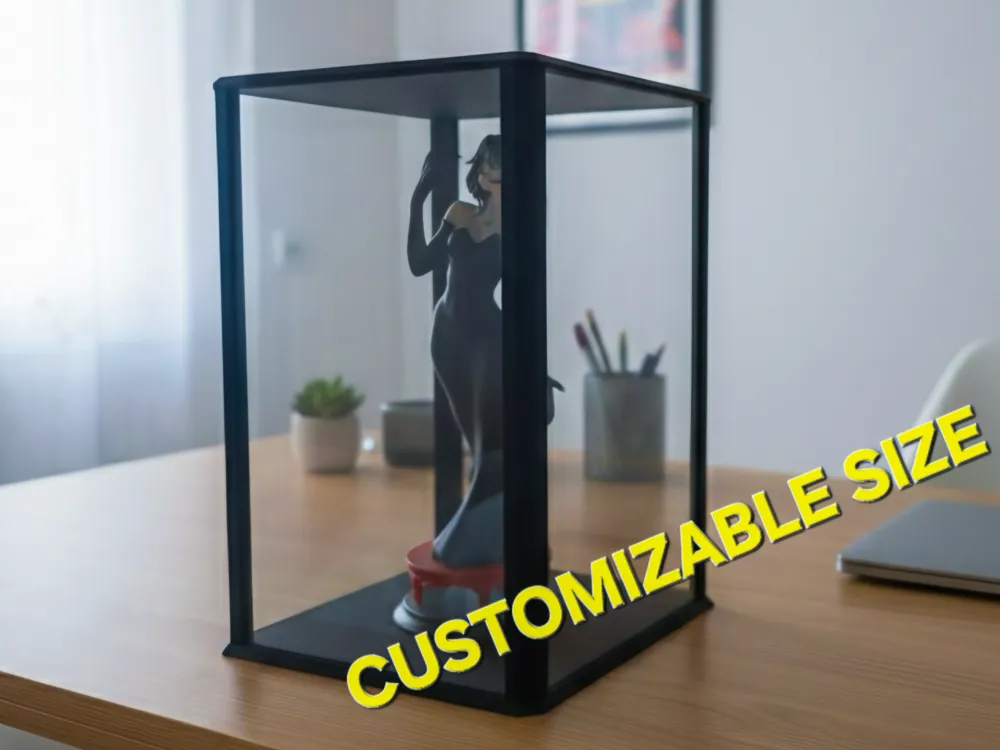
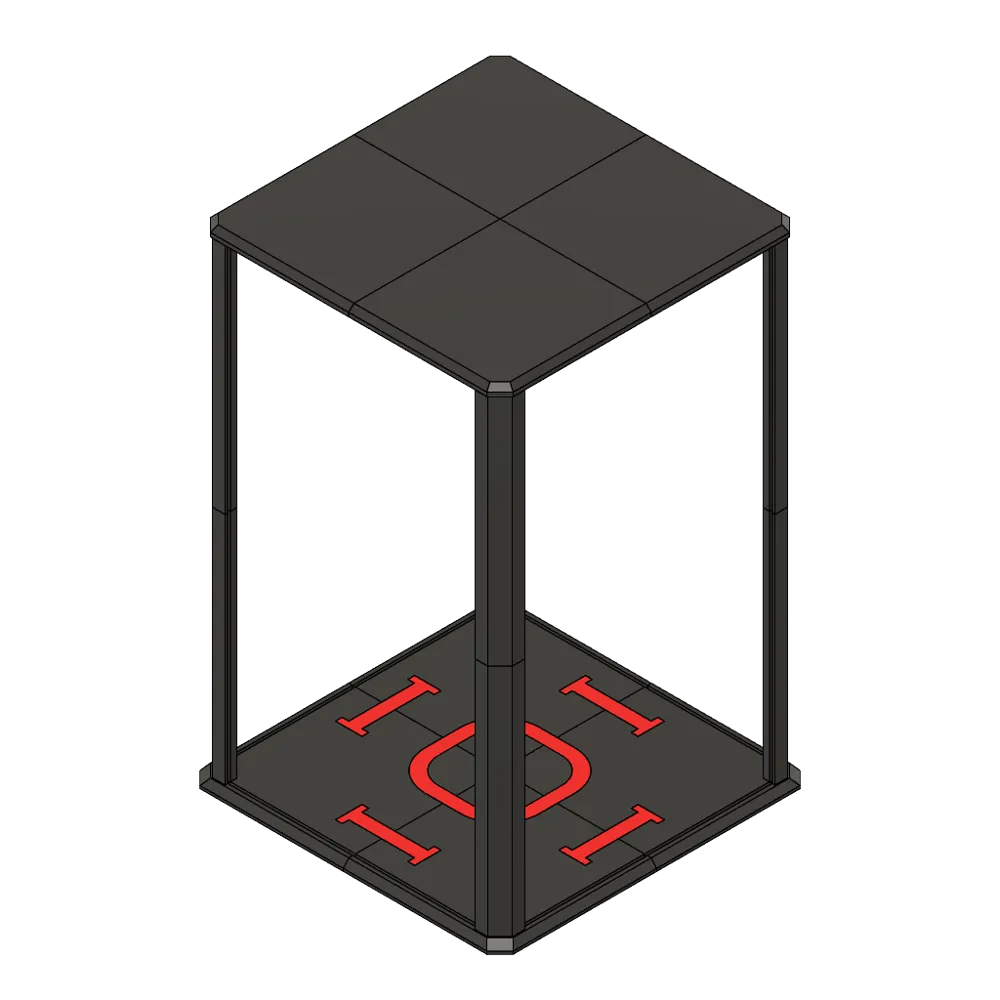
The idea is simple: a customizable display box scalable from 20x20x10cm up to… well, whatever your print bed size allows you to!
(Max size is 9x your bed surface with the 3x3 version)
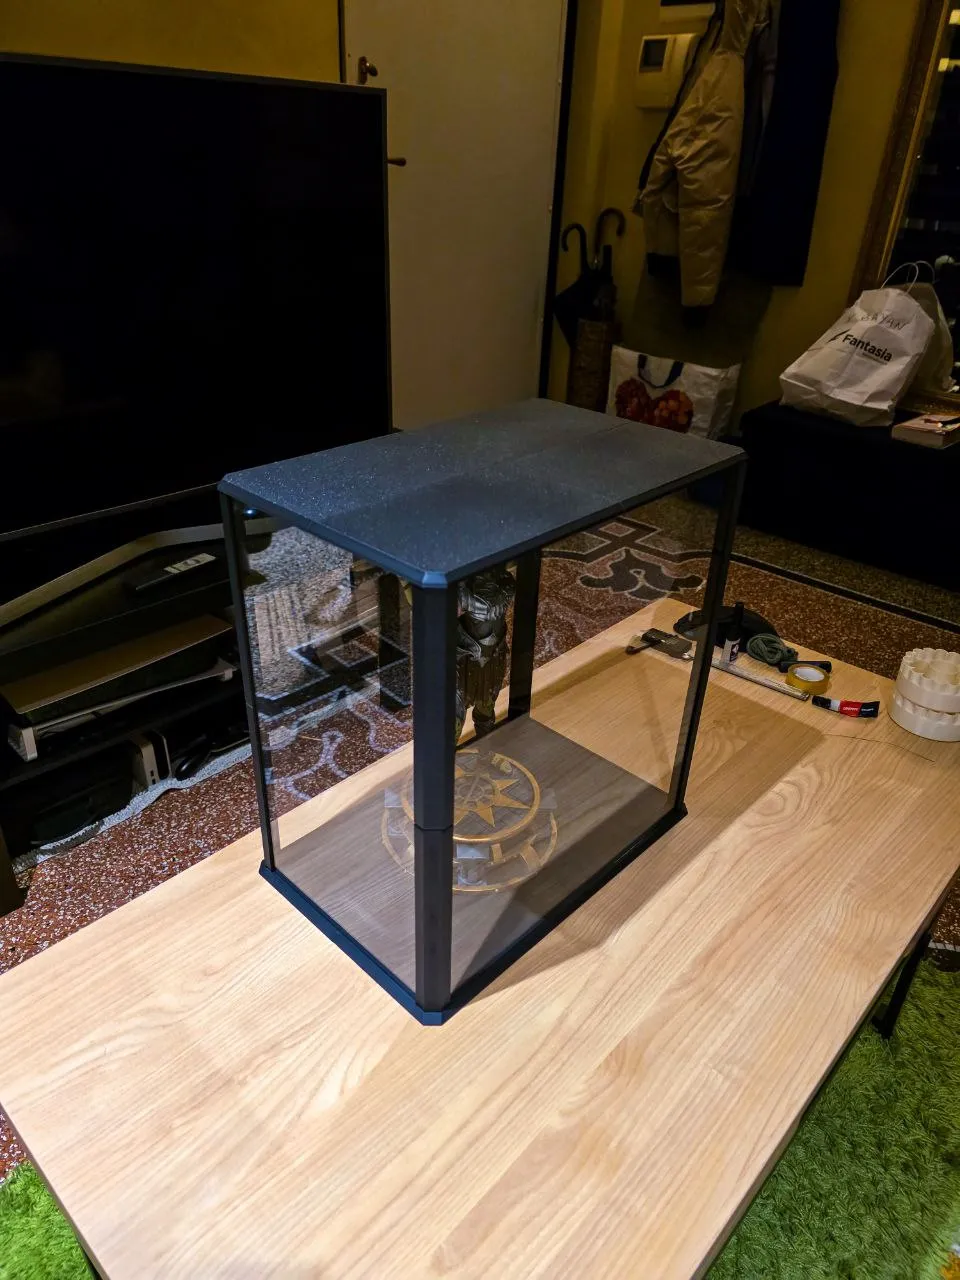
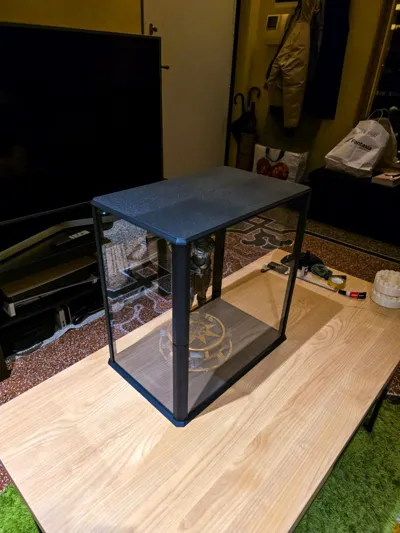
Easy to assemble and disassemble and easy to open to better position the figure inside, thanks to the magnetic lid.
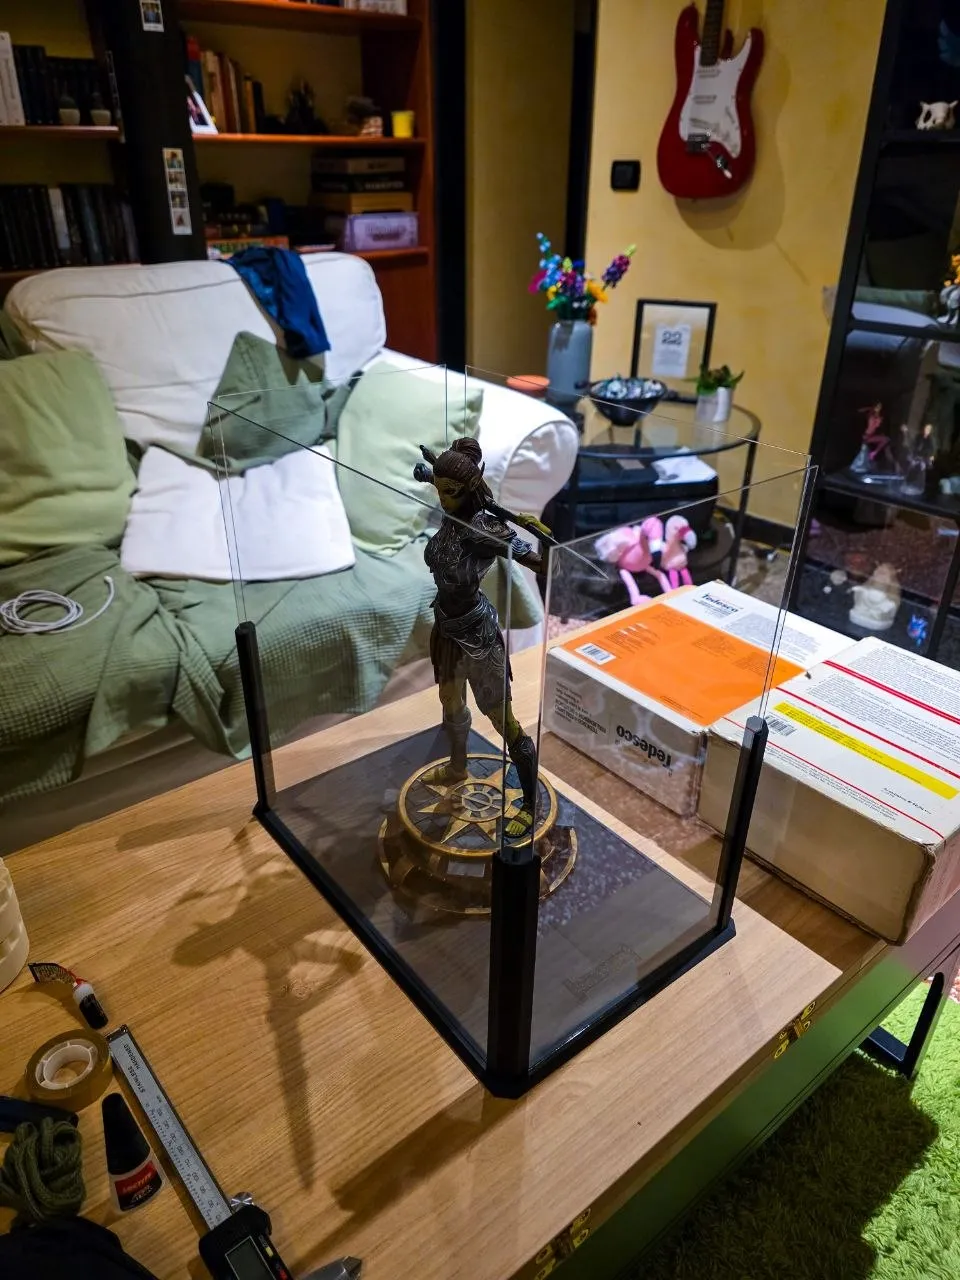
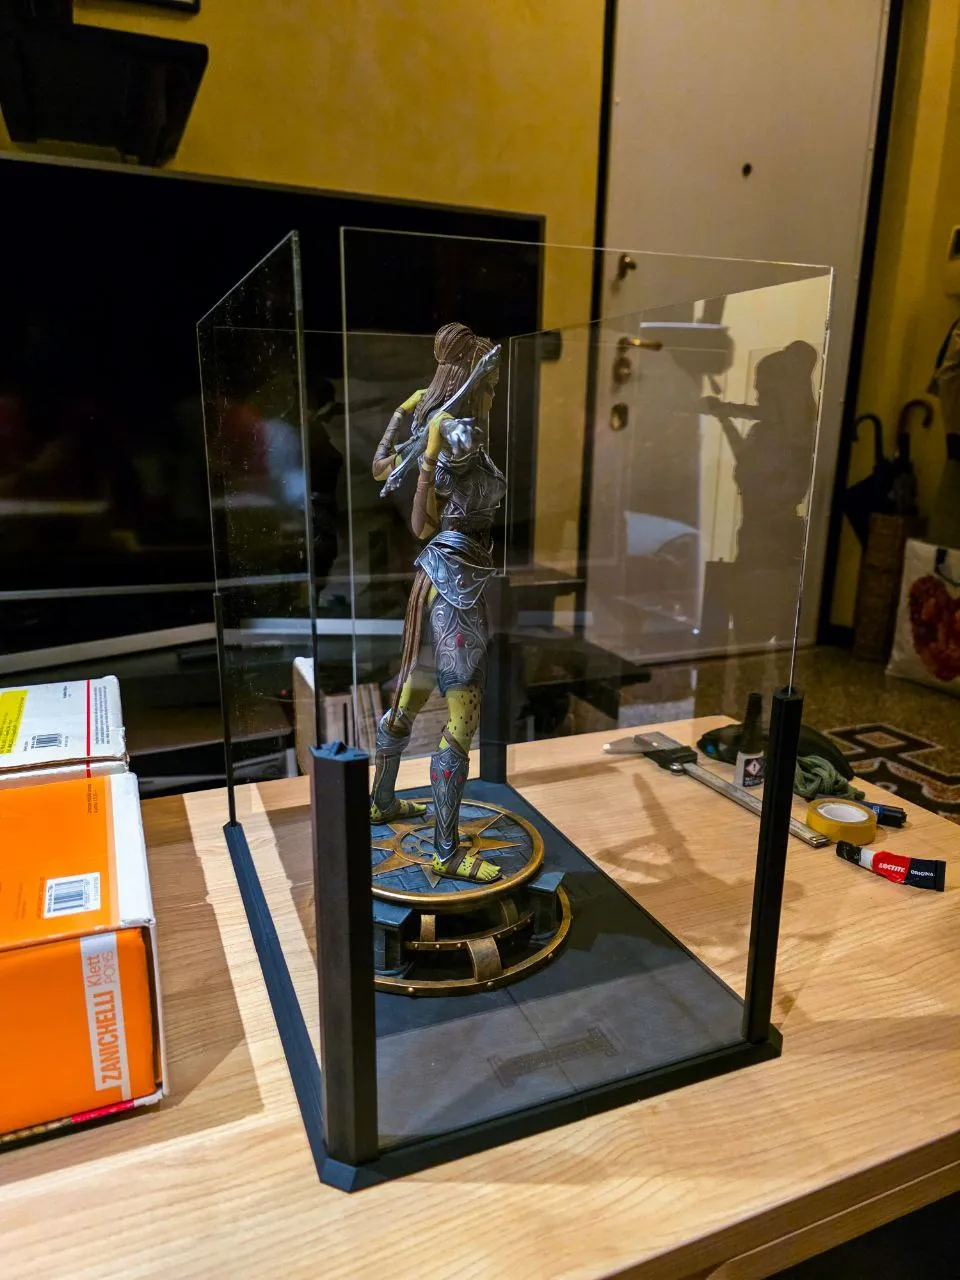
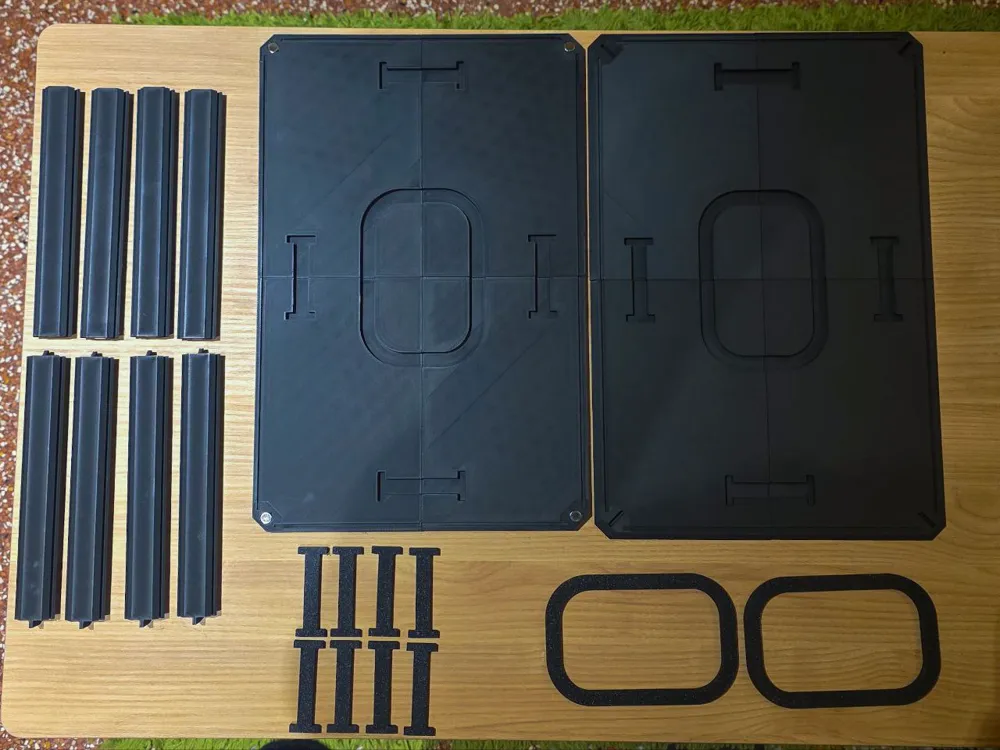
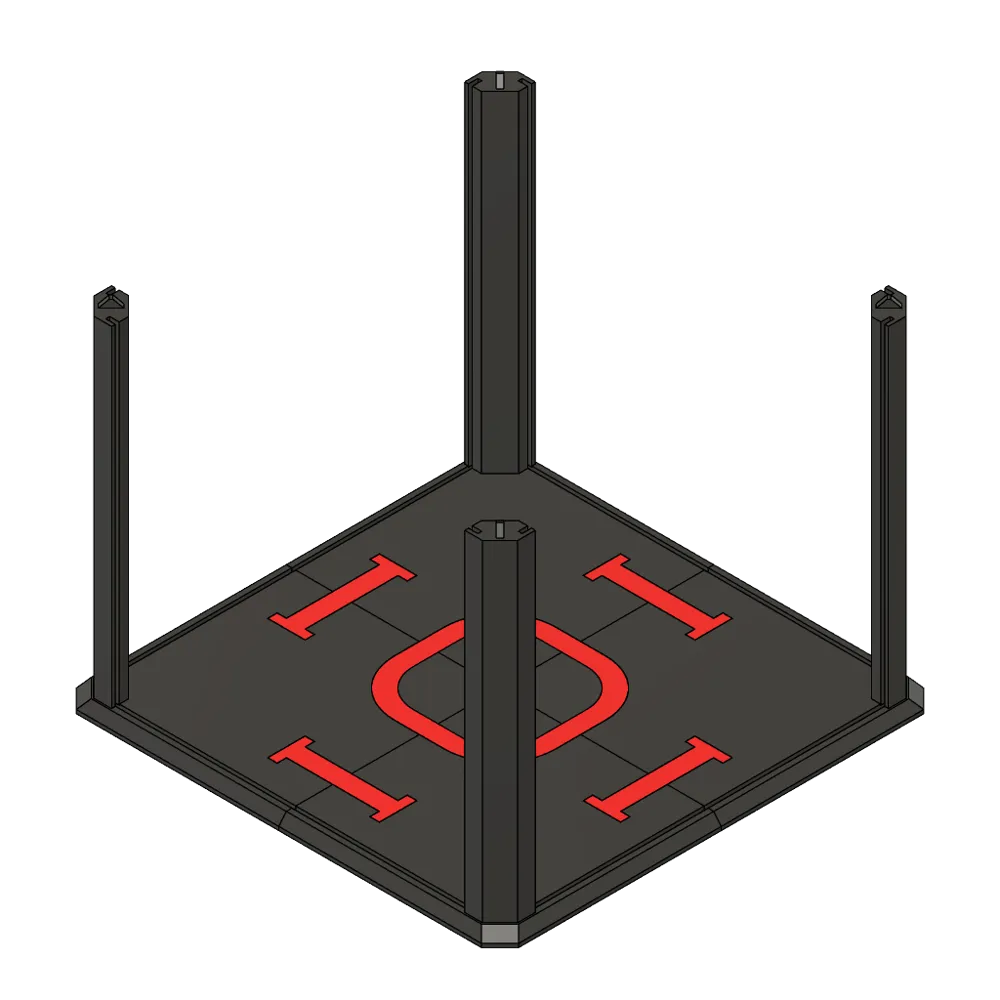
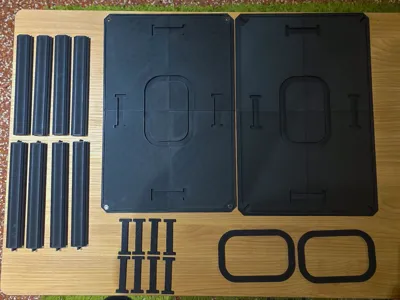
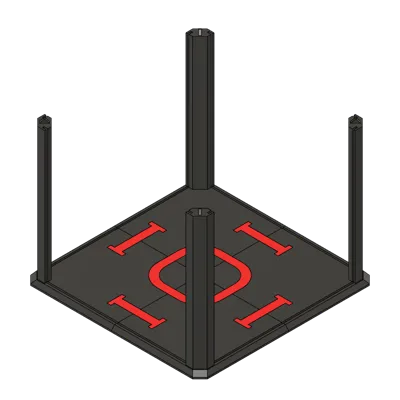
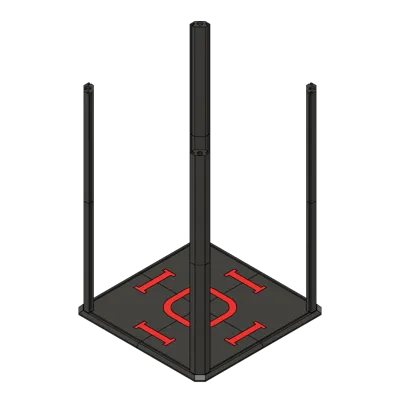
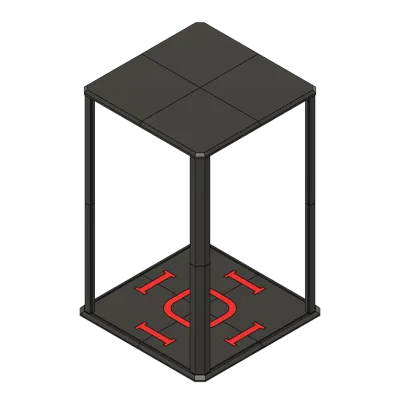
Te box is composed of:
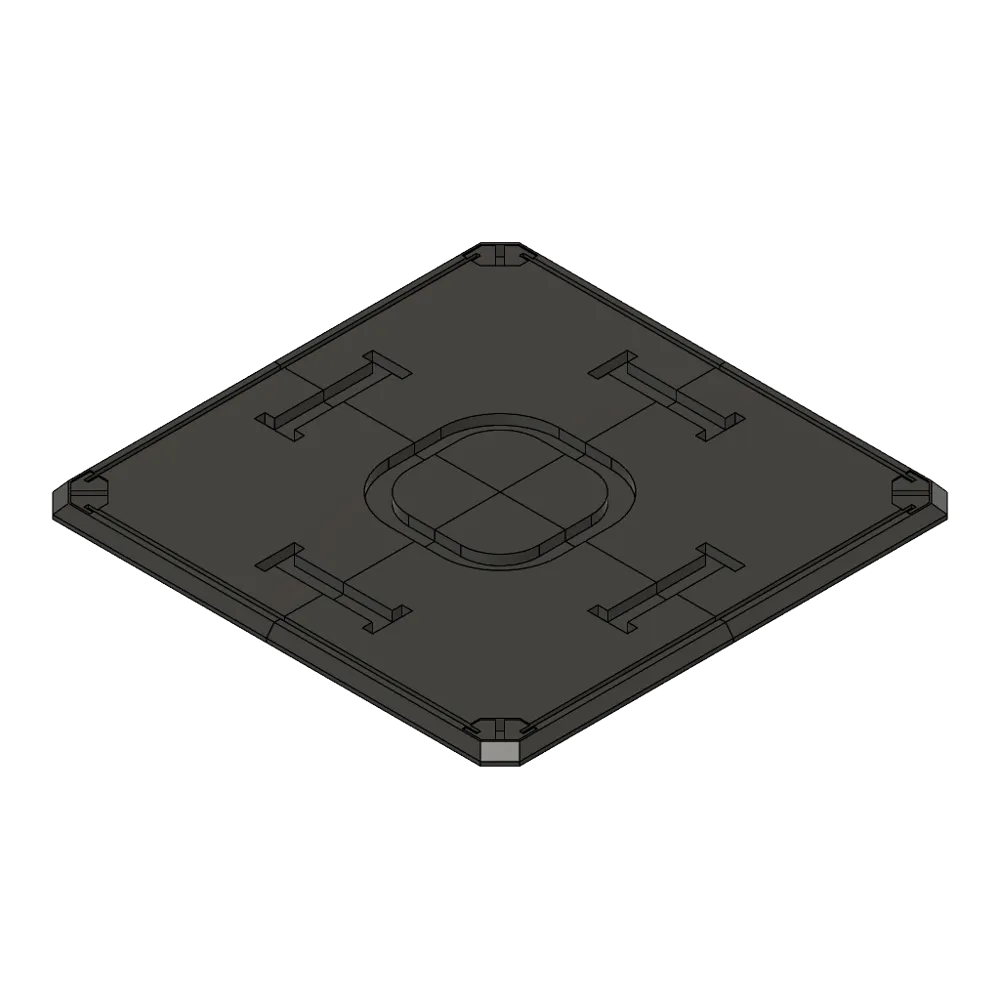
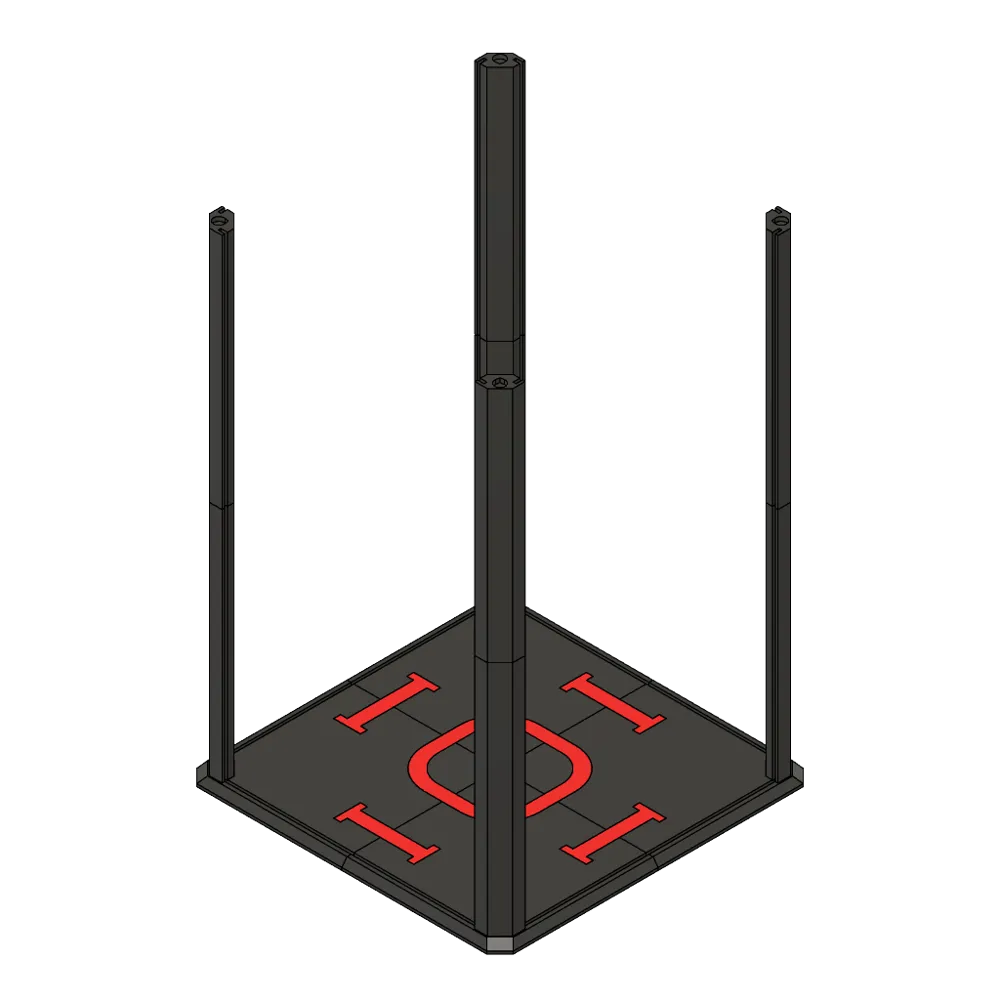
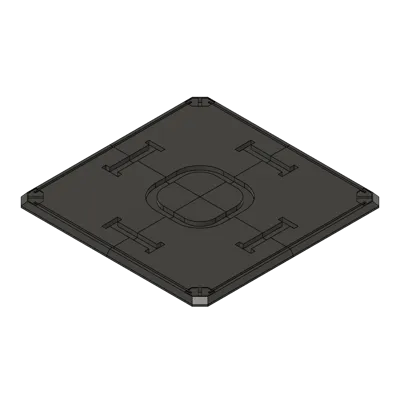
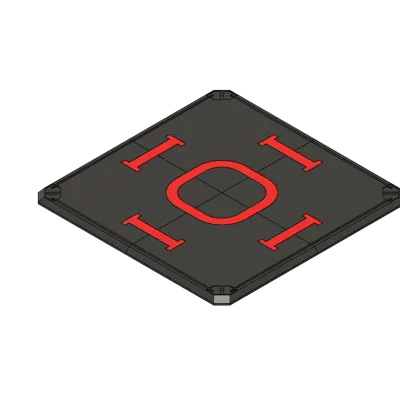
-1 base (full or divided in sections)
-4 bottom corners
-4 top corners
-1 lid (full or divided in four sections
-2 to 8 square connectors (if base and lid are divided)
-8 to 16 side connectors (if base and lid are dived)
You will also need:
-4 glass/acrilic glass panels (from 2mm to 4mm thick)
-8 round magnets (6mm or 8mm diameter, max 4mm thickness)
-1 or more wireless puck light (optional)
Customization
With Makerworld:
The fastest way to customize the display box is to use the “Customize” beside the download button and select the version you prefer between with orwithout puck light support and various division formats for the lids.
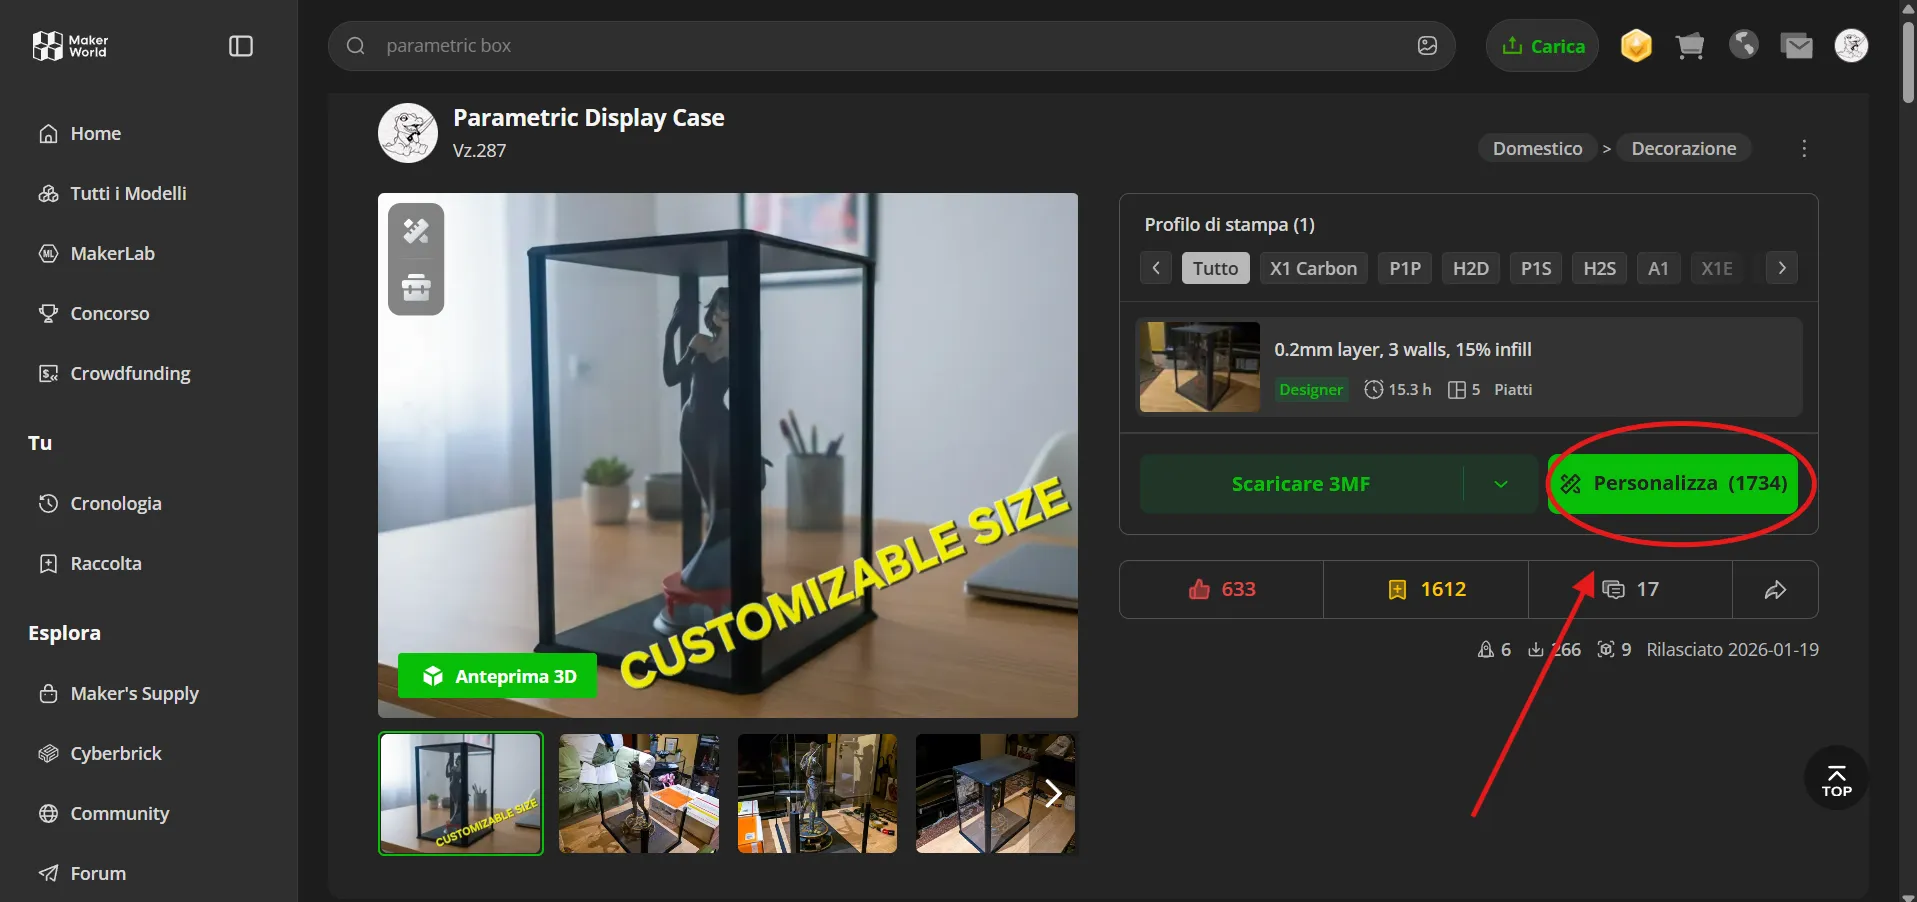
In the customization page, you can easily input the parameters you like, click “Generate” and download the .3mf file with your desired settings.
(NOTE: i suggest you to use acrilic/glass panels at least 2cm taller than your figure for clearance. Add to this value the thickness of your puck light, if you want to use one)
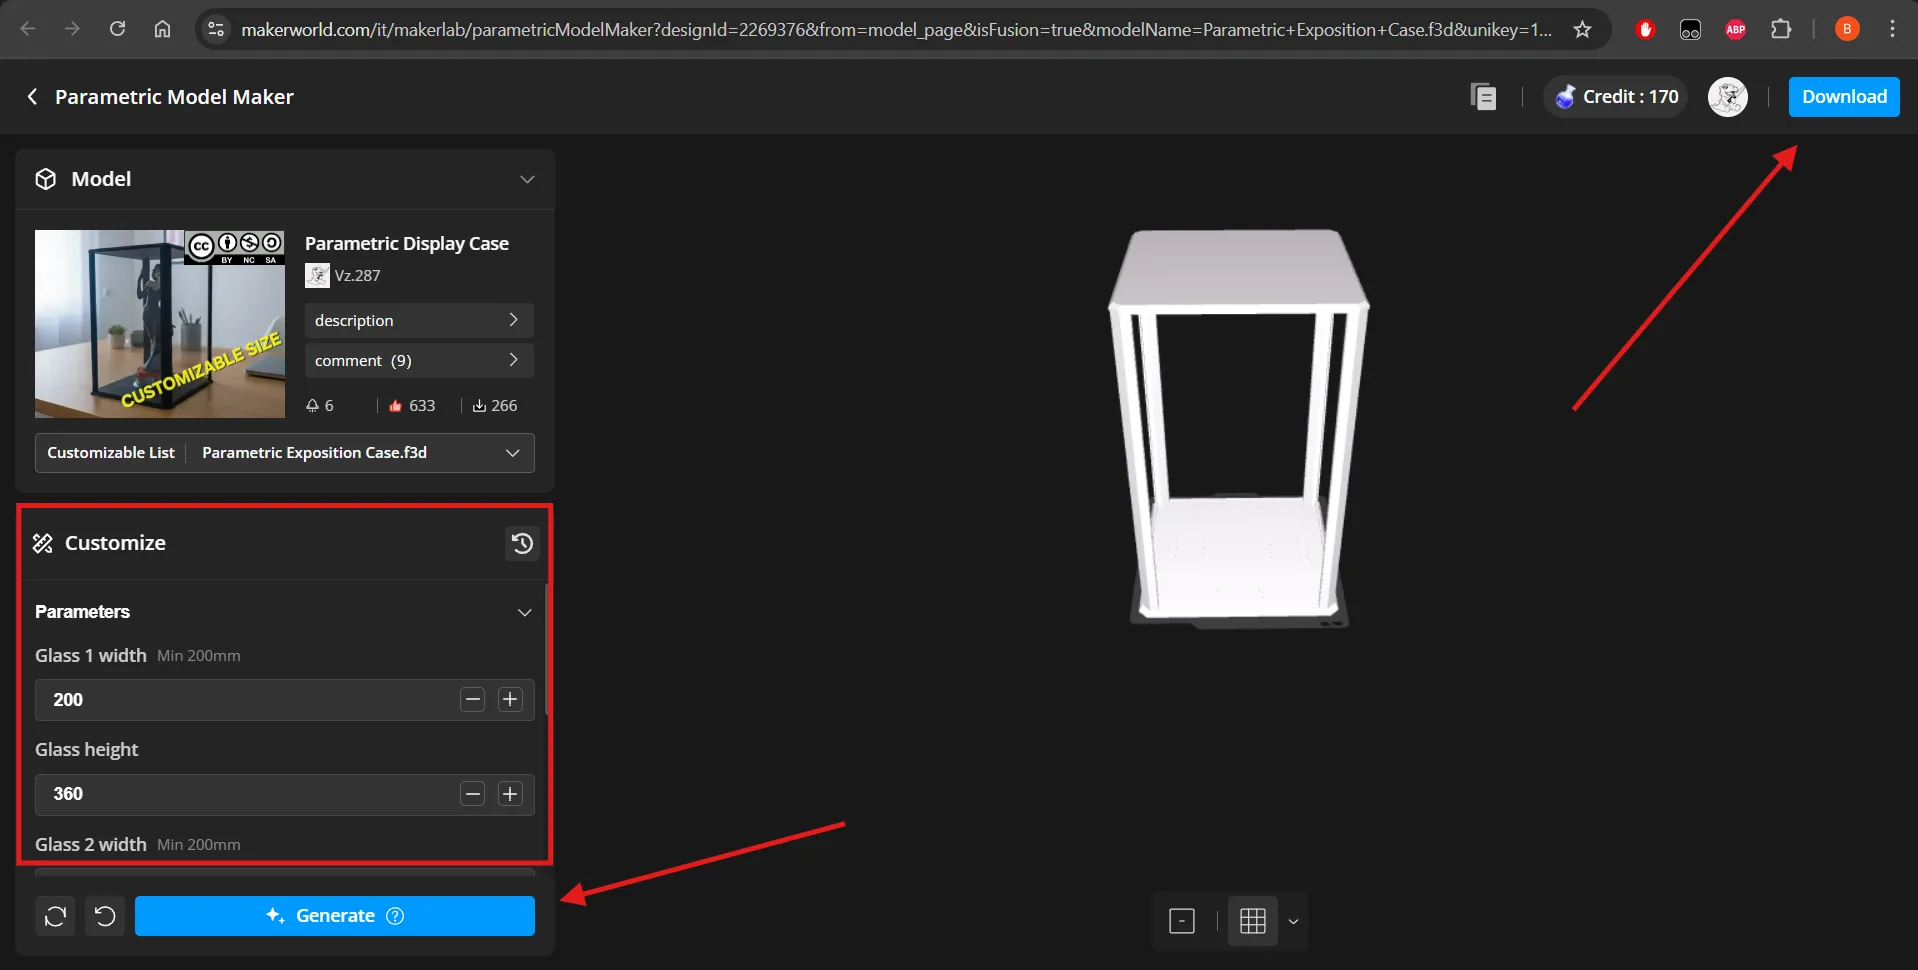
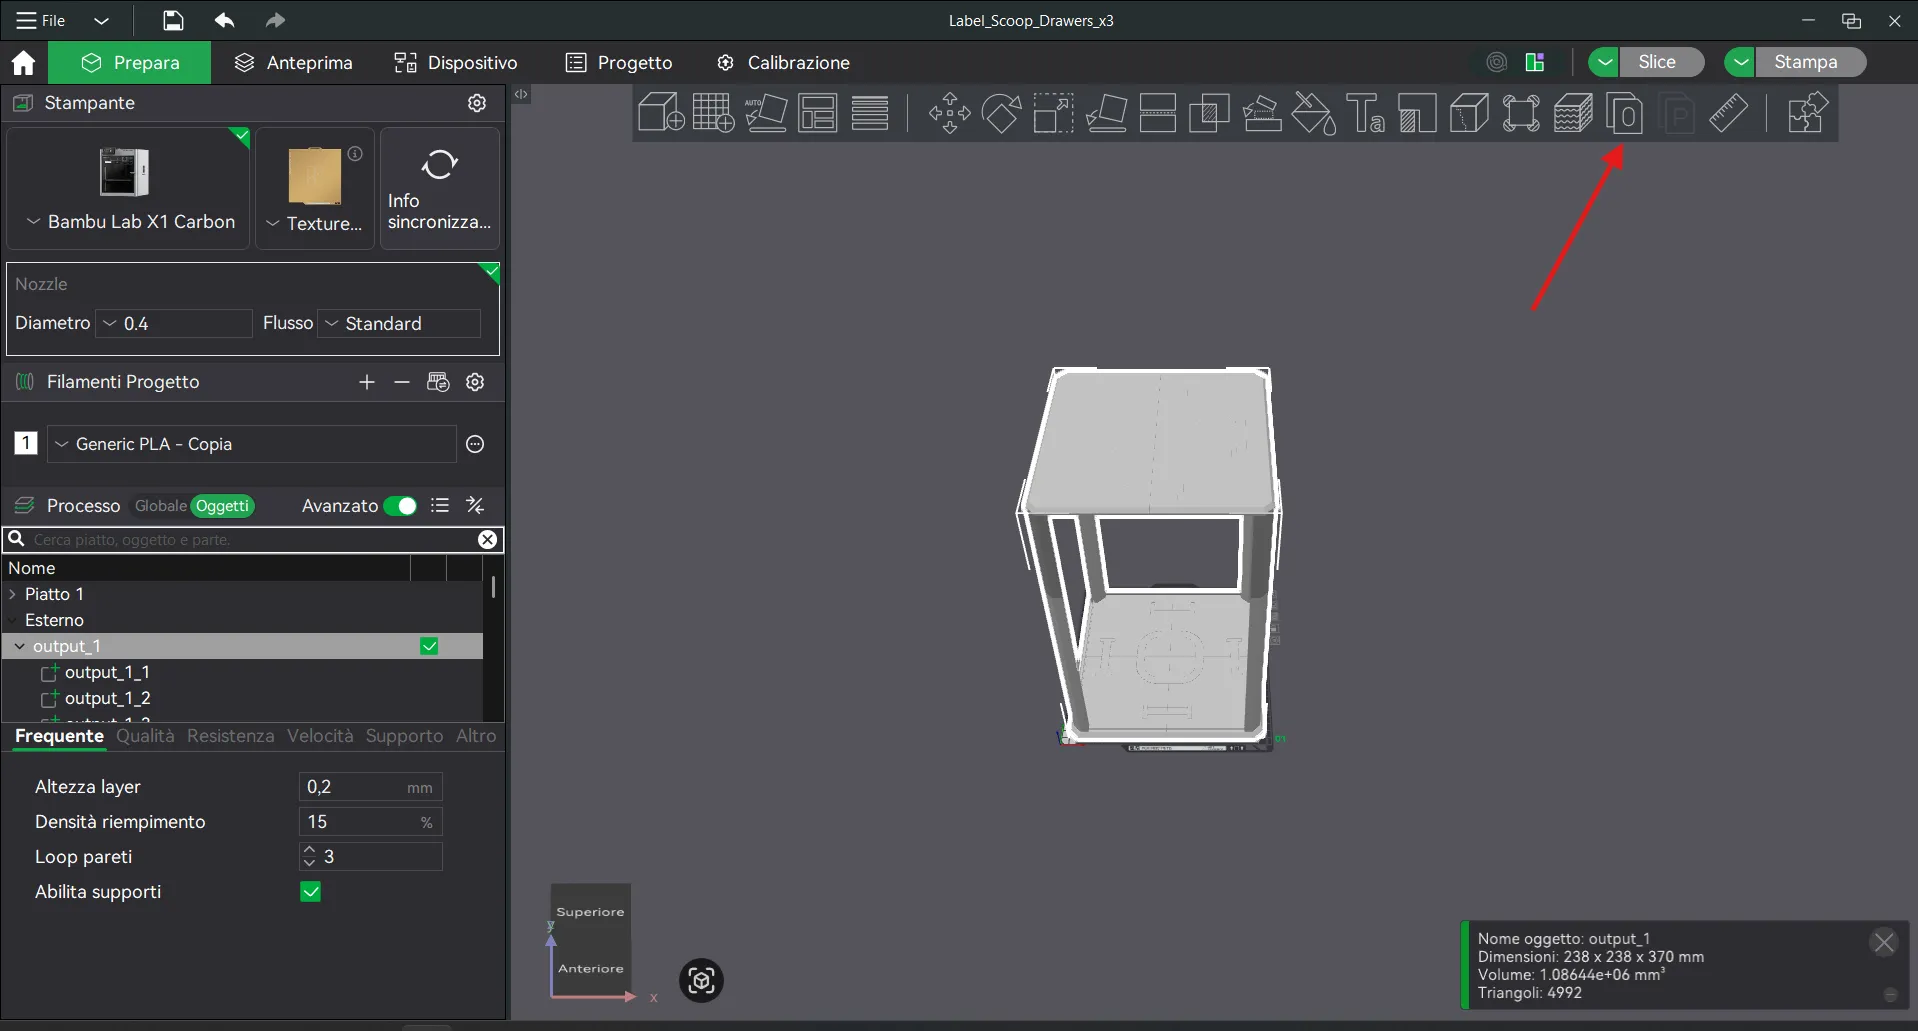
Once you open the .3mf file on bambu studio (or whatever your preferred slicer is) just click on the “Divide in objects” button on the tollbar to get the single printable pieces.
(NOTE: if you use the puck light version, orient the top lid parts with the connectors side facing the print bed and add supports)
With Fusion360:
First of all, download the .f3d file from the list and open it on Fusion360.
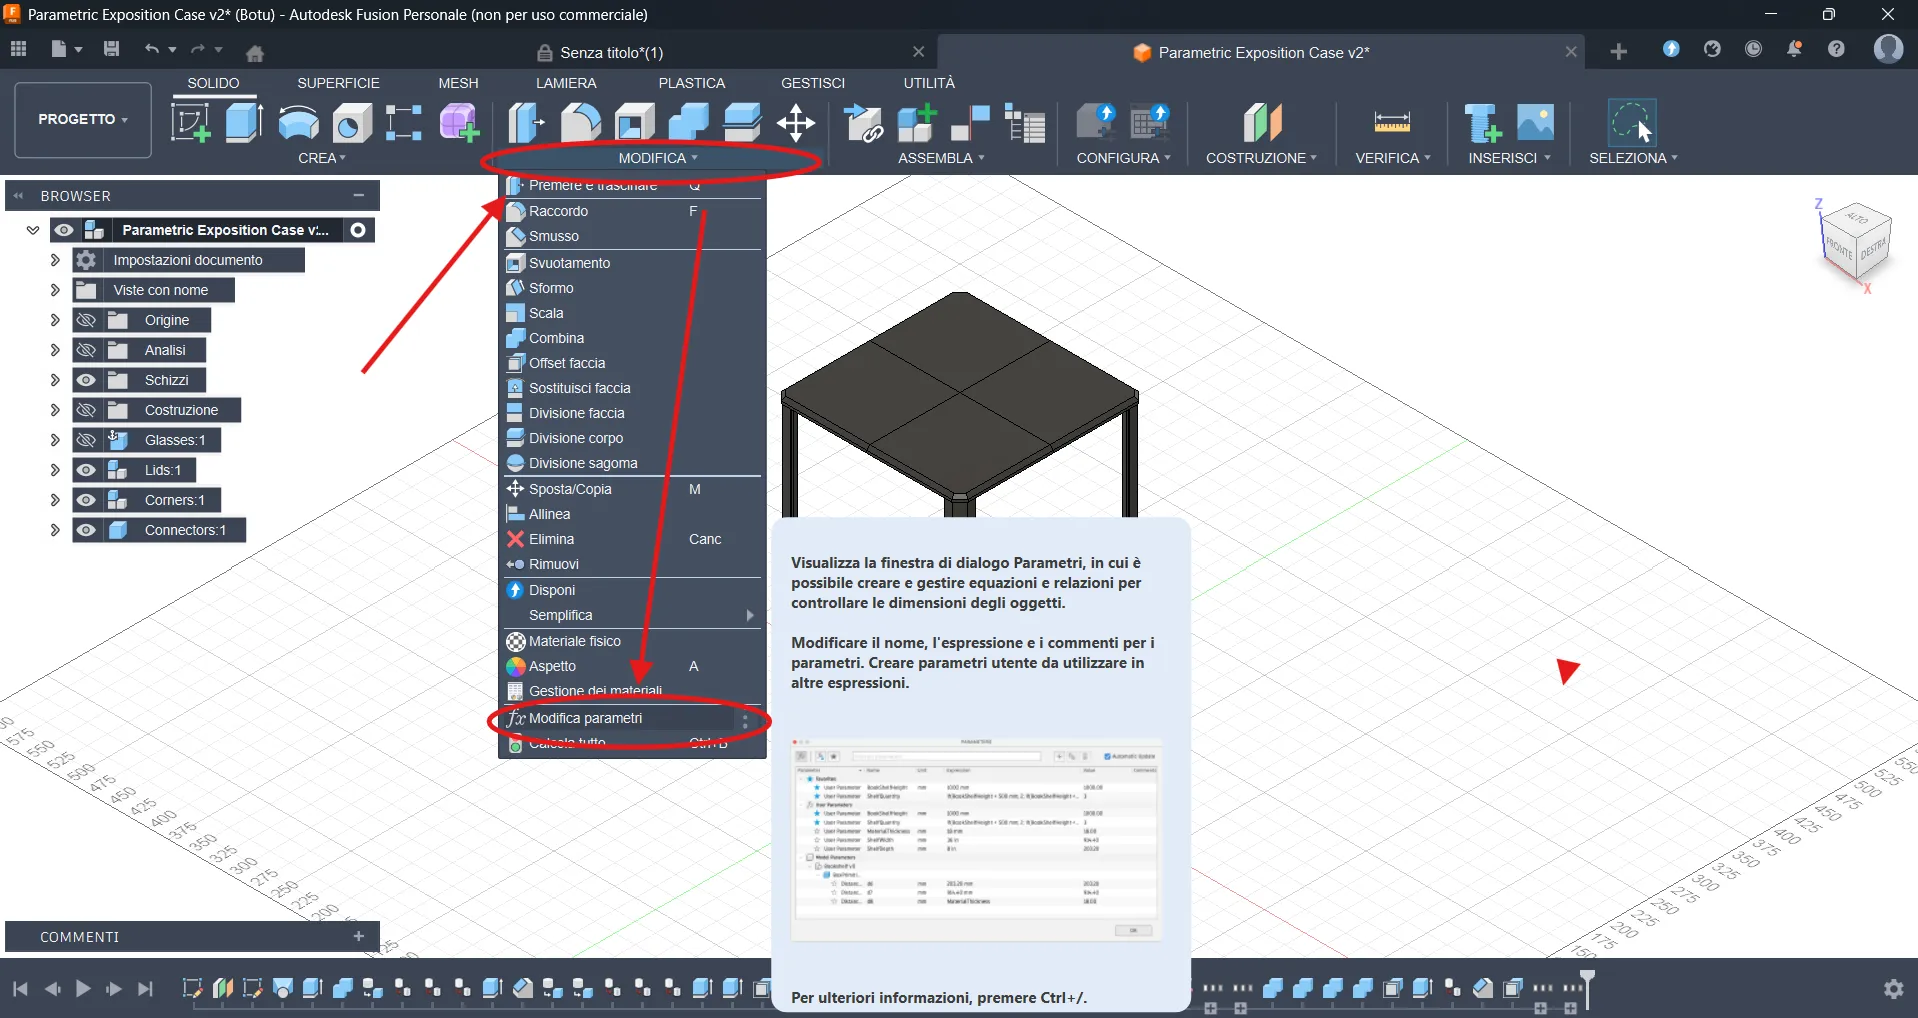
Once you open the file, click on “MODIFY” and then on “Change Parameter” in the menu.
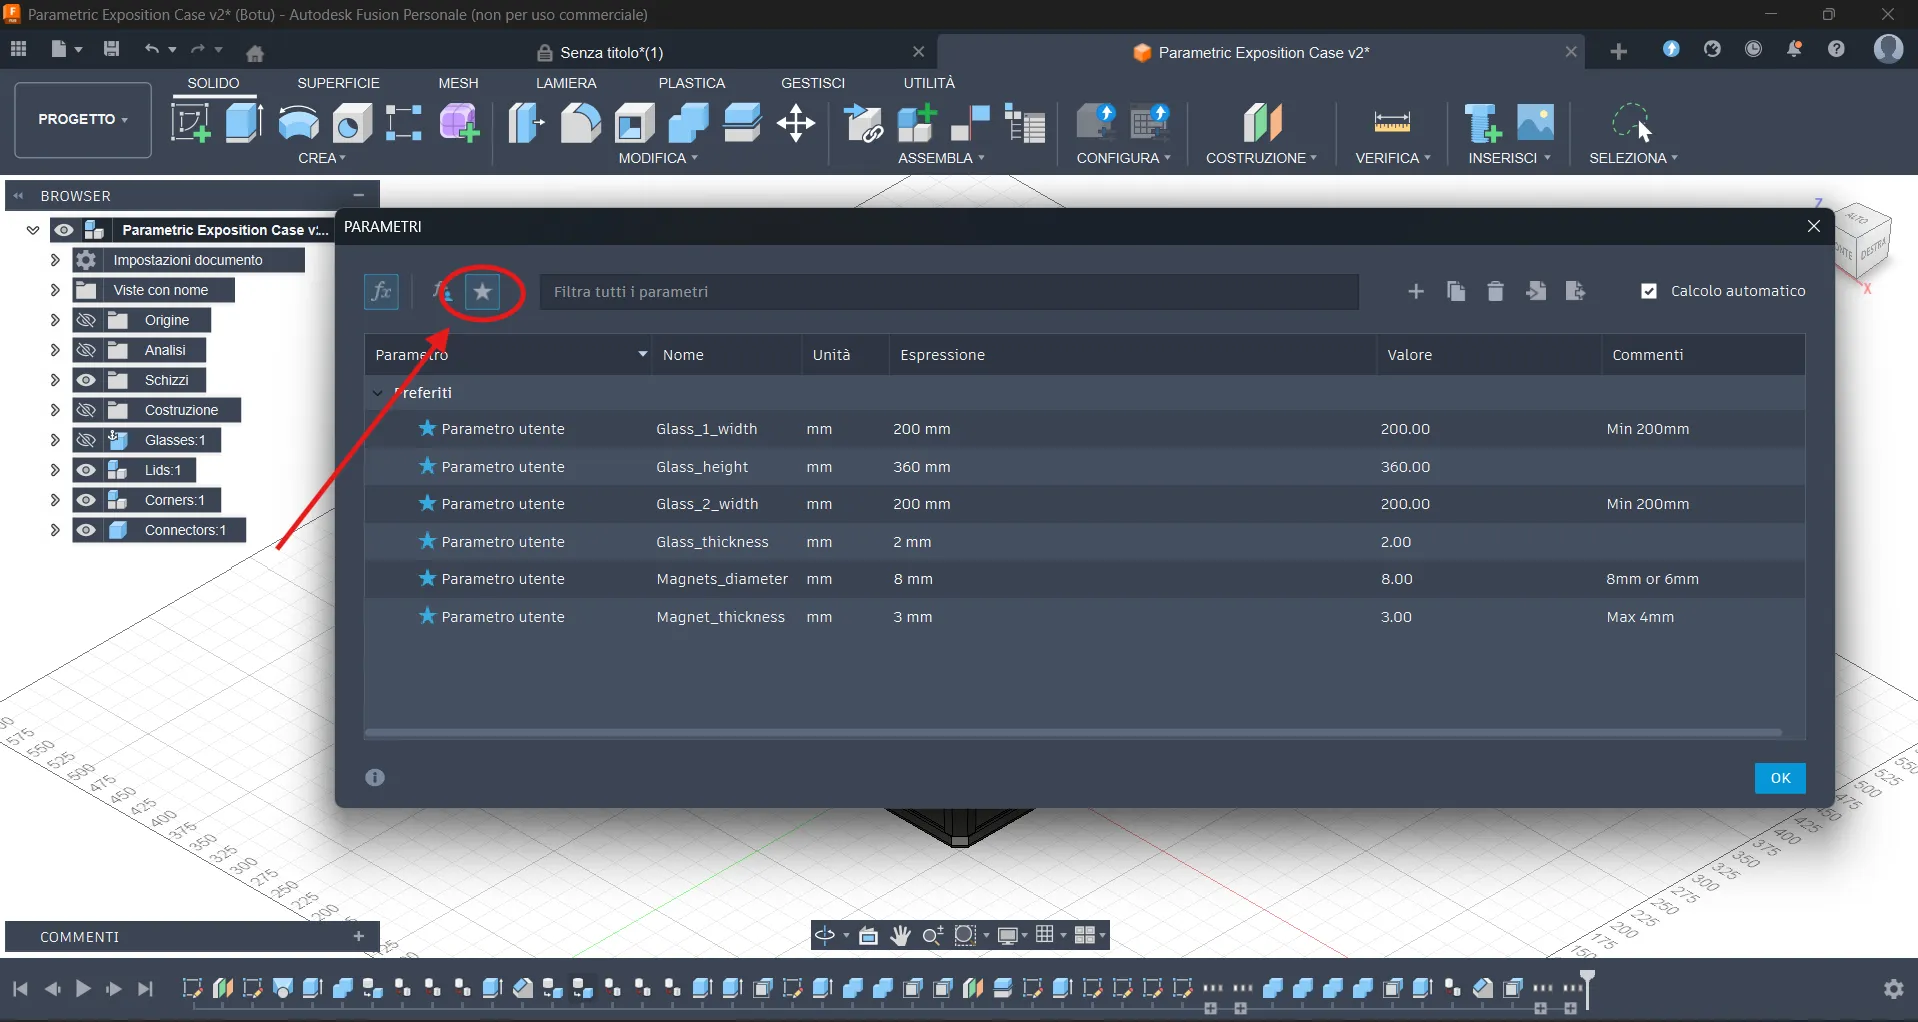
Now, to filter the parameter you need, click on the little star on the top right corner of the “PARAMETERS” window.
Now you can just edit the dimentions of your glass/acrilic panels and of your magnets.
(NOTE: i suggest you to use acrilic/glass panels at least 2cm taller than your figure for clearance. Add to this value the thickness of your puck light, if you want to use one)
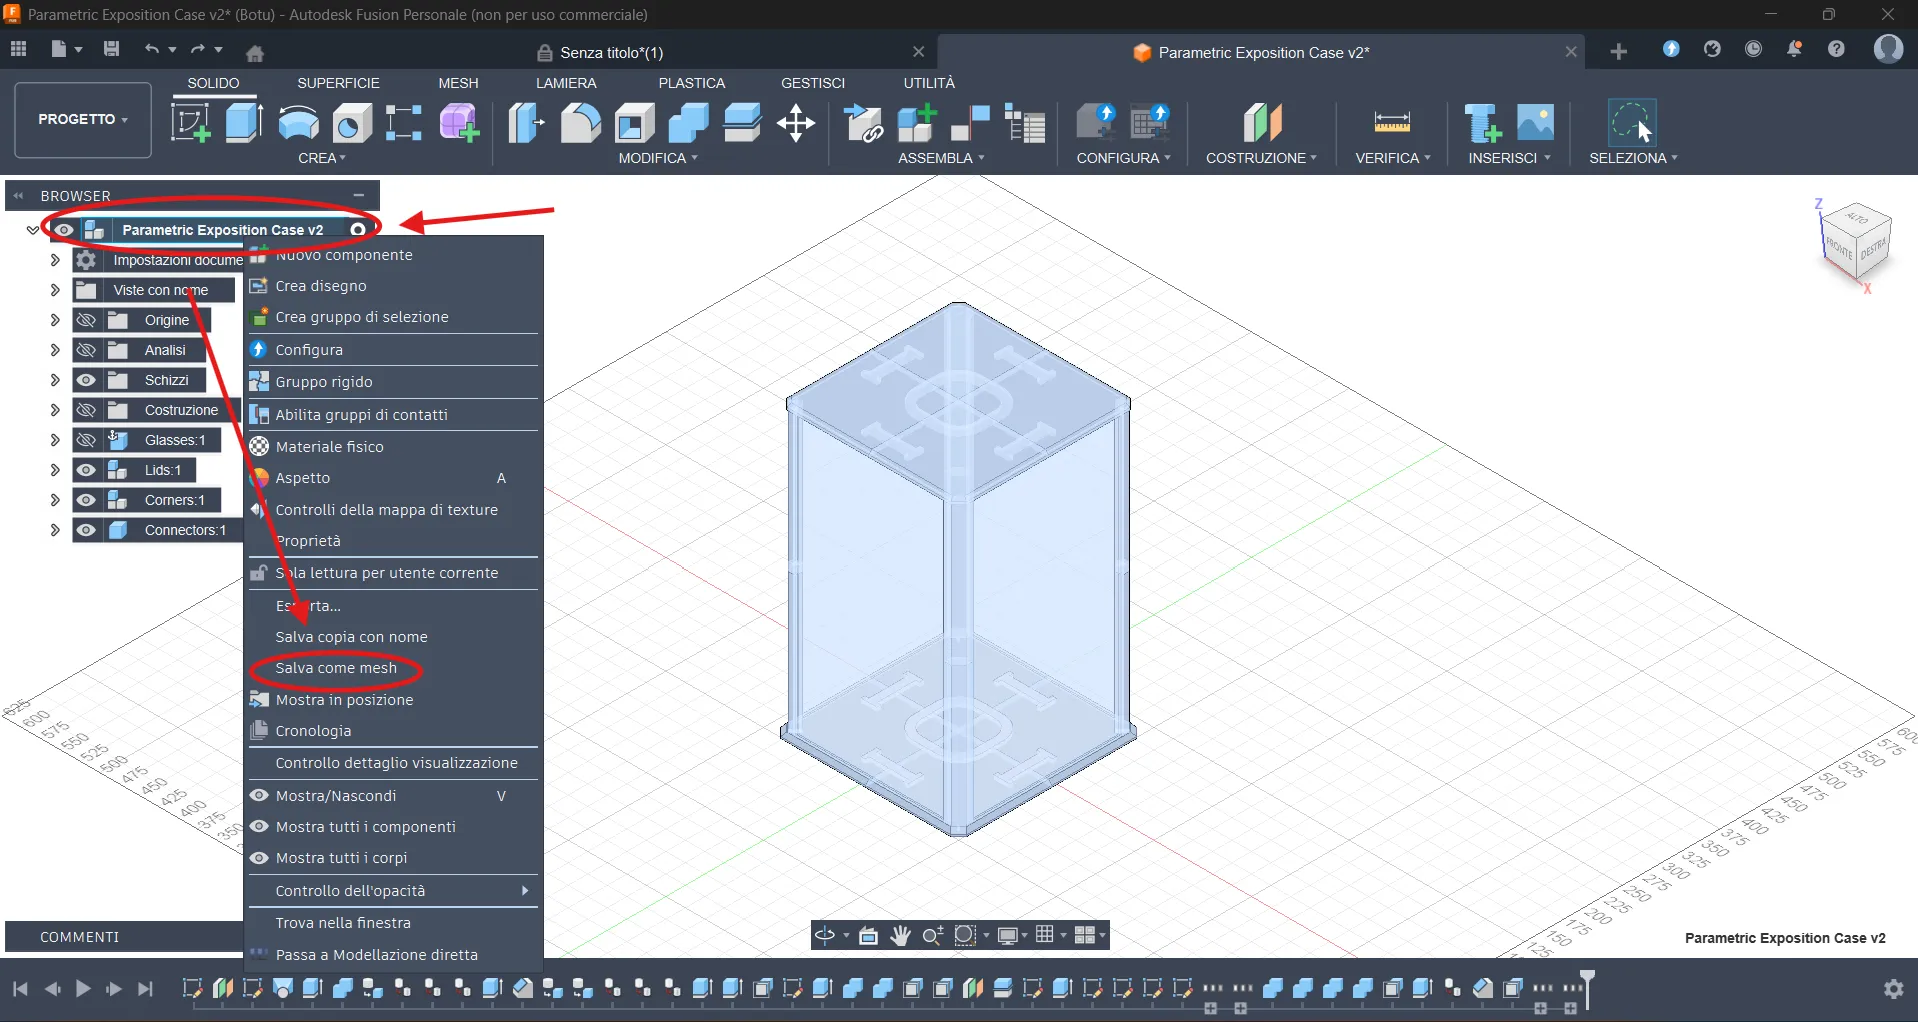
Now you can just right click on the name of the model on the top left and then select “Save as mesh".
Set the format to 3MF and save the model.
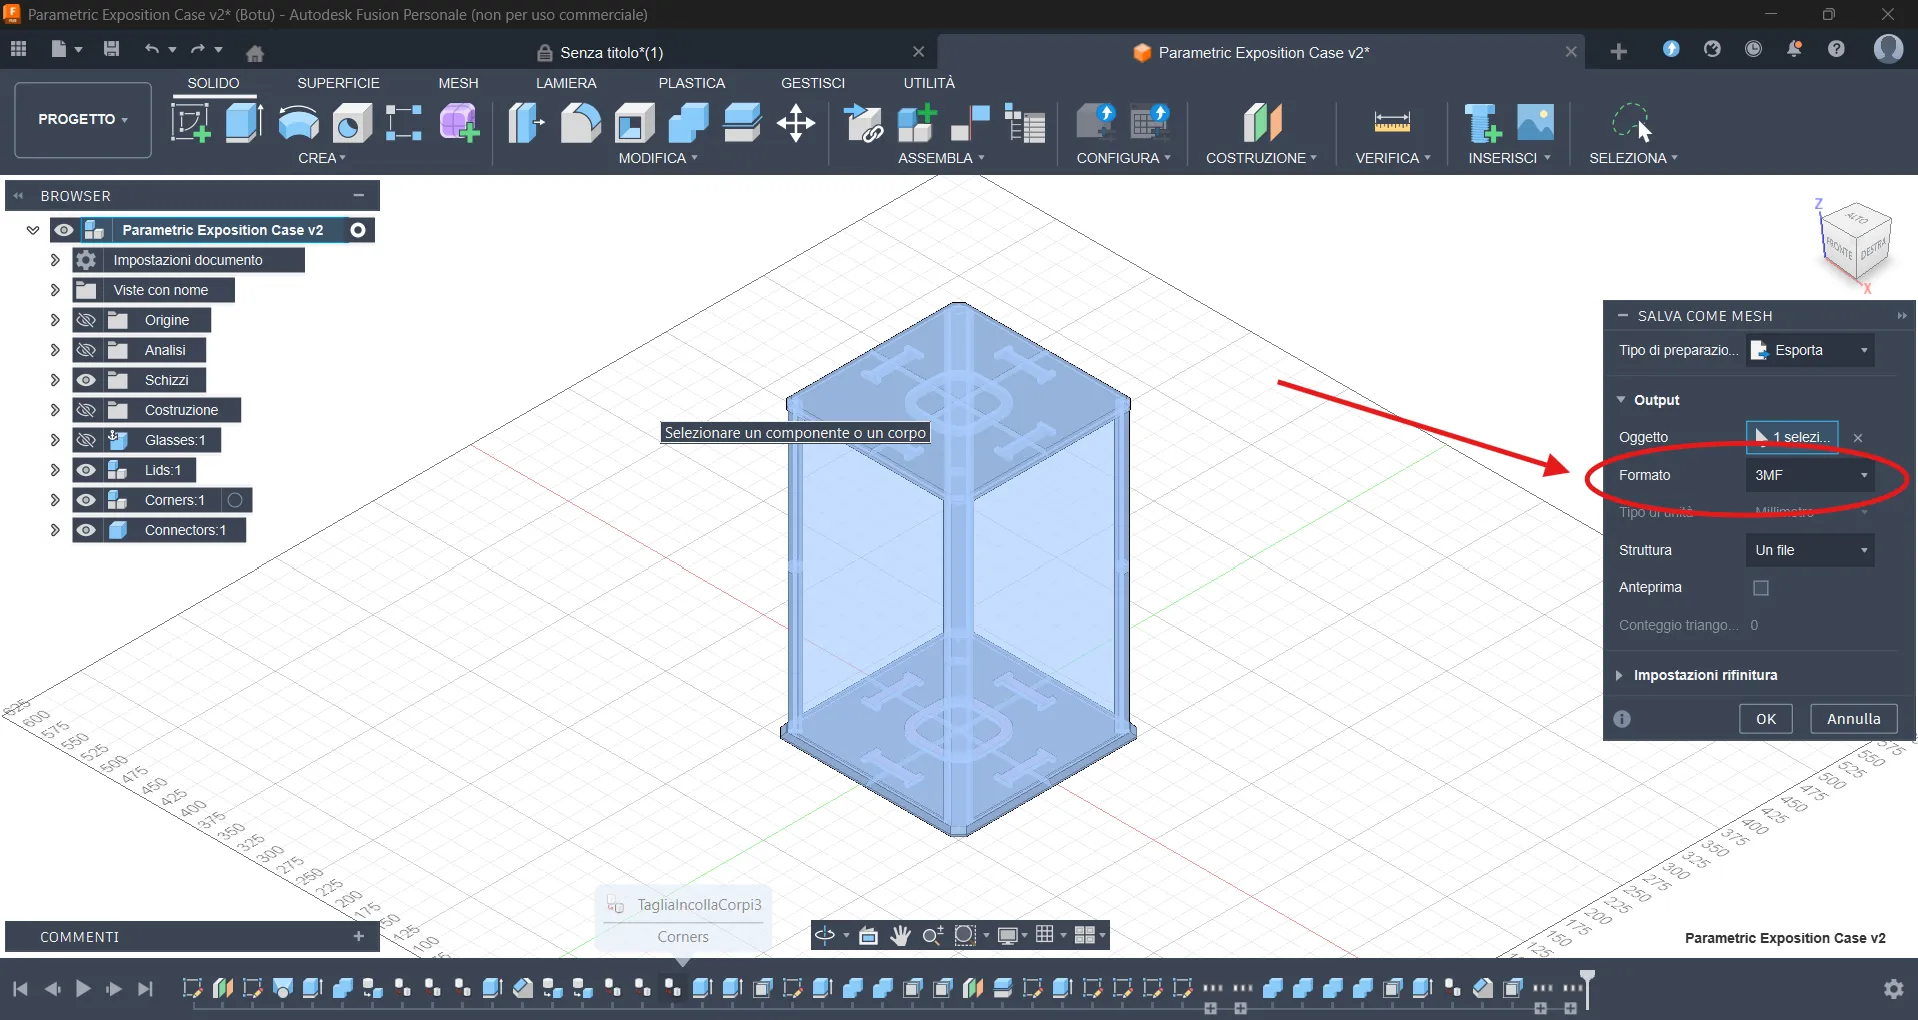
Now you can just import the .3mf to your slicer (as single parts, not as a model with multiple components) and print your new display box!
(NOTE: if you use the puck light version, orient the top lid parts with the connectors side facing the print bed and add supports)
---------------------------------------------------------------------
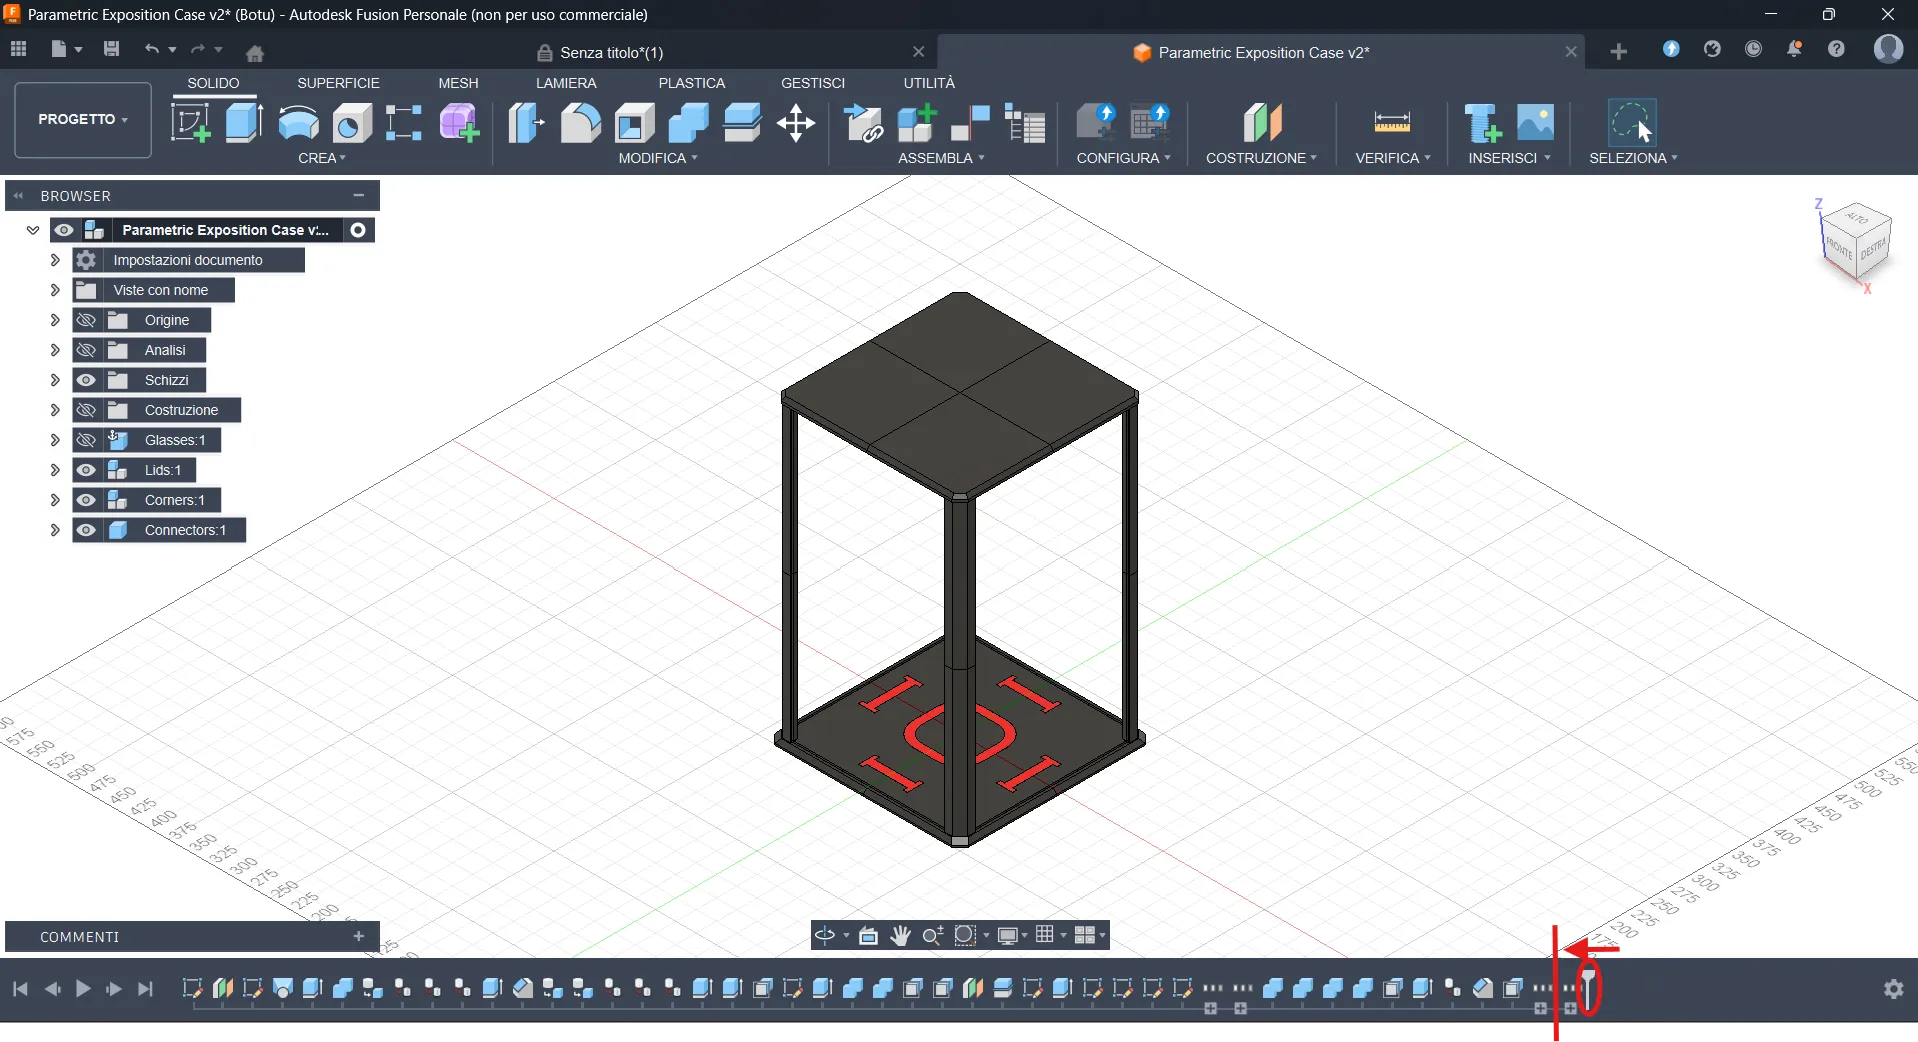
BONUS: If you don't want the base and the lid to be divided, just move the slider in the picture one position to the left before exporting the model.
(NOTE: this procedure still works but is now obsolete because of the presence of a modell with full lids)
Assembly
The assembly is pretty straightforward:
-Join the base and lid parts with the connectors
-Insert the bottom corners in the base using the pegs
-Slide in the glass/acrilic panels
-Glue the magnets to the top corners and slide them on top of the bottom corners
-Glue the magnets to the lid (MIND THE POLARITY!) and close the box
(I personally don't glue any of the printed parts to each other so i can disassemble the cases if needed but it's up to you and your preference)
Done!
Hope you enjoy your new display box!
License

You may create derivative works based on this object, provided that all such derivative works are published exclusively on the MakerWorld platform and include proper attribution to the original creator. You may not share, upload, host, distribute, or publish this object—or any derivative work of this object—on any other digital platform, marketplace, or distribution channel. Commercial use of this object and any derivative works is strictly prohibited. This includes, but is not limited to, selling, renting, sublicensing, or using the object in any context in which you receive monetary compensation or other financial benefits.


Comment & Rating (71)