Logitech G502 Wireless Mouse - Travel Case
Logitech G502 Wireless Mouse - Travel Case


Print Profile(1)

Description
Description
This print was created using the Rugged Box (Parametric) design by @Whity (thank you!).
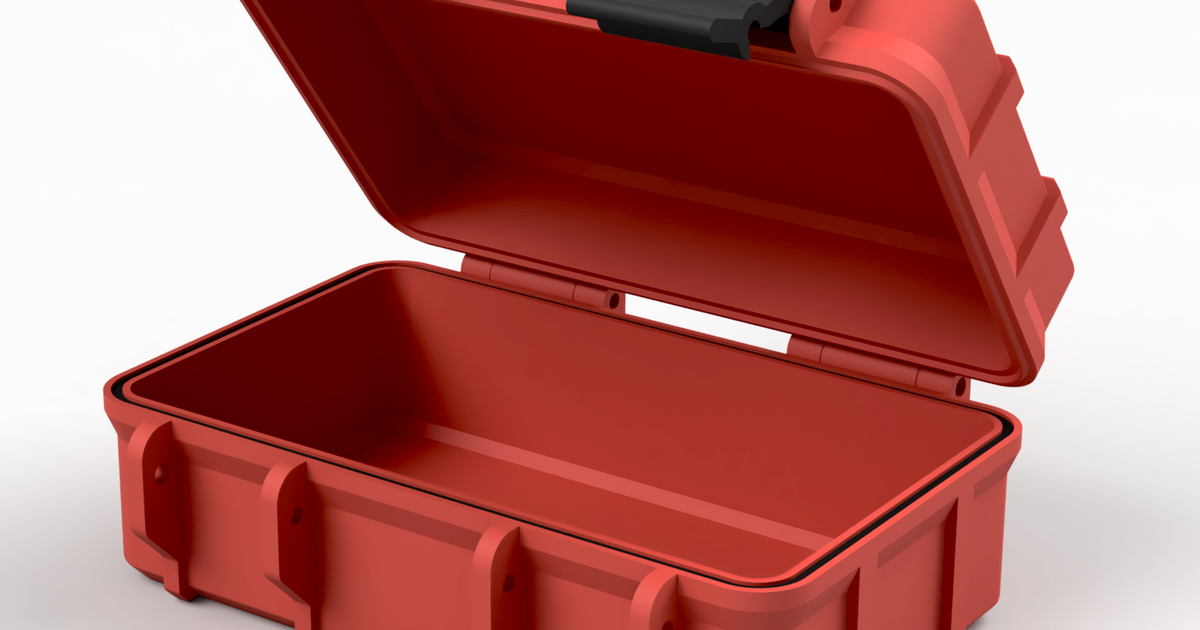
Designed for the Logitech G502 Lightspeed Wireless Mouse and to be fitted with the molded cardboard insert from the original box's packaging (see photos).
You can print a standard or an extended version. The extended has room for the insert to fold out and add more storage underneath for the mouse weights. I opted to print the standard version, trimming the insert's tabs since I don't use the weights and I prefer a slimmer case.
Note: I have not tested the extended version for fitment. If you do print this, let me know your feedback.
Printing with logo:
Files are setup to print the logo and lid in two colours using one extruder. Refer to the 3mf or GCODE files to see alignment/settings. Tutorial on printing multi-colour first layers
Important: The alignment for Lid and Logo may be slightly off when brought into your slicer. Be sure to double check their alignment first before slicing and printing.
- Open 3mf file or import Lid_Logo and Logo STLs in slicer.
- Confirm alignment, then hide and slice each component separately.
- Print Logo.stl first at 0.2mm layer height with no skirt/brim.
- Change filament to new colour.
- Print Lid_Logo.stl with a 0.2mm layer height and 0.2mm z-hop travel distance.
I've updated the logo orientation so the latches are to the right of the logo instead of left (shown in the photos).
Print settings
Layer height: 0.2 mm
Walls: 2-3
Infill: 15%
Z-hop: 0.2mm (only for Lid_Logo.stl)
Printing on my Ender3v2 the hinge width tolerances were a tiny bit tight at 0.25mm so it required a bit of sanding. YMMV, but you can also adjust this parameter from the working file included.
Optional to print the Seal file, if you do, print this in flexible TPU.
Hardware
| 6 x M3x20mm screws |
I'd suggest button or socket hex screws. Avoid using countersunk screws, as this can break the screw-holes (unless you modify the model).
You can re-use the foam pad from the original box packaging to protect the top of the mouse from the inside of the lid as an option for more protection.
Working file
I've included the parametric f3D file for the standard size if you wish to modify screw size, height, hinge width tolerances, etc.
Standard combined inner height = 45mm
Extended combined inner height = 65mm
To change parameters in Fusion 360, go to Modify > Change Parameters