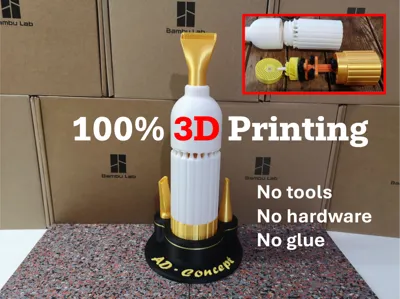
Mini Vacuum Cleaner - 100% 3D Print - no hardware


Print Profile(10)


Description
16/01/2026 - Update of all print profiles: modification of grid part to facilitate printing
07/02/2026 - Added flat-printed screw print profiles for those who had breakage issues with this screw
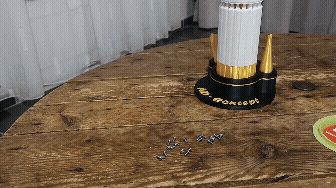
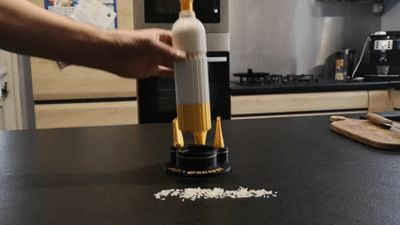
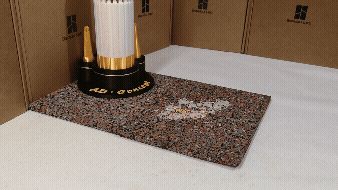
Hello everyone, I am happy to present my latest model, once again, it is a 100% 3D Printed project, even the tools needed for assembly are printed, you will only need your printer and half a spool of PLA. This desktop vacuum cleaner is fully functional, I created it mainly to clean the bottom of my P1S printer from all those small plastic residues that you cannot reach with your fingers. You can also clean your desk, your table, your computer keyboard or the snack crumbs left by your children on your seat or sofa. No power outlet needed, no need to charge it before use, no electric screwdriver needed to make it run, its operation is purely manual.
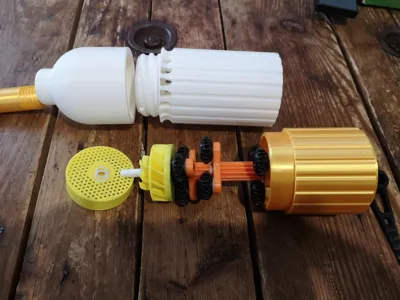
How it works: This vacuum cleaner works by rotating the lower part of the handle clockwise, this rotation drives a 3-stage planetary gear multiplier (with a 1/64 ratio) ending in a suction turbine. You will find several suction nozzles with different shapes that will adapt to your use. The nozzles are simply screwed onto the vacuum's nose. The vacuumed waste is retained by a grid so as not to pass into the turbine or the mechanism, and an internal tube prevents waste from falling back out through the suction opening, regardless of the vacuum cleaner's position. To clean your vacuum cleaner, place it on its base (vertically) then open the nose (1/4 turn opening), the waste is collected in a small container and you just have to empty it into the trash.
Assembly: Assembly is quite simple and does not require any special mechanical skills as you can rely on the assembly instructions as well as the video: https://youtu.be/H1LxCRkTC8M . It is a mechanical assembly without glue, all parts are fixed by screwing (right-hand thread) and the only tools needed are also printed (a multi-tool with a 10mm wrench on one side, a flathead screwdriver on the other and a hole allowing the main rod to be held in its center). Lubrication is MANDATORY and your vacuum cleaner will not function optimally if it is not lubricated. Stacking washers allows components to be placed correctly while limiting friction; the number of stacked washers in the assembly instructions gives a good result, but if you find the assembly too tight or too loose, you can adjust the quantities +1 or -1. Furthermore, depending on the tolerances of each printer, there may be some variations.
Printing: This is not a very complex print, and everything is pre-configured in the print files which I encourage you to use; there are manual supports, variable layer heights, and specific parameters for each part. The use of AMS is not mandatory, and each part can be printed separately in the desired color. Only an arrow on the rotating handle and the text on the display stand are colored with the AMS. Bambu PLA works perfectly, but as it is a simple print, you can use the material of your choice. The screws that fix the planetary gears are the fuses of the mechanism: if there is a blockage, they are the ones that will break, so if your PLA is of poor quality, they will not have sufficient resistance for durable use (mine are in Bambu Lab PLA). If you have any doubt about your PLA, print them in PETG or ABS to limit the risk. Finally, poor print quality is the primary cause of failure in mechanical assemblies; ensure the quality of each part by checking them during assembly, clean them or reprint them if necessary (no print defects + no support residue = successful assembly = happy user = lots of stars and lots of Boosts = happy creator too...).
The design process was long and fraught with pitfalls, and even though I offer you the most efficient and simplest configuration to print, I'm leaving you on the last plate with some prototype parts that deserve their place in your assembly... You will find the necessary parts for adding a multiplier stage (4 stages in total); the turbine spins faster, but the effort required is also greater. This assembly seems less practical for daily use and requires perfect lubrication and assembly + printing the screws in ABS. You will also find a more efficient turbine that is also a bit more difficult to print; it is in two parts and prints without supports (turbine 8.1+gear 12D turb7), your vacuum cleaner will have better suction. This turbine is accompanied by a finer grid that will allow for better filtration. Finally, you also have a thinner flat nozzle; the airflow is faster, but it is more prone to blockages, so print according to your needs.
HAVE FUN!
Feel free to check out my new models: https://makerworld.com/fr/models/2238342-wind-up-car-hot-rod-wind-up-mechanism#profileId-2436133
Boost Me (for free)
Allow me to vacuum up your boosts. Thank you in advance.
Documentation (1)
License
You shall not share, sub-license, sell, rent, host, transfer, or distribute in any way the digital or 3D printed versions of this object, nor any other derivative work of this object in its digital or physical format (including - but not limited to - remixes of this object, and hosting on other digital platforms). The objects may not be used without permission in any way whatsoever in which you charge money, or collect fees.
Comment & Rating (335)