
Turtle keyring
Print Profile(1)

Bill of Materials


- Glue x 1:
Description
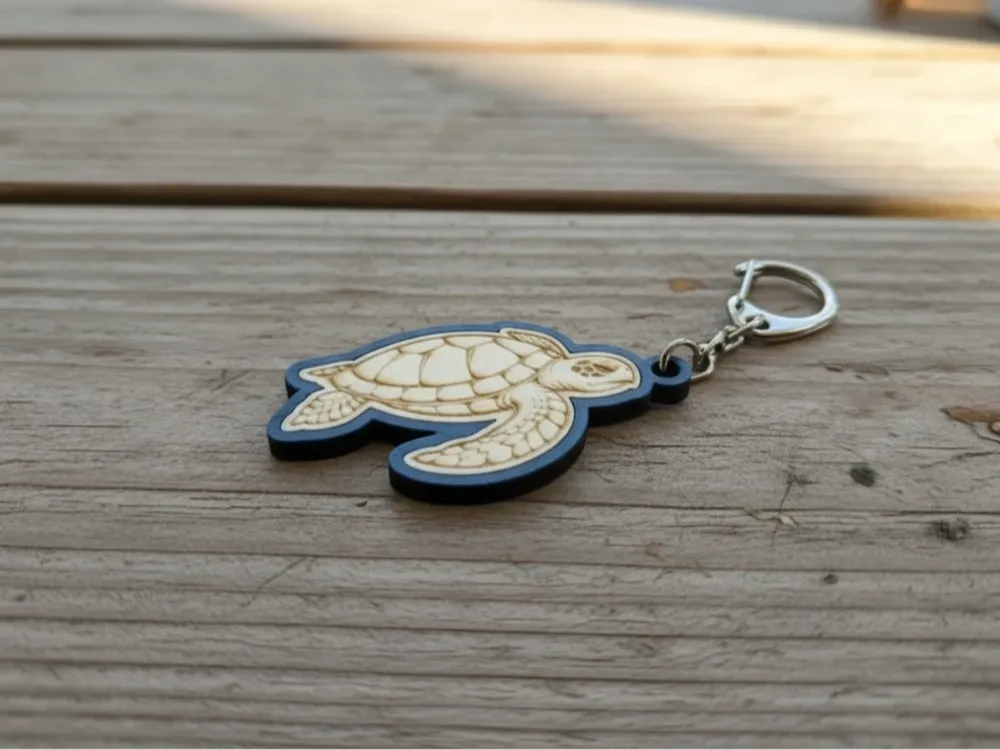
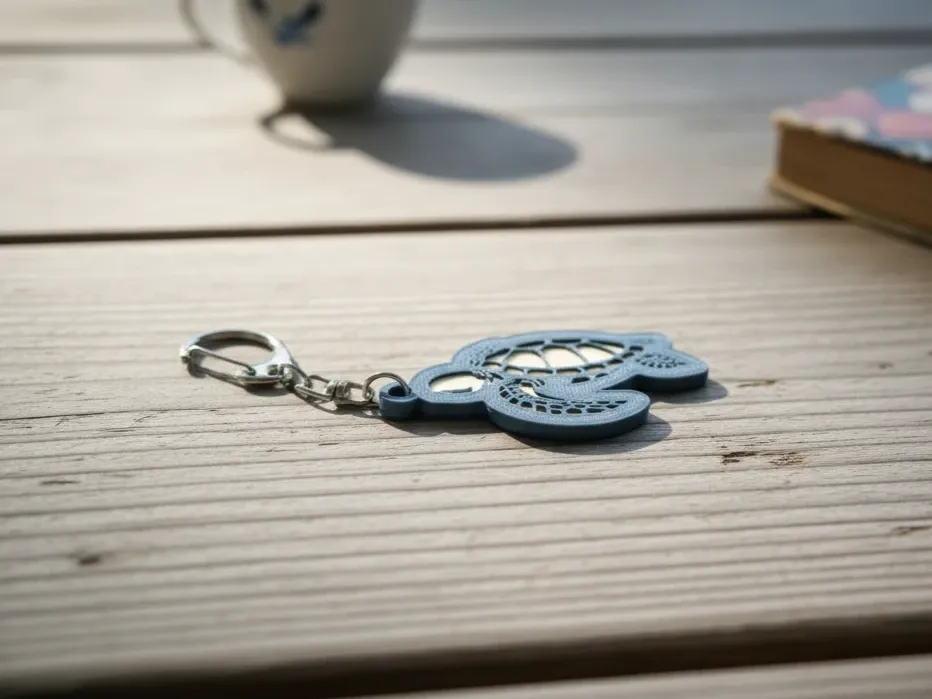
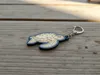
A two part turtle style keyring.
It features a laser cut and engraved turtle model which is inserted in a 3D printed perimeter shell with the back having a turtle design.
The design is easy to make and assemble.
To assemble the design, I recommend you apply a thin and uniform coat of glue to the back of the laser cut model. Then insert it in to the 3D printed shell.
Wait for the glue to dry and add a keyring.
I recommend using a 2 part epoxy that cures transparent. Other glue types may also work.
Laser cut and engrave the turtle insert.
3D print the part. Be careful when handling due to small features.
Apply glue to the back side (non engraved side) of the laser cut insert.
Make sure the glue is uniformly applied so it will look nice.
Press in the laser cut part in to the 3D printer part. It should fit snugly without much force.
Press over the whole area so all of the small features on the 3D printed part will be glued.
Add a key ring through the hole in the 3D printed part.
License

You shall not share, sub-license, sell, rent, host, transfer, or distribute in any way the digital or 3D printed versions of this object, nor any other derivative work of this object in its digital or physical format (including - but not limited to - remixes of this object, and hosting on other digital platforms). The objects may not be used without permission in any way whatsoever in which you charge money, or collect fees.


Comment & Rating (1)