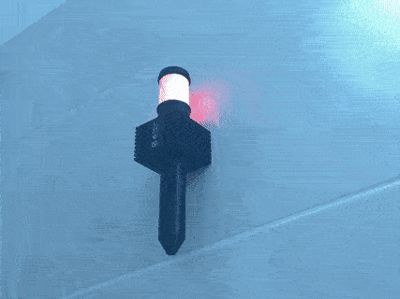
Lithophane Hotend Torch [RGB Remote Compatible]


Print Profile(1)

Bill of Materials


Description
Boost Me (for free)
If you like the model, please support my efforts with a boost, like, or even a comment with your printed version.
Thank you!
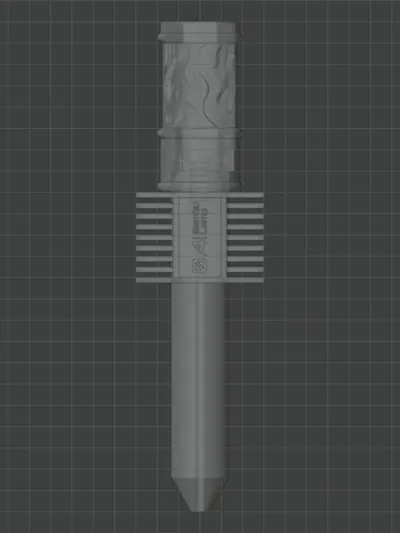
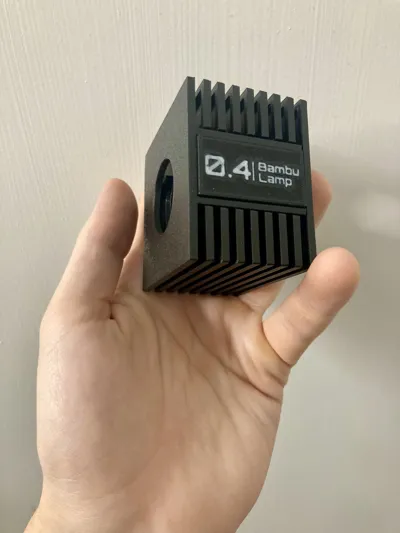
This is my entry for the torch design contest, inspired by the bambu lab hotend :D (the 0.4 here means 0.4 cm, and yes, the bottom hole is indeed 0.4 cm)
I believe this is the most over-engineered cylinder, but I learnt a lot from modelling this about joining parts, and managing clearances, blender features, print efficiency and many other things. I hope you will enjoy the assembly as much as I enjoyed the creation.
UPDATES
[2026-01-01] I added a different cap filler part, so the cap goes on easier.
Assembly Instructions
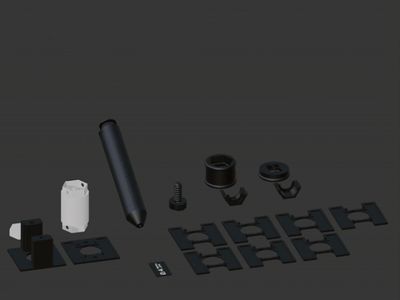
Step 0 - Collect necessary parts
You will need all the printed opaque (printed in yellow for better demonstrations) parts, all the translucent parts (white) and an RGB tea light from the Bambu Store.

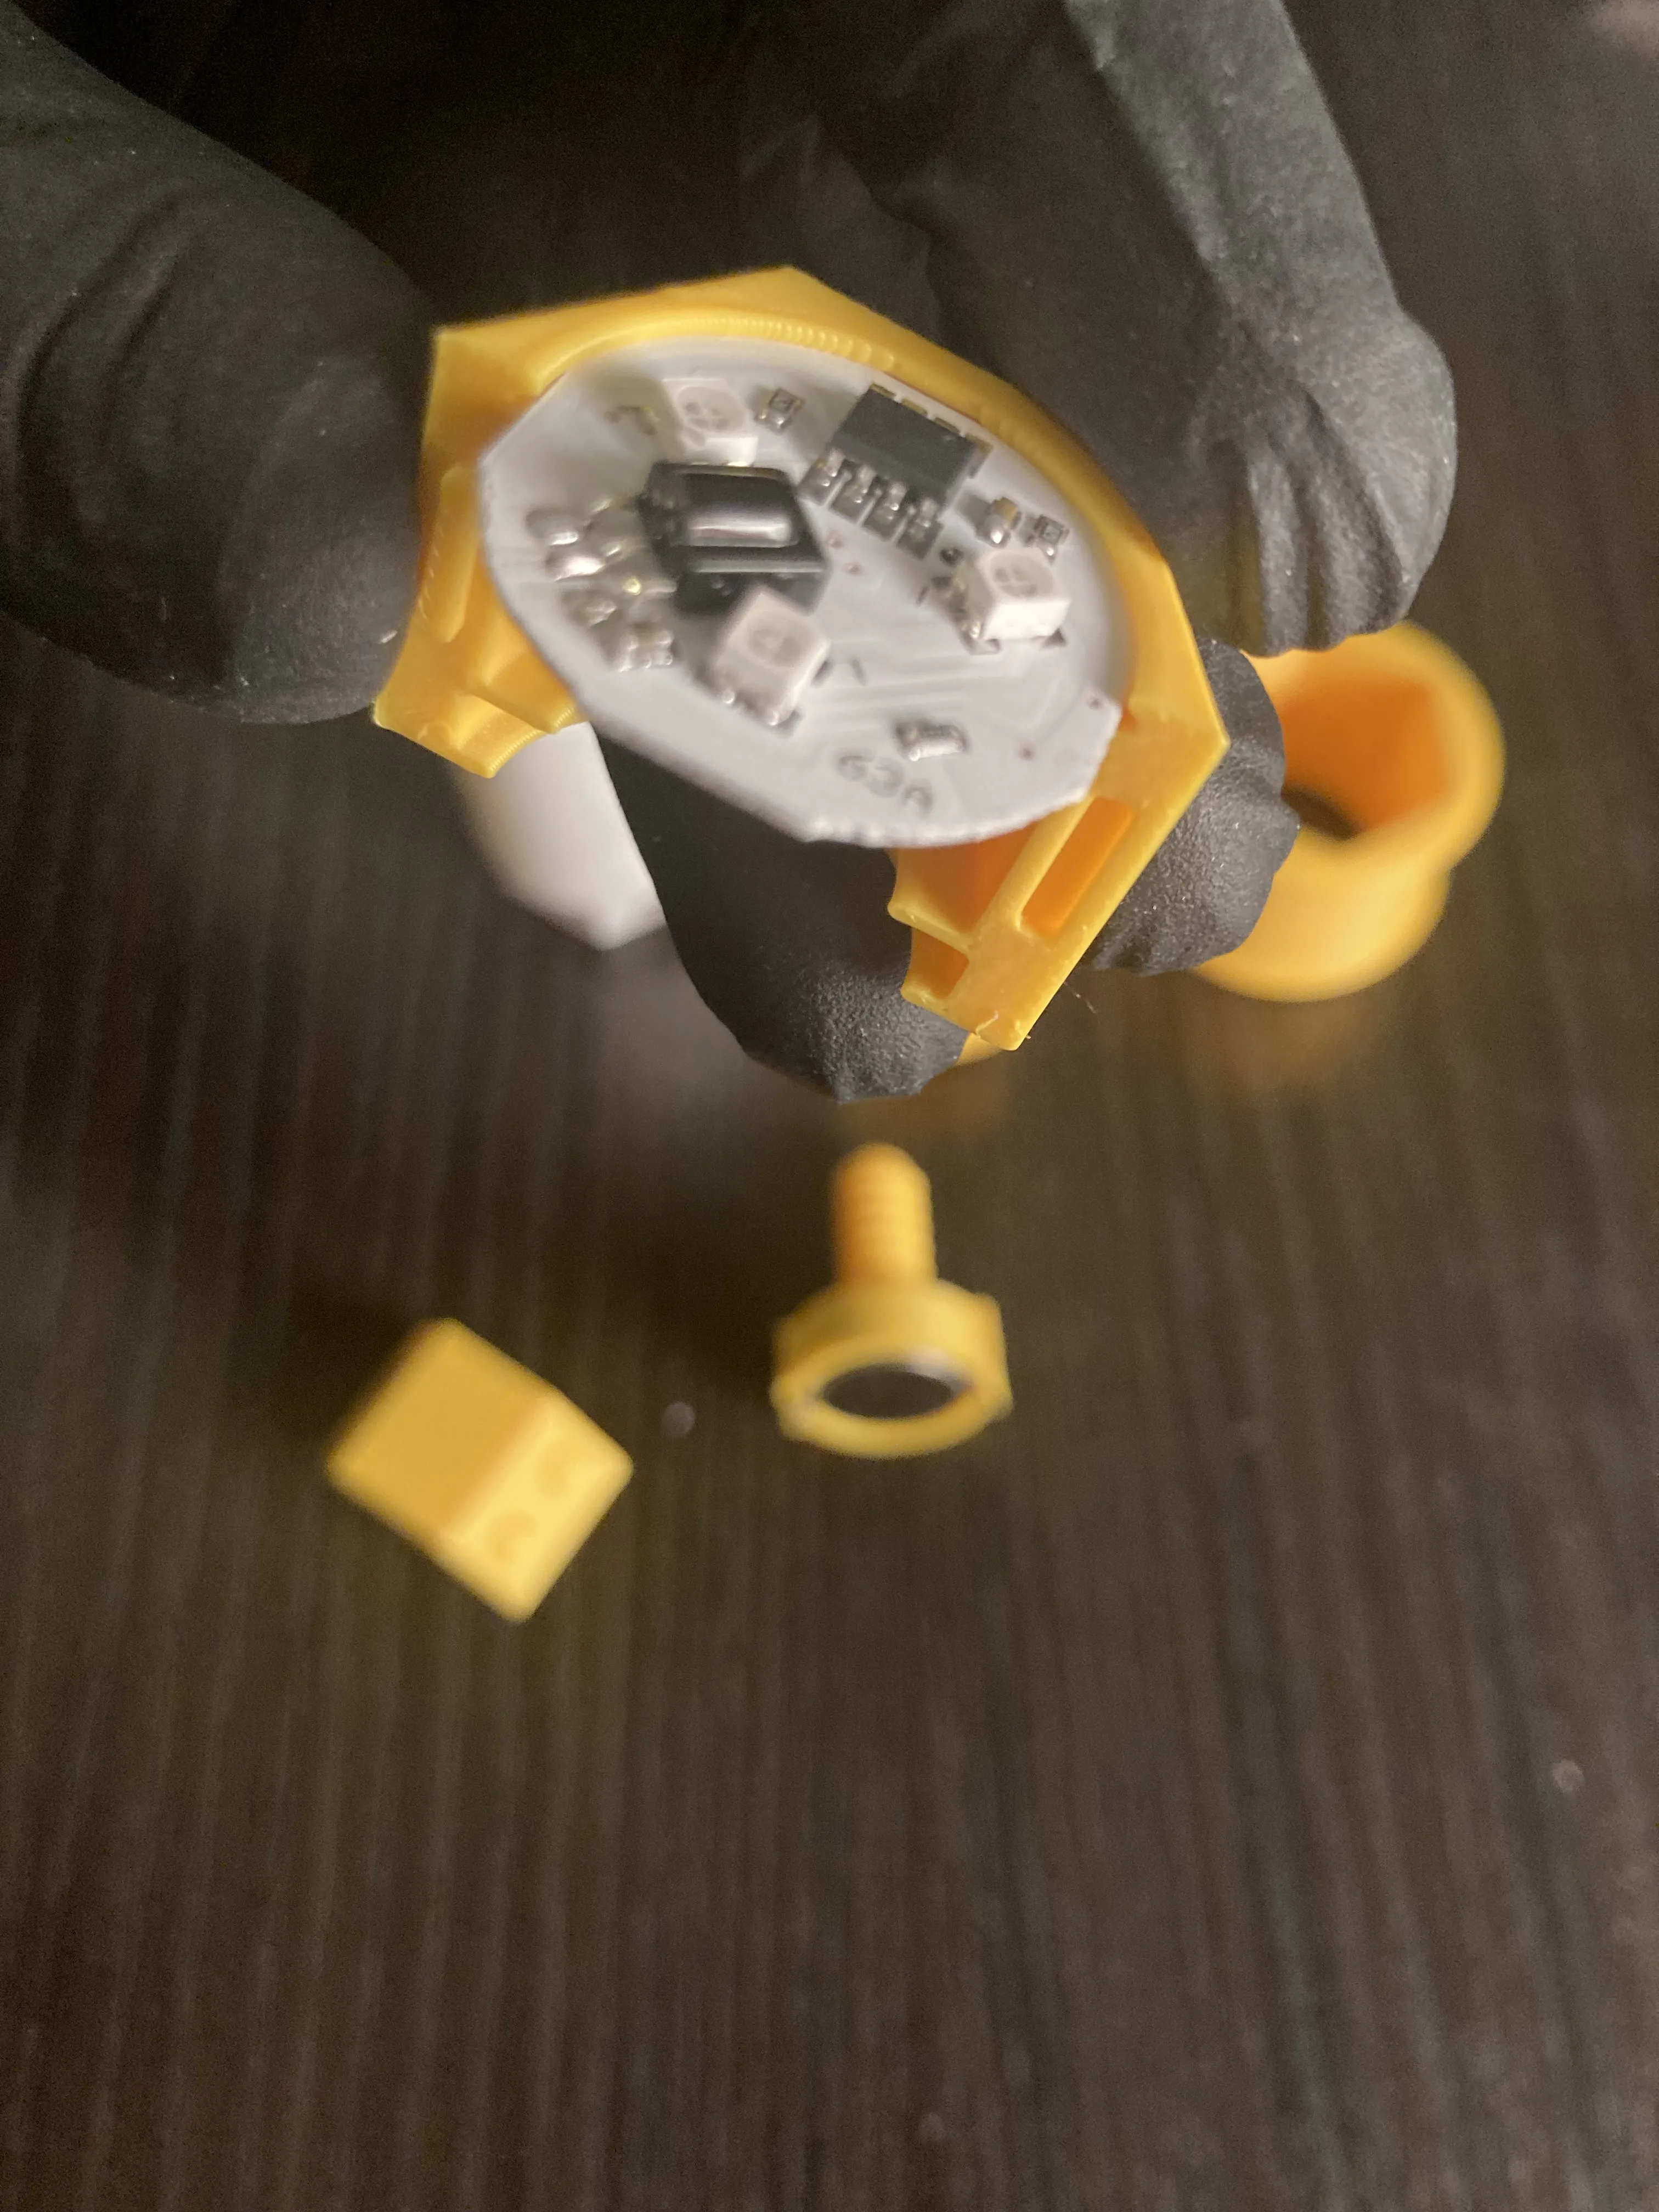
Step 1 - Take apart the tea light
You will need the LED panel, the batteries, and the metal plate. The plastic shell will not be used.
Step 2 - Insert the metal plate into the part
The metal plate should fit the part snugly.

Step 3 - Insert the batteries into the part
The batteries should fit the part snugly.

Step 4 - Insert the LED panel into one of the half parts
The LED panel should fit the part snugly. This step is interchangeable with step 6.
Step 5 - Screw in the battery holder part to the handle part
The parts should fit comfortably.

Step 6 - Place the the handle part into the core part
The parts should fit comfortably. This step is interchangeable with step 4.

Step 7 - Connect the two halves of the core part
The halves should snap in place, and hold.

Step 8 - Slide on the LED cover
One end of the two hexagonal ends of the cover is longer than the other, the one that was the top during printing. That should fit the core part snugly. If unsure, do step 10 first, to identify which end to use.
There are two possible ways to orient the cover. I recommend turning the handle in a way that the LED circuit is not connected, and orient the handle's seam line between two pairs of circles. Then side on the cover in a way that the seam lines align.
Later I'd recommend the complete opposite, so when the handle is twisted, to turn on the LED, only then would the seam lines align, but for the first assembly, it is easier to follow this way.

Step 9 - Slide on the ring part
Slide the ring up along the handle, align the seam lines, and the ring should snap in place, and fit snugly.

Step 10 - Insert the cop cover
If you did step 8 correctly, you can insert the cover part to the shorter end of the LED cover. They should fit snugly, and be perfectly in line.

Step 11 - Slide on the top lid
Slide on the top lid by aligning the seam lines one last time. The parts should fit very snugly.

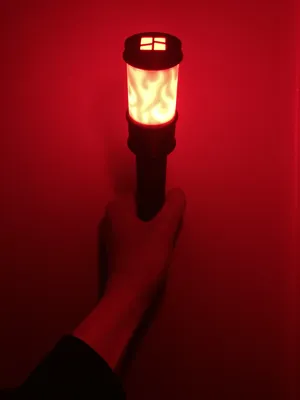
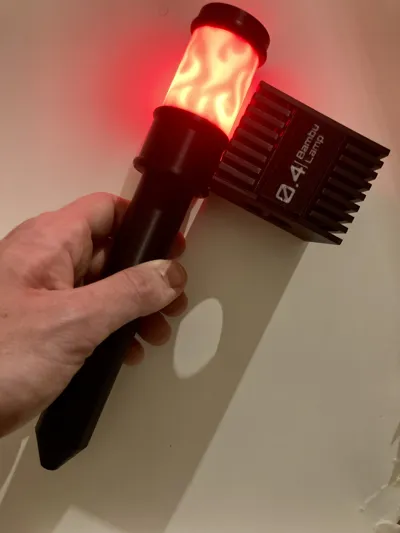
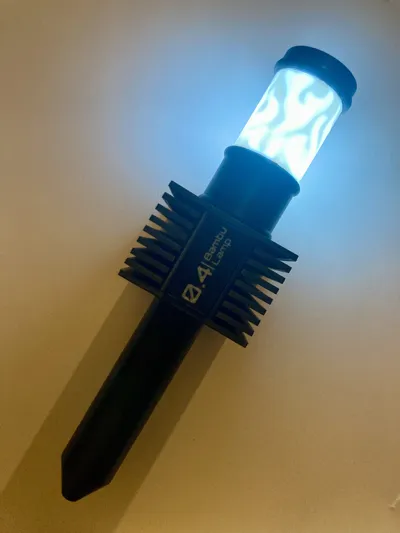
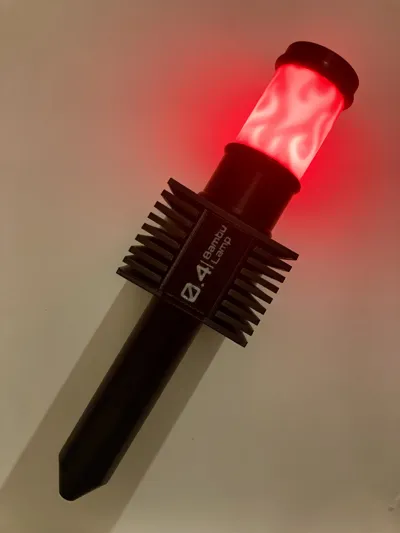
Step 12 - Turn on the torch by twisting the handle

If you read this far, please do consider showing support for this model.
Thank you!
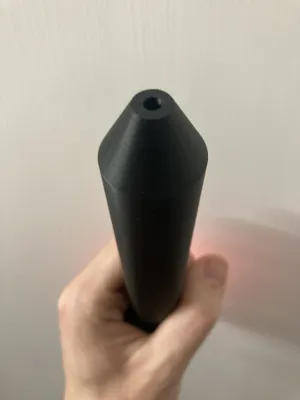
P.S.: here is a picture of the result of all the trial and error, as well as a black handle missing it's last 2 centimeters because I ran out of black PLA :'D


License
You shall not share, sub-license, sell, rent, host, transfer, or distribute in any way the digital or 3D printed versions of this object, nor any other derivative work of this object in its digital or physical format (including - but not limited to - remixes of this object, and hosting on other digital platforms). The objects may not be used without permission in any way whatsoever in which you charge money, or collect fees.
Comment & Rating (0)