
Memorial Christmas Snowflake (Laser Outer part)
Print Profile(1)

Bill of Materials
- glitter x 1:
Description
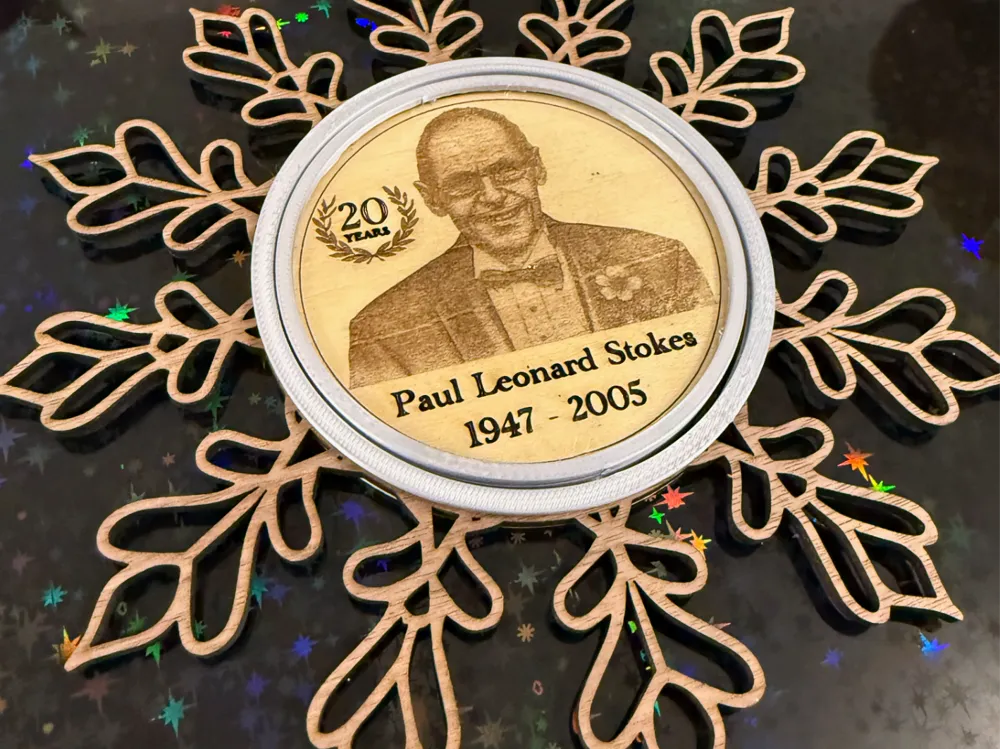
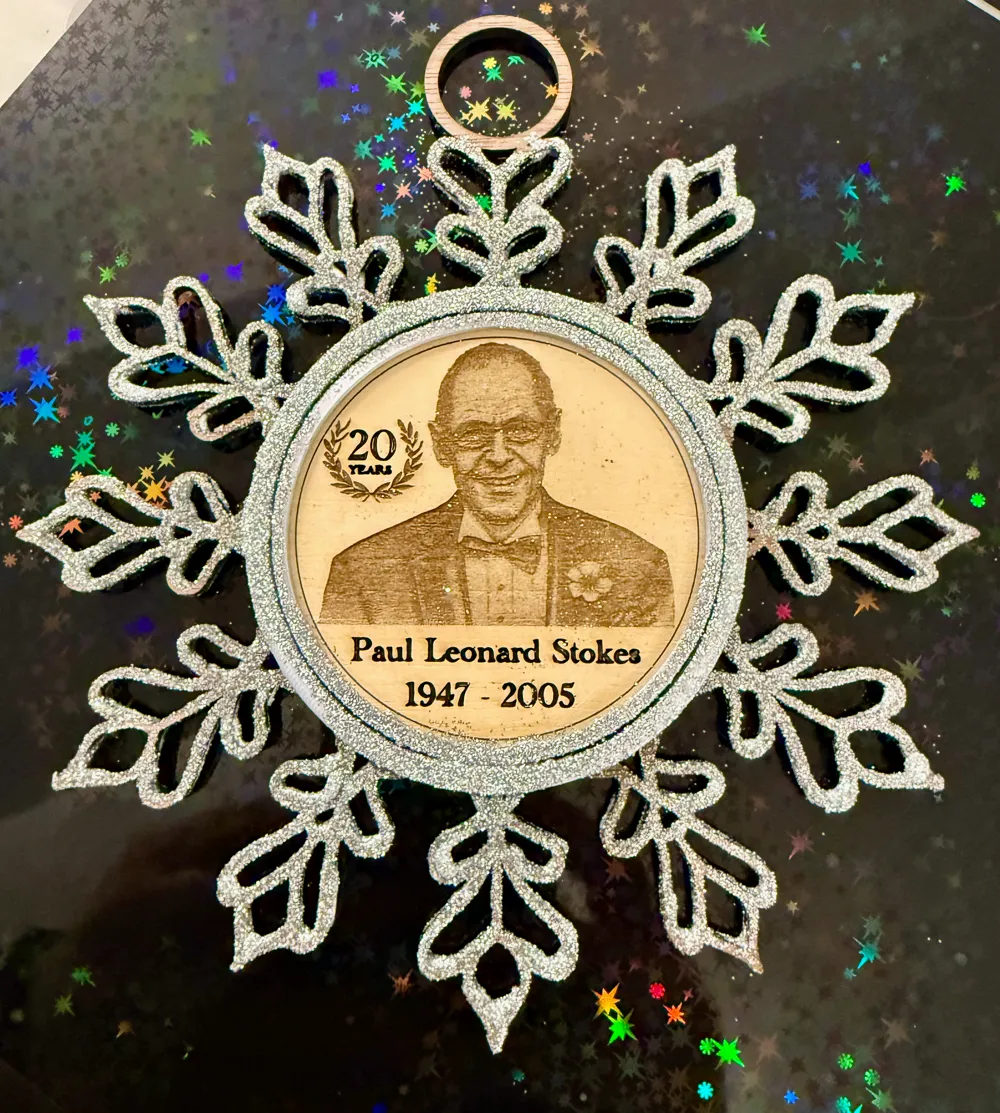
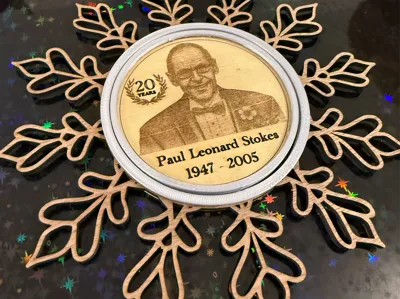
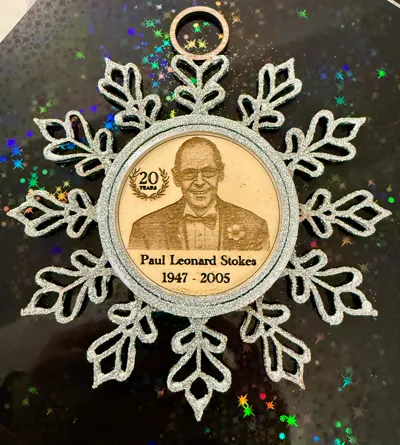
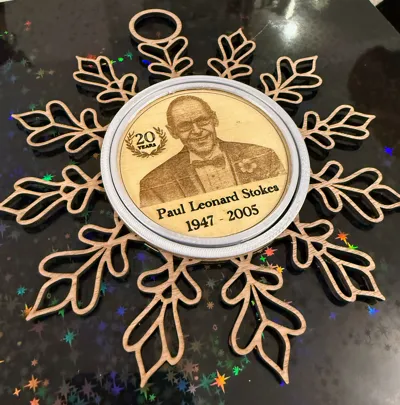
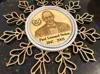
🎄 20-Year Memorial Christmas Snowflake Ornament (Laser + 3D Print)
This Christmas marks 20 years since my dad passed away, and I wanted to make something meaningful for my sisters to hang on their trees. Rather than buying something, I decided to design and make a personalised ornament myself.
I’ve only had my first 3D printer for a few weeks, but I’ve already become slightly addicted 😄 — and this felt like the perfect project to really explore what the H2D can do beyond basic prints.
✨ Design Concept
The ornament is a print-in-place, rotating centre snowflake that combines:
- 3D printing (structure + rotating mechanism)
- Laser cutting (wooden snowflake)
- Laser engraving (memorial centre disc)
I could have made the whole thing in plastic, but I wanted to:
- Test both the laser and printer functions
- Combine materials
- Push myself a bit creatively
🔧 How It Was Made
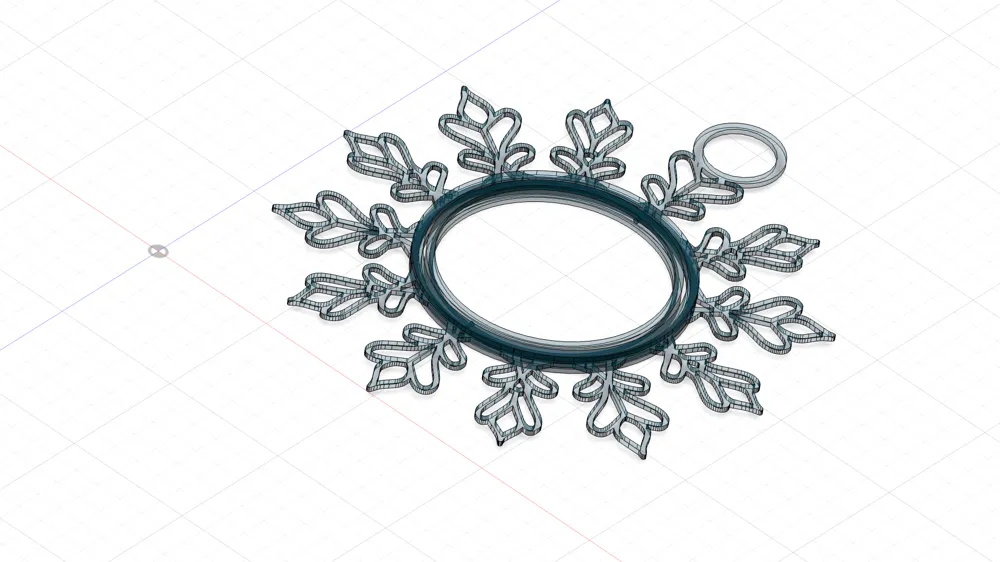
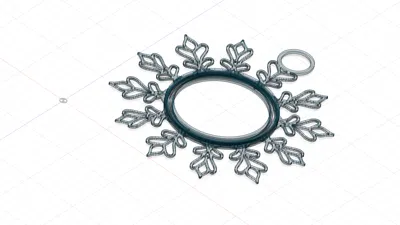
- Designed the rotating centre and frame in Fusion 360
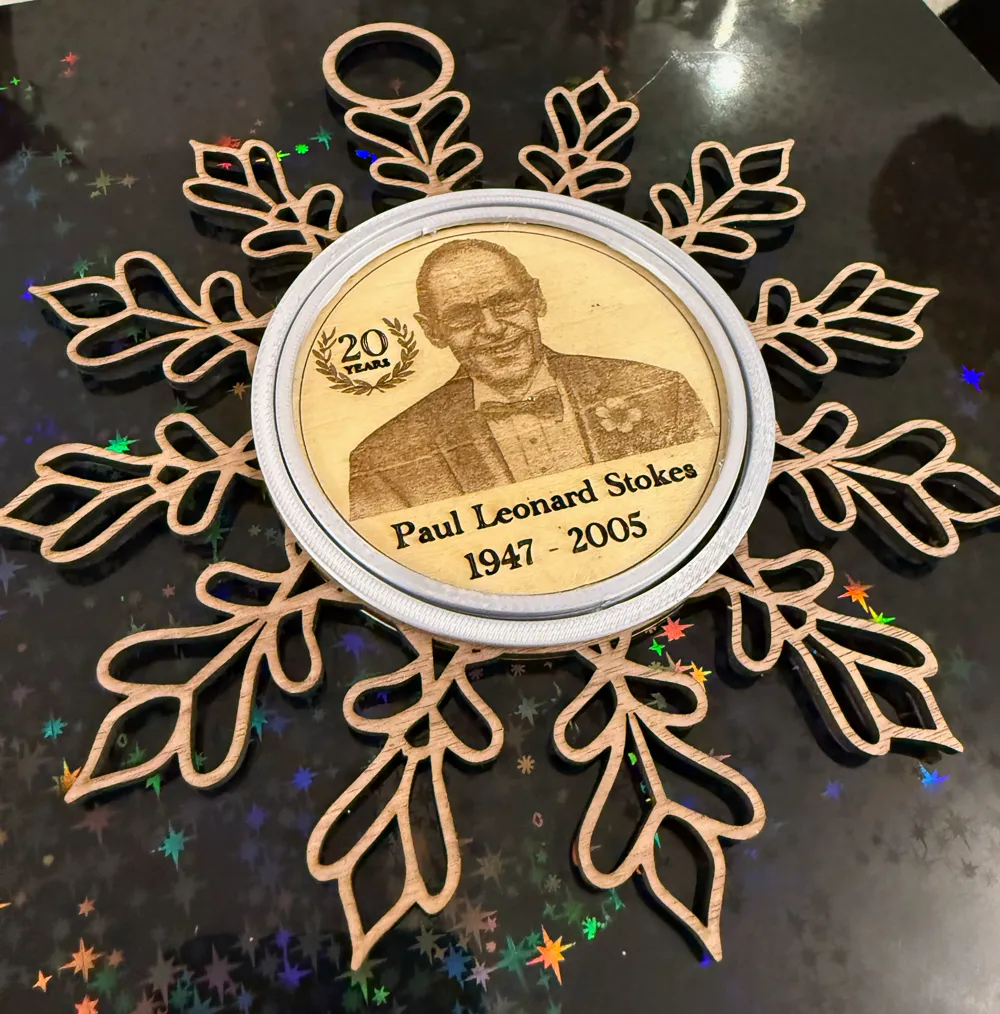
- Laser cut the snowflake from walnut
- Laser engraved the centre disc
- Started the 3D print and paused at ~layer 30
- Inserted the engraved disc and wooden snowflake
- Resumed the print to lock everything in place
The printer did create a couple of loose strands during the pause, but I carefully tucked them back with tweezers. On the next pass, the printer cleaned them up without issue.
Once finished, the structure is solid, and the centre disc rotates freely.
🧵 Materials Used
- Silk PLA for the printed parts
- Walnut for the laser-cut snowflake
- Glitter finish (personal choice — the wood also looks great without it)
I still need to add some ribbon, but overall I’m really pleased with how it turned out.
💡 Sharing the Design
I’m sharing this design in case anyone:
- Wants to make their own memorial or keepsake ornament
- Is experimenting with print-pause-insert techniques
- Wants to improve or remix the design
If you build on it or refine it, I’d love to see what you do with it.
Thanks for taking a look — and happy making ❤️
I designed the full ornament in Fusion 360.
- The outer frame and rotating mechanism were modelled as a print-in-place design
- The inner disc was designed as a separate part
- The inner disc diameter was set to 75 mm
- I also generated a 2D drawing for the outer wooden snowflake so it could be laser cut
The tolerances are designed so the centre disc can rotate freely once the print is complete.
Before committing to the final material, I did some test cuts:
- Cut 75 mm discs from bassawood plywood
- Used these tests to:
- Verify sizing
- Tune laser engraving settings
- Avoid wasting walnut
Note:
Bassawood plywood engraved much more cleanly and predictably, making it ideal for testing photo engraves.
For the final version, I switched to dark walnut.
- Laser cut:
- The snowflake
- The 75 mm centre disc
⚠️ Laser material note:
Compared to bassawood plywood, walnut engraves deeper rather than marking the surface. This reduced fine detail and made the image less visible, especially for facial features.
If repeating the project, I’d either:
- Reduce laser power further for walnut
- Or use lighter wood for photo-style engraving
To engrave the image:
- Converted the photo into a sketch
- Imported the sketch into Bambu Studio
- Aligned the engraving with the wooden disc
- Adjusted laser settings to darken the image
- Used trial and error to achieve the final result
✅ Recommendation:
Create a laser calibration sheet before engraving the final part — it significantly improves consistency and results.
Once the wooden components were complete:
- Started the 3D print using PLA Silk+
- Paused the print at approximately layer 30
- Inserted:
- The engraved wooden centre disc
- The laser-cut wooden snowflake
- Resumed the print to finish the model
Some minor stringing occurred after resuming. This was easily managed by tucking strands away with tweezers, and the printer cleaned them up on the next pass.
After printing:
- The structure is rigid and secure
- The centre disc rotates freely through 360°
- No assembly required — fully print-in-place
- Added glitter to the snowflake (optional)
- The walnut finish also looks great without it
- Ribbon or hook can be added as desired
- Bassawood plywood is excellent for testing engraves
- Dark woods require lower power for detailed images
- Laser calibration sheets are worth the effort
- Pause-and-insert prints need patience but work well
- Tweezers help when resuming prints 😄
License



Comment & Rating (0)