
Sci-fi Torch
Print Profile(1)

Description
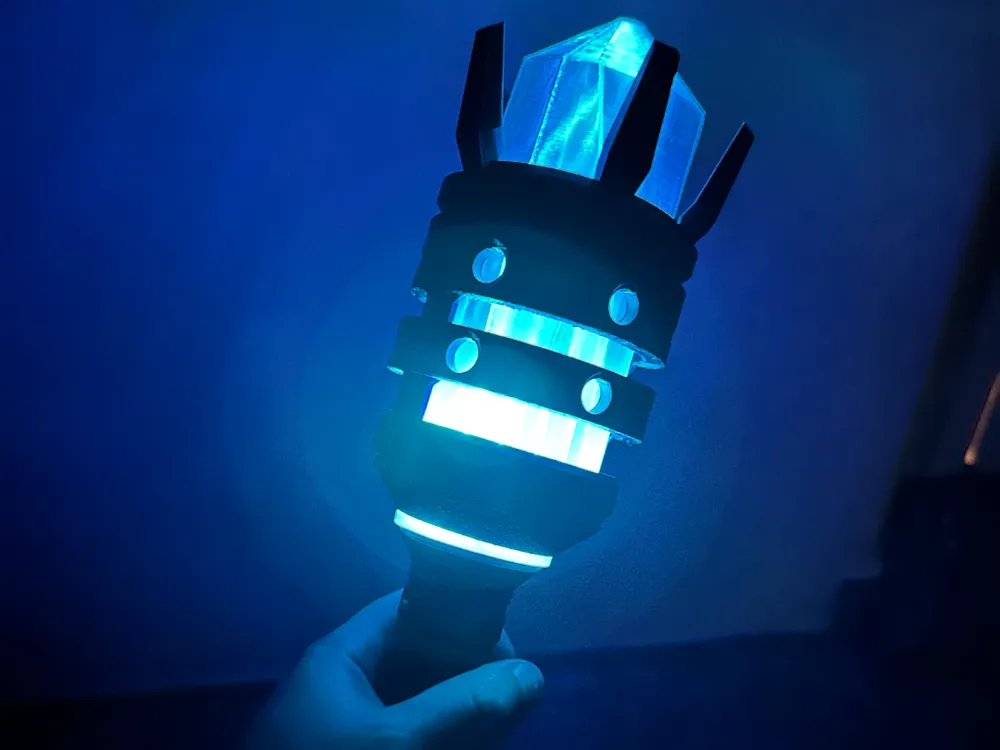
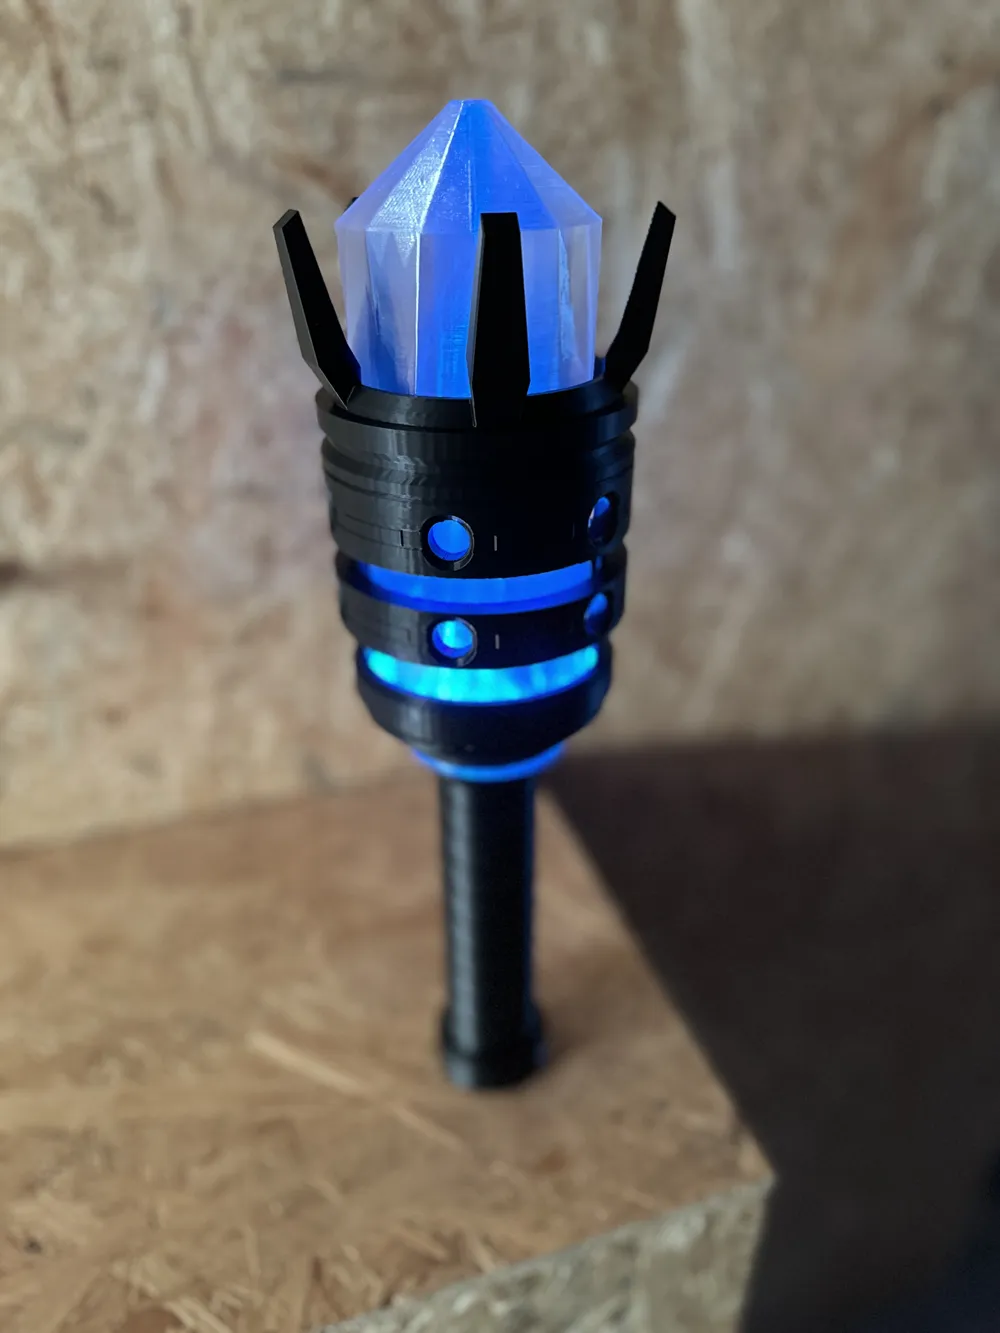
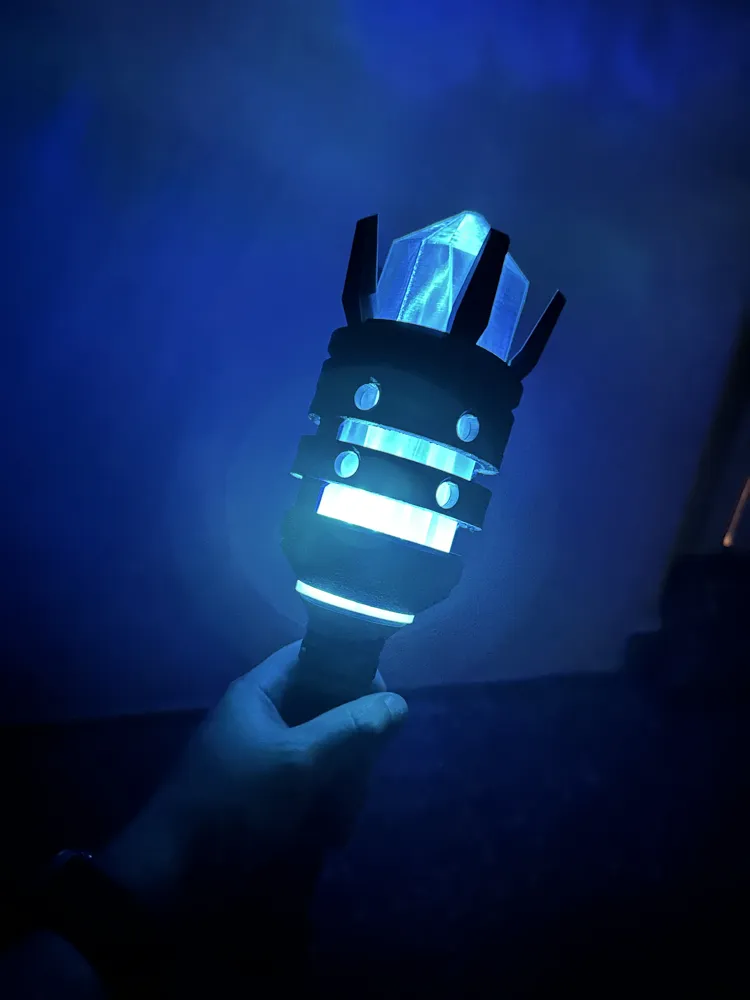
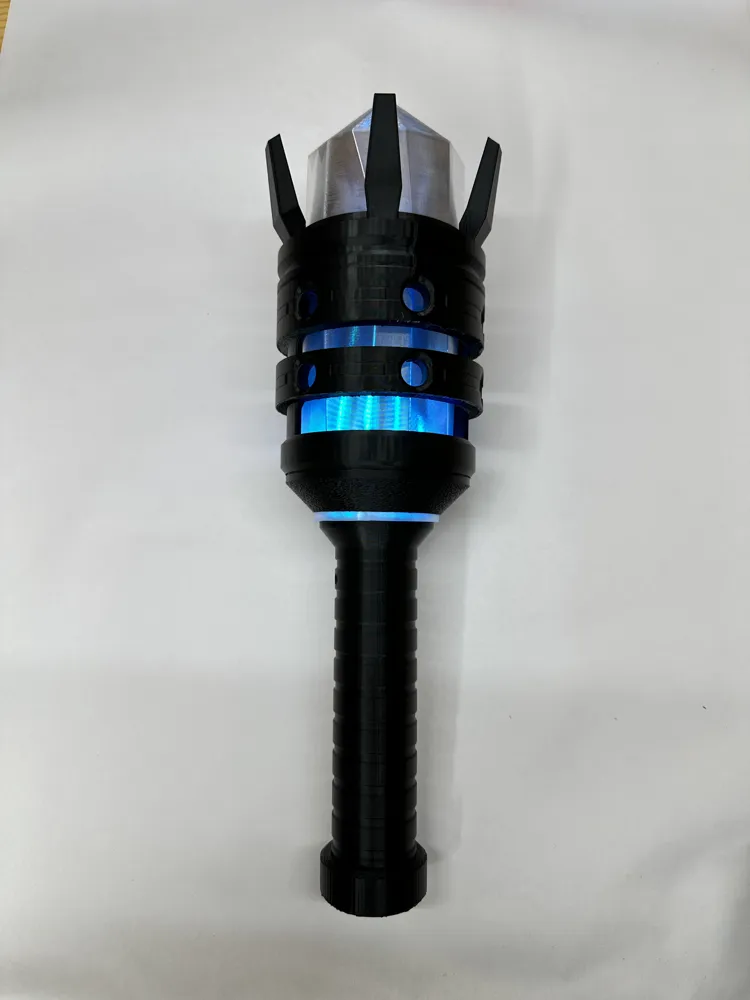
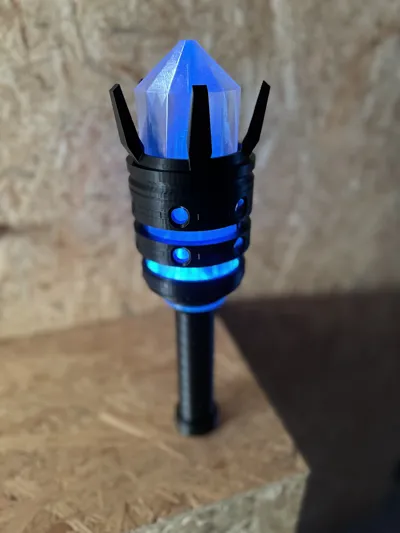
🔥 Sci-Fi Crystal Torch – Fully Programmable RGB Torch with WS2812 & ESP32-C3
Bring cinematic sci-fi energy straight into your hands.

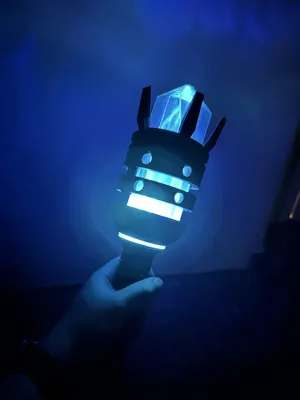
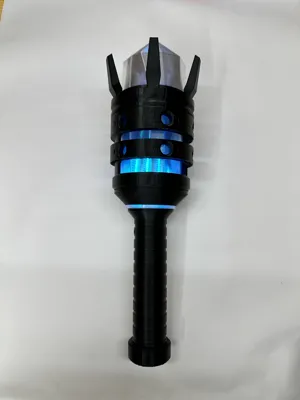
This 3D-printed torch uses a crystal-shaped PETG diffuser, internal RGB LEDs, a microcontroller, and several animated lighting modes triggered by a single button.
Everything is compact, hand-held, and fully self-contained.
This model was designed as an entry for the MakerWorld Torch Design Contest.
✨ Features
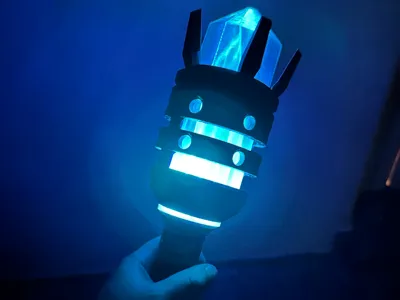
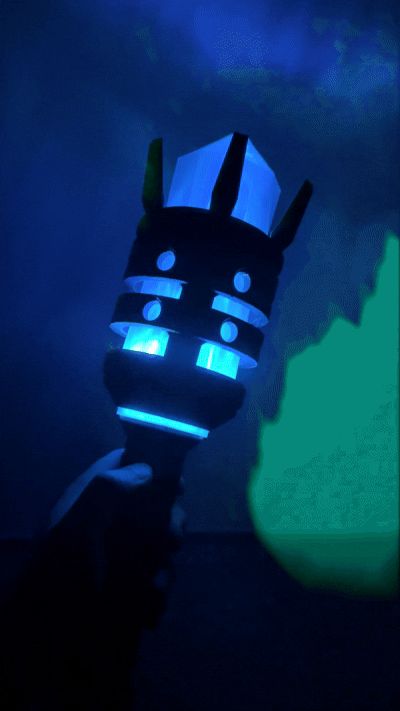
- Dynamic core-reactor effect (blue–cyan or green palette).
- Single click → Power Surge + Final Flash (energy boost effect).
- Double click → Switch color palette (blue/cyan ↔ green/teal).
- Long press (2s) → Power ON / OFF.
- Smooth animations using HSV gradients, shimmer, and traveling wave effects.
- Compact LED chamber + crystal diffuser for strong internal glow.
- Uses standard, easy-to-source electronics.
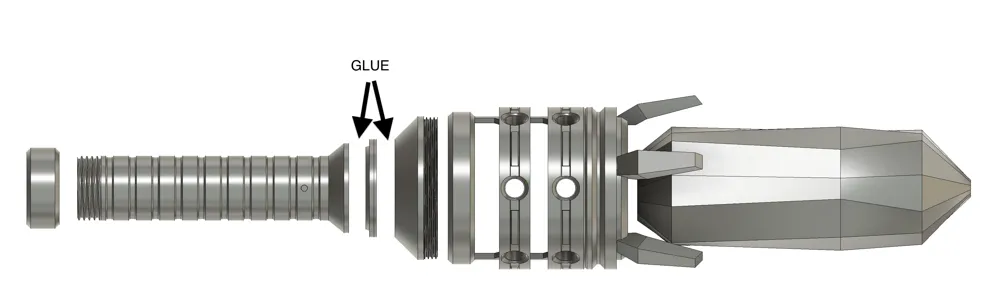
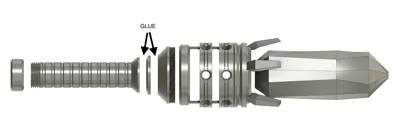
🧩 Parts Included in This Model (6 pieces)
From the back to the front:
- End Cap
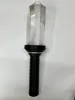
- Handle (Grip)
- Tapered Transition Cone
- Inner Light Diffuser Plate (glued)
- Front Diffuser Cover / LED Chamber Cover (glued)
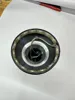
- Crystal Core (Energy Crystal Diffuser)
- Buttom
All parts are optimized for FDM printing. PETG or PLA is recommended.
🔌 Required Electronics
You will need the following components:
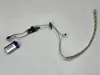
Main electronics
- ESP32-C3 SuperMini (or any ESP32-C3 devboard with USB-C)
- WS2812B / NeoPixel LED strip – 15 LEDs
- Momentary push button (NO type, connected to GND)
Power
- 9V battery
- 9V battery clip/connector
- DC-DC Buck Converter 9V → 5V (any reliable step-down module)
- Built-in capacitors on your regulator (you already use 2×220µF)
- Optional but recommended: 220–470 µF electrolytic capacitor right at the LED strip input
- 0.1 µF ceramic capacitor at LED +5V input
- 330 Ω resistor in series with DIN of the LEDs
Wiring overview
- LED DIN → ESP32 Pin 7
- Button → ESP32 Pin 4 (with internal INPUT_PULLUP)
- LED 5V/GND → from the buck converter
- ESP32 5V/GND → same buck converter
- Common ground for all components
🛠️ Assembly Instructions
Step 1 – Print All Parts
Recommended:
- Handle & structural parts: PLA or PETG
- Crystal: transparent PETG for the best light scattering
- Diffuser plates: transparent PETG
Layer height ~0.2 mm, 3 perimeters for strength.
Step 2 – Install Electronics in the Handle
- Insert the ESP32-C3 SuperMini into the handle cavity.
- Route the button wires to the small side hole.
- Mount the button flush inside the grip wall.
- Place the buck converter behind the ESP32.
- Solder:
- 9V battery → buck converter IN
- 5V OUT → ESP32 5V + LED strip VCC
- GND together (ESP + LEDs + converter)
- LED DIN → 330 Ω → ESP32 pin 7
Cable-manage everything so nothing blocks the diffuser area.
Step 3 – Assemble the LED Chamber
- Cut your WS2812 strip to 15 LEDs.
- Place the strip inside the cylindrical chamber section.
- Add the 220–470 µF capacitor (parallel to 5V and GND) near the first LED.
- Check polarity carefully.
Step 4 – Glue the Diffusers
Use superglue or epoxy:
- Glue the Inner Diffuser Plate onto the taper adapter (arrow “GLUE”).
- Glue the Front Diffuser / LED Chamber Cover as shown.
Make sure glue does NOT overflow into the LED space.
Step 5 – Install the Crystal Core
Slide the Crystal Core onto the front diffuser cover.
If tolerances are snug, you may not need glue.
Step 6 – Close the Handle
Once everything works:
- Insert the 9V battery
- Screw the End Cap in place
- Test modes using the button.
You should now see the full sci-fi energy effect glowing through the crystal.
💻 Firmware
A ready-to-use program is included in the project attachments.
It supports:
- Base reactor effect
- Surge → Final Flash
- Double-click palette switch
- Long-press ON/OFF
- Smooth transitions
- Gamma-corrected HSV lighting
Simply flash it onto your ESP32-C3 using Arduino IDE.
🔧 How to Upload the Code (ESP32-C3 SuperMini)
- Install ESP32 board support in Arduino IDE.
- Select:
- Board: ESP32C3 Dev Module
- USB CDC On Boot: Enabled
- Port: /dev/tty.usbmodem… (On Mac)
- Connect the board via USB-C.
- Click Upload.
- After flashing, the torch will start immediately.
📦 Print Settings Summary
- Filament: PLA or PETG
- Crystal: transparent PETG
- Layer height: 0.2 mm
- Perimeters: 3
- No supports needed (depending on printer)
❓ Questions / Support
If you have any questions about printing, wiring, or modifying the code — feel free to message me anytime.
I’m happy to help or customize the effect for your project!
Documentation (5)
License

You may create derivative works based on this object, provided that all such derivative works are published exclusively on the MakerWorld platform and include proper attribution to the original creator. You may not share, upload, host, distribute, or publish this object—or any derivative work of this object—on any other digital platform, marketplace, or distribution channel. Commercial use of this object and any derivative works is strictly prohibited. This includes, but is not limited to, selling, renting, sublicensing, or using the object in any context in which you receive monetary compensation or other financial benefits.


Comment & Rating (1)