


Print Profile(1)

Description
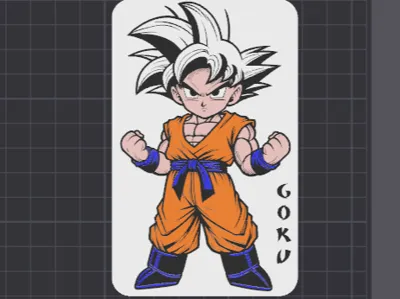
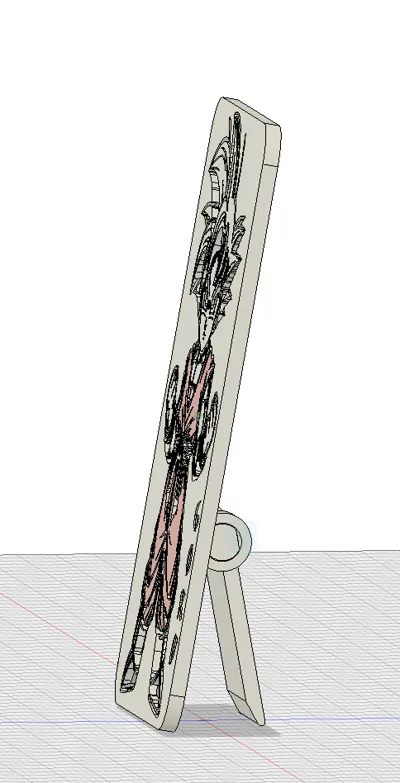
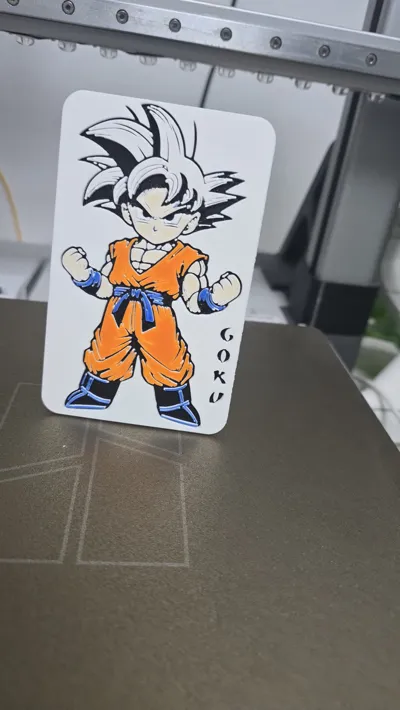
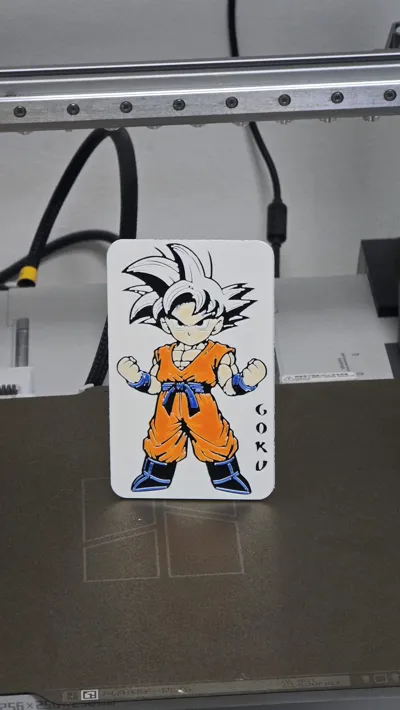
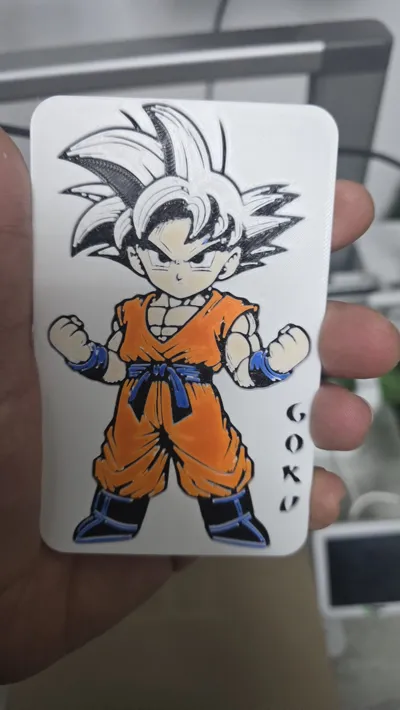
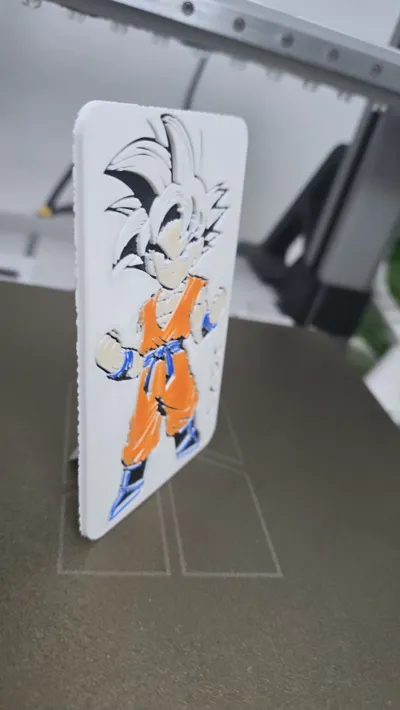
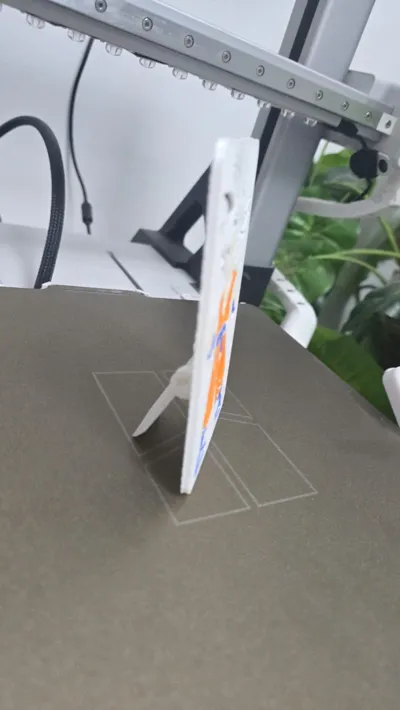
This 3D printed display card is designed to be much more than a simple decorative object. Thanks to the integrated rear stand, the card can stand upright on its own, making it perfect for desks, shelves, showcases, or display areas without the need for additional supports.
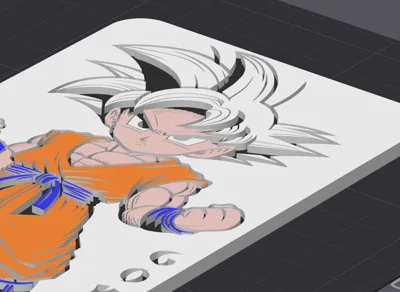
The true strength of this project lies in its advanced multicolor printing. The model is specifically designed for a 5-color print using AMS, achieving a rich, clean, and highly detailed visual result. Colors are applied exclusively to the upper layers, a fundamental choice to ensure sharp surfaces, precise details, and strong color contrast without unnecessary material waste.
My profile is already correctly colorized. If for any reason the file is not pre-colored, it is essential to manually apply the colors following the reference images, coloring only the upper layers. This step is absolutely fundamental to achieve the correct final result.
FUNDAMENTAL 5 COLOR PRINTING INSTRUCTIONS
Please read this section carefully.
Recommended AMS setup:
SLOT 1: Orange
SLOT 2: White
SLOT 3: Black
SLOT 4: Pink
SLOT 5: Blue

Color assignment in the slicer:
When opening the slicer, set the AMS colors in the following order:
A1 Orange
A2 White
A3 Black
A4 Pink
A3 Blue

It is fundamental to note that A3 is used twice with two different colors.
Printing procedure:
Once the colors are set, open the slicer.
On the right sidebar, scroll down to Layer 18.
Right-click on Layer 18 and select “Add Pause”.

Start the print normally.
When the printer reaches the pause at Layer 18, it will stop automatically.
At this point:
Remove the black filament from slot A3 in the AMS.
Insert the blue filament into the same A3 slot.
After completing the swap:
Press Continue / Resume / Start on the printer.
The print will continue correctly, using blue instead of black for the remaining parts of the model.
Following these steps precisely will result in a high-quality multicolor display card, faithful to the original design.
Boost Me (for free)
Your support is my greatest motivation. Boosting my models helps me grow, improve the quality of my designs, and continue sharing new creations with the 3D printing community.
License
You shall not share, sub-license, sell, rent, host, transfer, or distribute in any way the digital or 3D printed versions of this object, nor any other derivative work of this object in its digital or physical format (including - but not limited to - remixes of this object, and hosting on other digital platforms). The objects may not be used without permission in any way whatsoever in which you charge money, or collect fees.
Comment & Rating (0)